As an Amazon Associate, we earn from qualifying purchases. Some links on this site are affiliate links at no extra cost to you. Our recommendations are based on thorough research and editorial judgment.

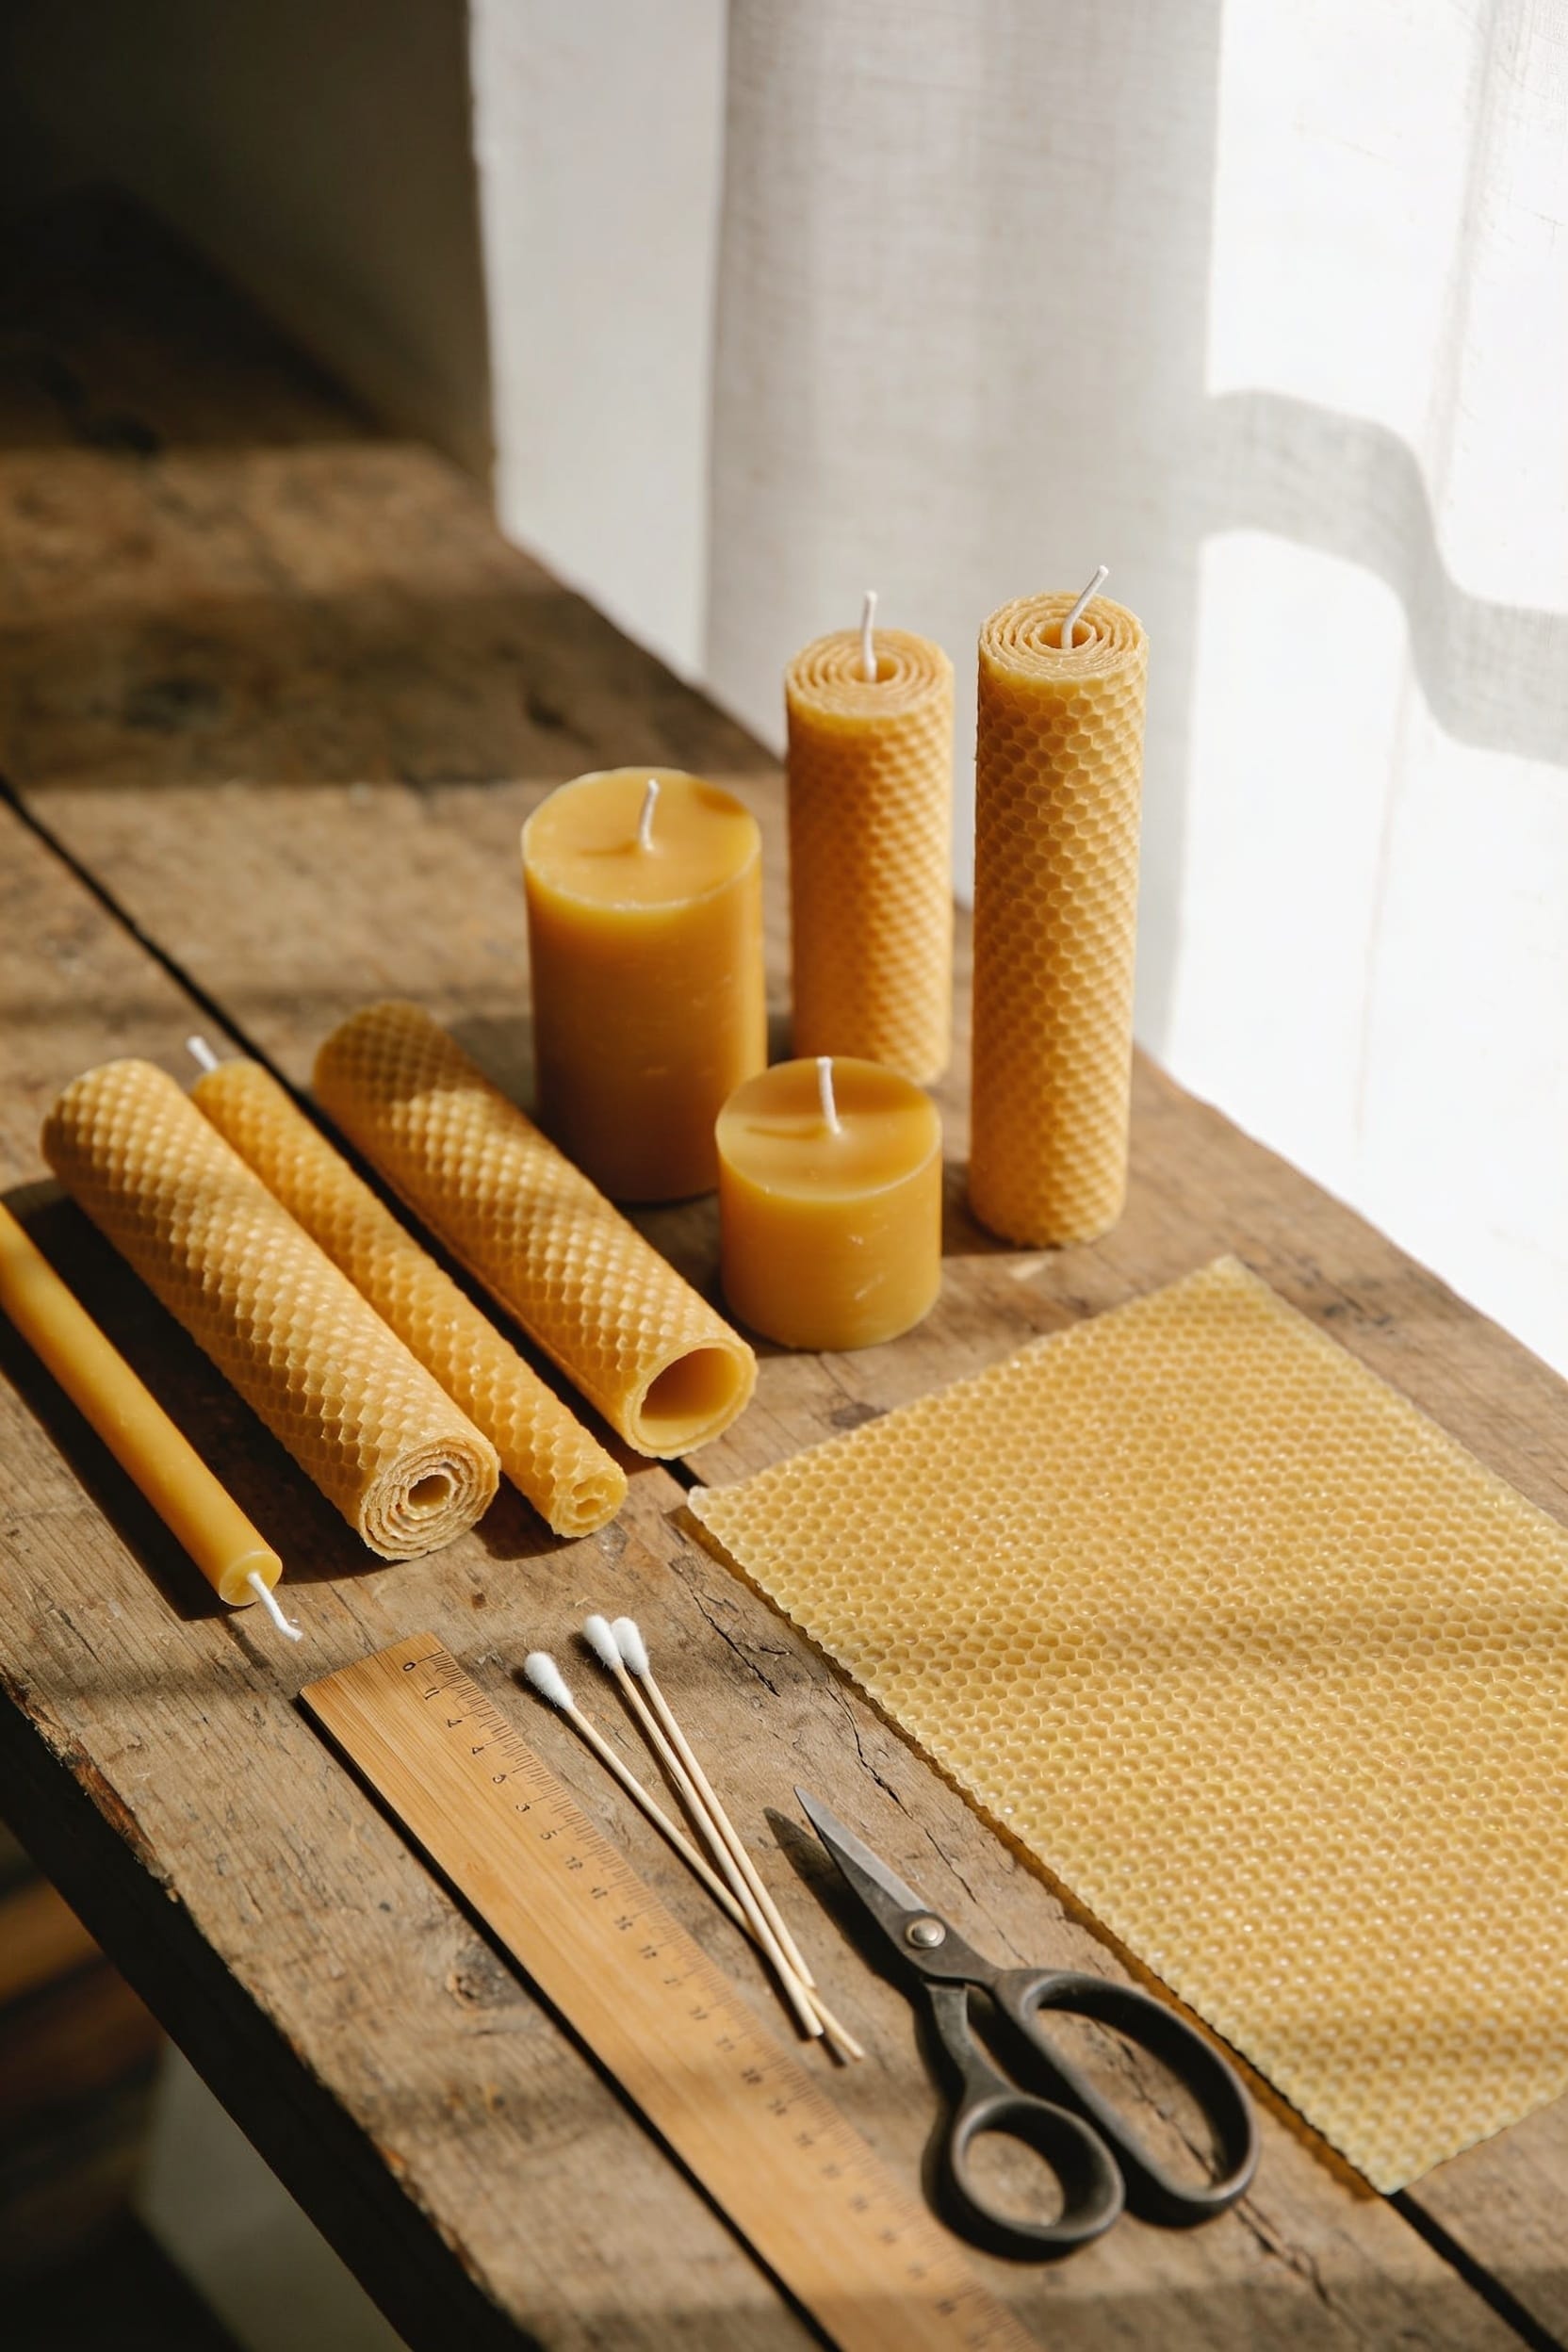
How to Make Rolled Beeswax Candles: No-Melt Beginner Tutorial

All right, rolled beeswax candles skip the whole melting mess entirely—you’re just warming sheets gently with a hair dryer, positioning your cotton wick dead-center along the edge, then rolling snug and steady from the wick inward. Three half-sheets build proper thickness; you’ll flatten the base, trim the wick to a quarter-inch, and catch any gaps before they become problems. It’s genuinely faster than molded candles, looks intentional even when you’re learning, and produces almost zero waste compared to pouring methods. The technique takes maybe twenty minutes once you understand the specifics.
Key Takeaways
- Rolled beeswax candles require no melting equipment—just sheets, wicks, and gentle heat from a hair dryer for pliability.
- Cut beeswax sheets in half and use three pieces per candle, conditioning the wick with melted beeswax beforehand.
- Place the wick along the short edge and roll sheets snugly with consistent tension, keeping wick centered for even burning.
- Layer multiple half-sheets to build thickness, then taper the top by gently heating edges and rolling inward for finishing.
- This method is faster, uses minimal energy, produces no waste, and allows creative aesthetic customization compared to molded candles.
Gather Your Materials: What You Need to Roll Beeswax Candles
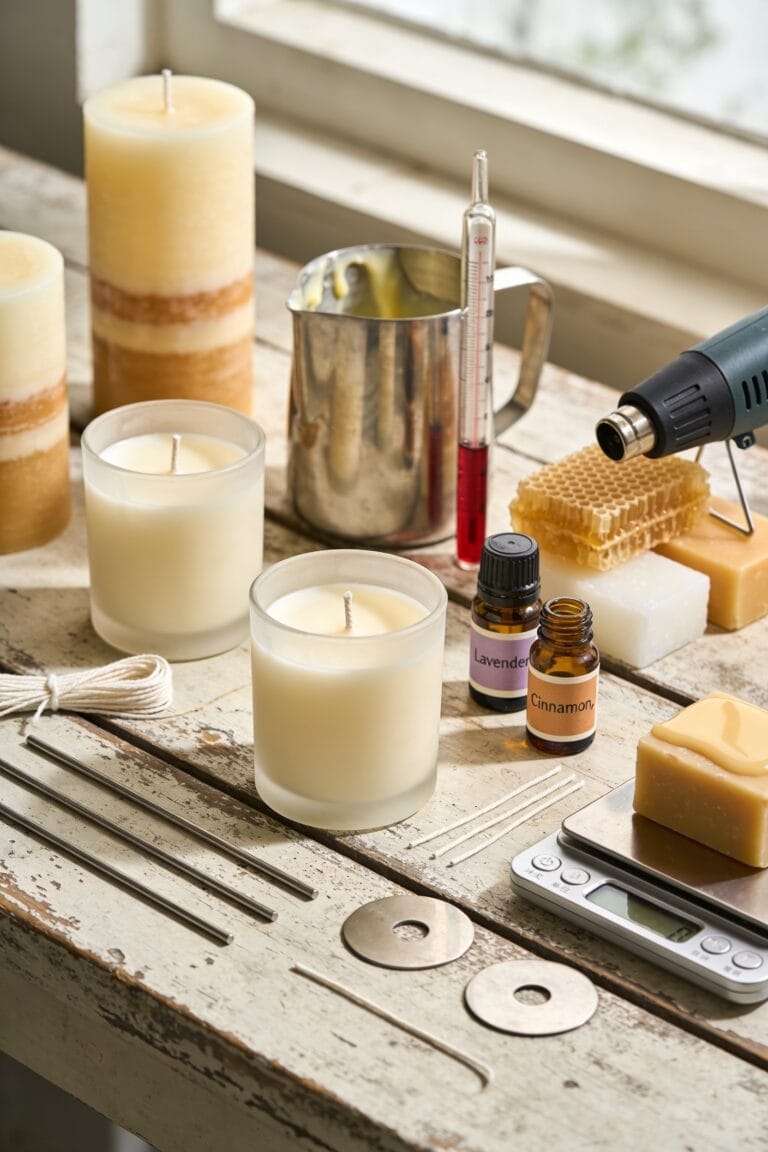
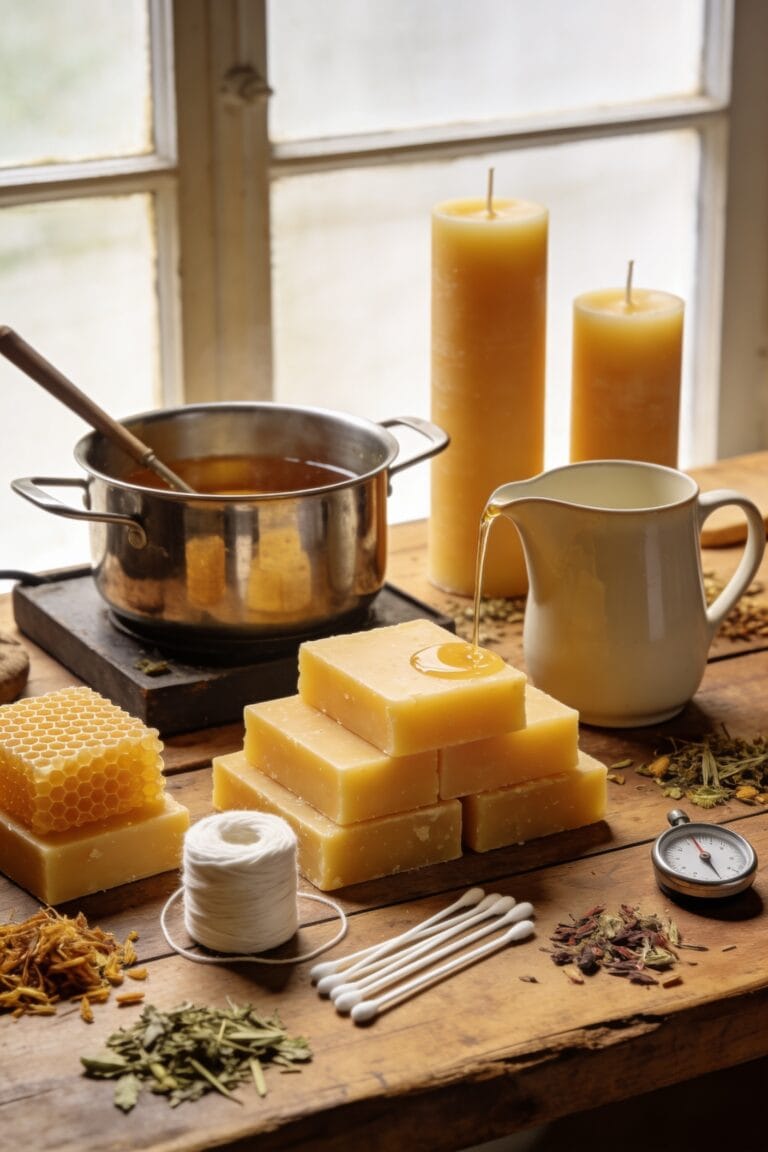
Before you roll your first candle, let’s talk about what actually goes into this surprisingly simple project. You’ll need beeswax foundation sheets—typically 8×8 inches or cut in half to 13×15 cm. Grab square braided cotton wicks, size 4.0 or #2/0 depending on thickness you’re after. A cutting board, ruler, and sharp knife help with sheet prep. Now, here’s what separates success from frustration: extra beeswax for dipping your wick, a hair dryer on low for warming stiff sheets, and parchment paper for cooling. That’s genuinely it. The beauty of rolled candles is they skip the whole fragrance load and color layering complexity—pure beeswax does the work. You’re looking at roughly $1.35 per candle, materials included.
Recommended Products

NATURAL SOY WAX BEADS - Best candle making supplies make the best soy candles! These safe, ethically produced, microwavable and paraffin-free soy wax beads are smooth and creamy in appearance, perfect for container candles, tealights and melts.
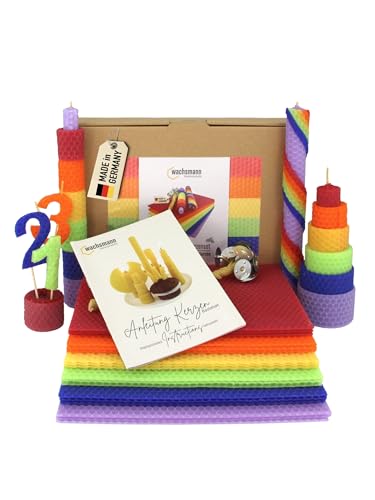
Pure beeswax from Germany - Enjoy the warm scent of real beeswax from organic farming. No paraffin, no additives, no compromise. For sustainable candles that burn cleanly and naturally - 100% genuine German beeswax.
Prep Your Sheets and Wick Before Rolling
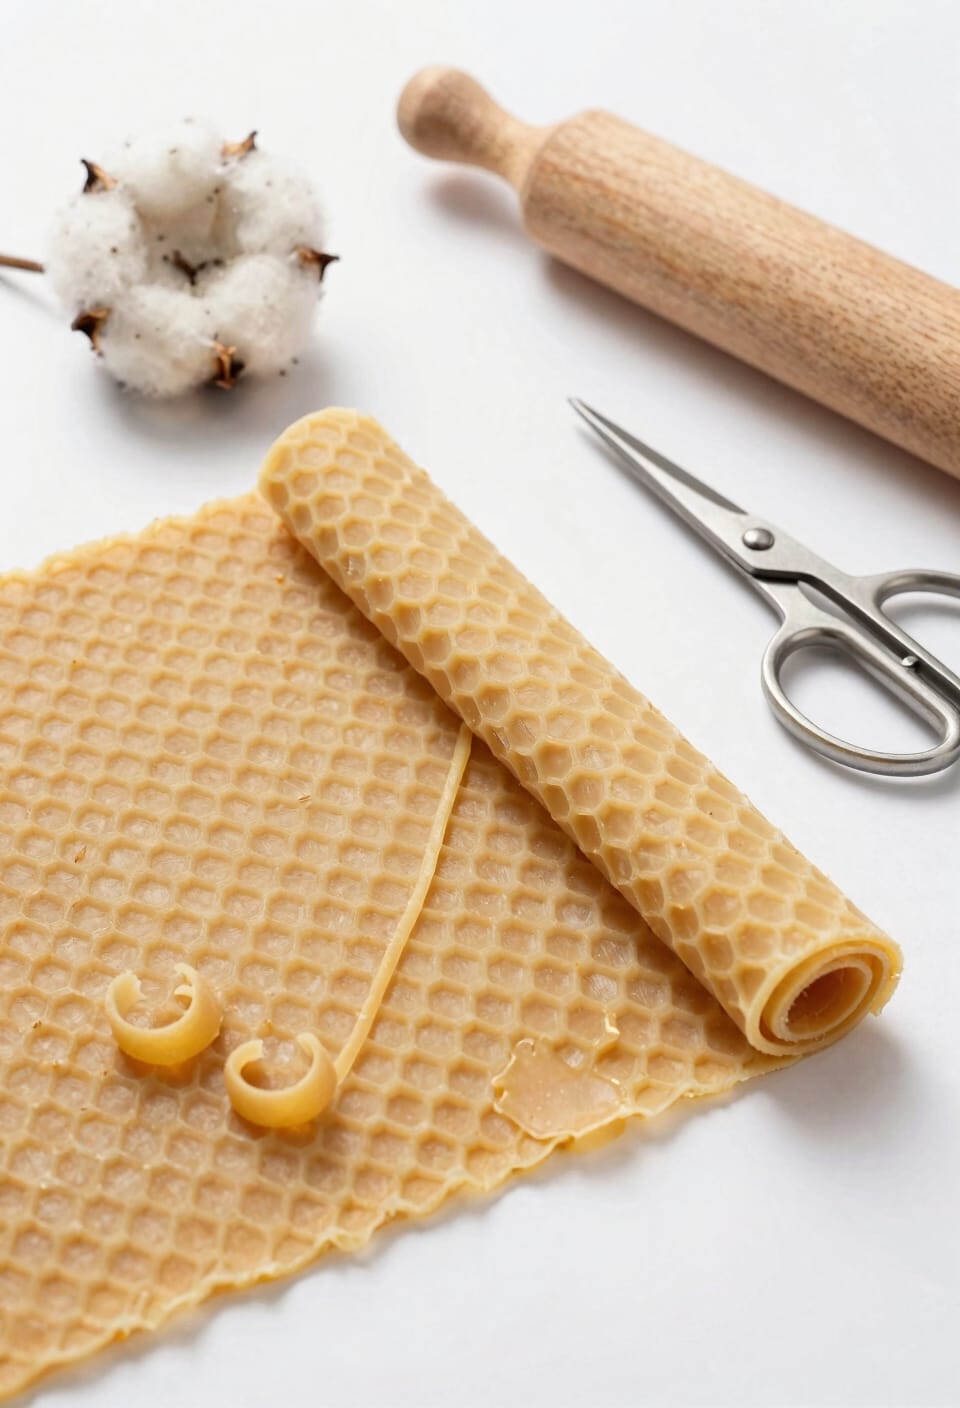
All right, so you’ve got your materials lined up—now comes the part that’ll either make your rolling smooth or leave you cursing at cracked sheets. I’m talking about prepping your beeswax and wick properly.
First, cut your sheets in half. You’ll use three halves per candle. Then measure your wick about a half-inch to an inch longer than your sheet’s height—think of this as wick conditioning techniques, getting it sized right before it ever touches wax.
Now here’s where warm up exercises come in. Dip that wick in melted beeswax using a bain marie—just a bowl over simmering water—until the bubbling stops. This guarantees even burning later. Let it cool on parchment.
Finally, gently warm stiff sheets with a hair dryer on low. This prevents cracking when you roll. You’re ready.
Recommended Products
COMES WITH EVERYTHING YOU NEED: This kit includes 3 lbs of Paraffin Wax, 72 inches of cotton wick, 3 candle rubber stoppers, pigment (red, yellow, blue, white), 3 candle molds with base, and a color mixing chart

CANDLE MAKING SUPPLY KIT: 30lbs soy wax, 300 cotton wicks, 300 glue stickers, 6 metal wick holders. Includes Everything you need to make your own candles.
✔ ADJUSTABLE FOR ANY CANDLE JAR – Expandable arms fit jar openings from 2-1/2″ to 4-5/8″ wide, making it perfect for single, double, or triple wick candles in nearly any container.
Position Your Wick for Straight, Even Burning
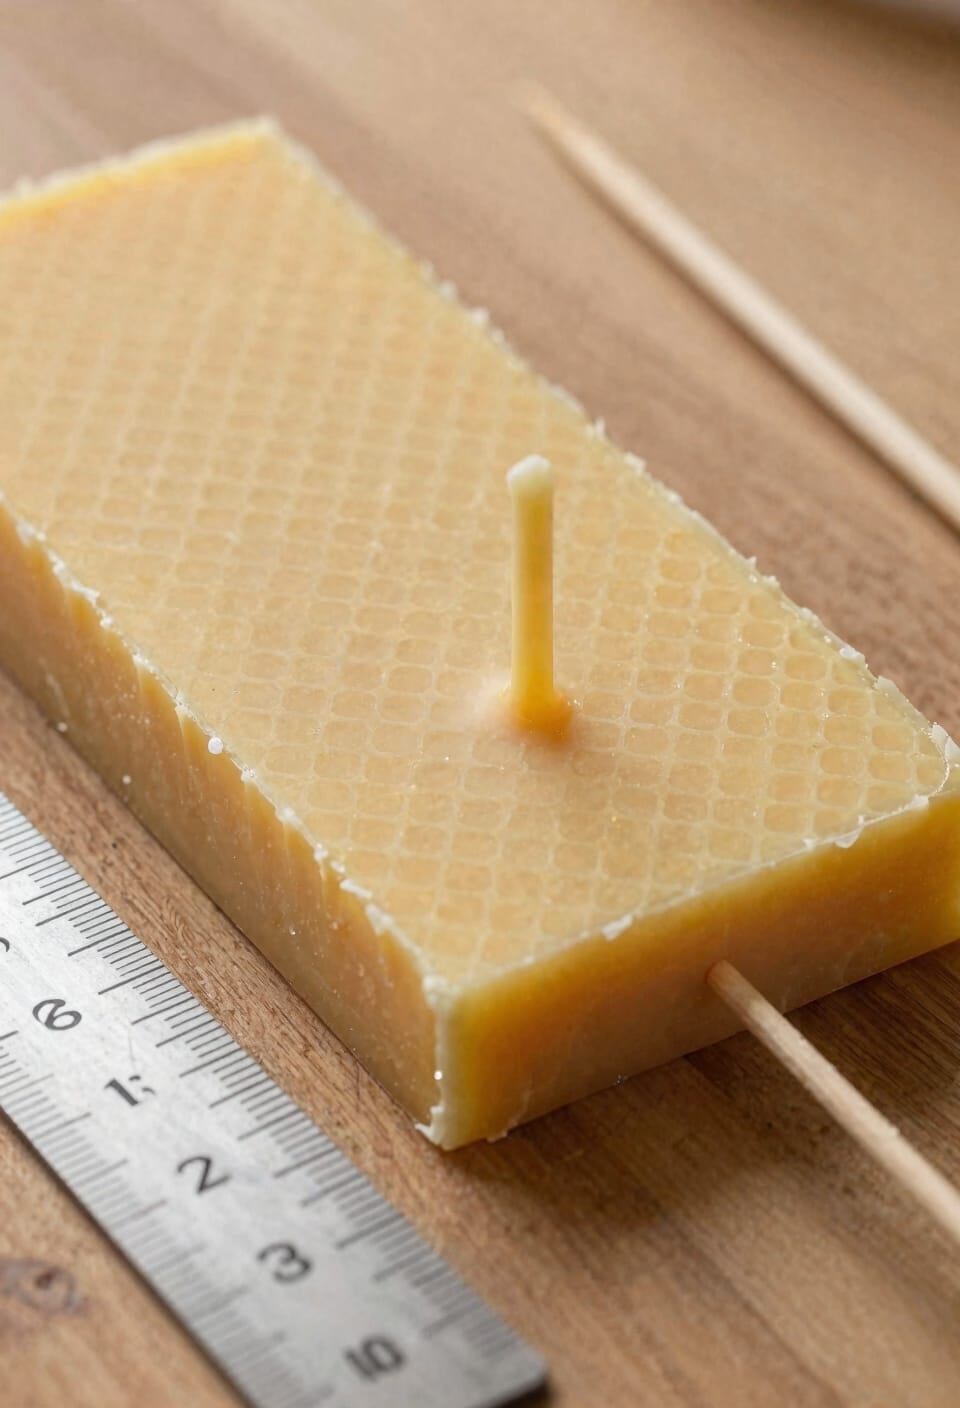
Now that your wick’s prepped and your sheets are pliable, let’s talk about where that wick actually goes—because I’ve rolled plenty of candles that burned crooked as a politician’s smile, and it’s almost always because the wick wasn’t positioned right from the start.
Place your wick along the short edge of the sheet. Press about 1/8 inch of wax around it firmly, ensuring you’ve got good wick centering—that’s the wick sitting dead-center along the roll’s axis. This matters. A lot.
Roll snugly from that wick edge onward. Keep tension consistent. You want that wick protruding a quarter-inch at the top for lighting, and you want it straight from top to bottom, no wobble.
Burn testing later catches mistakes, but getting this right now saves you time. A well-positioned wick burns slow, even, and true.
Recommended Products
100% PURE BEESWAX – Made from authentic natural beeswax with no paraffin, artificial fragrance, synthetic waxes, or fillers. Enjoy the beauty and performance of real beeswax.
Your complete starter set for 10 candles - everything you need: 10 coloured beeswax plates (20 x 15 cm), 10 pre-waxed hemp wicks (21 cm length) and detailed, illustrated instructions (English language not guaranteed). Ideal to get started right away - even for beginners or as a creative gift.

Beeswax candle kit: Orange Wax Melter with LED Display 1pcs,5lbs natural beeswax,8in candle wicks 30pcs,6in candle wicks 30pcs,3.5in candle wicks 30pcs,beeswax wicks 30pcs,wick stickers 100pcs,wick holder 10pcs,measuring cup 1pcs,manual instruction 1pcs.Includes Everything you need to make your own candles.
Start Rolling: Create a Tight Foundation Around the Wick
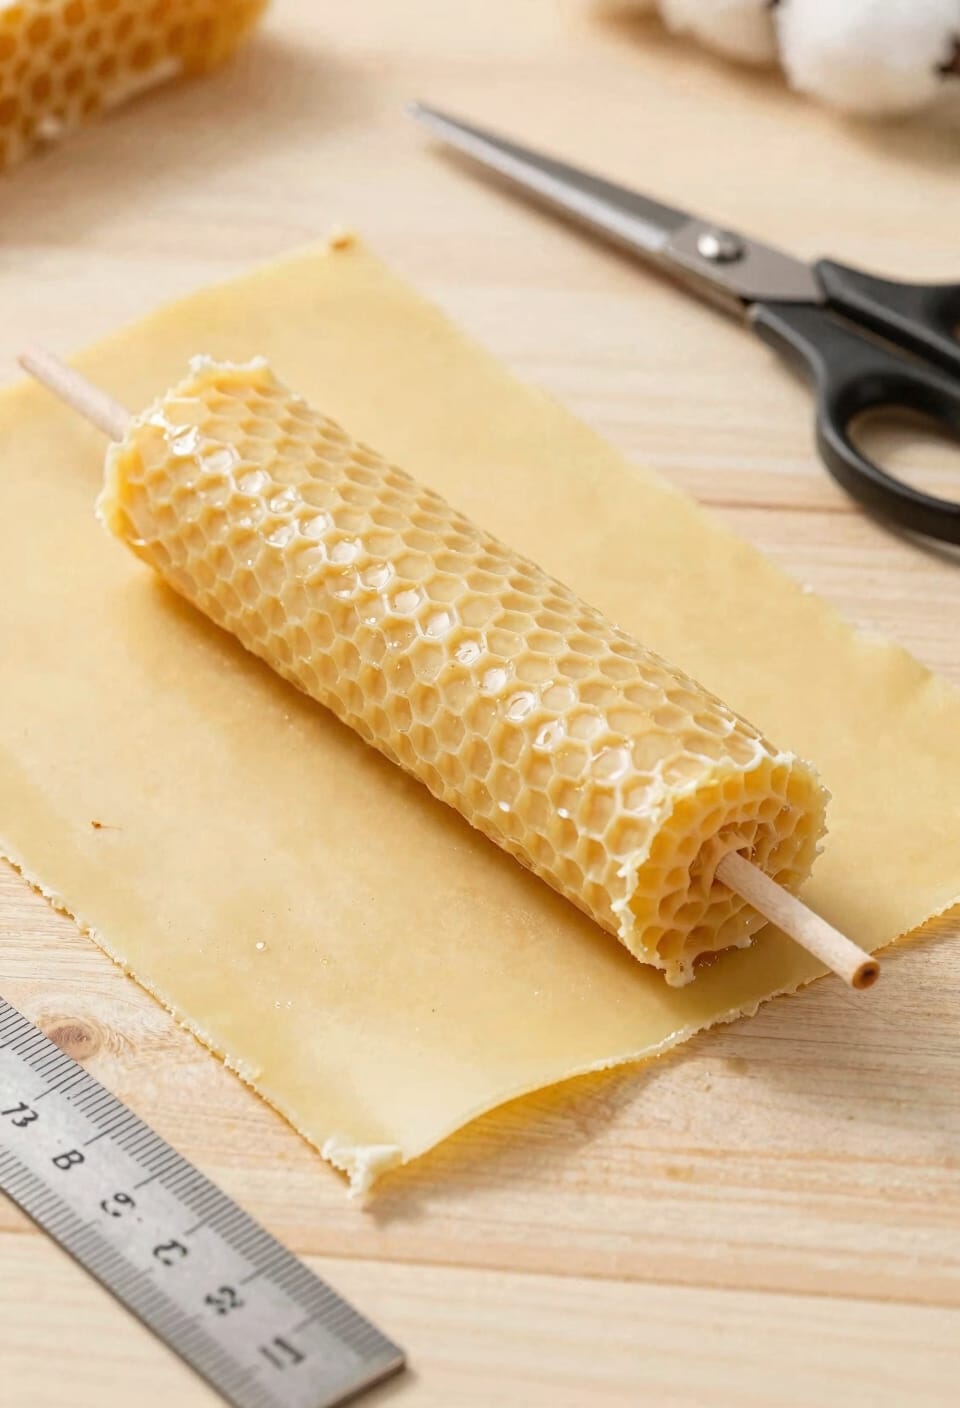
You’ve got your wick positioned dead-center and your beeswax sheets warmed to that perfect pliable state—this is where the magic starts, and where most people either nail it or watch their candle burn like a tilted carnival game.
Now, roll that first edge tightly around your wick. This tight core is your foundation. Press firmly as you go, anchoring the wick so it doesn’t shift or slip during rolling. No loose, casual wrapping here—treat this like you’re securing something precious, because you are.
Keep consistent pressure. Roll slowly. If the sheet starts resisting, hit it with your hair dryer for a few seconds. That first wrap determines everything: burn rate, straightness, how professional your finished candle actually looks. Get this right, and the rest practically rolls itself.
Build Thickness by Layering Additional Sheets
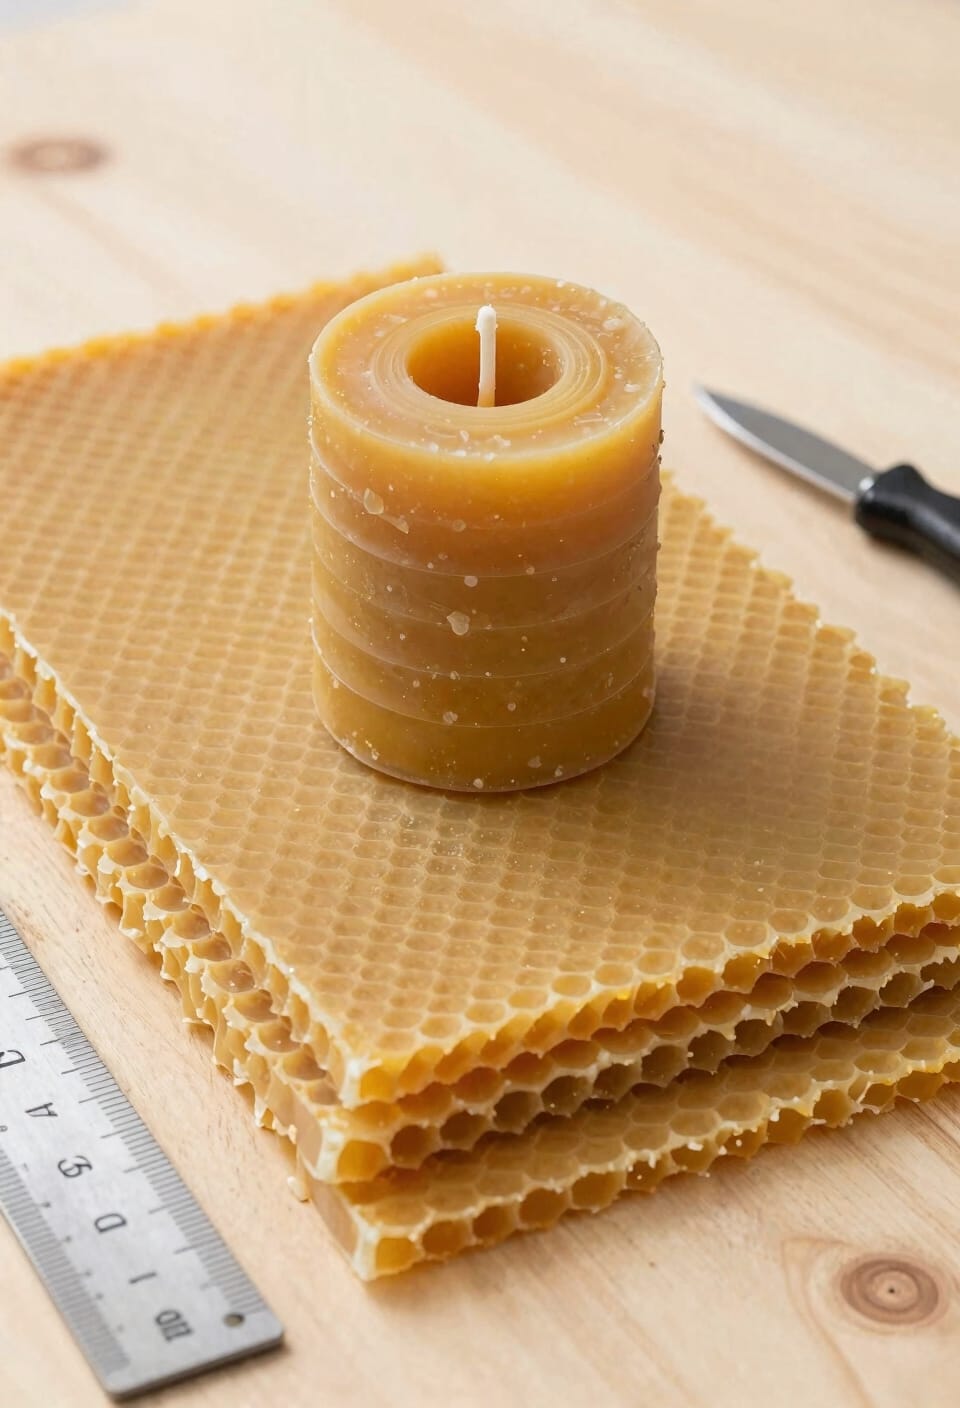
Once that first layer’s locked in tight, keep rolling—because a single sheet isn’t going to give you the slow, even burn you’re after. Here’s the thing: each additional half-sheet you add builds your layered height and creates that gorgeous, textured finish beeswax lovers crave.
Roll your second sheet around the first the same way—tight, consistent pressure, edges straight. If the wax gets stiff, hit it with the hair dryer. The warmth keeps everything pliable and prevents cracking mid-roll.
Add that third half-sheet for a candle that’ll burn for hours without guttering or tunneling. Each layer seals onto the last through gentle heat and firm pressing. You’re basically building a solid, uniform core that performs beautifully. That’s your candle’s backbone right there.
Shape Your Candle’s Top and Flatten the Base
The final shape of your candle matters more than you’d think—it’s not just about looks, though I’ll admit a tapered top is gorgeous. Now, here’s where those warm hands come in handy. Gently heat the top edges with your palms or a hair dryer, softening the beeswax just enough for smooth tapering. Roll the top slightly inward, creating that classic pointed finish. For decorative tops, you can pinch and shape as the wax cools. Flip your candle over and flatten the base by pressing it firmly against a warm surface or your work table. This keeps it stable in any holder. Trim any excess wax from the bottom if needed. Your candle’s ready to burn beautifully now.
Trim the Wick and Check for Gaps
Grab your scissors and trim that wick down to about ¼ inch at the top—I know it’s tempting to leave it longer, but trust me, a stubby wick burns cleaner and prevents that annoying mushrooming that blackens your candle’s top. Now for the safety checks: inspect your entire roll for gaps or air pockets where the sheets didn’t seal properly. Run your fingers along the sides. Any loose spots? Gently warm them with your hands and press firmly. Those gaps create uneven burn tests and can cause tunneling—where the candle burns down the middle, leaving wax walls standing. Before lighting, also trim any stray bits from the base. A tight, gapless roll guarantees your candle burns slowly and evenly, exactly as intended.
Fix Common Rolling Issues: Gaps, Drift, and Cracking
Even if you’ve rolled your sheets tight and sealed the seams, you might still run into a few stubborn issues that’ll mess with your burn. Gaps happen when you don’t maintain consistent wick tension—the wick should stay centered and taut throughout rolling. Press firmly as you wrap each layer. Wick drift, where it wanders off-center, usually stems from uneven pressure or temperature control issues; if your sheet’s too stiff, use your hair dryer to warm it properly. Cracking appears when cold sheets snap rather than bend smoothly. Always test pliability first. If cracks develop mid-roll, gently warm the damaged section and press it back together. These fixes take seconds and save your candle.
Recommended Products

Made in the USA. The Make Your Own Beeswax Candle Kit includes 10 full size (approx. 8" x 16 1/4") 100% beeswax honeycomb sheets in NATURAL. Natural is the color of honey.

Self-extinguishes when the flame reaches the clip

✔ 100% PURE & NATURAL : Cosmetic/USP Grade, Premium Quality, Triple Filtered Grade A Beeswax
Rolled vs. Molded Beeswax Candles: Why Rolling Wins
Once you’ve got your rolling technique down and you’re not fighting gaps and drift anymore, you might start wondering if there’s a better way to make beeswax candles altogether—and honestly, that’s when molded candles enter the chat.
Here’s the thing: rolled candles win on multiple fronts. They’re faster to produce, requiring no melting equipment or cure time—you’re done in minutes. They’ve got serious aesthetic versatility; you can blend sheet colors or create gradients that molded versions simply can’t match. Plus, the rolling method has minimal environmental impact since you’re working with pure beeswax sheets without excess waste or energy consumption. You’re not heating, cooling, or waiting. Molded candles have their place, but rolled? They’re the straightforward winner for beginners seeking immediate results without compromise.
Recommended Products

【EVERYTHING INCLUDED - START TODAY!】Get the FULL candle making experience in one kit! Your kit arrives with 4lb Soy Wax, 6 strong Fragrants, 30pcs Candle Wicks, 7 units candle containers, Wax Melter Pot, & Thermometer. No hidden costs.

Make Your Own Candles (DIY) - 100% Honeycomb Beeswax Sheets - 20 Beeswax Sheets in IVORY.

COMPLETE POTTERY + CANDLE MAKING SET: Includes all pottery sculpting & candle making supplies you need to easily craft a beautiful custom candle at home. The perfect beginner arts & crafts gift, hobby idea, and romantic date night surprise.
Frequently Asked Questions
How Long Do Rolled Beeswax Candles Burn Compared to Paraffin or Soy Candles?
I’ve found that rolled beeswax candles burn slower than paraffin or soy candles. You’ll get longer burn times because beeswax’s higher melting point and proper wick sizing create a slower, steadier burn rate.
Can I Use Rolled Beeswax Candles in Enclosed Spaces Without Ventilation Concerns?
I’d say yes—you can safely use rolled beeswax candles in enclosed spaces. They’re non-toxic and won’t harm your indoor air quality. However, I’d still recommend cracking a window or using ventilation alternatives like fans for prime air circulation.
Why Does My Beeswax Candle Smell Different Than Store-Bought Rolled Candles?
Your homemade beeswax candle smells absolutely nothing like those mass-produced imposters because you’re using pure, unadulterated beeswax with natural variation. Store versions often contain additives, fragrances, and different wick composition that mask authentic beeswax’s subtle, honey-like aroma.
Is It Safe to Leave a Rolled Beeswax Candle Burning Unattended Overnight?
I’d strongly advise against leaving your rolled beeswax candle burning overnight. Fire safety demands your attention—unattended flames pose serious risks during sleep. Never leave any lit candle unattended, regardless of type.
Flame Hazards
Sleep Risks
How Should I Store Finished Rolled Beeswax Candles to Maintain Quality?
I’ll keep your candles fresh as a daisy by storing them in cool, dry conditions away from direct sunlight. I recommend humidity control to prevent warping—a sealed container or cool closet works perfectly for maintaining that quality glow.
Conclusion
I’ll be honest—you’re going to make candles you’re proud of. Here’s what keeps me rolling: beeswax candles burn roughly 5 times longer than paraffin ones, which means your effort pays dividends. You’ve got this. Start simple, roll tight, and don’t sweat the imperfections. They’re character. Your first candle won’t be perfect, but it’ll absolutely work—and that’s the real win.