As an Amazon Associate, we earn from qualifying purchases. Some links on this site are affiliate links at no extra cost to you. Our recommendations are based on thorough research and editorial judgment.

10 Beeswax Candle Making Tips for Smoother, Longer-Burning Results

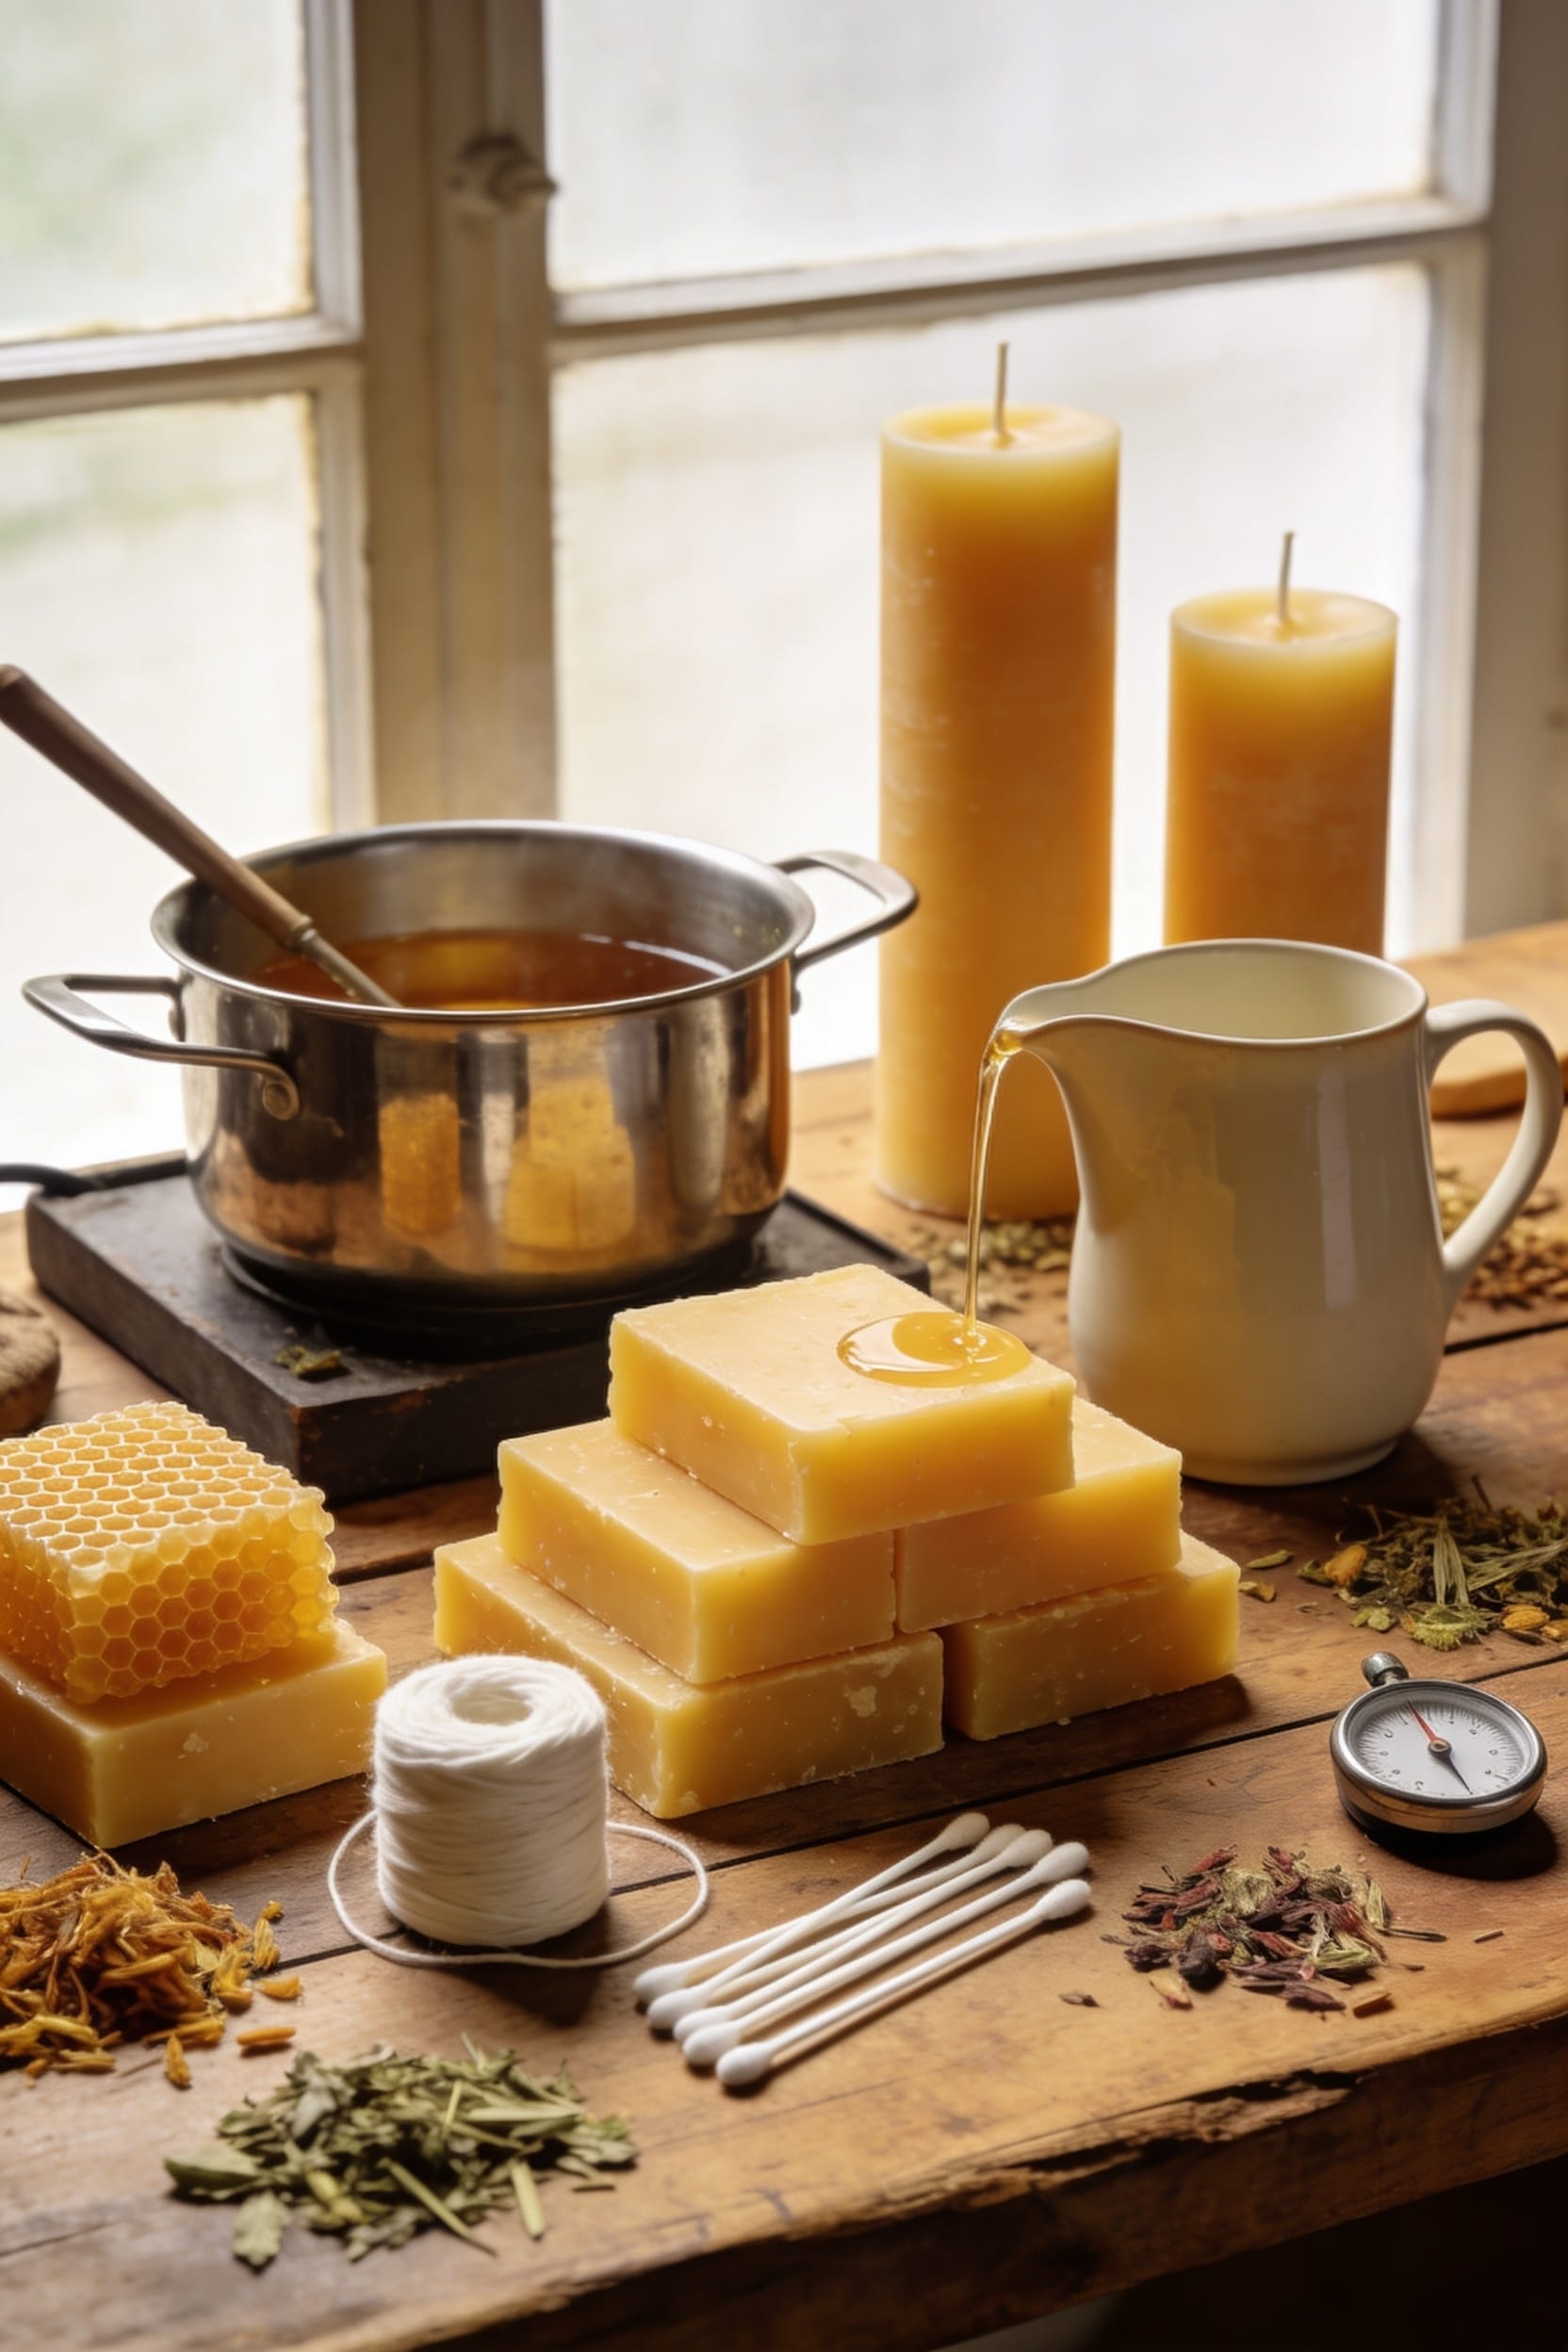
I’ve ruined plenty of beeswax candles myself, so trust me when I say the difference between a gorgeous, long-burning result and a tunneled mess comes down to a few deliberate moves. Melt slowly at 165–170°F, pour without disturbing, trim your wick to quarter-inch, add coconut oil for softness, let that first burn create a full melt pool, keep debris out, dip the wick to extinguish, store away from heat, and use repeated dipping for tapers. Stick around—I’ll walk you through each one.
Key Takeaways
- Melt beeswax slowly between 165–170°F using a double boiler to preserve quality and prevent scorching.
- Trim wicks to 1/4 inch before each lighting to prevent excessive smoking and uneven flames.
- Allow the first burn to create a full melt pool for at least 3–4 hours to prevent tunneling.
- Add one teaspoon of coconut oil per pound of beeswax to soften wax and improve scent throw.
- Store candles upright in cool, dark places away from heat and direct sunlight to maintain quality.
Melt Beeswax Slowly at the Right Temperature
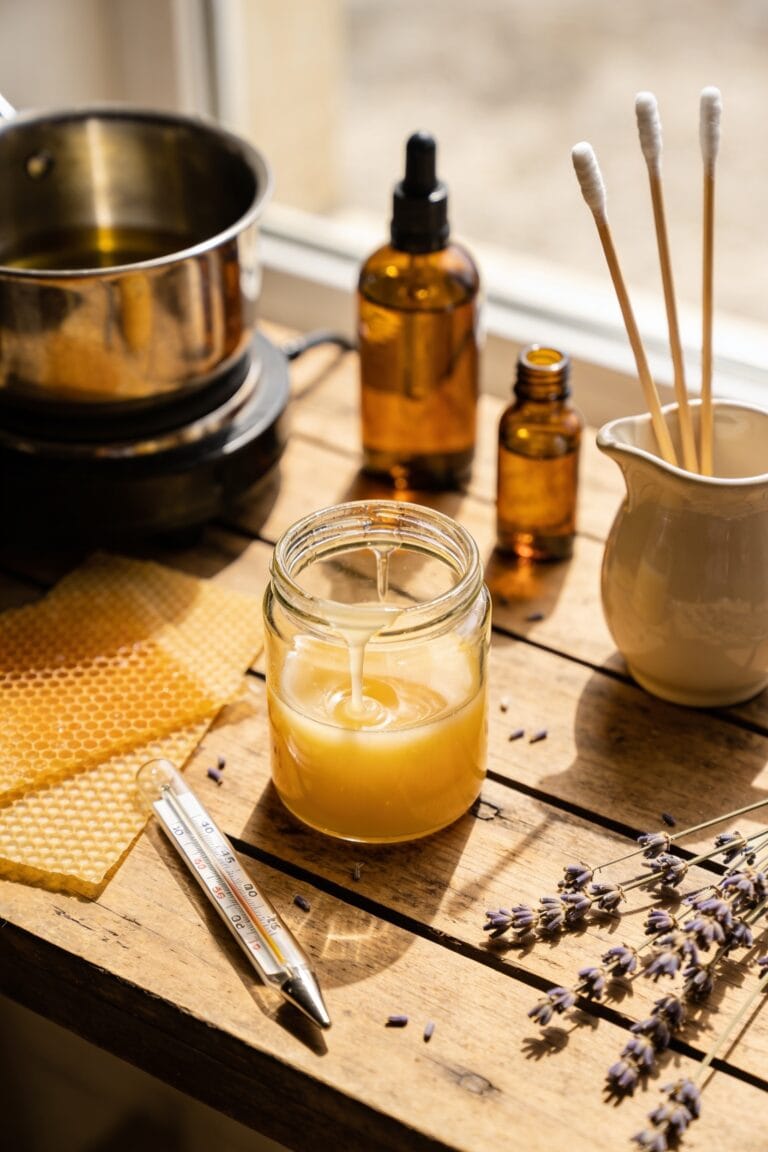
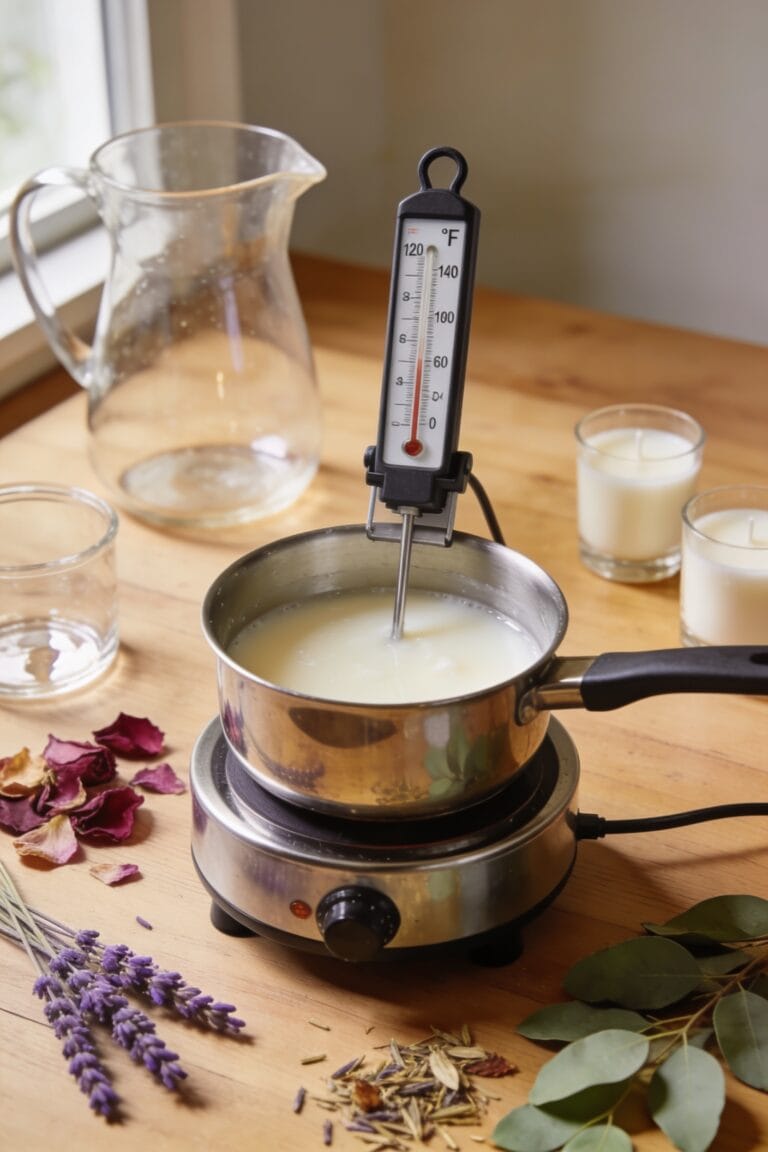
Because beeswax has a higher melting point than soy or paraffin, you’ve got to treat it with respect—rush it, and you’ll scorch the wax, which darkens it, ruins its natural honey scent, and basically turns your whole batch into an expensive mistake I’ve made more times than I’d like to admit. Here’s the thing: slow melting using a double boiler setup with low heat is non-negotiable. Maintain steady temperature control between 165–170°F (74–77°C). I use a cloth at the saucepan bottom to distribute heat evenly, which prevents hot spots that can burn your wax. Patience matters here. You’re not rushing to finish—you’re building a foundation for candles that’ll burn beautifully and hold their scent throw, the fragrance strength when lit, without compromise.
Recommended Products

【Premium Material】Our beeswax pellets are sourced from quality farms, carefully selected to ensure high standards.

Wax melter for candle making: Large pot holds approximately 7 Qts Melted Wax! Super- Fast Melter can melt Soy Wax, Paraffin, Coconut, Beeswax. Easy to use temperature setting to adjust your tempature as needed. Its best to always check tempature with a thermometer. Great for DIY Candle Makers.

8 Quart – Ideal size for melting chocolate, warming sauces, and preparing delicate recipes
Pour Wax and Cool Without Disturbance
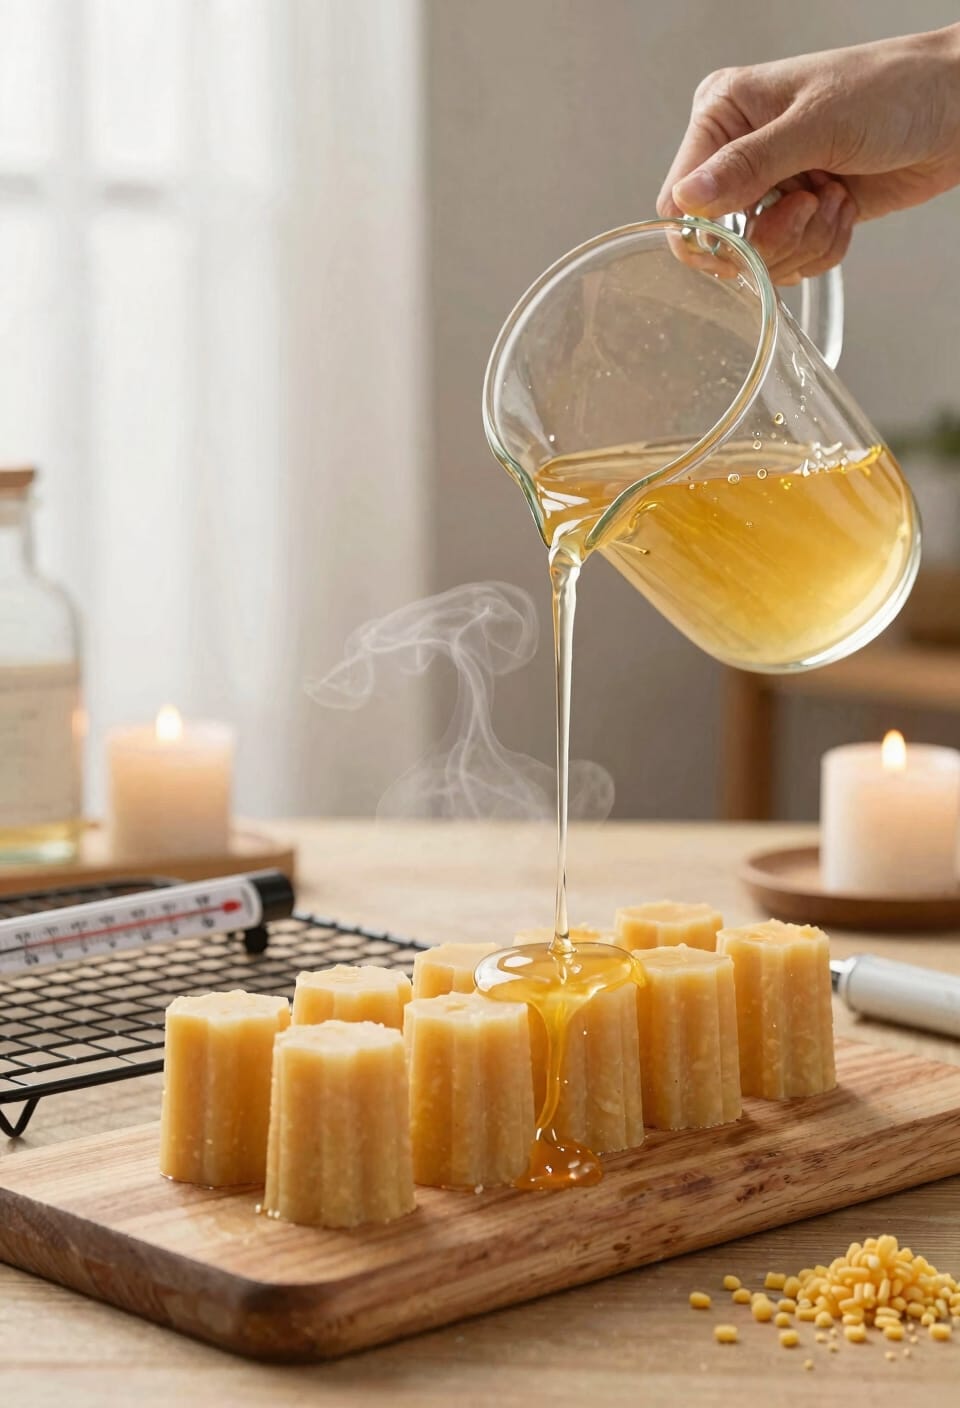
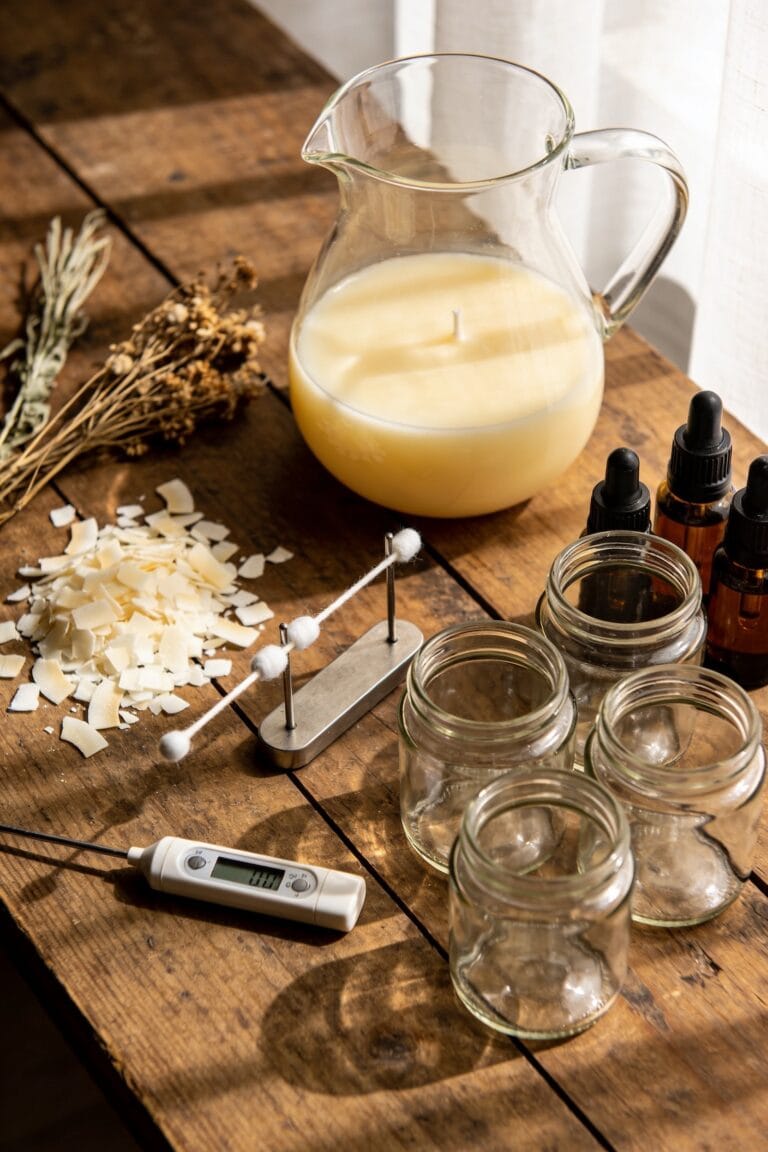
Now that you’ve got your beeswax melted to that perfect golden state, you’re at the moment where patience shifts from the stovetop to the pouring vessel—and trust me, this is where a lot of otherwise beautiful candles go sideways. Pour your wax leaving roughly half an inch at the top of your jar. This breathing room prevents overflow as the wax inevitably shifts during cooling. Let everything cool completely undisturbed at room temperature for several hours. Don’t touch it. Don’t move it. Seriously. While cooling happens, secure your wick dead center using a bamboo skewer or clothespin. Maintain ambient ventilation—fresh air helps prevent surface imperfections and uneven cooling. The undisturbed cooling process is what separates glossy, professional-looking candles from cratered disasters.
Recommended Products

【Center & Set Wick in Just 1sec】Literally: Unlike traditional methods, its glue-free solution eliminates most time-consuming steps, allowing you to centering wick in 1 second.
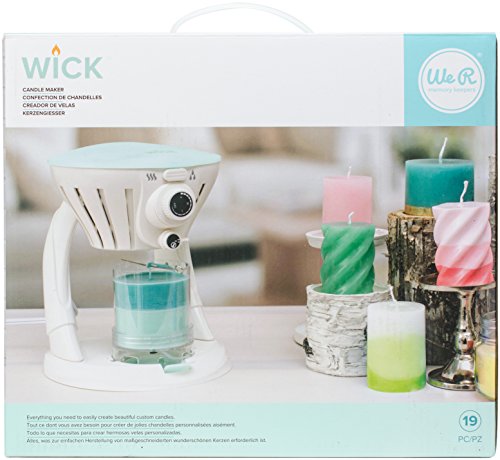
COMES WITH EVERYTHING YOU NEED: This kit includes 3 lbs of Paraffin Wax, 72 inches of cotton wick, 3 candle rubber stoppers, pigment (red, yellow, blue, white), 3 candle molds with base, and a color mixing chart

All-In-One Starter Kit – Everything you need to dive into candle making! Our Hearth and Harbor soy candle wax for candle making includes 25 lbs of smooth soy wax flakes, 100 cotton wicks, 100 adhesive stickers, and 2 centering tools. Perfect for beginners or seasoned DIYers.
Trim Your Wick to ¼ Inch Before First Lighting
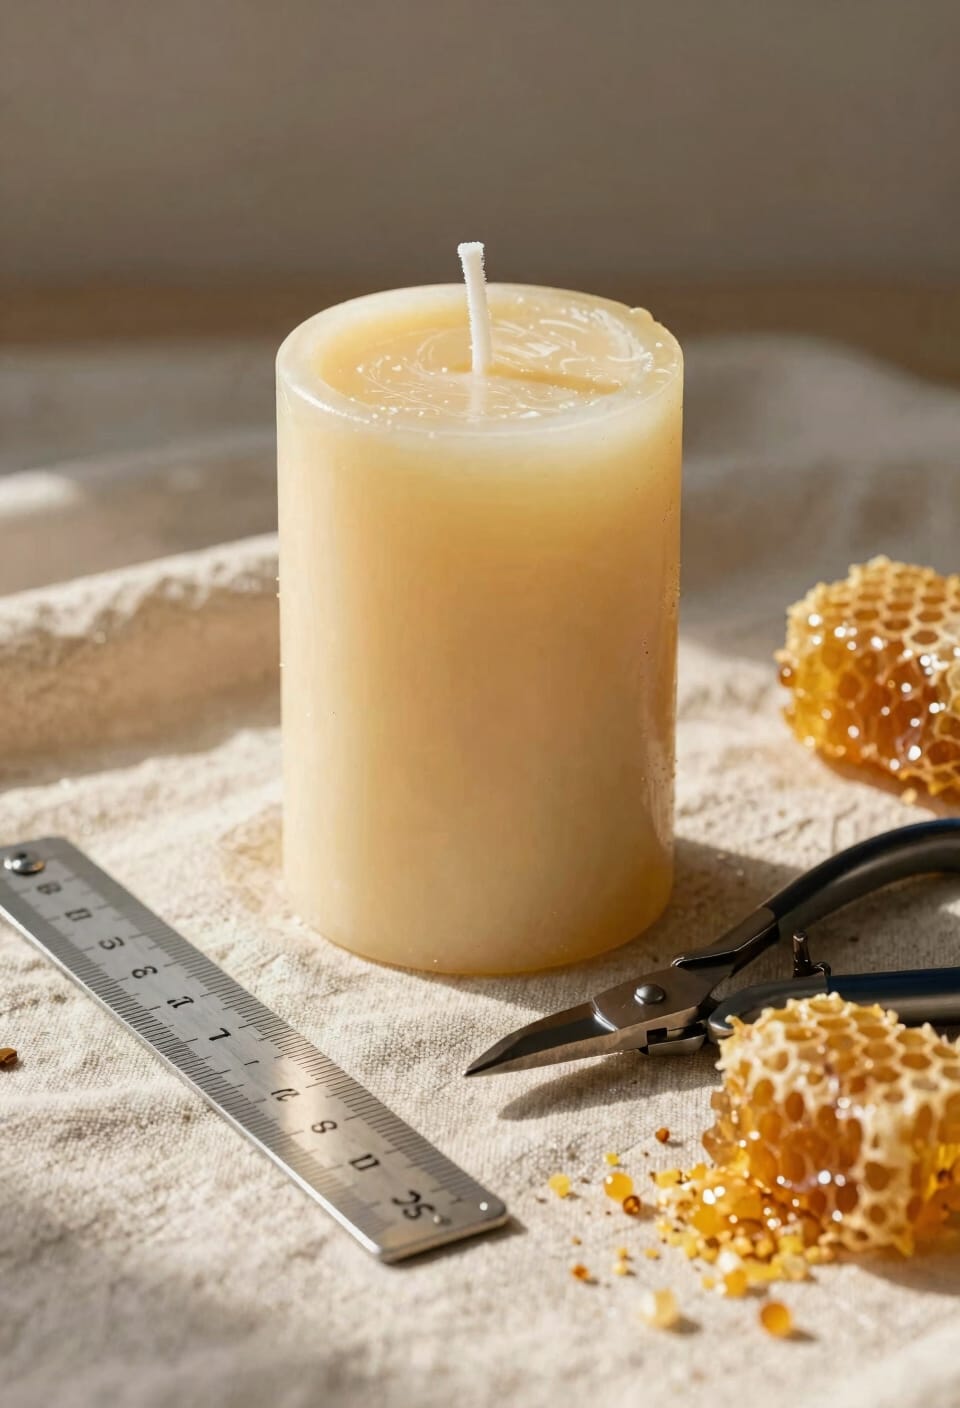
Your candle’s cooled, your wick is centered, and you’re itching to light the thing—I get it. But wait. Before you strike that match, grab your scissors and trim that wick to ¼ inch. I know it looks short, but trust me on this one.
Here’s why: long wicks cause carbon buildup—that’s the crusty black stuff that forms on the wick—which leads to excessive smoking and an uneven flame. Trimming prevents wick lengthening during the burn, which would otherwise bend over and create that lopsided melt pool you’re trying to avoid.
This simple step takes five seconds and makes the difference between a candle that burns beautifully and one that disappoints. Do it before every lighting, and you’ll thank yourself.
Recommended Products
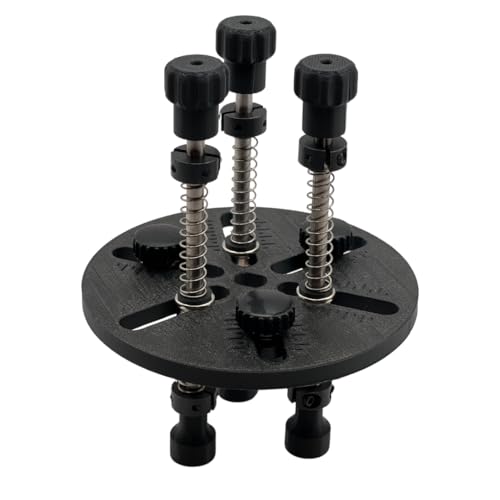
✔ ADJUSTABLE FOR ANY CANDLE JAR – Expandable arms fit jar openings from 2-1/2″ to 4-5/8″ wide, making it perfect for single, double, or triple wick candles in nearly any container.

Perfectly trims wicks to maintain optimal candle burn

Beeswax candle kit: Orange Wax Melter with LED Display 1pcs,5lbs natural beeswax,8in candle wicks 30pcs,6in candle wicks 30pcs,3.5in candle wicks 30pcs,beeswax wicks 30pcs,wick stickers 100pcs,wick holder 10pcs,measuring cup 1pcs,manual instruction 1pcs.Includes Everything you need to make your own candles.
Mix Coconut Oil Into Your Beeswax
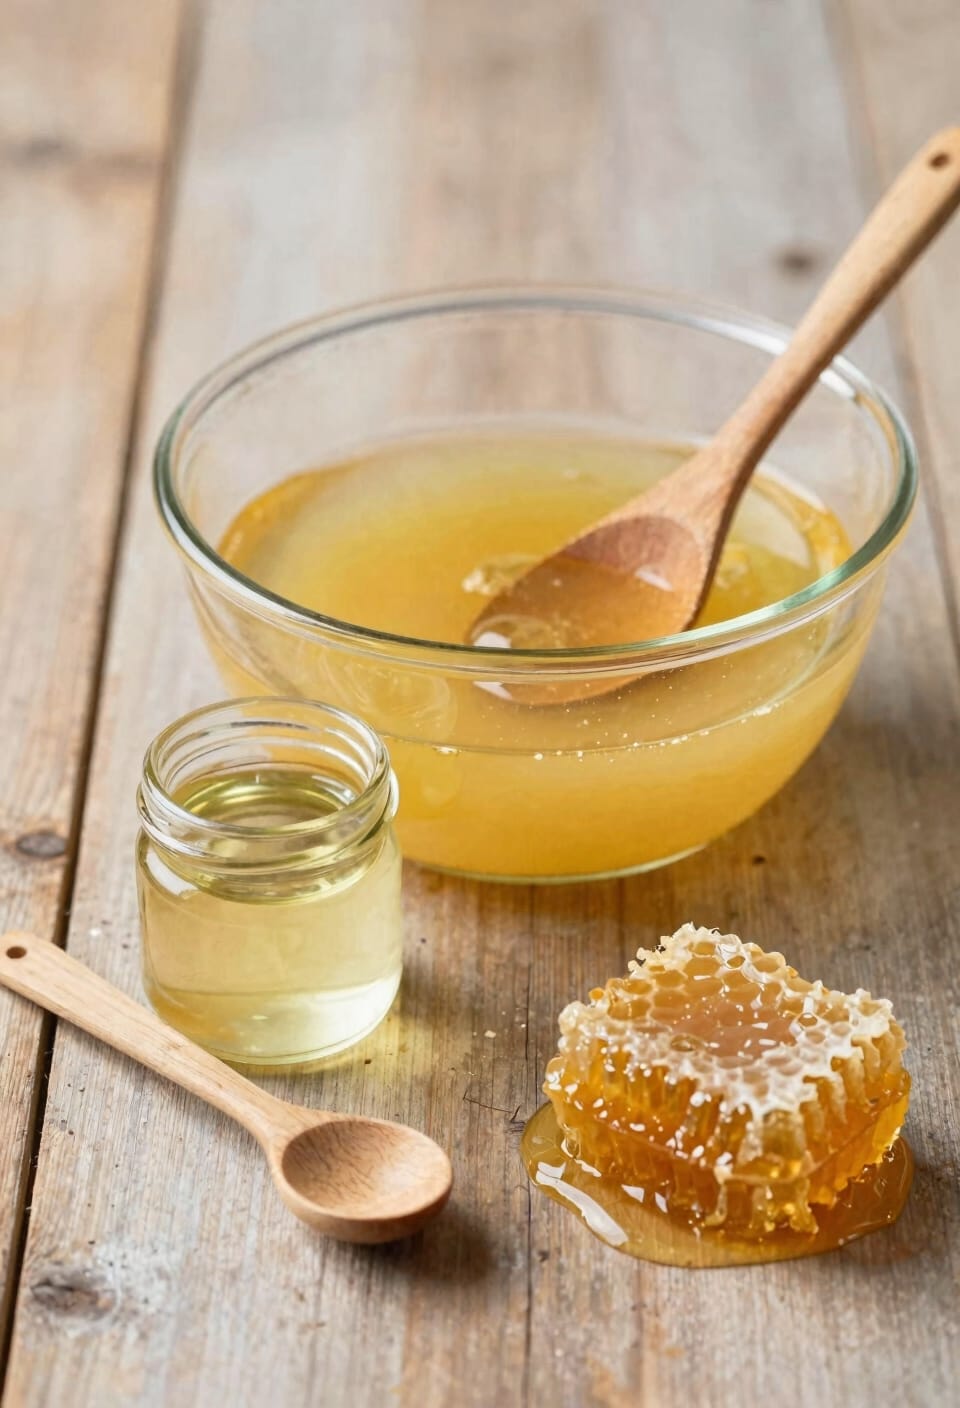
Pure beeswax has a melting point so high that it’ll resist creating an even melt pool, leaving you with that dreaded tunneling effect—where the candle burns down the middle and leaves a thick wall of wax around the edges. That’s where coconut oil comes in. I add one teaspoon per pound of beeswax, and it fundamentally changes how your candle behaves. The coconut oil softens the wax, allowing it to pool evenly across the surface during burns. Beyond preventing tunneling, it also improves scent compatibility—your essential oils or fragrance load (that’s the percentage of scent you’re adding) mixes more thoroughly for better hot throw, meaning stronger fragrance when the candle’s burning. Getting your coconut ratios right transforms a problem candle into something genuinely excellent.
Recommended Products
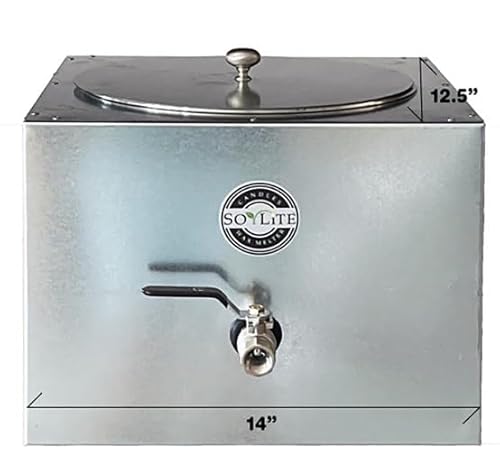
Profeshional wax melter for candle making, Effortlessly make large batches candles . No more messing with temperature control. This new wax melter automatically keeps wax around 180 to 190 degrees. Just simply add wax and turn on. If you are running a small business or handling a big custom order? SoyLite will help save you time.

100% Pure Beeswax - Beesworks Beeswax is totally pure, Grade A, triple filtered beeswax. Our premium filtered yellow beeswax is the highest quality cosmetic grade and contains zero additives, so you can be sure you are making an effective and safe choice.

RICH & SWEET- Vanilla- Oleoresin essential oil, meticulously extracted from the aromatic beans of the Vanilla planifolia plant. This luxurious oil is a must-have for your aromatherapy and perfumery collection, renowned for its potential to offer relaxation, evoke feelings of comfort, and add a touch of gourmet indulgence to your space, making it ideal for diffusing during cozy moments or incorporating into your relied on fragrance creations, bringing the essence of pure vanilla to your daily life.
Let Your First Burn Create a Full Melt Pool
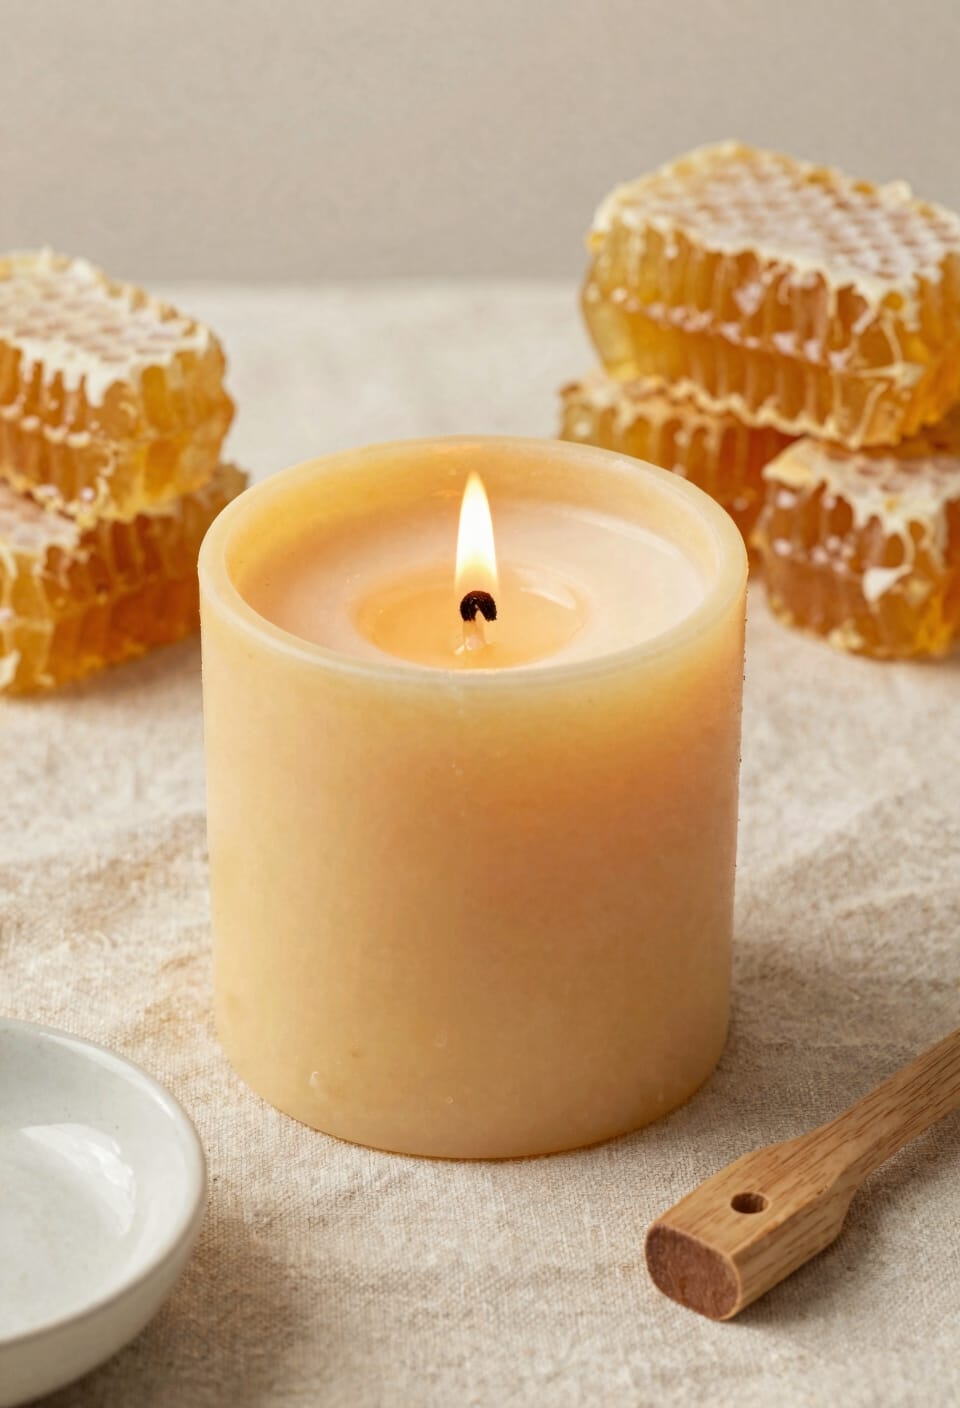
Once you’ve poured your beeswax and let it cool completely, the real test begins—that first burn is make-it-or-break-it important, and I can’t stress this enough. Now, here’s where most people mess up: they light the candle for twenty minutes, see a tiny melt pool, and call it good. Don’t do that. You need to burn long enough for the wax pool depth to reach the edges, forming what we call a memory ring. This edge formation is vital—it prevents tunneling, that annoying hole that burns straight down the middle while wax stays stuck to the sides. I’m talking 3-4 hours minimum on that first burn. Yeah, it’s a commitment, but trust me, it’s worth it.
Burn Only 3–4 Hours Per Session
Now that you’ve nailed that critical first burn and established your memory ring, here’s the thing: you can’t just let your candle burn indefinitely during every session. I learned this the hard way—overheated wax pools spill over, wick tabs sink, and you’ve basically ruined hours of work. Limit each burn to 3–4 hours maximum. This protects your wax from overheating while maintaining room ventilation and preventing debris from accumulating in the melt pool. Think of your burn schedule like a workout routine: consistency beats intensity. Short, regular sessions keep your candle burning evenly and extend its life markedly. You’ll notice the difference immediately—steadier flame, cleaner burn, better fragrance throw. Trust me on this one.
Keep Your Wax Pool Clean and Debris-Free
A clean wax pool might seem like a minor detail, but I’ve watched perfectly good candles go downhill because I got lazy about it. Wick debris—those little charred bits that flake off during burning—can accumulate in your melted wax and create fire hazards if left unchecked. I use a small metal tool or tweezers for wick debris monitoring, plucking out anything that shouldn’t be there before it causes trouble.
Container lint control matters too. Dust or fibers from your workspace settle on the surface, and they’ll float around in that liquid wax like unwanted hitchhikers. Keep your candle-making area tidy and your containers covered when you’re not actively pouring. A clean wax pool burns steadier, smells better, and honestly? It just looks more professional sitting on someone’s shelf.
Extinguish Safely by Dipping the Wick
Keeping that wax pool clean sets you up for success, but you’ve still got to know how to end a burn session properly—and that’s where a lot of people mess up. Here’s the thing: never just blow out your beeswax candle like you’re celebrating a birthday. Instead, grab a metal tool from your safety toolkits—a wick dipper works perfectly—and gently push the burning wick down into the melted wax pool. This smothers the flame while cooling the wick simultaneously. Once it extinguishes, straighten the wick upright while the wax’s still warm. This technique prevents black smoke, keeps soot off your container, and guarantees your wick’s ready for the next burn. It’s simple, safe, and honestly, way more satisfying than blowing.
Store Beeswax Candles Away From Heat and Light
Once you’ve nailed the burn technique and gotten your candle performing beautifully, the real challenge is keeping it that way until you light it again—and that’s where storage comes in. I’ve watched perfectly made candles warp and discolor because they sat in sunlight or near heat sources. You’ll want cool storage in a dark closet or cabinet away from windows. UV protection matters more than you’d think, especially with beeswax’s natural golden hue—direct light fades it and can soften the wax. Store them upright on a shelf, nowhere near radiators or sunny windowsills. Room temperature, dark, undisturbed. That’s your sweet spot. Get this right and your candles stay pristine until you’re ready to burn them.
Use the Dipping Method for Tapered Candles
If you want to make elegant tapered candles that look like they belong in a fancy dinner setting, the dipping method is where it’s at—and honestly, it’s more forgiving than you’d think. The process is straightforward: maintain your melted beeswax at 165-170°F, then repeatedly dip your wick into the pool. Each dip adds a thin layer—that’s your layering speed. You’ll need 10-15 dips total, cooling 30-60 seconds between each one. Keep your wick centering consistent by dipping straight down and pulling straight up. Roll warm tapers on a smooth surface to even out the shape. The beauty here is that layering creates those gorgeous, smooth tapers without complicated pouring. It’s tactile and meditative.
Recommended Products

NATURAL SOY WAX BEADS - Best candle making supplies make the best soy candles! These safe, ethically produced, microwavable and paraffin-free soy wax beads are smooth and creamy in appearance, perfect for container candles, tealights and melts.

PREMIUM 5 LB BEESWAX BLOCK: Ethical, 100% natural Texas Beeswax. Revered for its creamy texture, clean burning quality, enticing natural scents, and skin-soothing properties. Our pure, unadulterated beeswax block is perfect for a wide variety of household and cosmetic applications. Package includes a five-pound 9.5″ x 4.125″ x 3.5″ beeswax bar.

[Organic Beeswax] Our beeswax pellets come from organic bee farms and are triple filtered, free from any chemicals, and fully biodegradable as a natural product.
Frequently Asked Questions
Why Does My Beeswax Candle Keep Tunneling Down the Middle Despite Proper Care?
Your tunneling likely stems from an oversized wick or rushed cooling. I’d recommend trimming your wick to ¼ inch and allowing the wax to cool completely undisturbed before burning to establish a proper memory ring.
How Can I Prevent My Candle From Warping or Cracking After Pouring the Wax?
I’ll give you the straight dope: add coconut oil to your beeswax, cool it slowly undisturbed at room temperature, and guarantee proper wick centering with a skewer. Choose quality molds that distribute heat evenly.
What’s the Ideal Room Temperature for Storing Beeswax Candles Long-Term?
I’d recommend storing your beeswax candles in a cool, dry place with an ideal temperature range between 60-70°F. This prevents warping and maintains their quality long-term, keeping them away from direct sunlight and heat sources.
Can I Use a Different Oil Instead of Coconut Oil With Beeswax?
I’ve seen makers substitute jojoba oil with success. Yes, you can use other carrier oils as liquid alternatives, though I’d recommend testing small batches first. Coconut oil’s proven results make it my preferred choice.
How Do I Know When My Candle Has Cooled Completely Before First Use?
I’d check if the surface temperature feels cool to touch. You can also do a quick burn test by lighting it briefly—if the wax pool forms evenly without tunneling, it’s fully cooled and ready for your first proper burn.
Conclusion
I’ve learned that making beeswax candles is like tending a garden—you can’t rush the process. Give your wax time to breathe, let those melts pools form fully, and treat your wick with respect. You’ll watch your candles burn slower, cleaner, and brighter than you imagined. That’s worth every careful step you’ve taken.