As an Amazon Associate, we earn from qualifying purchases. Some links on this site are affiliate links at no extra cost to you. Our recommendations are based on thorough research and editorial judgment.

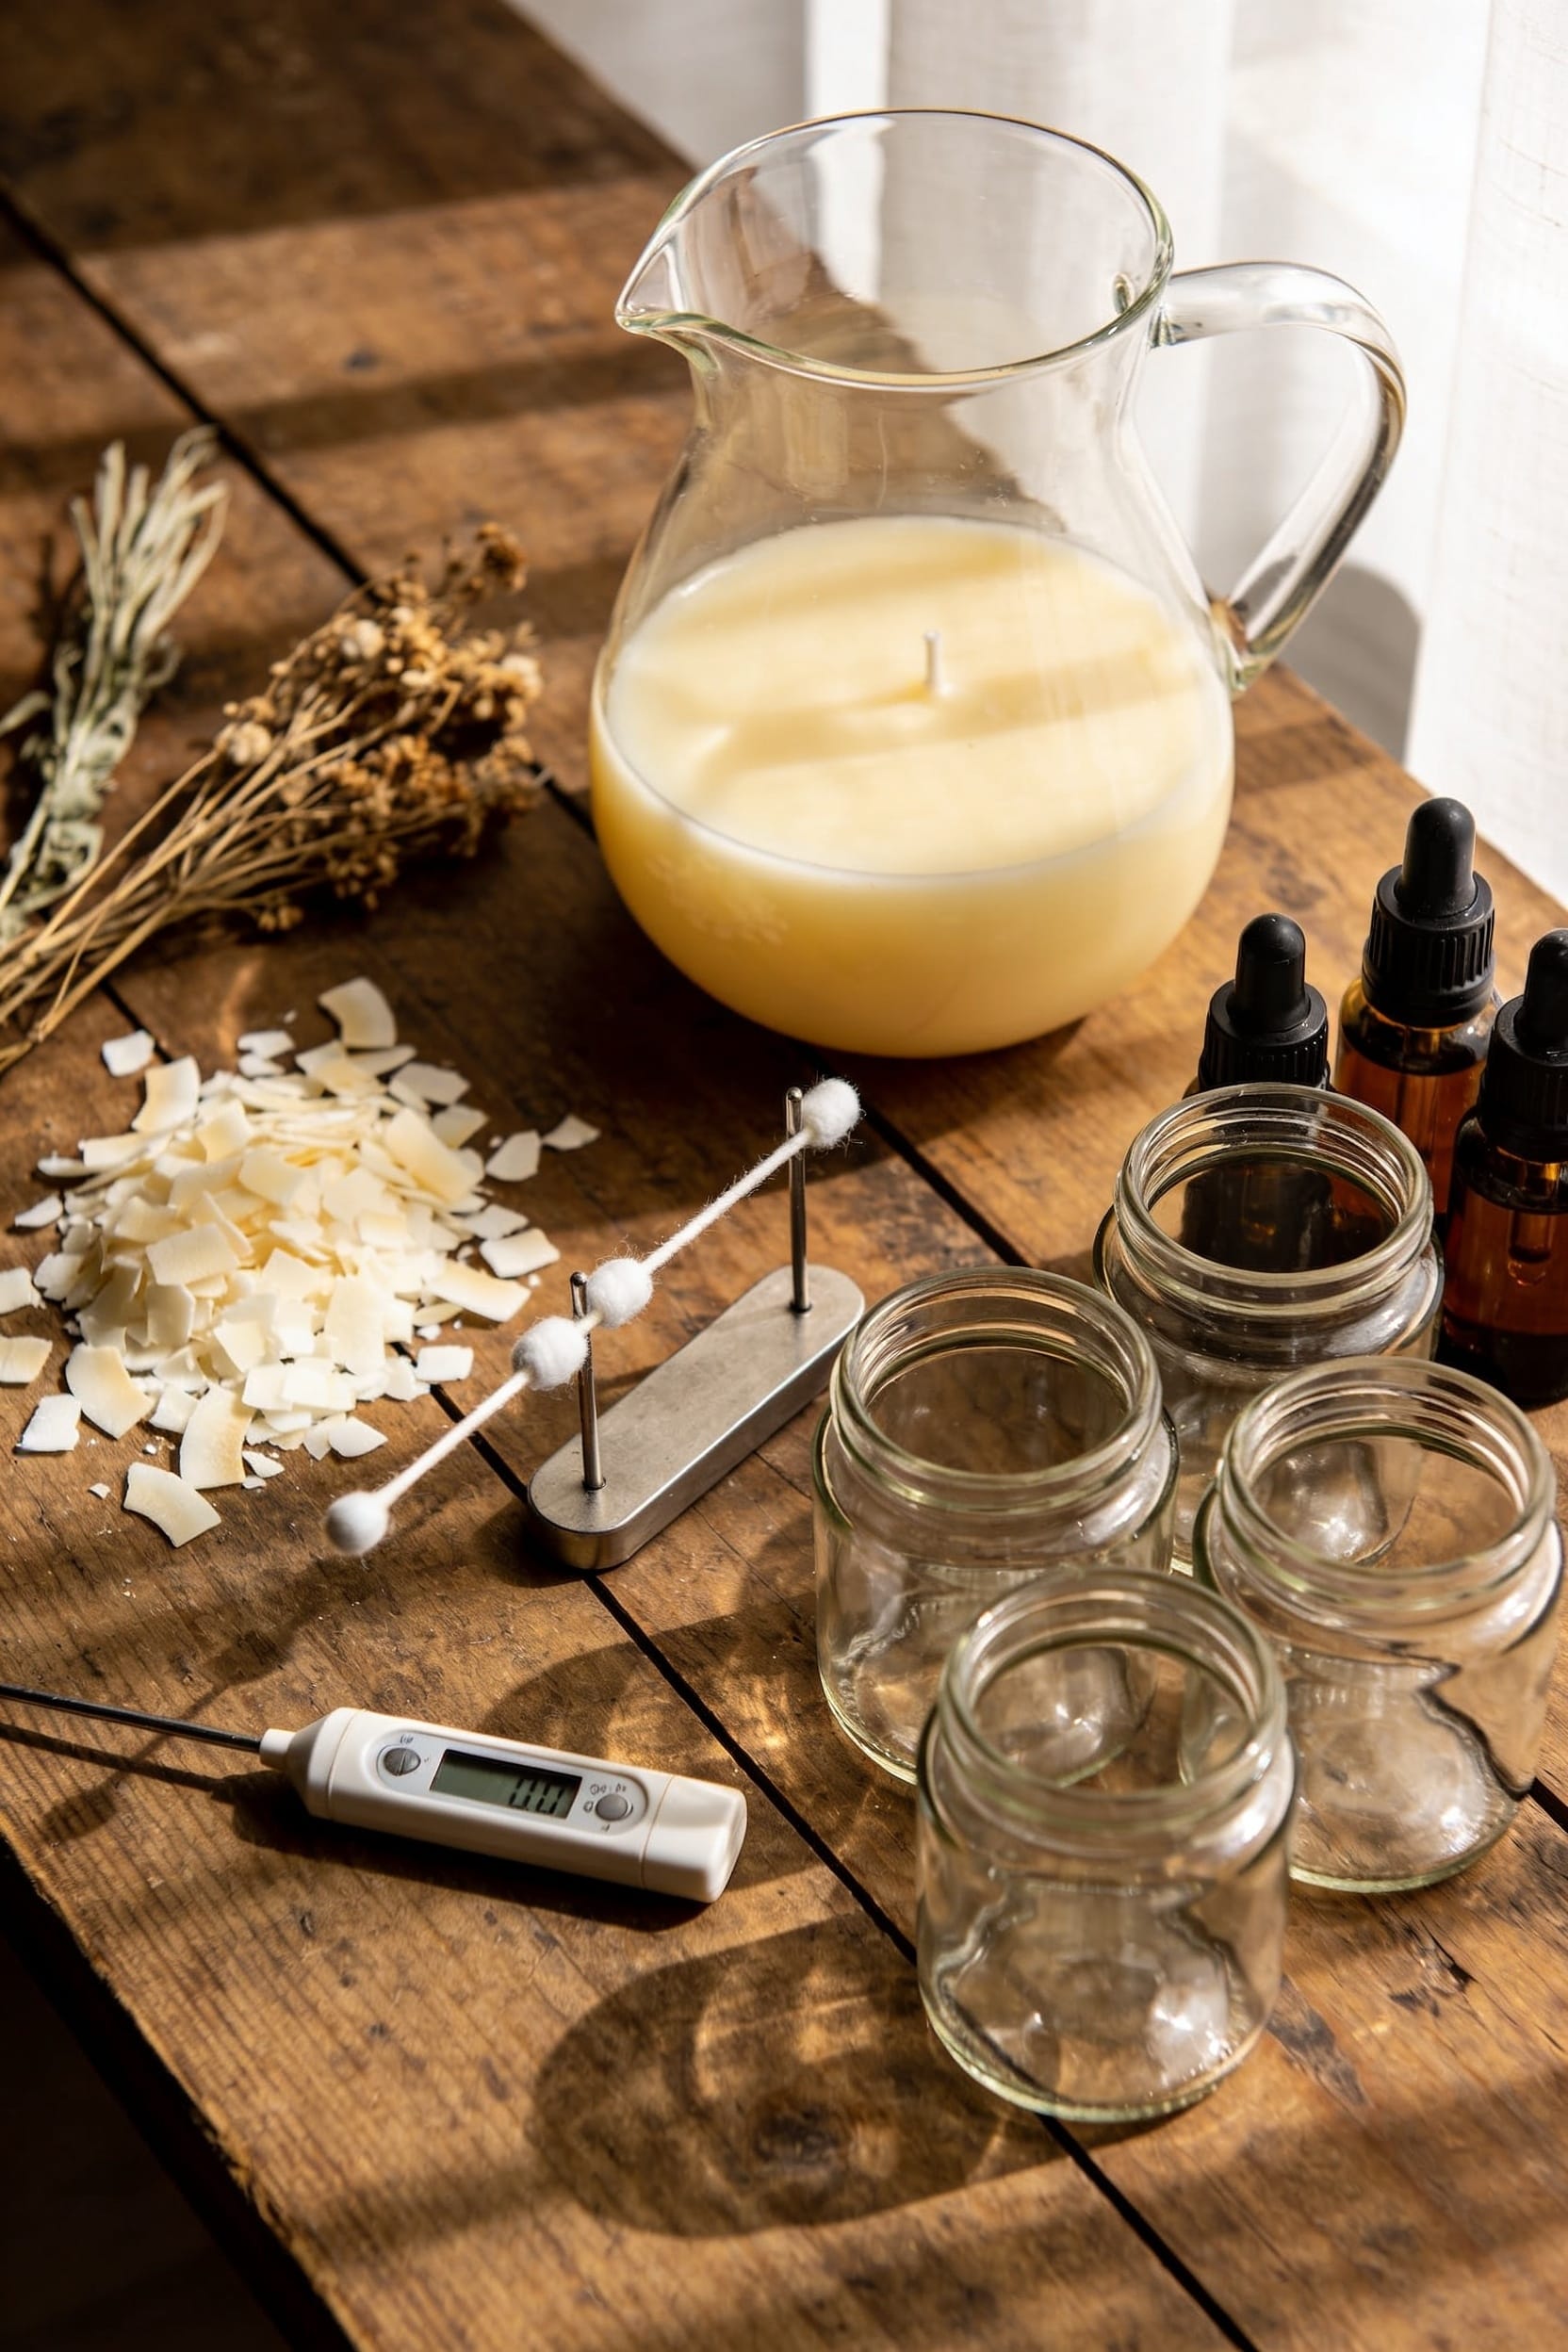
Candle Making at Home: A Complete Beginner’s Guide

Look, soy wax is your best starting material—it melts around 170–180°F and yields about 20 candles per five pounds. You’ll need glass jars, cotton wicks with metal tabs, fragrance oils (roughly one ounce per sixteen ounces of wax), a double boiler, and a thermometer. The real gotcha? Sinkholes form as soy cools, but insulating your jars prevents them. Trim wicks to half an inch before burning, wait several hours to cure, and you’re golden. The mistakes I’ve made so you don’t have to are waiting for you ahead.
Key Takeaways
- Gather essential supplies: soy wax, glass jars, wicks, fragrance oils, double boiler, thermometer, and basic tools like clothespins and skewers.
- Prepare jars thoroughly by washing and drying completely, then secure centered wicks using putty or cooled wax dots before melting.
- Melt soy wax in a double boiler at 170–180°F, add fragrance at peak temperature, and pour slowly while maintaining proper headspace.
- Expect sinkholes during cooling; reheat leftover wax to top-fill craters and insulate jars with washcloths to minimize cracking and defects.
- Trim wicks to ½” before burning, monitor the first 15 minutes for even flames, and adjust wick size if tunneling or mushrooming occurs.
Choose Soy Wax for Your First Candles
it melts faster—around fifteen minutes—which means you’re not standing there forever watching a pot that never boils. It’s got sustainable sourcing going for it too, unlike synthetic alternatives that’ll make you feel weird about your hobby. Soy minimizes volume loss during cooling, so you won’t end up with weird sinkholes that demand emergency repouring at midnight. Five pounds yields twenty to twenty-four candles, which is solid value. You’ll want to melt it in a double boiler at 170 to 180 degrees Fahrenheit. Trust me on this one.
Recommended Products


Professional Wax Melter for Candle Making or Soap Making, Melter 3 Gallon Stainless Tank, Extra Deep for Your Larger Batches Of Candles or Soap, This Has Been Designed From Customers Requests and is Unlike Other Competitors.

100% Pure Beeswax Candle: Hand-poured from naturally filtered beeswax for a rich, golden glow. These clean burning candles are free from paraffin, soy, and synthetic fragrances. Each 1-wick dripless pillar candle features natural cotton candle wicks and pure candle wax for a long-lasting burn and warm, cozy candle light.
Gather Your Candle-Making Supplies
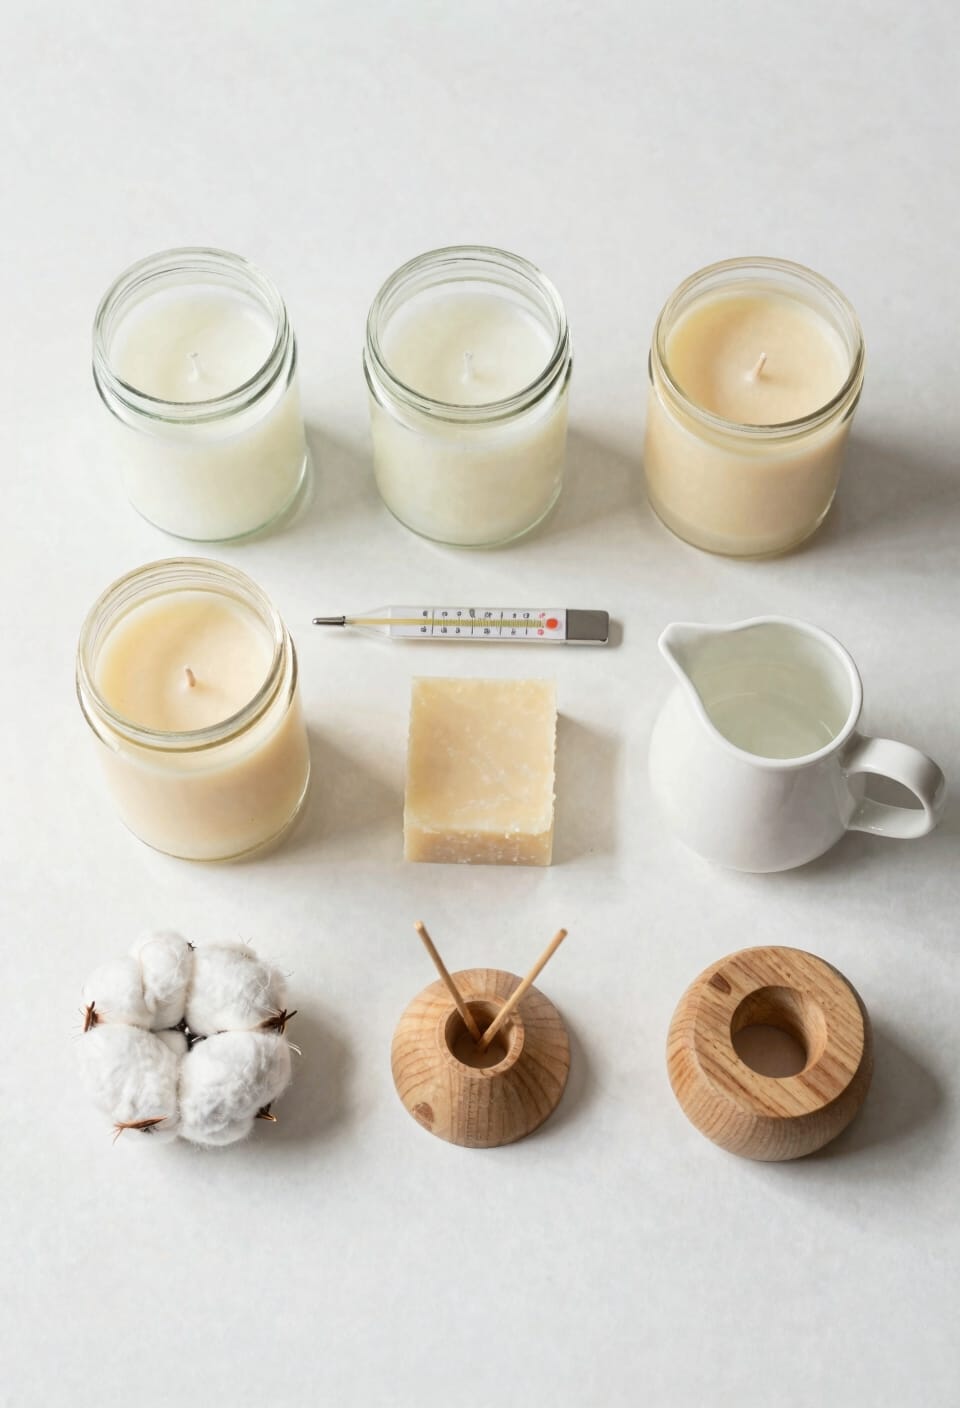
Now that you’ve settled on soy wax as your base, let’s talk about everything else you’ll need to actually make those candles—because showing up with just wax and hope is how you end up with a jar of disappointing, unscented solidified disappointment.
You’ll need small glass jars, cotton or wood wicks with metal tabs, and a double boiler setup. Grab a thermometer, clothespins, and putty for anchoring. For scent pairing, you’ll want fragrance oils—that’s the percentage of scent you add to wax, typically one ounce per sixteen ounces. Consider color theory when selecting dyes; complementary hues enhance perceived scent throw. Stock essential oils as backup, though they’re trickier. Don’t skimp on tools. Quality supplies prevent disasters.
Recommended Products

Safer Ambience for Everyday Moments: Our sand wax candle design with self-extinguishing sand candle wicks minimizes fire risk if tipped and prevents hot wax spills; ideal for homes with pets or kids that won’t renounce stylish décor, offered in White, Red, Nude, and Black for cozy luxury

Industrial 67 Lbs Capacity Wax Melting Pot Pro Package Model: Includes Large Spout, Lid, Pouring Pot, Stirring Spoon. Cutting-edge technology ensures rapid melting of soy wax, paraffin, coconut, and beeswax for efficiency. It's perfectly suitable for most Wax types and Melt & Pour soap bases. Its user-friendly temperature guage allows temperature adjustment from from low to high temperature which maintains roughly 100 - 350 degrees Fahrenheit.

65 LBs Capacity Wax Melting Pot Pro Package Model: Includes Large Spout, Lid, Pouring Pot, Stirring Spoon. Cutting-edge technology ensures rapid melting of soy wax, paraffin, coconut, and beeswax for efficiency. While it can't be used for lye soap making due to aluminum's reactivity with lye, it's perfectly suitable for Melt & Pour soap bases. Its user-friendly temperature guage allows temperature adjustment from from low to high temperature which maintains roughly 100 - 350 degrees Fahrenheit.
Prepare Jars and Wick Anchors
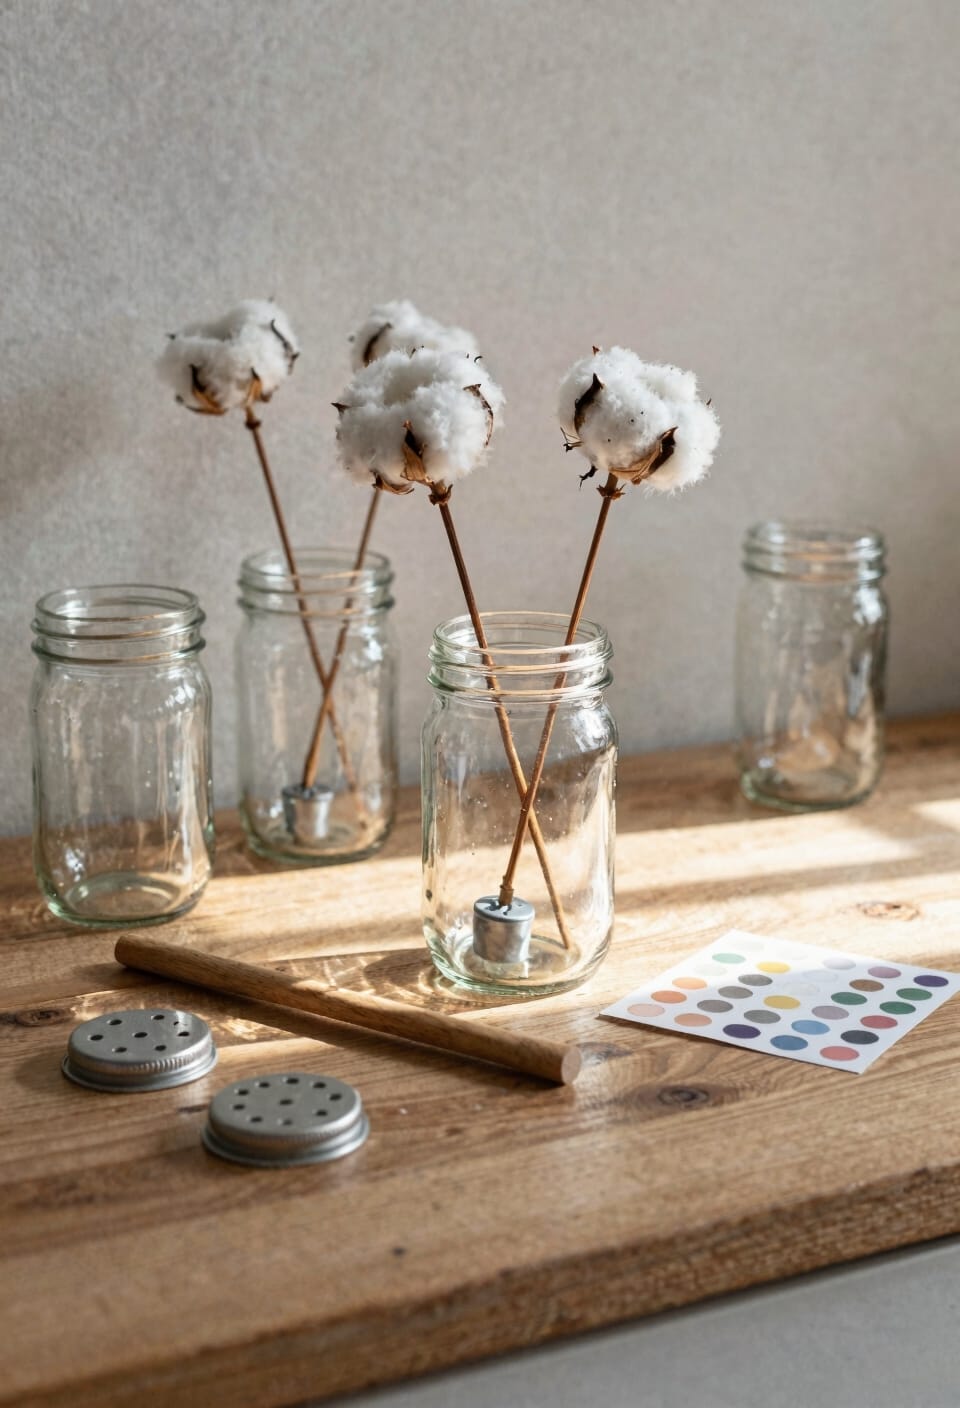
Before you even think about melting wax, your jars need to be spotless—I learned this the hard way when a speck of dust ruined an otherwise perfect pour. Wash them with soapy water, dry completely, and do some glass polishing if you’re feeling thorough. Trust me, it matters.
Now for anchors. Dip your metal wick base in hot melted wax, then secure it at the jar bottom with putty—that’s your foundation. If you don’t have putty, anchor alternatives like small dots of cooled wax work, though they’re less reliable. Center your wick using a wick bar, clothespin, or pencil laid across the rim. Cut the wick two inches above the jar initially. You’ll trim it down after curing, but right now, keep it tall so it stays centered while pouring.
Recommended Products

1000 VALUE PACK: Includes 1000 metal wick clips. Note: Wicks and adhesives are not included.

One pair of Pro Taper Tie Downs: Patent-pending swivel carabineer base hook.

Flickering Flame String Lights: 54ft flicker flame outdoor string lights with 20 flickering flame bulbs, and a detachable solar panel with an on/off switch located on the back. Light length 44ft, lead length 10ft,27.6 inches between bulbs.
Melt Wax Safely Using a Double Boiler
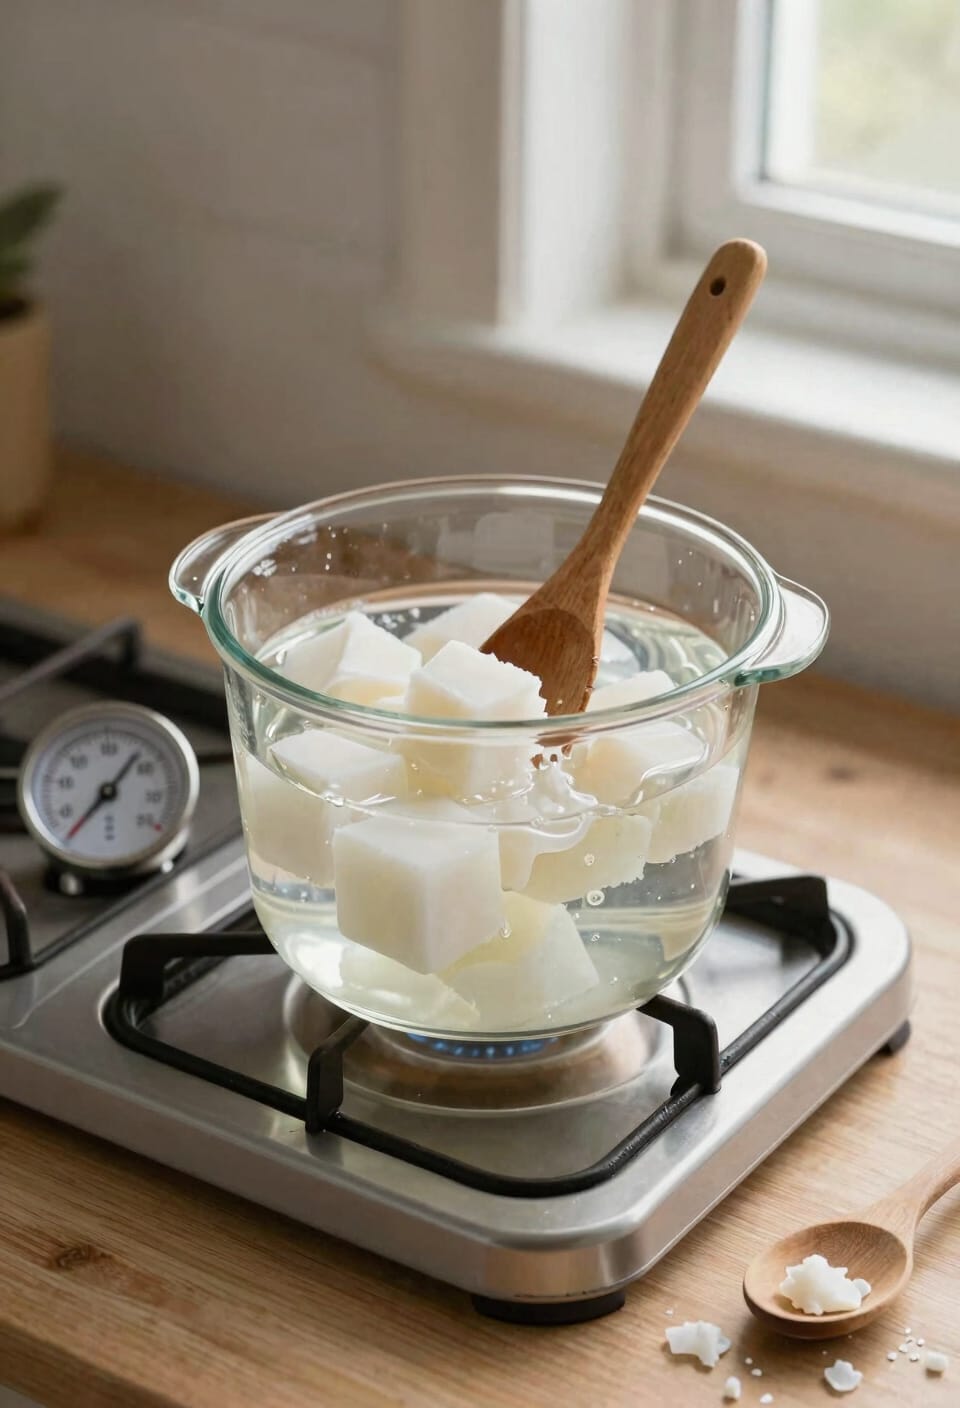
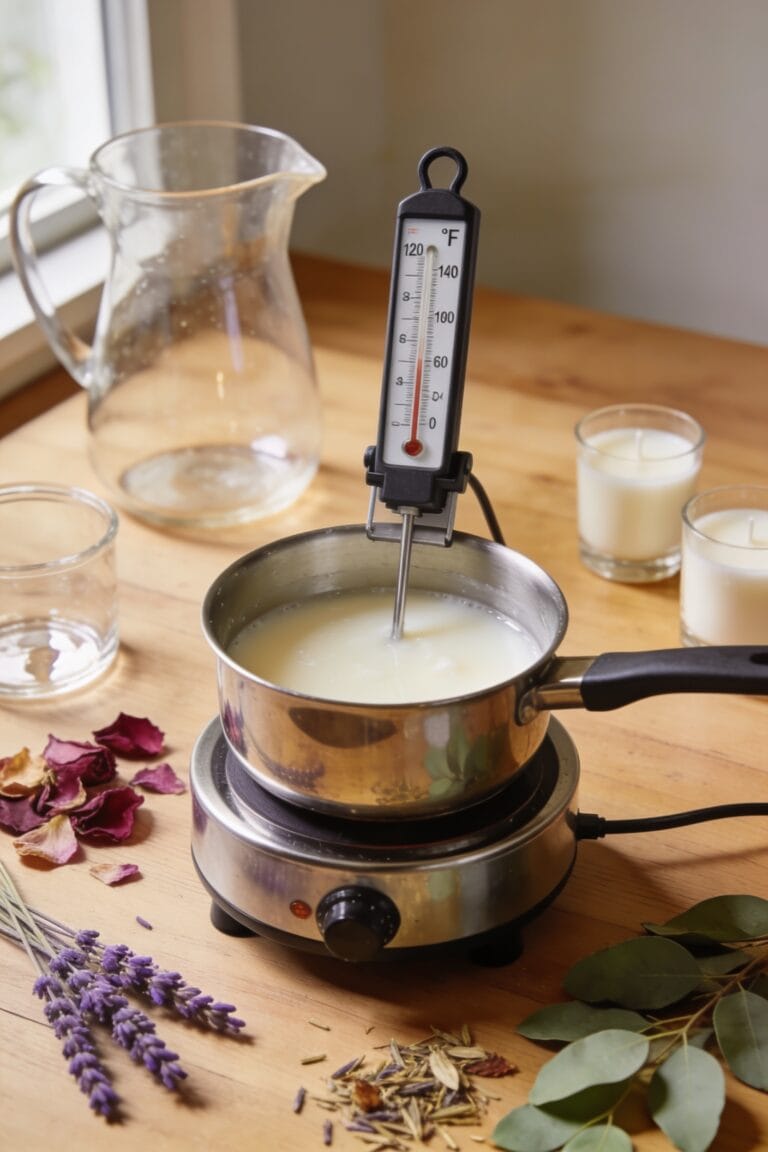
Once you’ve got your jars prepped and wicks anchored, the real work begins—and this is where patience saves you from a melted mess. I use a double boiler setup: a saucepan filled halfway with water, then a heat-safe bowl nested on top. Medium-high heat melts soy wax in about fifteen minutes. Here’s what matters: keep your thermometer probe placed directly in the wax, not touching the bowl bottom, so you’re reading accurate temperatures. You’re aiming for 170-180°F. Stir occasionally as it melts. Never apply direct heat—that’s how you burn wax and ruin your batch. Add wax gradually to the pot, ensuring each addition fully melts before continuing. This patience prevents scorched wax and uneven color distribution.
Add Fragrance and Test Scent Throw
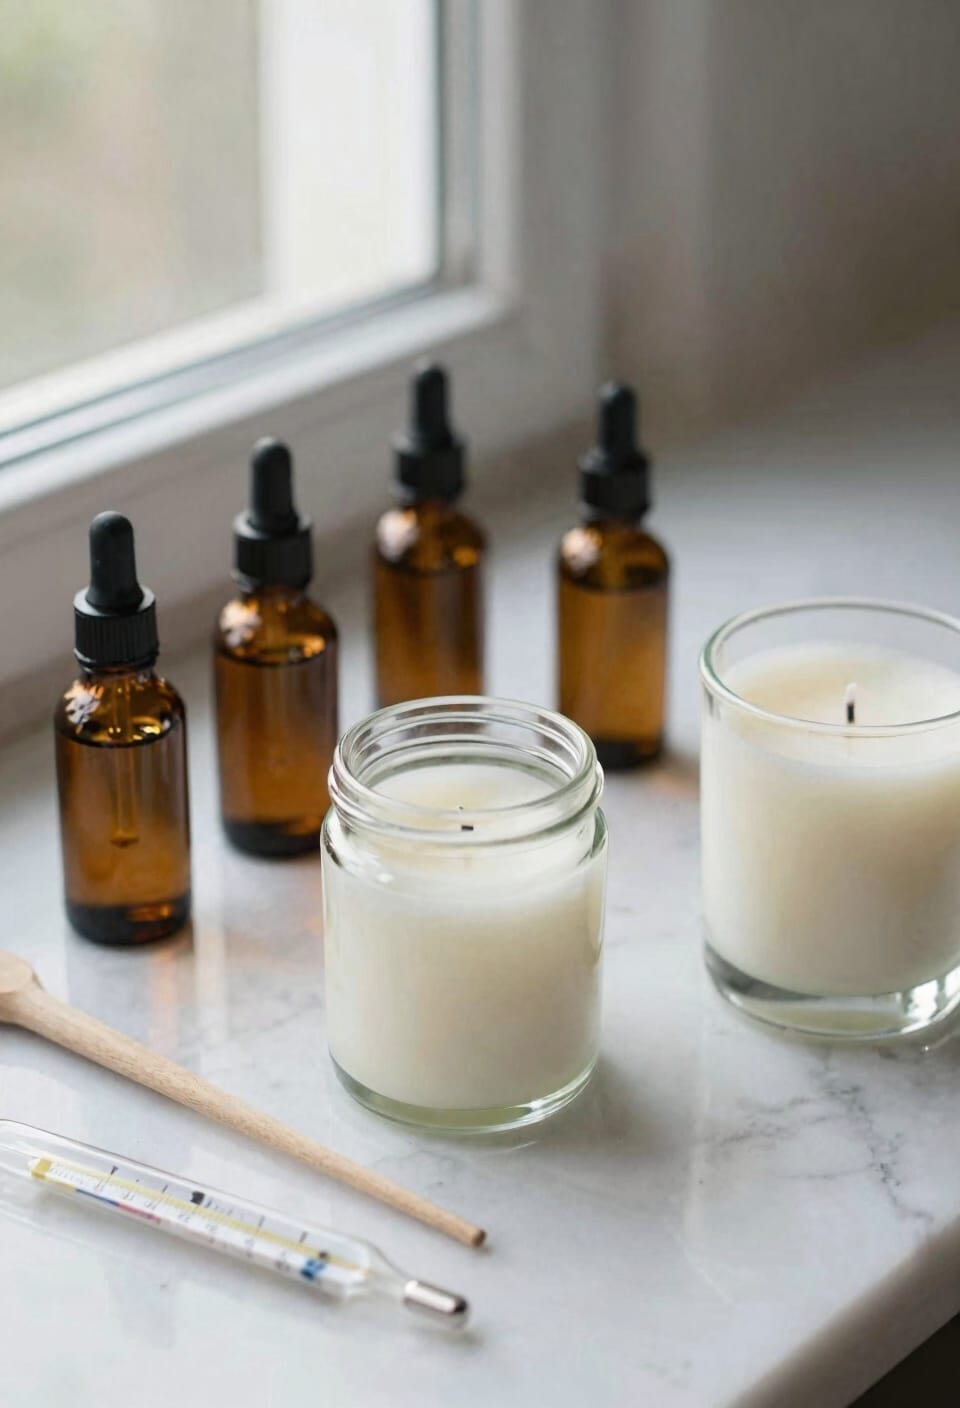
With your wax melted to the right temperature, you’ve got maybe a ten-minute window to add fragrance before things start cooling and thickening on you. I’ll use 1 ounce of fragrance oil per 16 ounces of wax—that’s your fragrance load, meaning the percentage of scent you’re adding to your wax base. Stir it in for about two minutes at 180°F. Now here’s where fragrance chemistry gets interesting: different oils perform differently depending on your wax type. Soy wax, for instance, holds scent differently than paraffin.
For scent evaluation, I test my candles’ hot throw—how strong they smell when burning—by lighting them and waiting fifteen minutes before sniffing. Cold throw matters too; that’s the scent you get from an unlit candle. Both tell you whether your fragrance load works.
Pour Wax Into Jars Without Mistakes
Pouring your wax is where patience becomes your best friend, because rushing this step is how you end up with uneven surfaces, air bubbles trapped inside, and candles that burn like they’ve got personal grudges against you. Now, temperature control matters more than you’d think. I pour between 170–180°F, moving slowly and deliberately into each jar. Leave that one-inch headspace at the top—I know it’s tempting to fill it completely, but you’ll thank me later. While the wax cools, use a skewer to puncture relief holes around the wick, releasing trapped air pockets before they harden permanently. Insulate your jars with washcloths to prevent cracking. You’re basically babysitting melted wax for twenty minutes, and honestly, that’s the whole secret.
Recommended Products
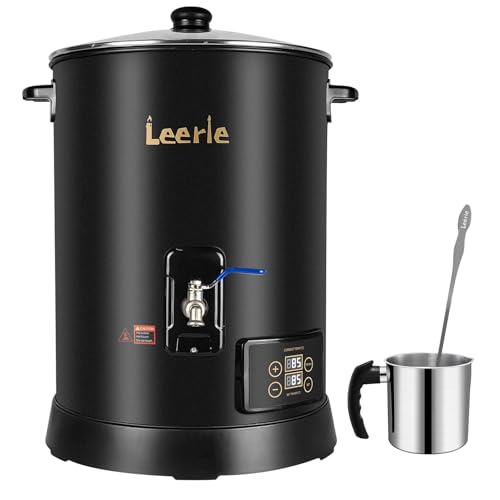
✔ MELT MORE, SELL MORE—30LBS AT ONCE : Scale up without slowing down. Designed for professional makers, the Leerie D15 Wax Melter holds up to 30 lbs of wax—enough to pour 120 4oz candles in a single session. Perfect for small businesses and studios handling wholesale orders, seasonal demand, or daily restocks. Big capacity, big results—minus the batch hassle.

Fast Melt 60 Candles for You: Achieving a rush order for a bulk order was made easy. TOAUTO 30Lbs wax melter can melt 30Lbs of candle wax and make 60 8-ounce candles at a time, greatly reducing your production time and making mass production of candles piece of cake. it's time to consider investing in a fully functional candle maker machine!

【Heating Core Spout Technology】SAY NO TO clogged! The patented spout tech keeps wax heating and running internally. The nozzle is located lower than the bottom of the internal container allowing the wax to flow emptying and faster pouring easily. Great for a clean pour! Built for candles, soap making, ideal for DIY hobbies, small-medium size candle business.
Handle Sinkholes During Curing
After you’ve poured your wax and waited through those first twenty minutes, you’ll start noticing something that looks like a tiny crater forming around the wick—that’s a sinkhole, and it happens because wax shrinks as it cools, pulling away from the center. It’s totally normal, especially with soy wax, which shrinks more than paraffin or beeswax blends.
Now, here’s what you do: let the candle cure completely—usually several hours—then inspect for sinkholes and surface blemishes. If you spot them, gently reheat your leftover wax to the original pouring temperature and top-fill those craters. You’ll also want to puncture any air pockets around the wick with a skewer beforehand; this prevents those imperfections from forming in the first place. A little patience prevents a lot of rework.
Trim Wicks and Burn-Test Your Candles
Once your candles have cured for several hours and you’ve topped off any sinkholes, it’s time to trim those wicks down to size—and I mean really trim them. I’d trim to about 1/2 inch, maybe a quarter-inch if you’re feeling conservative. Here’s the thing: tall wicks create excessive smoking and uneven burns, which defeats the whole purpose. All right, now for safety checks and wick maintenance. Before you light anything, inspect for debris, make certain the wick’s centered, and check that no wax pooled around it. Light it up in a well-ventilated space and watch the first fifteen minutes closely. You’re looking for an even, steady flame and a clean burn. If it’s smoking like a chimney or flickering wildly, something’s off—usually the wick needs more trimming.
Fix Common Candle Problems
Even the best candle makers end up with sinkholes, tunneling, or wicks that won’t stay centered—I’ve definitely been there—but here’s the thing: most problems come down to three culprits: temperature, wick choice, or curing time.
Sinkholes form when wax cools too fast; I’ve learned to insulate jars with washcloths. Tunneling happens when your wick’s too small and burns straight down without melting the edges evenly—grab a thicker wick next time. Wick mushrooming, where the wick bulges and creates soot, usually means you’re not trimming to that 1/4-inch sweet spot before each burn.
Uneven melting? Check your pour temperature and fragrance load—too much oil destabilizes everything. These fixes aren’t rocket science. You’ll nail it.
Recommended Products
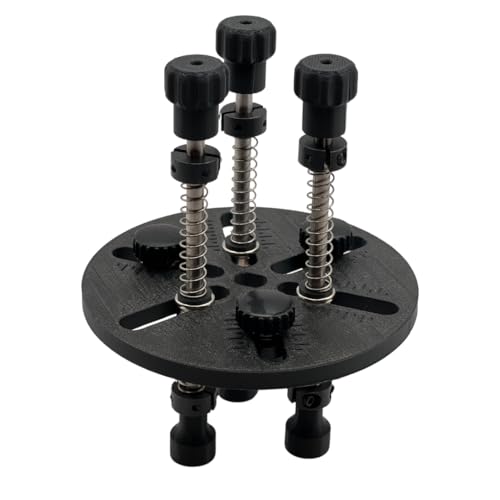
✔ ADJUSTABLE FOR ANY CANDLE JAR – Expandable arms fit jar openings from 2-1/2″ to 4-5/8″ wide, making it perfect for single, double, or triple wick candles in nearly any container.

Dimensions: 6.5 x 2.5 inches (17 x 6 cm)

EXTEND THE LIFE OF YOUR CANDLE: Wick trimmers are a must-have precision tool to properly care for your candle. Our stainless steel wick trimmers use a patented design that allows you to trim your wick and catch the debris with one snip.
Make Your Next Batch: Speed Tips
Now that you’ve got the troubleshooting basics down, it’s time to stop fighting the process and start working smarter—because honestly, once you’ve made a few batches, you’ll realize half your time goes to waiting around. Here’s the thing: fast pours aren’t about rushing. They’re about prep. Stage everything before melting—jars cleaned, wicks secured, fragrance measured. Soy wax melts quickest, which saves you fifteen minutes right there. Once poured, your cooling tweaks matter most. Skip the washcloth insulation if you’re in a hurry; room temperature does fine. You’ll get sinkholes occasionally, but that’s fixable with a repour. The real speed boost? Making multiple batches simultaneously. You’ll cut your per-candle time in half.
Frequently Asked Questions
Can I Use Essential Oils Instead of Fragrance Oils, and Will the Scent Last?
I’d recommend fragrance oils over essential oils for candles because they’re formulated for longevity. Essential oils burn off quickly, limiting scent throw. However, you can use them—just know your candle’s fragrance won’t last as long.
How Many Candles Will 5 Pounds of Soy Wax Actually Make?
You’re about to discover that five pounds yields twenty to twenty-four candles—exactly what you’ll need! My yield estimate depends on your container variations; smaller jars pack more candles per pound than larger ones.
What Type of Wick Works Best for Different Jar Sizes?
I’d recommend cotton cores for smaller jars—they’re easier to control. For larger containers, I find wick chimneys help with burn quality. You’ll want to match your wick size to jar diameter, cutting it two inches above the rim initially.
Is Beeswax Worth the Extra Cost Compared to Soy Wax?
I’d say yes—beeswax burns 5x longer than soy. Despite higher costs, beeswax benefits include superior longevity and natural honey scent. For cost comparison, you’re investing more upfront but getting extended burn time that justifies the expense.
How Long Should Candles Cure Before Gifting or Selling Them?
I’d recommend curing your candles for at least 24-48 hours before gifting or selling them. Store them in cool, dark conditions during this curing timeframe to guarantee peak fragrance throw and even burning performance.
Conclusion
You’ve now got everything you need—and honestly, that’s half the battle. I’ve torched wax, seized fragrance, and watched sinkholes crater my best work, but here’s what I know: every ruined candle teaches you something the next one won’t repeat. Start simple, pay attention, and before long you’ll be making candles that actually burn beautifully. That’s the whole game.