As an Amazon Associate, we earn from qualifying purchases. Some links on this site are affiliate links at no extra cost to you. Our recommendations are based on thorough research and editorial judgment.

How to Make Candles Step by Step: A Beginner-Friendly Walkthrough

All right, here’s what I’ve learned after making way too many mediocre candles: start with soy or paraffin wax, measure your container by water displacement, then melt everything in a double boiler to 180–185°F before adding fragrance oils at the right viscosity. Secure your wick, pour at 160–180°F, wrap the jar to cool slowly, cure for 24–48 hours minimum, and if the top sinks, just double-pour. Most failures come from rushing temperature or skipping the cure time, honestly. Stick around if you want the specific fixes for tunneling and weak scent throw.
Key Takeaways
- Measure wax by filling your container with water, then multiply that volume by 0.86 to get the required grams.
- Melt wax in a double boiler to 180–185°F, then add fragrance oils and dyes while stirring gently at 135–145°F.
- Secure the metal-core wick to the jar bottom with hot wax, then use a clothespin to keep it centered.
- Pour wax at 160–180°F into jars, wrap in a washcloth immediately, and let cool undisturbed for several hours or overnight.
- Cure finished candles for 24–48 hours before burning, and use a double-pour technique to fill sunken centers for even tops.
Gather Your Candle-Making Supplies
Before you pour a single drop of wax, let’s gather everything you’ll need—because I’ve learned the hard way that scrambling for supplies mid-project is how candles end up lopsided or, worse, abandoned on your kitchen counter.
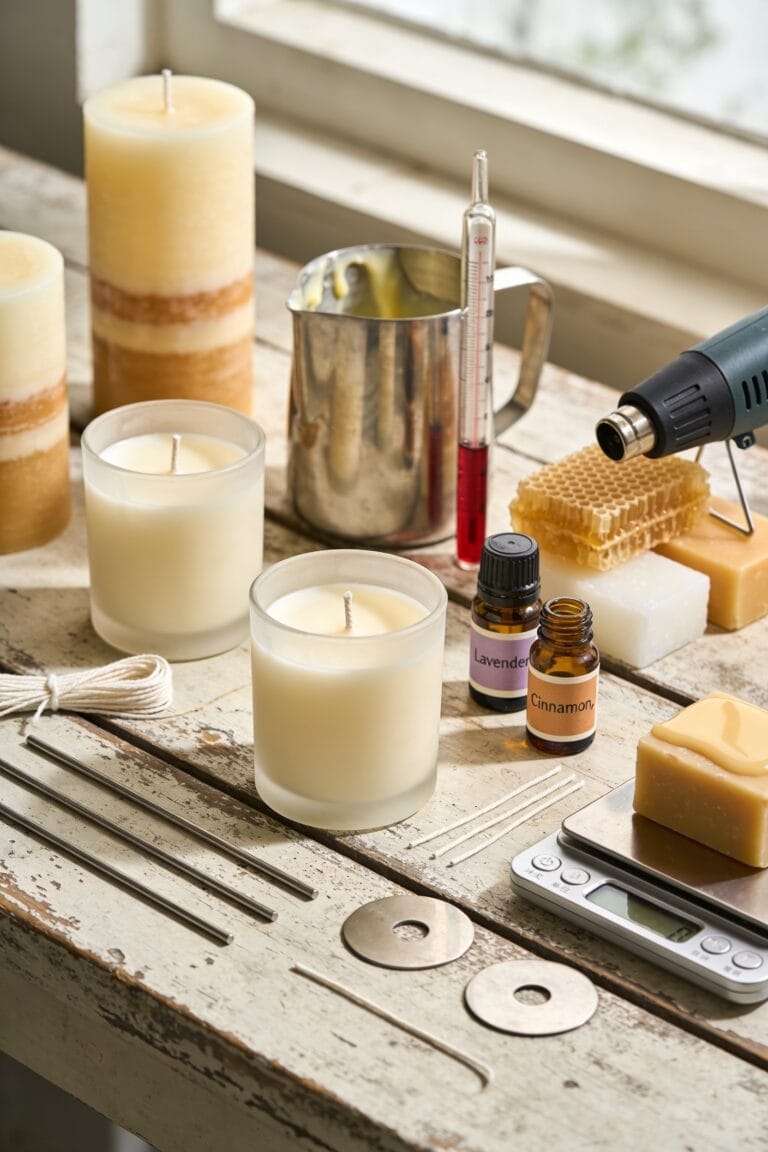
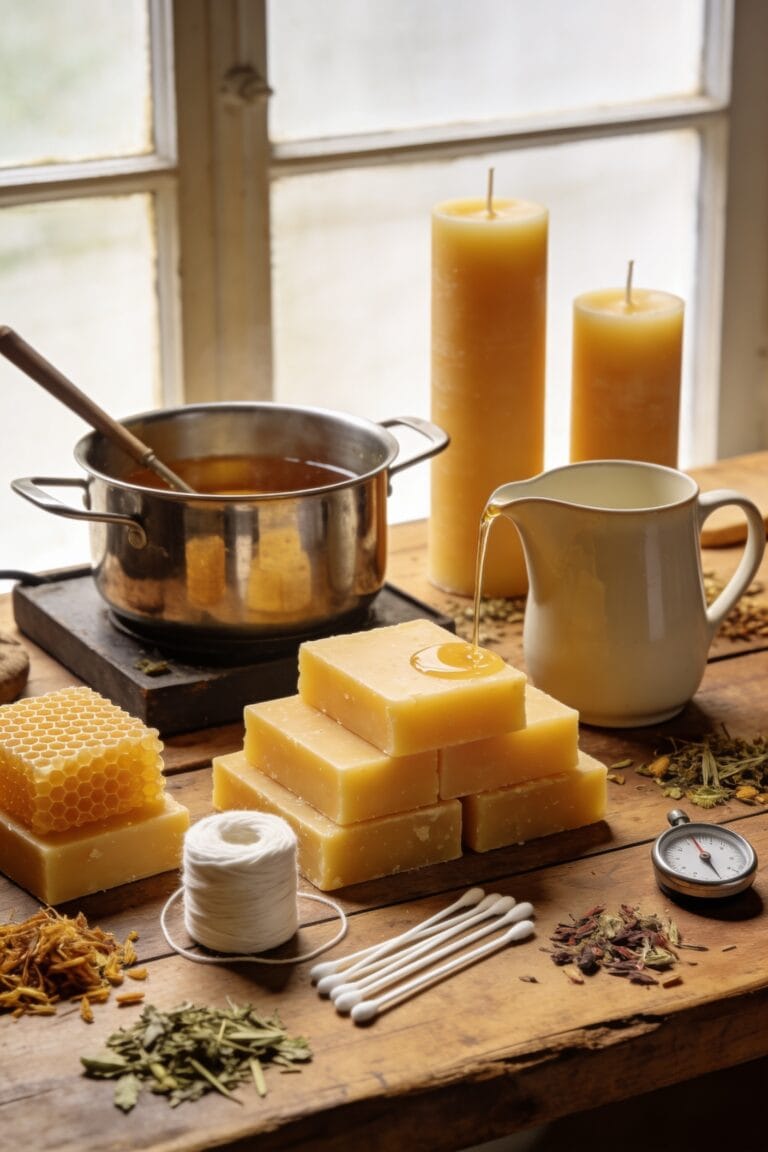
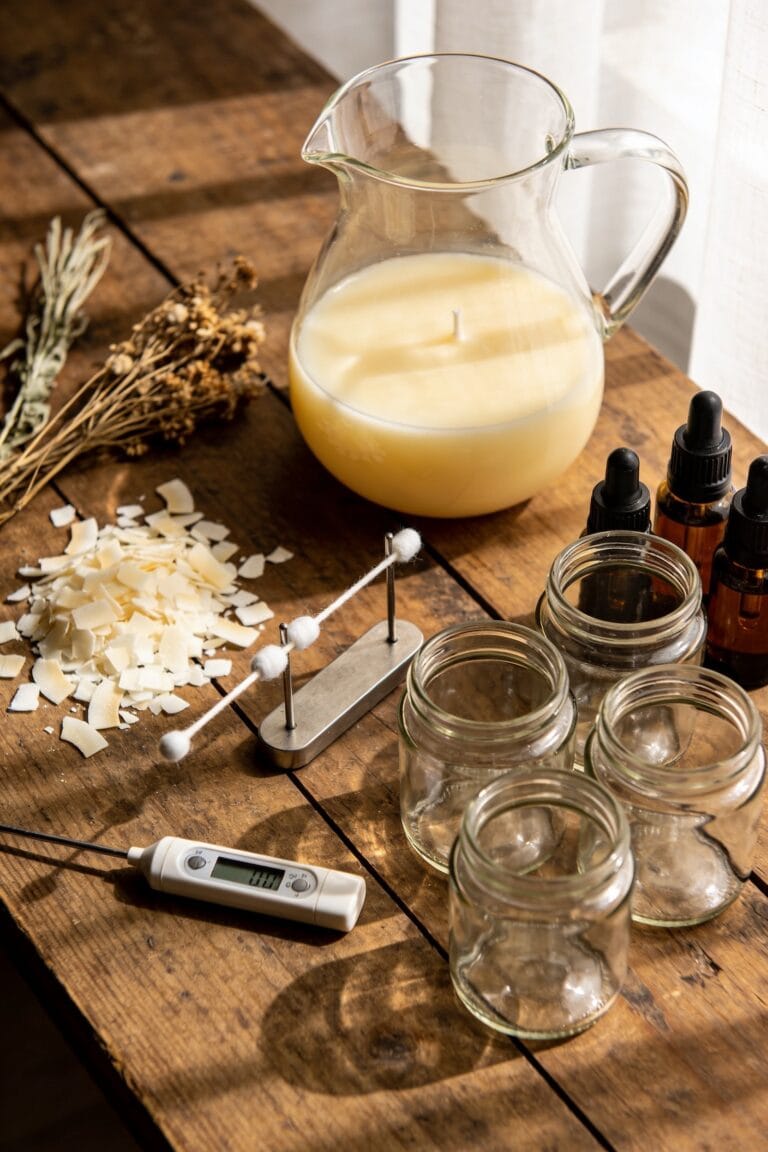
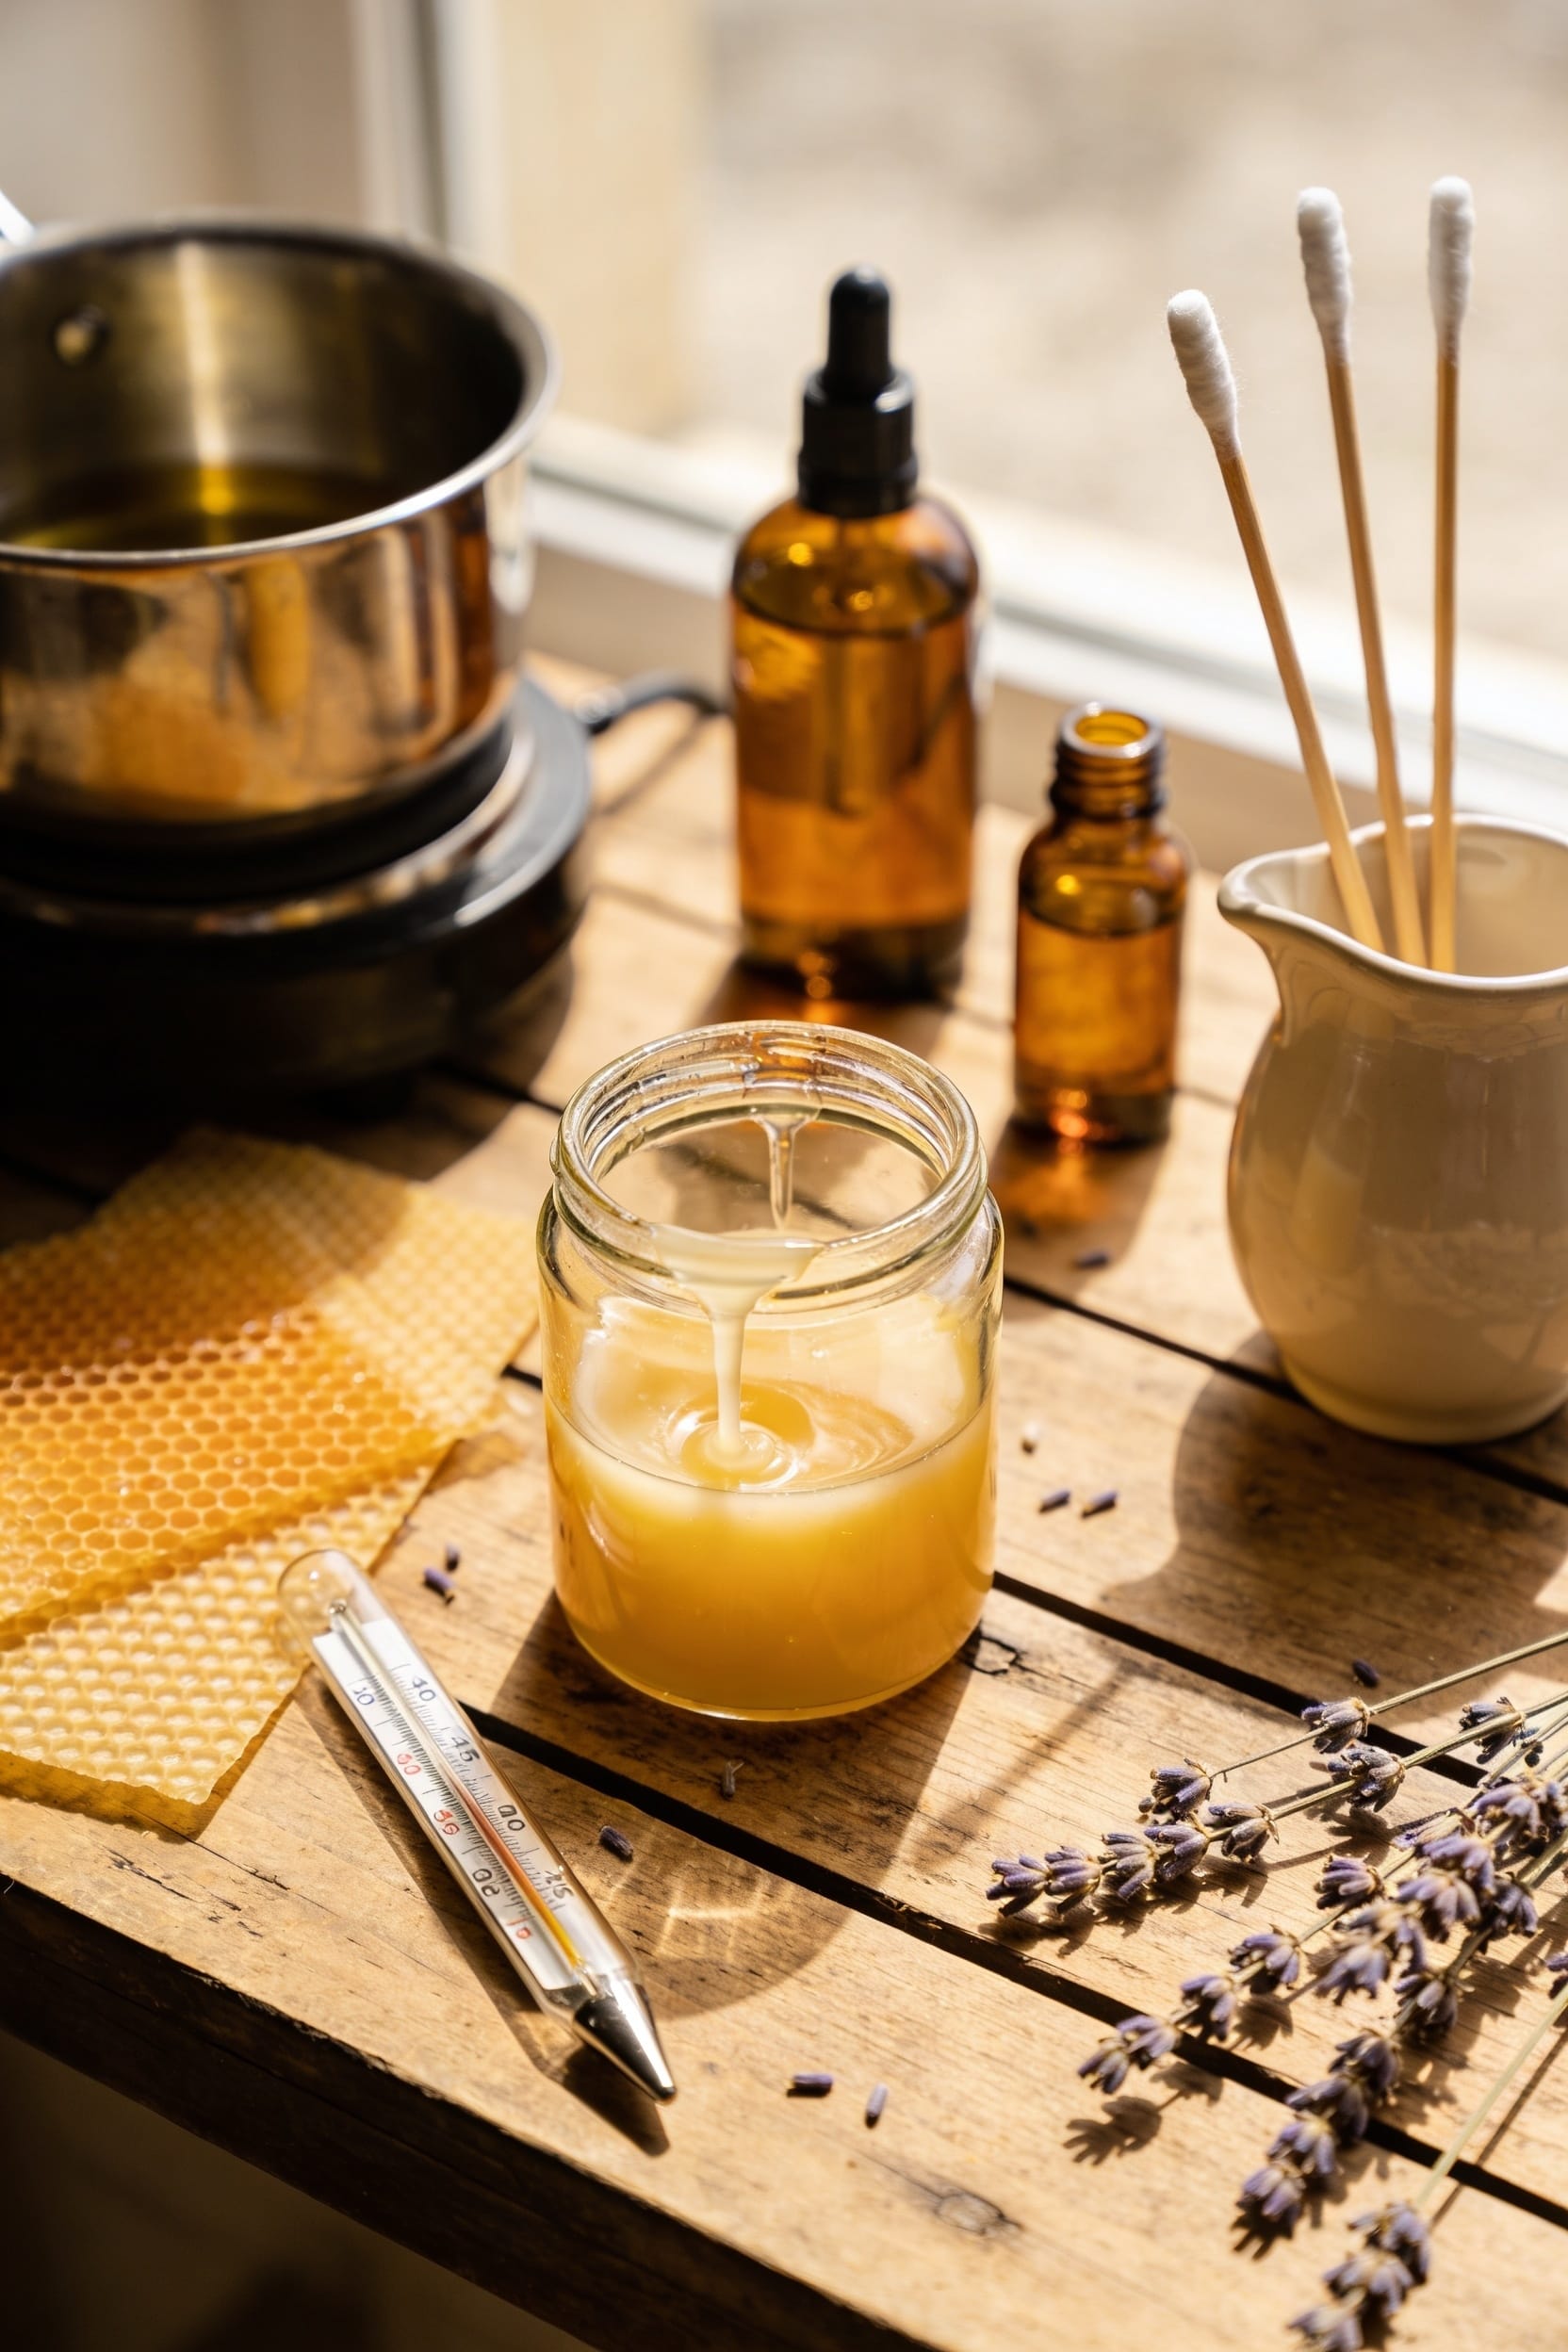
First, grab your wax: soy flakes, beeswax pellets, or paraffin all work, though they melt at different rates. You’ll need jars, metal-core wicks, a double boiler setup, and a thermometer for monitoring temperatures. Stock fragrance oils (or essential oils if you prefer), dyes, and dried herbs like lavender for scent options.
For workspace organization and safety precautions, clear a heat-safe surface, lay down towels to catch spills, and keep a clothespin or pencil nearby to secure your wick upright. Honestly, having everything within arm’s reach prevents disasters.
Recommended Products
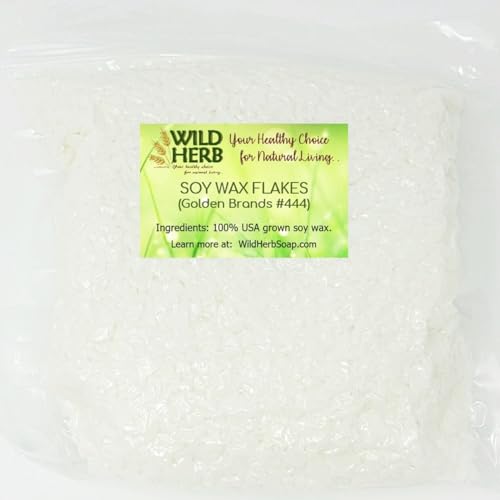
Wax Material: Our candle making flakes are made of hydrogenated soybean oil, specifically Golden Brand 444, designed for container and tea light candles

Good all around wax

SOY CANDLE MAKING KIT FOR ADULTS: Make your own candles with our candle making supplies kit: natural soy wax for candle making 50 lb bag, 500 cotton candle wicks for candle making, 500 candle wick stickers for candle making, 10 wick holders.
Calculate Wax Amount for Your Container
Now here’s where most people either eyeball it—which ends badly—or overthink it so much they never actually pour. I’m telling you, getting this right makes everything else smoother.
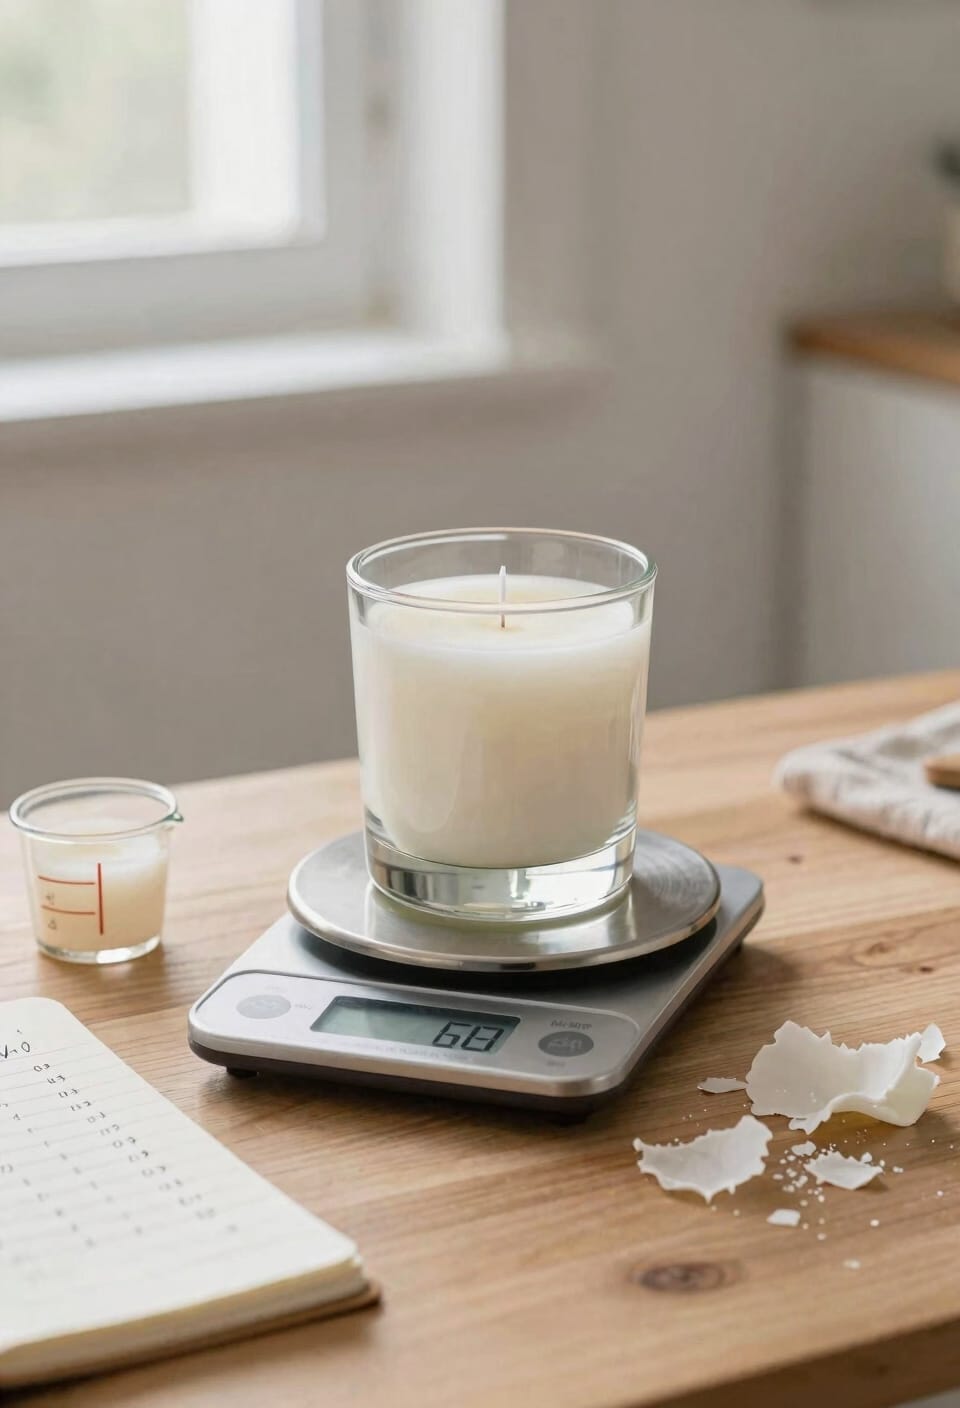
Fill your container with water to your desired wax level, then measure that water’s volume. Multiply by 0.86, and boom—that’s your wax amount in grams. It sounds fussy, but it works.
For custom molds or irregular containers, this displacement method saves you from guessing. You’ll measure what actually fits, not what you think might fit.
Most standard jar sets need around 800g. If you’re doing a double-pour—melting wax twice for that professional finish—account for 85-90% on your first pour, leaving room for the top layer.
Different container types need adjusting. Just do the math once, and you’re golden.
Recommended Products

Suitable for Food Grade applications (See Technical Bulletin) - Great for making baking molds and trays, ice trays, casting butter, chocolate, fondant and other applications used to produce foods.

✔UPGRADE CADNLE CRAFT, BOLDER CREATIONS: With Leerie D6 digital wax melter, you're not just upgrading your equipment—you're upgrading your entire crafting experience. With the 12 lbs capacity to melt up to 48 4oz candles at a glance, without the constant need for refills or multiple melting sessions. D6 Wax Melter is your craft room's new best friend, whether you're a DIY enthusiast looking to make candles for gifts or a small-batch producer aiming to grow your business.
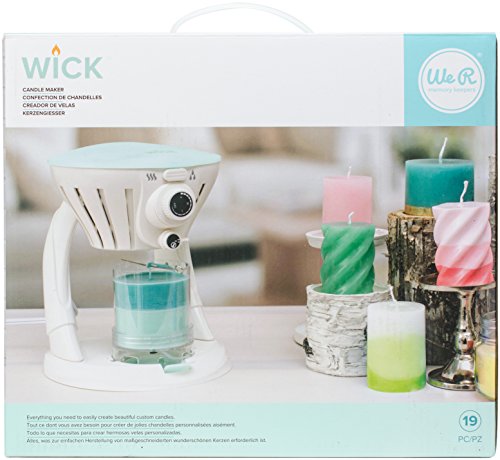
COMES WITH EVERYTHING YOU NEED: This kit includes 3 lbs of Paraffin Wax, 72 inches of cotton wick, 3 candle rubber stoppers, pigment (red, yellow, blue, white), 3 candle molds with base, and a color mixing chart
Melt Candle Wax Using a Double Boiler
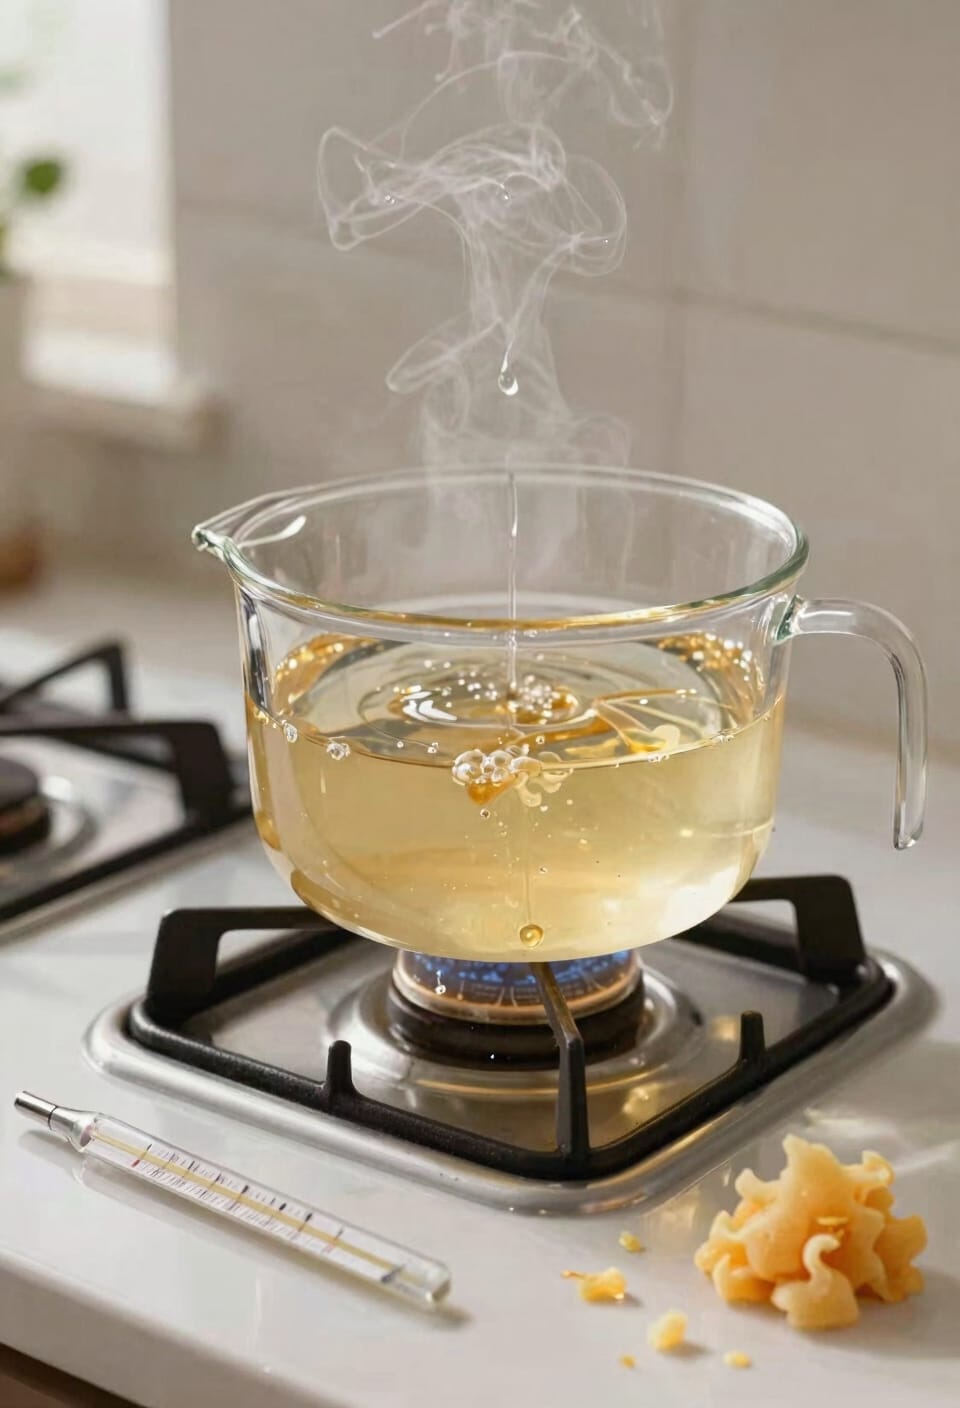
You’ve got your wax amount locked in, so here’s where the actual work begins—and trust me, this is where I’ve made my messiest mistakes. I use a double boiler setup: larger pan filled with water on medium-high heat, smaller pan or pitcher holding my wax inside it. Soy melts faster than beeswax, so don’t walk away. I’m aiming for 180-185°F before adding fragrance oils—that’s when everything bonds properly.
Now, safety precautions matter here. Never apply direct heat to wax; it’ll overheat or splatter everywhere. Alternative methods exist (microwave, dedicated wax melters), but the double boiler’s honestly your safest bet for beginners. I wrap my smaller pan with a kitchen towel for grip and protection. This patience pays off with perfectly melted, ready-to-pour wax.
Recommended Products

Fast Melt 60 Candles for You: Achieving a rush order for a bulk order was made easy. TOAUTO 30Lbs wax melter can melt 30Lbs of candle wax and make 60 8-ounce candles at a time, greatly reducing your production time and making mass production of candles piece of cake. it's time to consider investing in a fully functional candle maker machine!

Fast Melt 80 Candles at A Time: The TOAUTO WMF-10L digital wax melter can handle a rush order for bulk candle production. It can melt 10 quarts of candle wax and create 80 4-ounce candles at a time, significantly reducing production time and making mass production easier.

Effortless Wax Draining: Bid farewell to wasted wax with our wax melter's bottom liquid outlet. This feature ensures that every last drop of wax is utilized, allowing the wax liquid to flow smoothly to completion. Say goodbye to the frustration of leftover wax residue and hello to uninterrupted crafting sessions.
Secure Your Wick Upright in the Jar
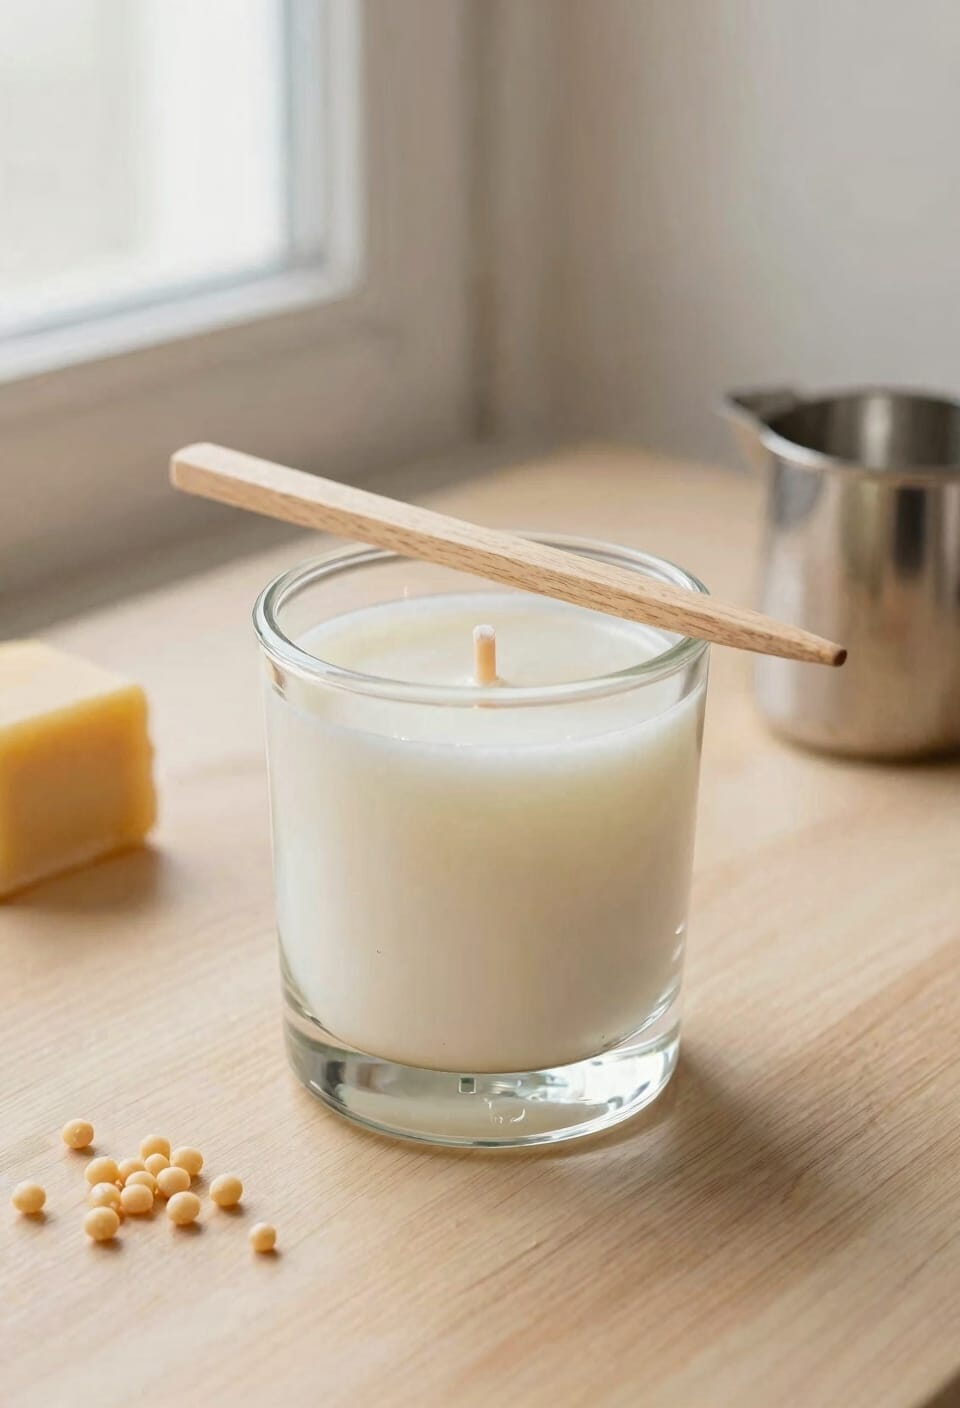
Getting your wick to stand straight is non-negotiable—a wobbly wick means an off-center flame, uneven burn, and honestly, a candle that’ll probably disappoint you. Here’s the thing: proper wick alignment determines everything about how your candle performs.
After dipping your metal wick base in hot melted wax, press it firmly to the jar’s bottom. Now secure the wick at the top using a clothespin or mechanical pencil laid across the opening. This jar stabilization technique keeps tension on the wick without pulling it off-center.
You want that wick perfectly vertical. Check it from multiple angles before pouring—it’s easier to adjust now than after the wax cools. Slight adjustments matter. Once you’re confident it’s centered and upright, you’re ready to pour.
Add Oils and Dyes at the Right Temperature
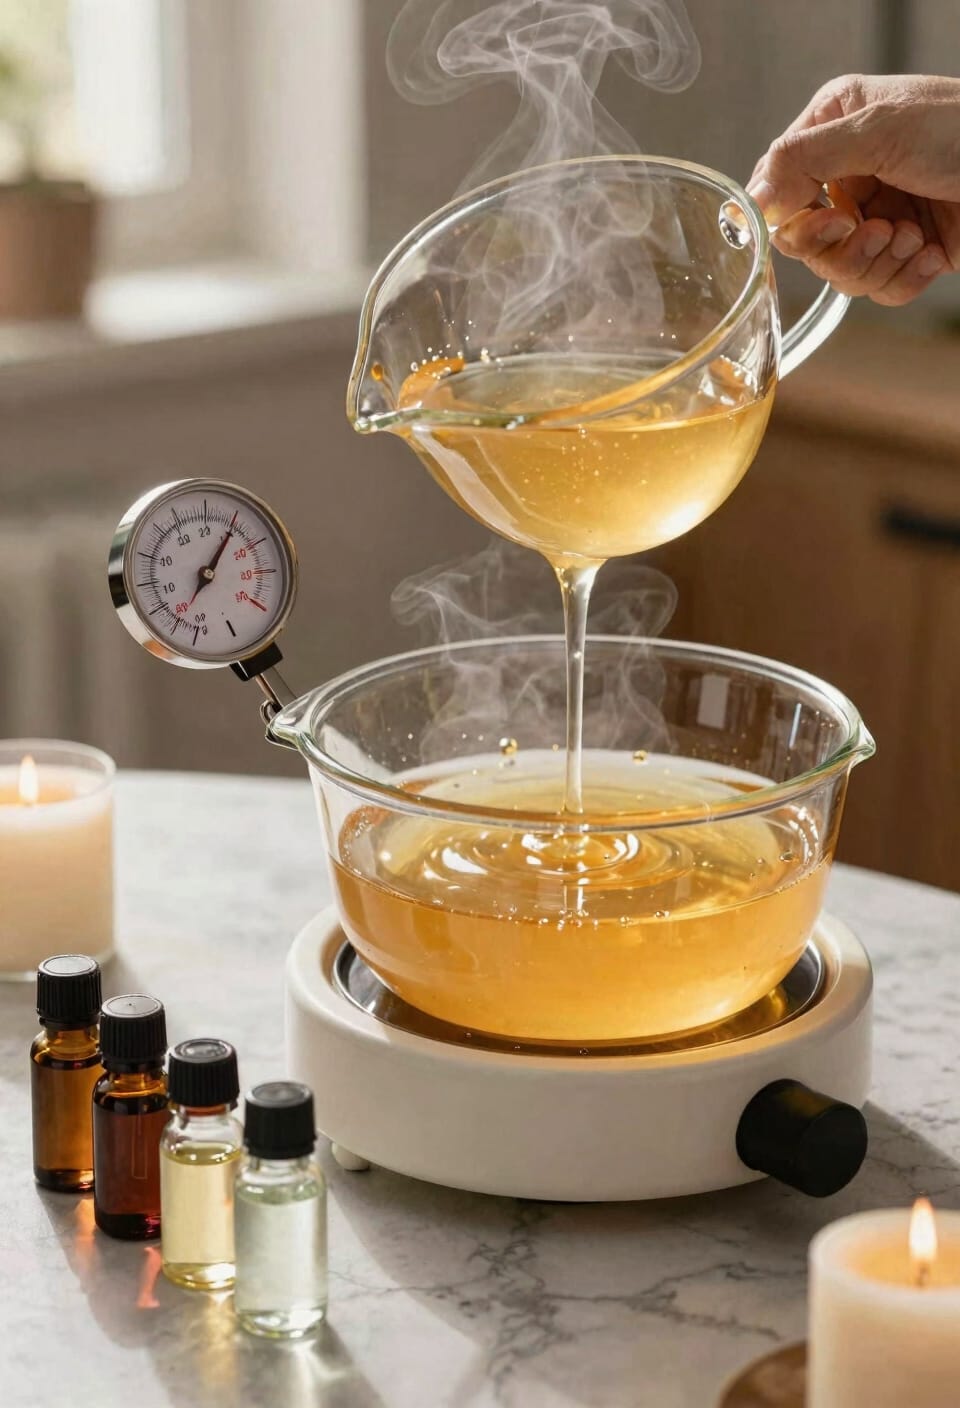
Temperature control is where I see most people stumble, and I’ve definitely been there—dumping fragrance into wax that’s either too hot or too cool, watching it separate or fail to blend properly. I’ve learned that 180-185°F is your sweet spot for adding fragrance oils or essential oils. That’s when they’ll bind properly with your wax, ensuring fragrance longevity—meaning your candle won’t lose scent prematurely.
Now, dyes work best at that same temperature. Your dye selection matters too: liquid dyes, chips, or blocks all work, but make them vibrant at pour because they’ll fade slightly once cooled. After adding fragrance, stir gently at 135-145°F for about a minute. Patience here prevents separation and guarantees your finished candle actually smells good.
Pour Wax at the Correct Temperature and Cool Slowly
Now that your fragrance and dyes are fully incorporated, the actual pour is where patience becomes your best friend—and honestly, it’s where I’ve had some of my messiest failures. Pour your wax between 160-180°F directly into jars filled to 85-90% capacity. That temperature range matters because it prevents temperature gradients—uneven cooling that causes cracking and surface bloom, that chalky white coating that makes your candle look aged before its time. Wrap each jar in a washcloth immediately after pouring; this slows cooling and keeps those temperature shifts minimal. Let everything sit at room temperature for several hours or overnight. Resist the urge to move things around. That’s when the magic happens.
Optional: Create an Even Top With Double-Pouring
After your candles have cooled overnight, you’ll probably notice something that bugs you: that slightly sunken, uneven surface where the wax shrank as it hardened. Double-pouring fixes this. You’ll remelt your leftover wax to 135-145°F—that’s the sweet spot for layer timing without scorching anything. Pour this second layer into the sunken center, filling to your original height. It sounds fussy, but I promise it’s worth it. The technique also lets you add decorative embeds like dried herbs or botanicals to that top layer, which looks genuinely professional. Wait another 24-48 hours for your cure time before trimming wicks. Yeah, patience again. But that smooth, intentional-looking top? Total game-changer for presentation.
Cure Candles Properly Before Burning
Resisting the urge to light your finished candle right away is honestly the hardest part of this whole process—I get it, you’ve poured your heart (and fragrance oils) into these things and now they’re sitting there looking perfect. But here’s the thing: curing is non-negotiable. I’m talking 24 to 48 hours minimum before you even think about striking a match.
During cure time, your wax sets completely and the fragrance distributes evenly throughout. Store candles in ideal storage conditions—cool, dark spaces with humidity control prevents sweating and surface imperfections. Keep them away from direct sunlight and temperature fluctuations. Your patience now means better cold throw and hot throw later, plus candles that actually burn evenly instead of tunneling down the middle like mine did before I learned this lesson.
Recommended Products

AUTO BURP, CURE & STORAGE MODE KEEPS CONTENTS FRESH FOR MONTHS - The Vacuum Seal and UV protection preserves your herbs, spices, coffee & teas and keeps them fresh for months. Our patented technology allows for an all in one experience

Airtight Storage: This 500ML container features an O-ring seal to maintain freshness and lock in aromas.
Troubleshoot Common Candle Defects
Even the best-made candles can run into problems once they’re poured and cured, and that’s where troubleshooting comes in—basically, knowing how to spot what went wrong so you can fix it next time. Wick tunneling, where the flame burns straight down the center leaving wax along the sides, usually means your wick’s too thin for that container. You’ll want to size up next batch. Weak scent throw—how much fragrance actually fills your room—often signals you didn’t hit that 6-10% fragrance load sweet spot. Check your math. Sinkholes and cracks happen from cooling too fast; wrap jars in washcloths next time. Uneven surfaces? That’s the double-pour technique calling your name. Most issues trace back to temperature, wick choice, or fragrance ratio. Track what you did, adjust one variable, try again.
Recommended Products

Versatile Taper Gage - This Taper Gage with a .500-1" range and 10 leaves is an essential tool for accurately determining hole sizes in dies and various other applications, making it a versatile addition to your toolkit.

Wax Melter Kit With Wax And 2 Size Wicks This Is Our Advanced Super Soy Wax Designed To Achieve Maximum Scent Throw With Full Melt Pool Our Wicks Work Extremely Well With Our Wax You Get A Bag Of Our #1126 Which Can Be Used On 3 Inch Jar And Above The #1105 Are For Smaller Jars Or Can Be Double Wicked For 4 Inch Jars

ADJUSTABLE TAPER CRIMP DIES - Redding's Micro-Adjustable Taper Crimp Dies are top adjusting to simplify making precise adjustments; variations in case length and wall thickness both adversely effect proper adjustment
Frequently Asked Questions
Can I Reuse Old Candle Jars for Making New Candles?
Yes, I reuse old candle jars all the time. You’ll want to thoroughly clean them first, removing any leftover wax and debris. Then carefully size your wick appropriately for the jar’s diameter before pouring fresh wax.
What’s the Difference Between Soy Wax and Beeswax for Beginners?
Soy’s swiftly superior for starters—it’s cheaper, cleaner-burning, and melts faster. Beeswax boasts better burn time and natural scent, but it’s pricier. I’d recommend soy if you’re just starting your candle-crafting journey.
How Do I Know if My Fragrance Oil Is High Quality?
I’d check the scent throw—quality oils give strong, lasting fragrance without heavy oil dilution. You’ll notice better scent longevity and consistent fragrance strength throughout your candle’s burn time.
Can I Mix Different Essential Oils to Create Custom Scents?
I’ll tell you it’s harder than it sounds, yet absolutely possible. You can mix essential oils using proper blend ratios and scent layering techniques. I’d recommend starting with a 3:2:1 ratio, adjusting until you’ve crafted your signature scent.
What Safety Precautions Should I Take When Melting Wax?
I’d recommend using a double boiler with your heat source on medium-high to avoid direct flame contact with wax. Make sure proper ventilation setup in your workspace, and never leave melting wax unattended to prevent overheating.
Conclusion
You’ve now got the blueprint. Making candles is like baking—you can follow the recipe perfectly and still end up with something wonky, and that’s totally fine. I’ve poured plenty of lumpy, uneven mistakes into the trash. The difference between then and now? I stopped rushing. You will too. Trust the process, respect the cure time, and your candles will be genuinely beautiful.