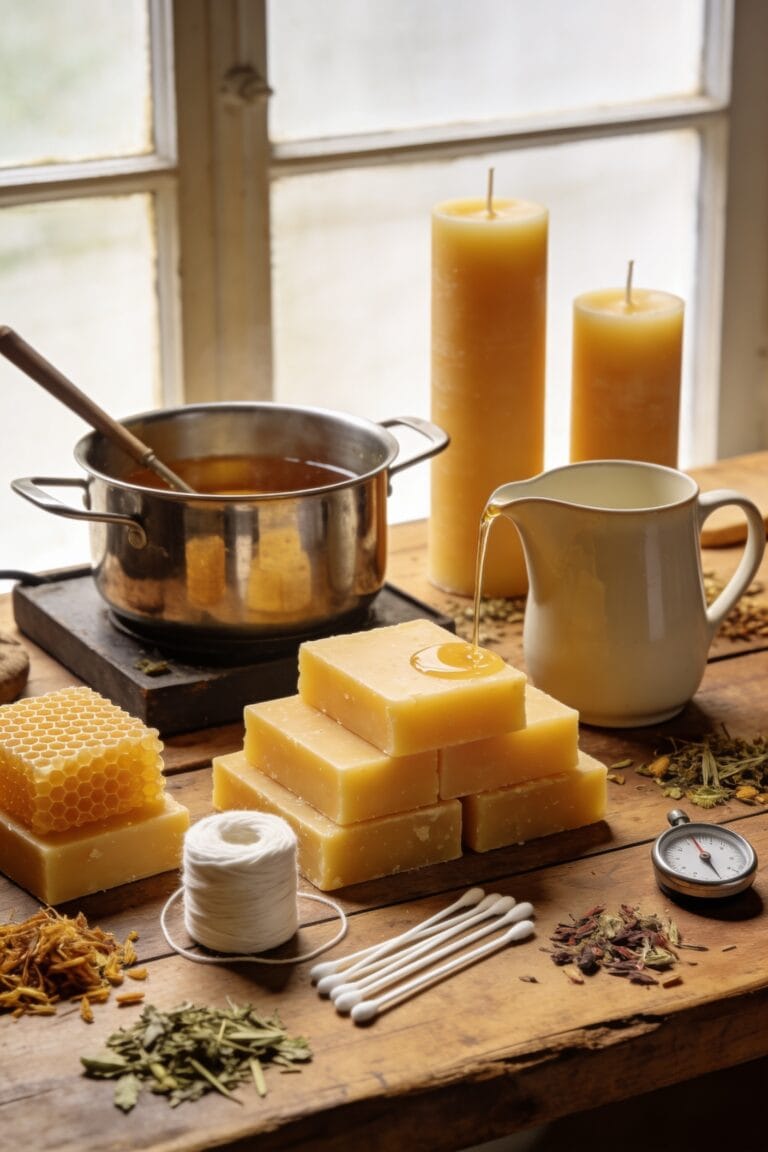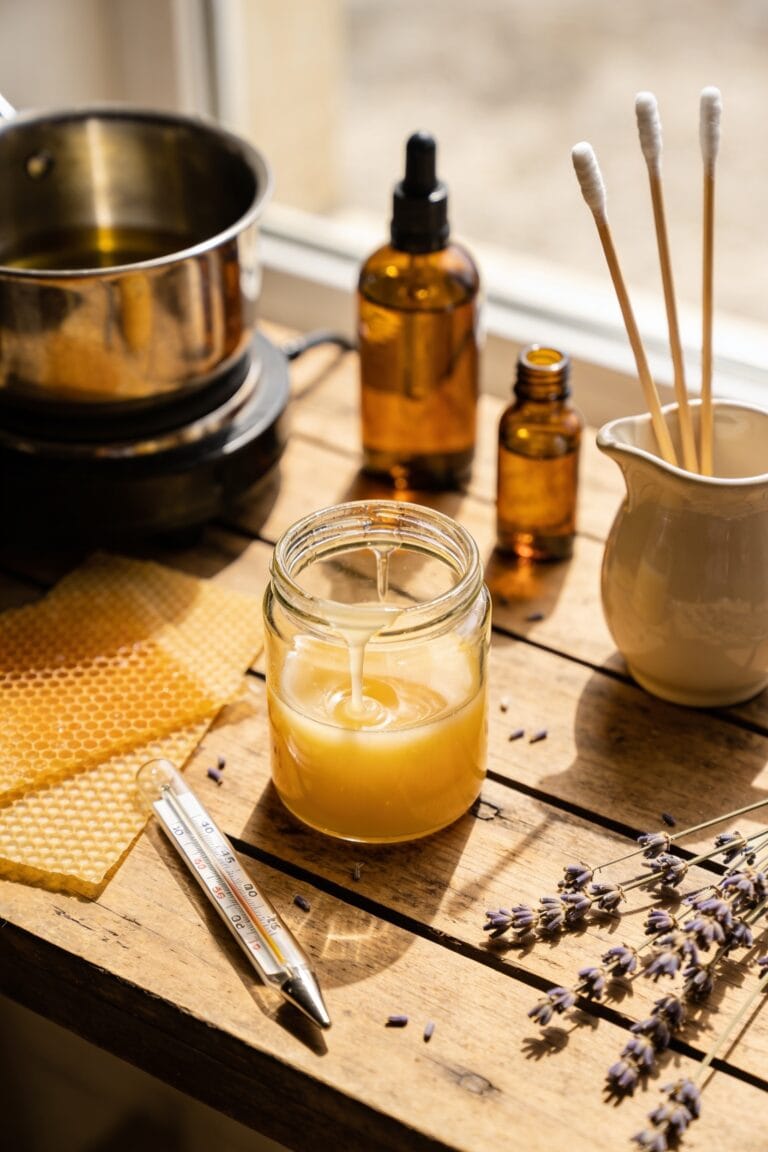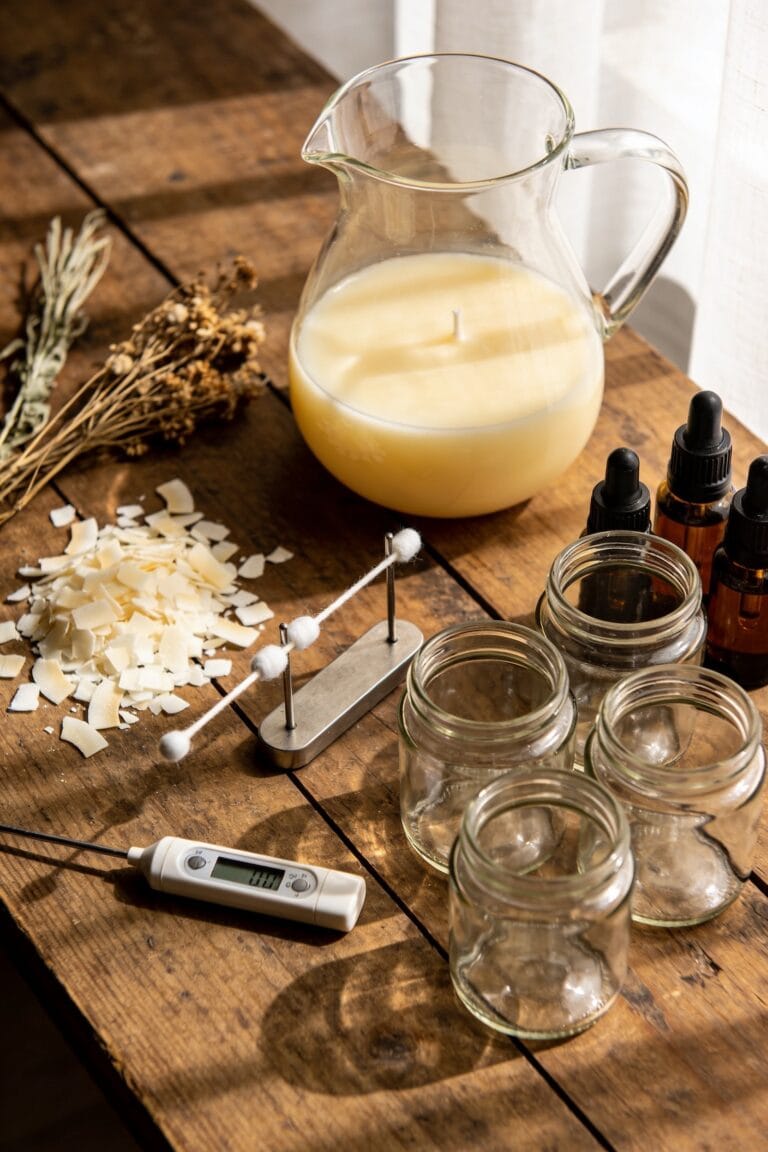
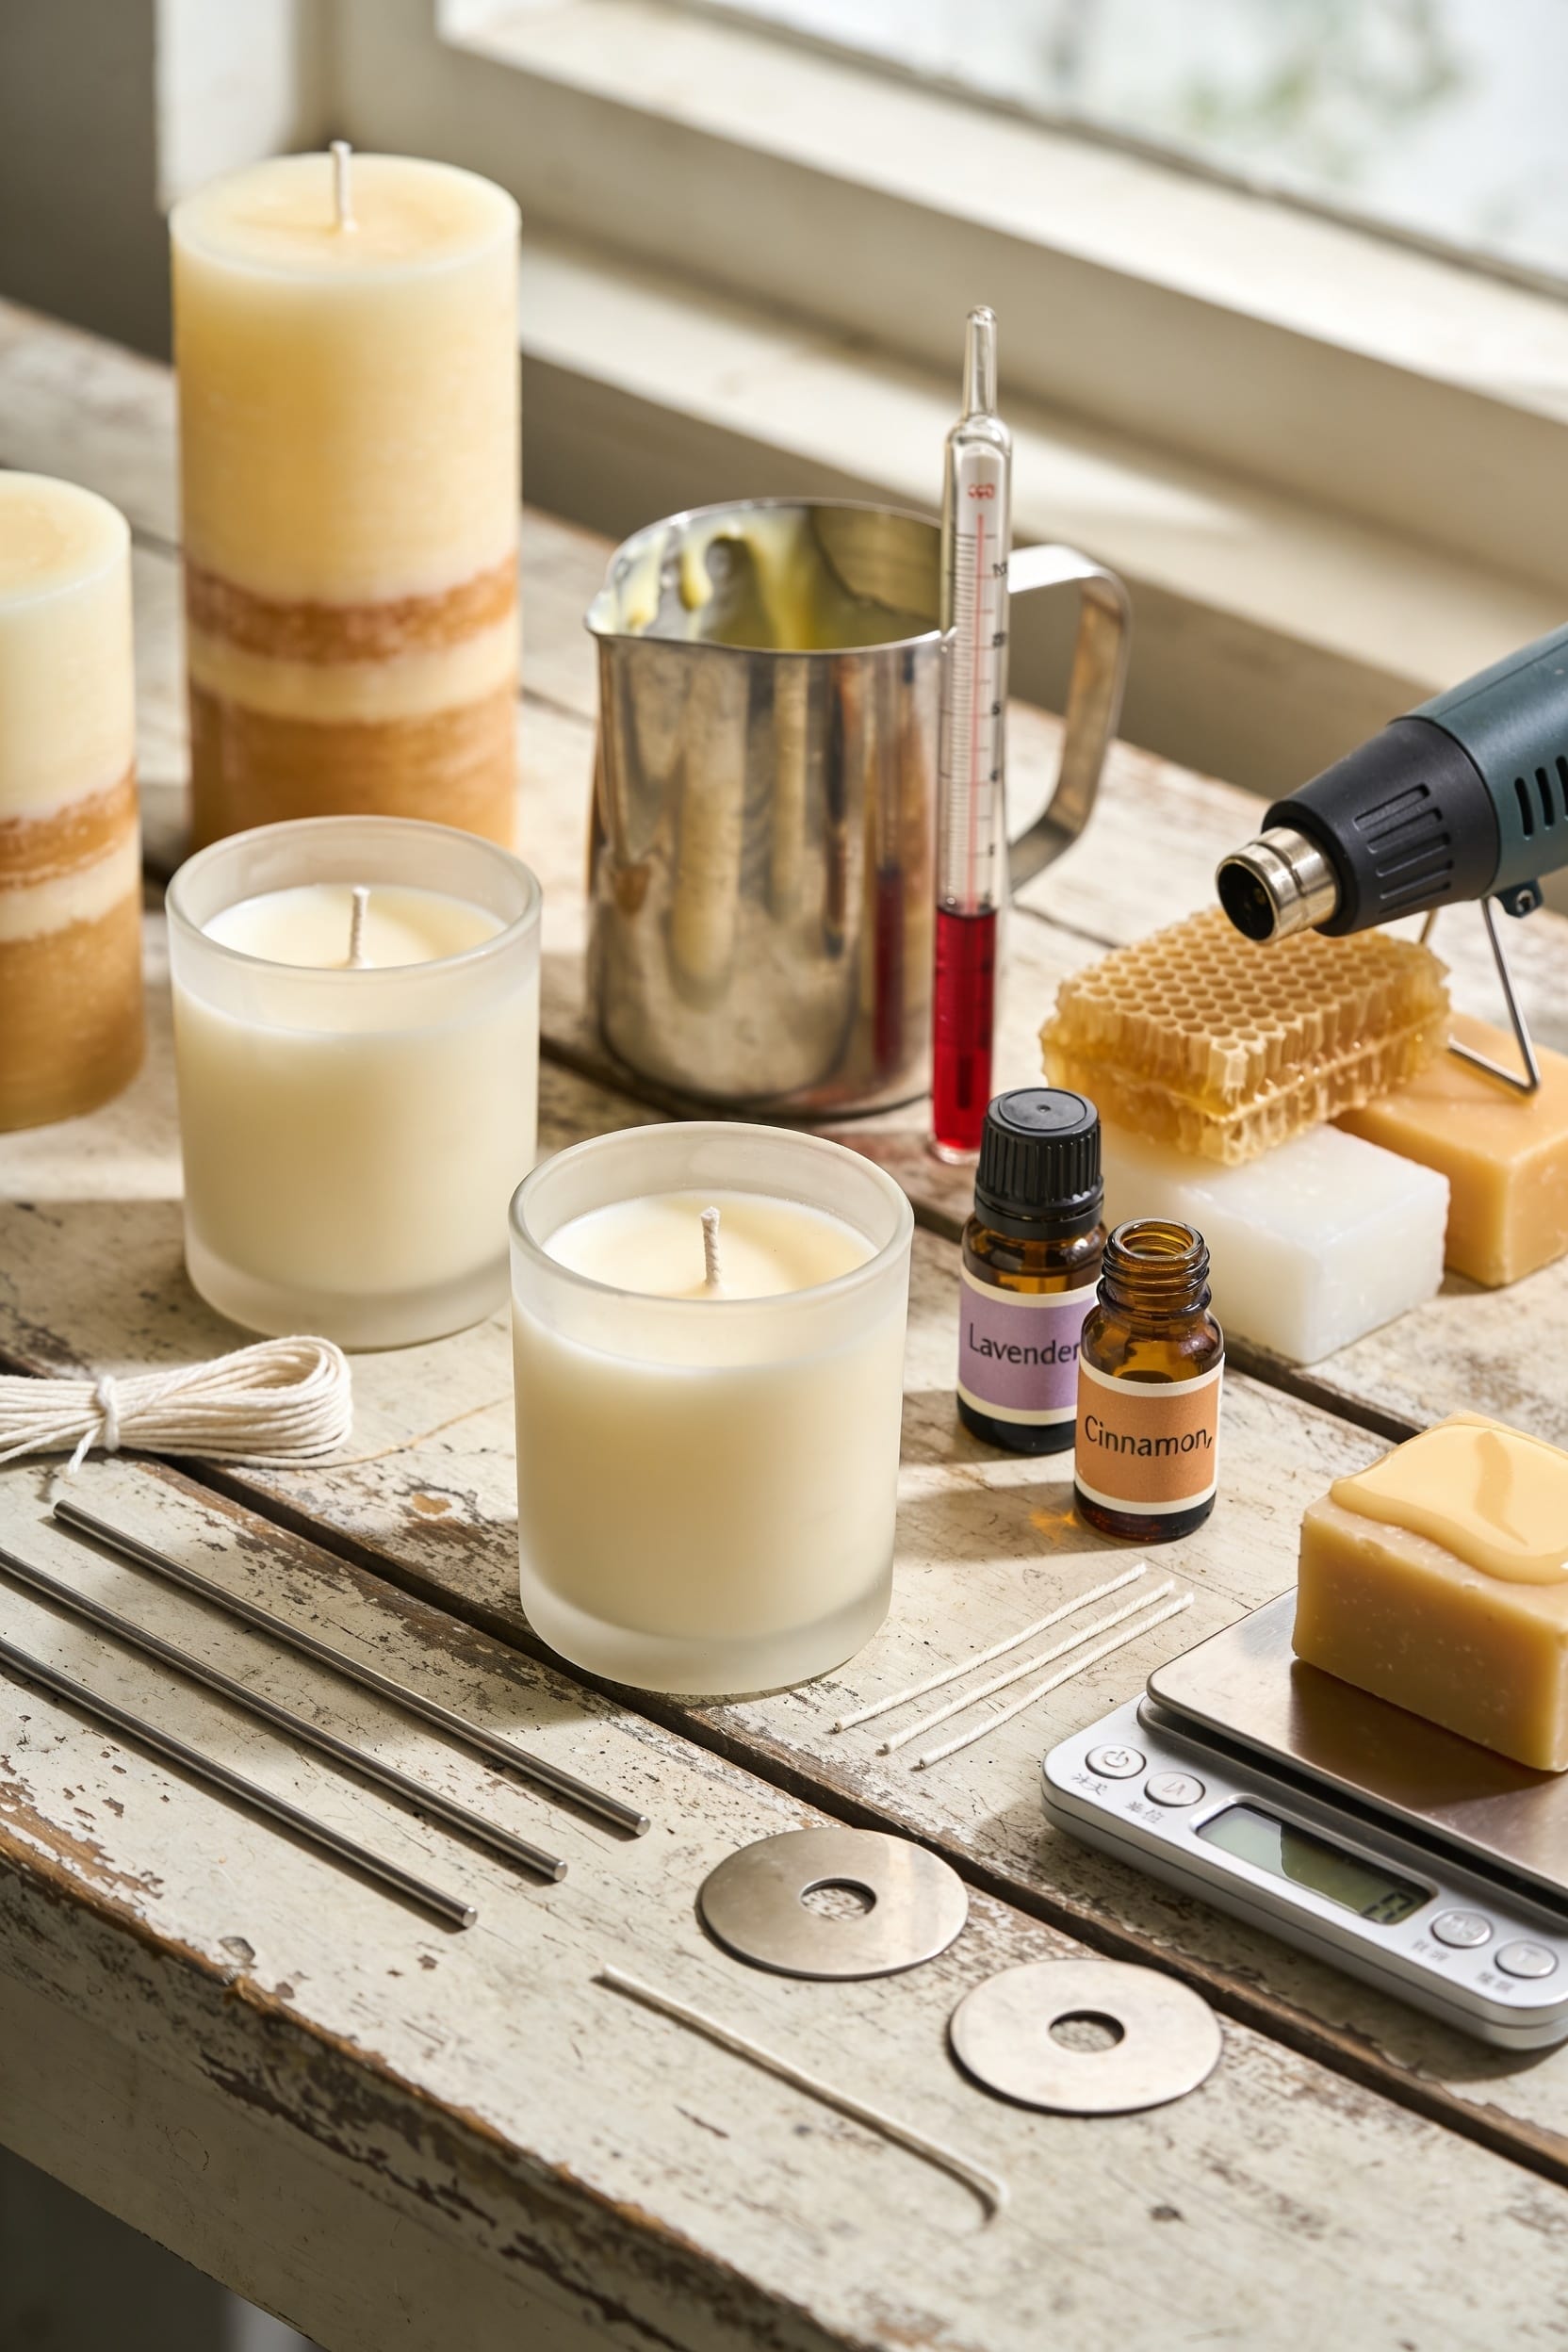

All right, here’s what you actually need: soy wax or a soy-paraffin blend (I’d skip paraffin starting out—it’s messier), a heat-resistant glass container, a properly-sized wick with a metal tab, fragrance oil at 6–10% concentration, a double boiler, digital thermometer, and separate scales for measuring. Grab heat-resistant gloves, a stirring tool, and wick tape. That covers the essentials, though the specifics matter more than you’d think.
Key Takeaways
- Choose wax type (soy, paraffin, or blend), container, and appropriately-sized wick for your candle setup.
- Obtain a double boiler, digital thermometer, wax scale, and fragrance scale for safe, precise melting and measuring.
- Select fragrance oils, candle dyes, and stirring tools; use heat-resistant gloves and ventilation for safety.
- Secure wicks with metal tabs, wick stick tape, and centering tools like clothespins to maintain straight alignment.
- Gather cleanup supplies including rubbing alcohol, paper towels, and trim wick to 1/4 inch after cooling completely.
Which Wax Type Should You Use?
When you’re standing in front of rows of wax options at your supplier, it’s easy to feel paralyzed—I’ve been there, staring at blocks of soy next to paraffin flakes, wondering which one won’t turn into a waxy disaster on my first pour. Here’s the thing: soy alternatives and sustainable blends have transformed what’s possible for beginners. Soy wax? It’s forgiving, widely available, and holds fragrance beautifully. Paraffin burns hot and throws scent aggressively, but it’s messier to work with. I’ve found that blending soy and paraffin combines their strengths—you get easier handling with better scent performance. Beeswax exists if you want natural, though it’s pricier. My honest take: start with soy or a blend. You’ll thank yourself later.
Recommended Products


Safer Ambience for Everyday Moments: Our sand wax candle design with self-extinguishing sand candle wicks minimizes fire risk if tipped and prevents hot wax spills; ideal for homes with pets or kids that won’t renounce stylish décor, offered in White, Red, Nude, and Black for cozy luxury

Professional Wax Melter for Candle Making or Soap Making, Melter 3 Gallon Stainless Tank, Extra Deep for Your Larger Batches Of Candles or Soap, This Has Been Designed From Customers Requests and is Unlike Other Competitors.
Picking the Right Container or Mold
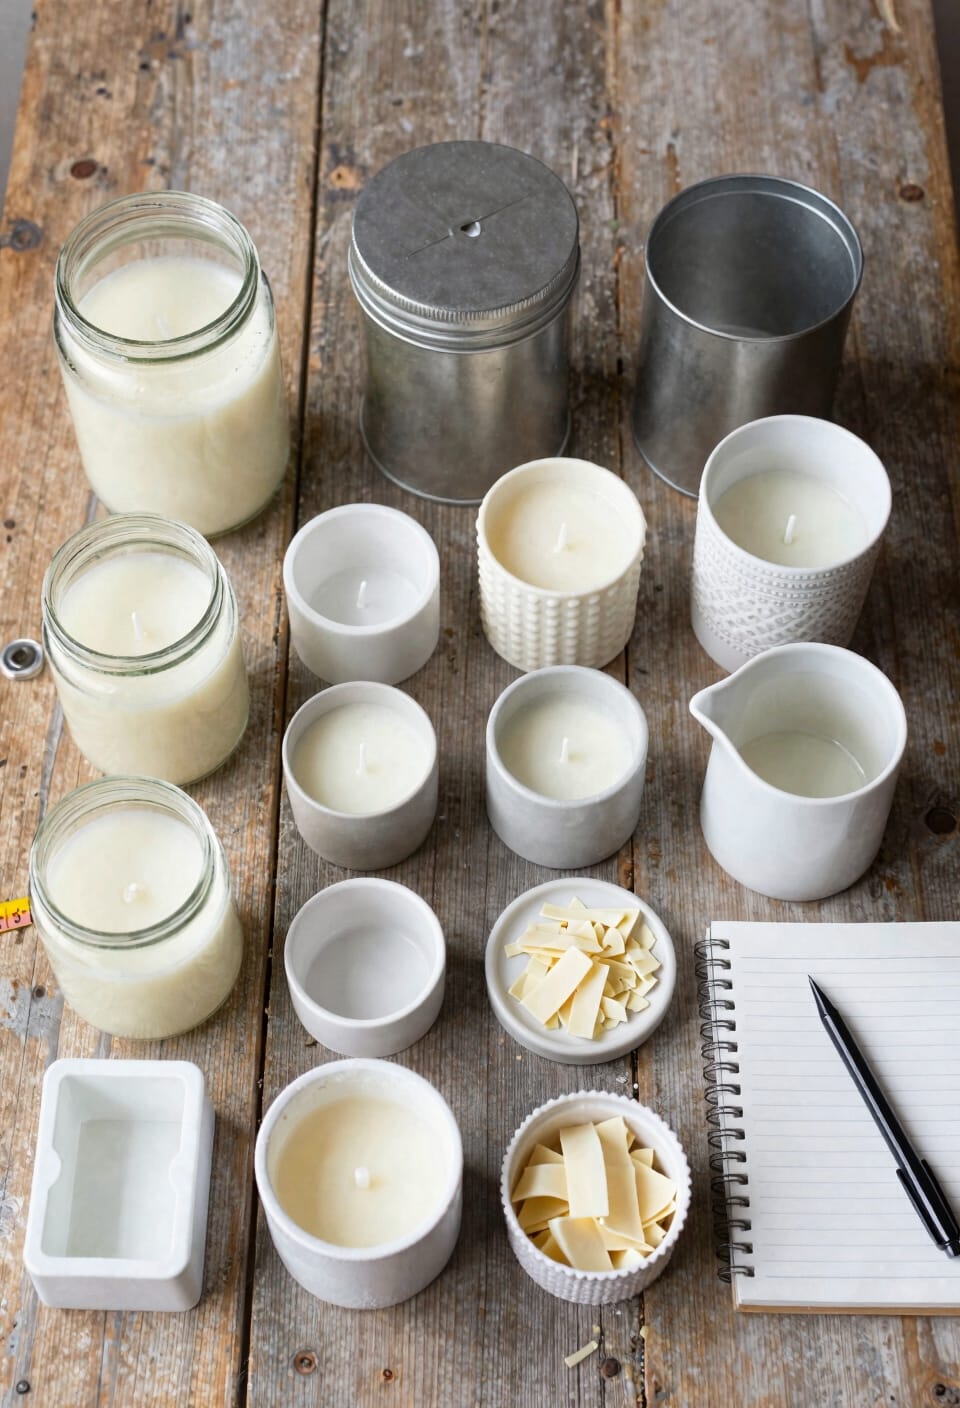
After you’ve settled on your wax, the container you pour it into matters just as much—maybe more, honestly, because I’ve made beautiful candles in ugly jars and watched them sit on shelves while the mediocre ones in gorgeous tins flew off.
Heat-resistant glass alternatives work wonderfully for container candles, though aluminum tins won’t break the bank either. Ceramic‘s solid too if you’re feeling fancy. Now, here’s the thing: your container affects how heat distributes during burning, which impacts performance.
I’m partial to glass jars because you can see the wax level. Decorative lids elevate the whole package—suddenly your candle looks intentional, gift-worthy. Size matters. Match your wick to your container diameter, or you’ll get tunneling (that’s when only the center burns, wasting wax around the edges). Pick vessels that actually suit your vision.
Candle Wicks: Selection and Securing
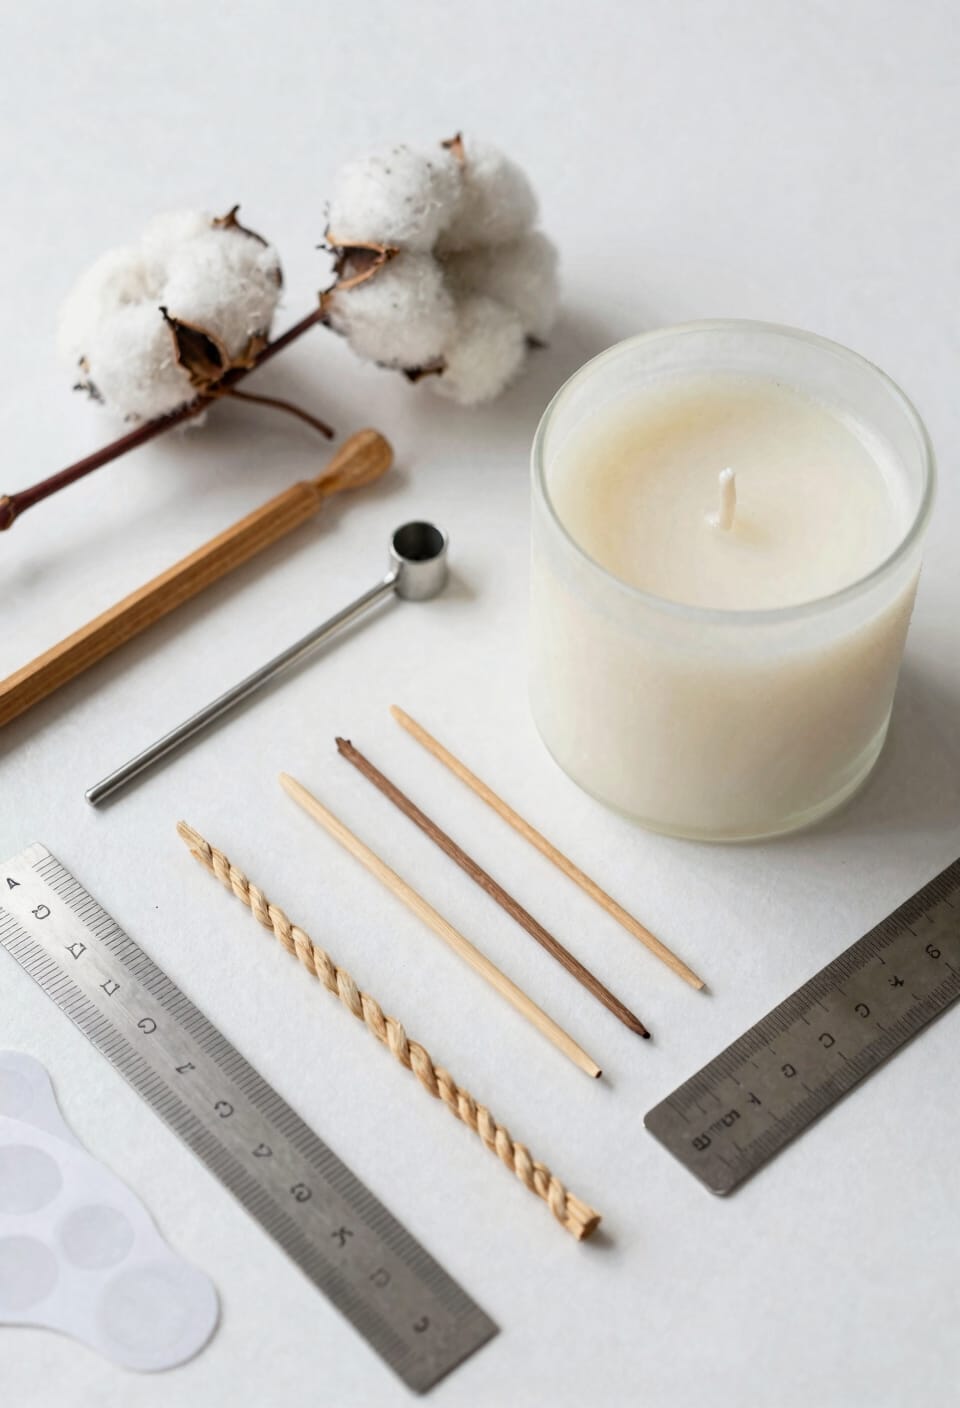
If you’ve picked the perfect container, don’t mess it up with the wrong wick—seriously, this is where I’ve watched more candles fail than anywhere else. The wick’s job is burning consistently and cleanly, which means matching it to your wax type and container diameter. I always grab pre-waxed wicks with metal tabs because they’re foolproof to attach. Before pouring, I use wick priming—dipping the wick in melted wax—to help it catch faster. Centering tools or clothespins keep everything straight while wax sets, preventing wonky burns later. Secure the wick to your container’s bottom with wick stick tape, then trim it to quarter-inch after cooling. Get this right, and your candle’s already halfway to success.
Recommended Products

SOY CANDLE MAKING KIT FOR ADULTS: Make your own candles with our candle making supplies kit: natural soy wax for candle making 50 lb bag, 500 cotton candle wicks for candle making, 500 candle wick stickers for candle making, 10 wick holders.
COMES WITH EVERYTHING YOU NEED: This kit includes 3 lbs of Paraffin Wax, 72 inches of cotton wick, 3 candle rubber stoppers, pigment (red, yellow, blue, white), 3 candle molds with base, and a color mixing chart

Richland Scented Tealight Candles in Clear Cups — A timeless collection of premium scented tea lights housed in transparent plastic cups, allowing the warm, flickering glow to radiate in every direction. The clear cup design blends seamlessly with any décor, centerpiece, or display — letting the candlelight take center stage.
How to Safely Melt Your Wax
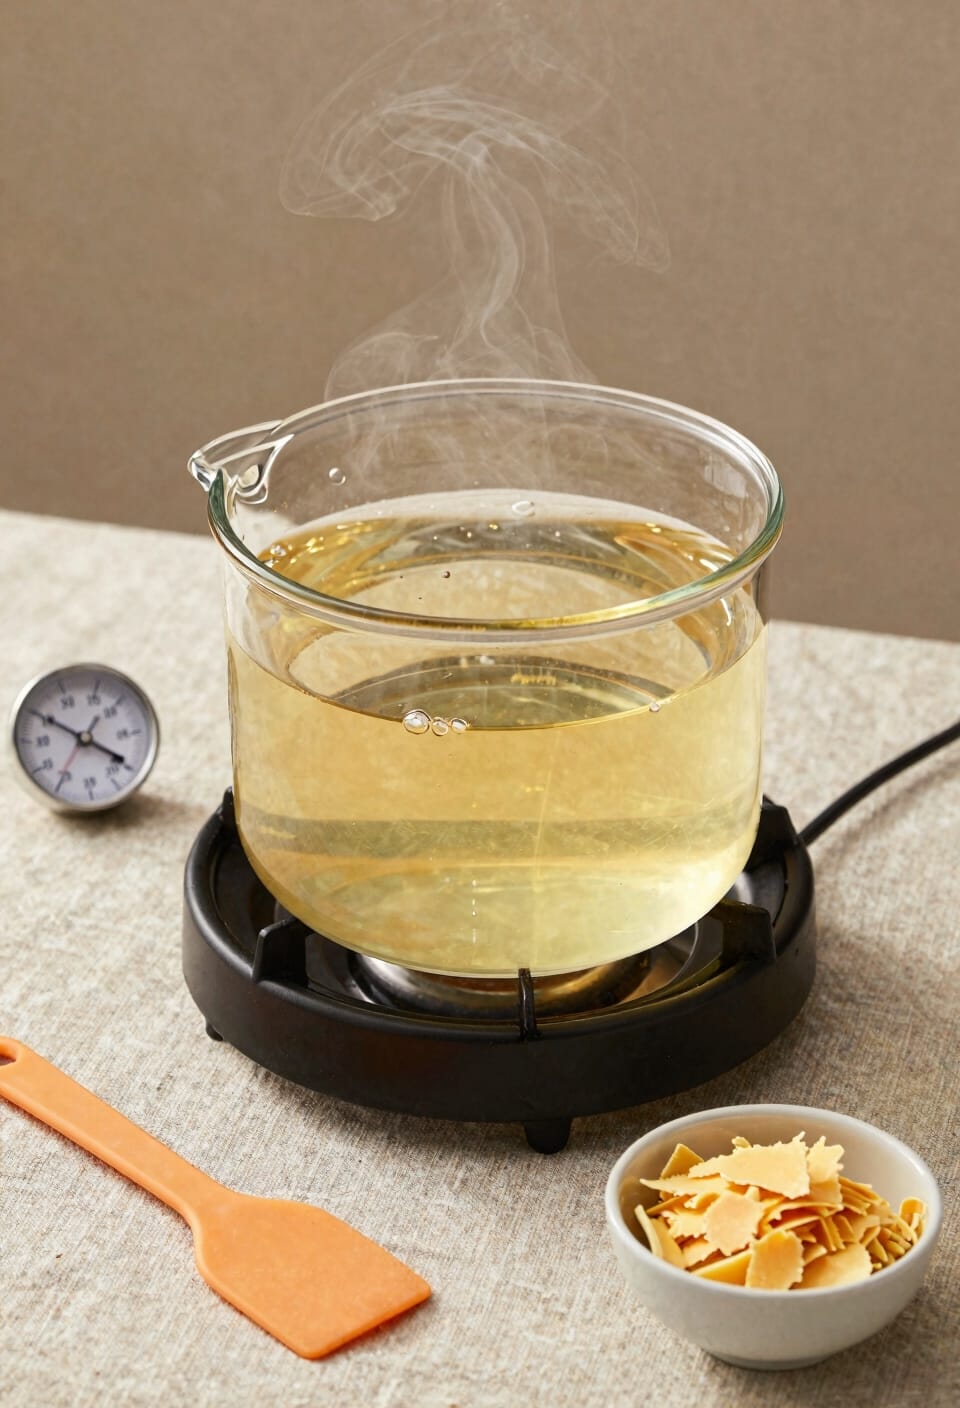
Now that your wick’s locked in place and ready to go, your wax needs to get hot—but not too hot, and definitely not over direct flame. I’d use a double boiler setup, which keeps your wax from scorching while you monitor temperature with a digital thermometer. Most waxes—whether soy, paraffin, or blends—melt between 170–180°F, though it varies slightly by type. Never let it exceed 185°F or you’ll risk degrading fragrance oils and dyes. Once melted, let it cool slightly before pouring; rushing this step causes uneven surfaces and weak scent throw. Trust me, I’ve rushed plenty of pours and regretted them. Take your time here. The investment pays off.
Precision Measurement and Stirring Tools
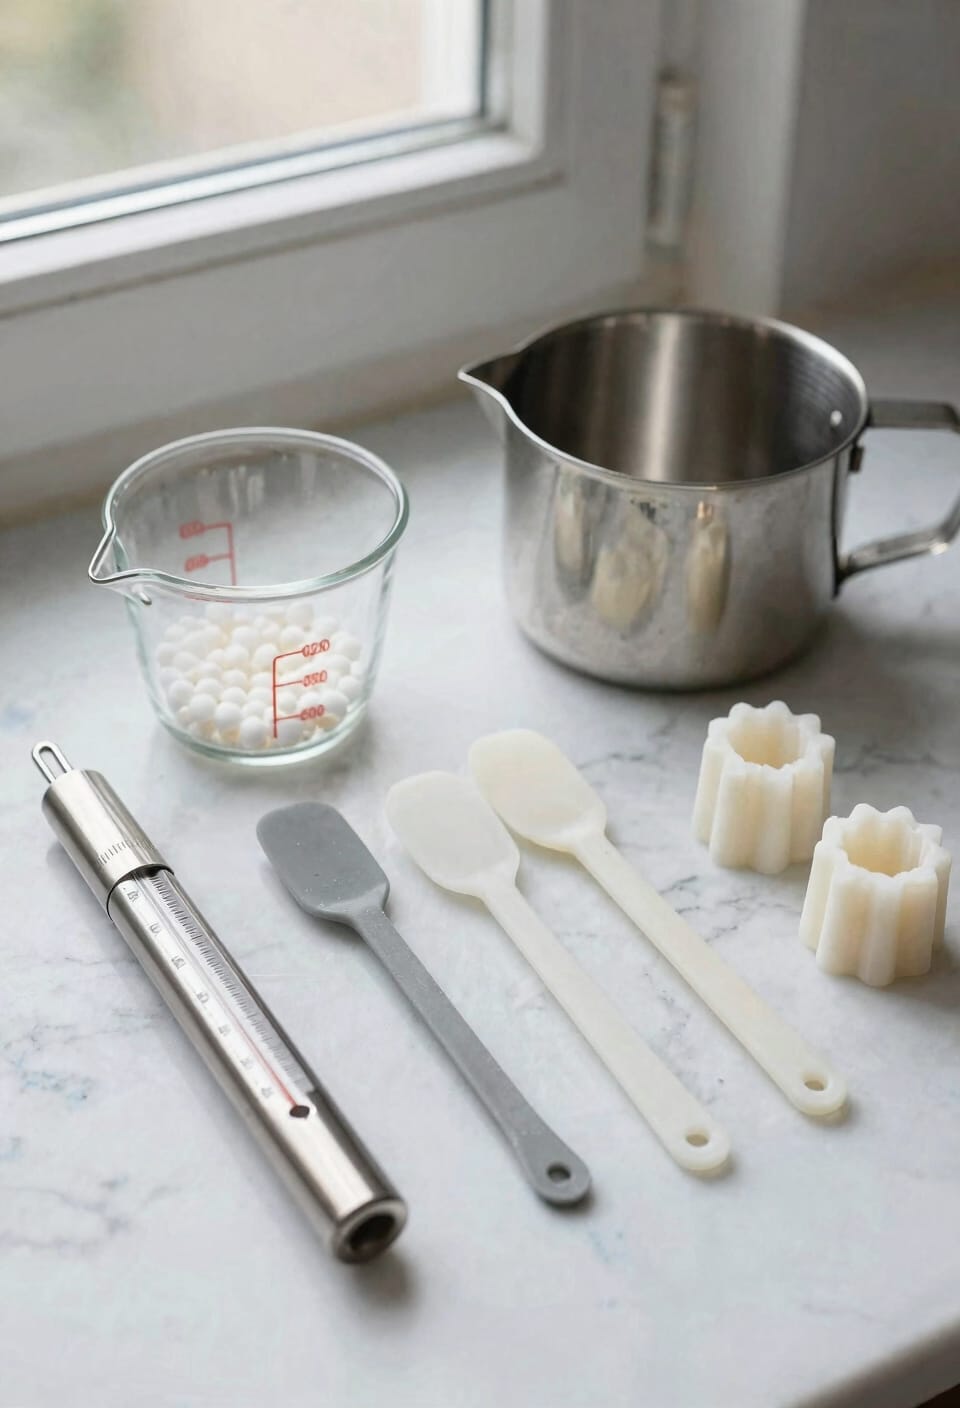
Getting your measurements right is where a lot of beginner candle makers start cutting corners, and I get it—eyeballing feels faster—but that’s precisely how you end up with a candle that smells like nothing or looks like a lopsided pancake. A digital thermometer is non-negotiable for temperature control, letting you nail pouring temperatures within a degree or two. Grab a wax scale and fragrance scale—separate ones matter because precision here determines whether your candle throws scent or sits silent. Use wooden or silicone stirring spoons to avoid metal reactions that mess with your wax. Chopsticks or clothespins keep wicks steady while you work. When you’re batch scaling up from test batches, these tools prevent costly mistakes that waste both wax and time.
Adding Scent and Color to Your Candles
Once you’ve nailed your measurements and got your wicks sitting perfectly still, it’s time to make your candles actually smell like something and look like you meant to make them that color. Here’s the thing: fragrance oils beat essential oils for candles because they’re specifically formulated to release scent as the wax burns—that’s what folks call hot throw. I’d aim for a fragrance load (the percentage of scent oil to wax) around 6-10% for most waxes, though you’ll want to test this yourself. For color layering, pour at slightly different temperatures to create distinct bands. I’ve botched this plenty of times. Candle dyes work better than food coloring, which’ll separate and cause headaches. Start conservative with both scent and color. You can always add more next batch.
Protecting Yourself While Candle Making
Because melted wax gets hot enough to cause serious burns and fragrance oils can irritate your skin, protecting yourself while candle making isn’t optional—it’s just smart. I learned this the hard way after a sloppy pour left me nursing a nasty blister.
Grab heat resistant gloves whenever you’re handling hot wax or containers. They’ll save you from the stupid mistakes I’ve made. Ventilation masks aren’t glamorous, but they matter—especially when you’re pouring fragrance oils, which can irritate your respiratory system with prolonged exposure.
Throw on an apron too. Wax stains everything, and melted paraffin or soy won’t wash out of your favorite shirt. Keep rubbing alcohol and paper towels nearby for quick cleanup. You’ll thank yourself later.
Frequently Asked Questions
How Often Should I Trim the Wick During the Candle-Burning Process?
I’d recommend trimming your wick to about a quarter inch before each burn session. Regular wick maintenance prevents excessive smoking and mushrooming. This trim frequency guarantees peak burn quality and longer candle life throughout its use.
Can I Use Essential Oils Instead of Fragrance Oils for Scenting Candles?
Like water struggling to blend with oil, essential oils don’t integrate well into candles. They’ve weak scent throw and require precise dilution ratios. I’d recommend fragrance oils instead—they’re formulated for candles and safer regarding safety notes.
What’s the Ideal Pouring Temperature for Different Types of Wax?
I’ll tell you the ideal temps vary by wax type. Soy wax pours best at 170-180°F, paraffin around 170-190°F, and beeswax at 160-180°F. I’d recommend checking your wax-specific temps for best results.
How Do I Fix Candles With Sinkholes or Uneven Surfaces?
Like patching a pothole on a smooth road, I’ll guide you through fixing those imperfections. I use heat patching by gently remelting the surface, ensuring wick centering stays perfect, then pour additional wax carefully into sunken areas.
What’s the Shelf Life of Fragrance Oils and Dyes Before They Expire?
I’ve found fragrance oils typically last 1-2 years, while dyes can last 2-3 years when you maintain proper storage conditions. I’d recommend practicing shelf rotation to make certain you’re using older supplies first.
Conclusion
You’ve now got everything you need to start making candles that actually work. Here’s what stuck with me: the candle industry grows about 8% annually, and roughly 35 million Americans make candles at home. That’s a lot of us melting wax in our kitchens. You’re joining a genuinely passionate community. Start simple, document your mistakes, and remember—even the best candle makers still occasionally pour a batch that smells like burnt rubber. You’ll get there.
Related candle making guides
Once your checklist is ready, walk through our step-by-step candle making guide, compare soy wax vs paraffin, and use the tighter supplies you actually need list before you overbuy.
Frequently asked questions
What are the absolute essentials for beginner candle making?
Wax, a heat-safe container, a correctly sized wick, fragrance oil measured by weight, a thermometer, and a double boiler cover most first pours. Gloves and wick stickers help you stay consistent.
Can I start candle making without buying a full kit?
Yes. Buy wax, wicks, fragrance, and one vessel first. Add dyes, fancy molds, and specialty blends after you nail scent throw and clean burns.
How much fragrance oil do I need for soy candles?
Most soy pours land around 6–10% fragrance by wax weight. Always check your oil’s manufacturer max load and weigh both wax and fragrance.