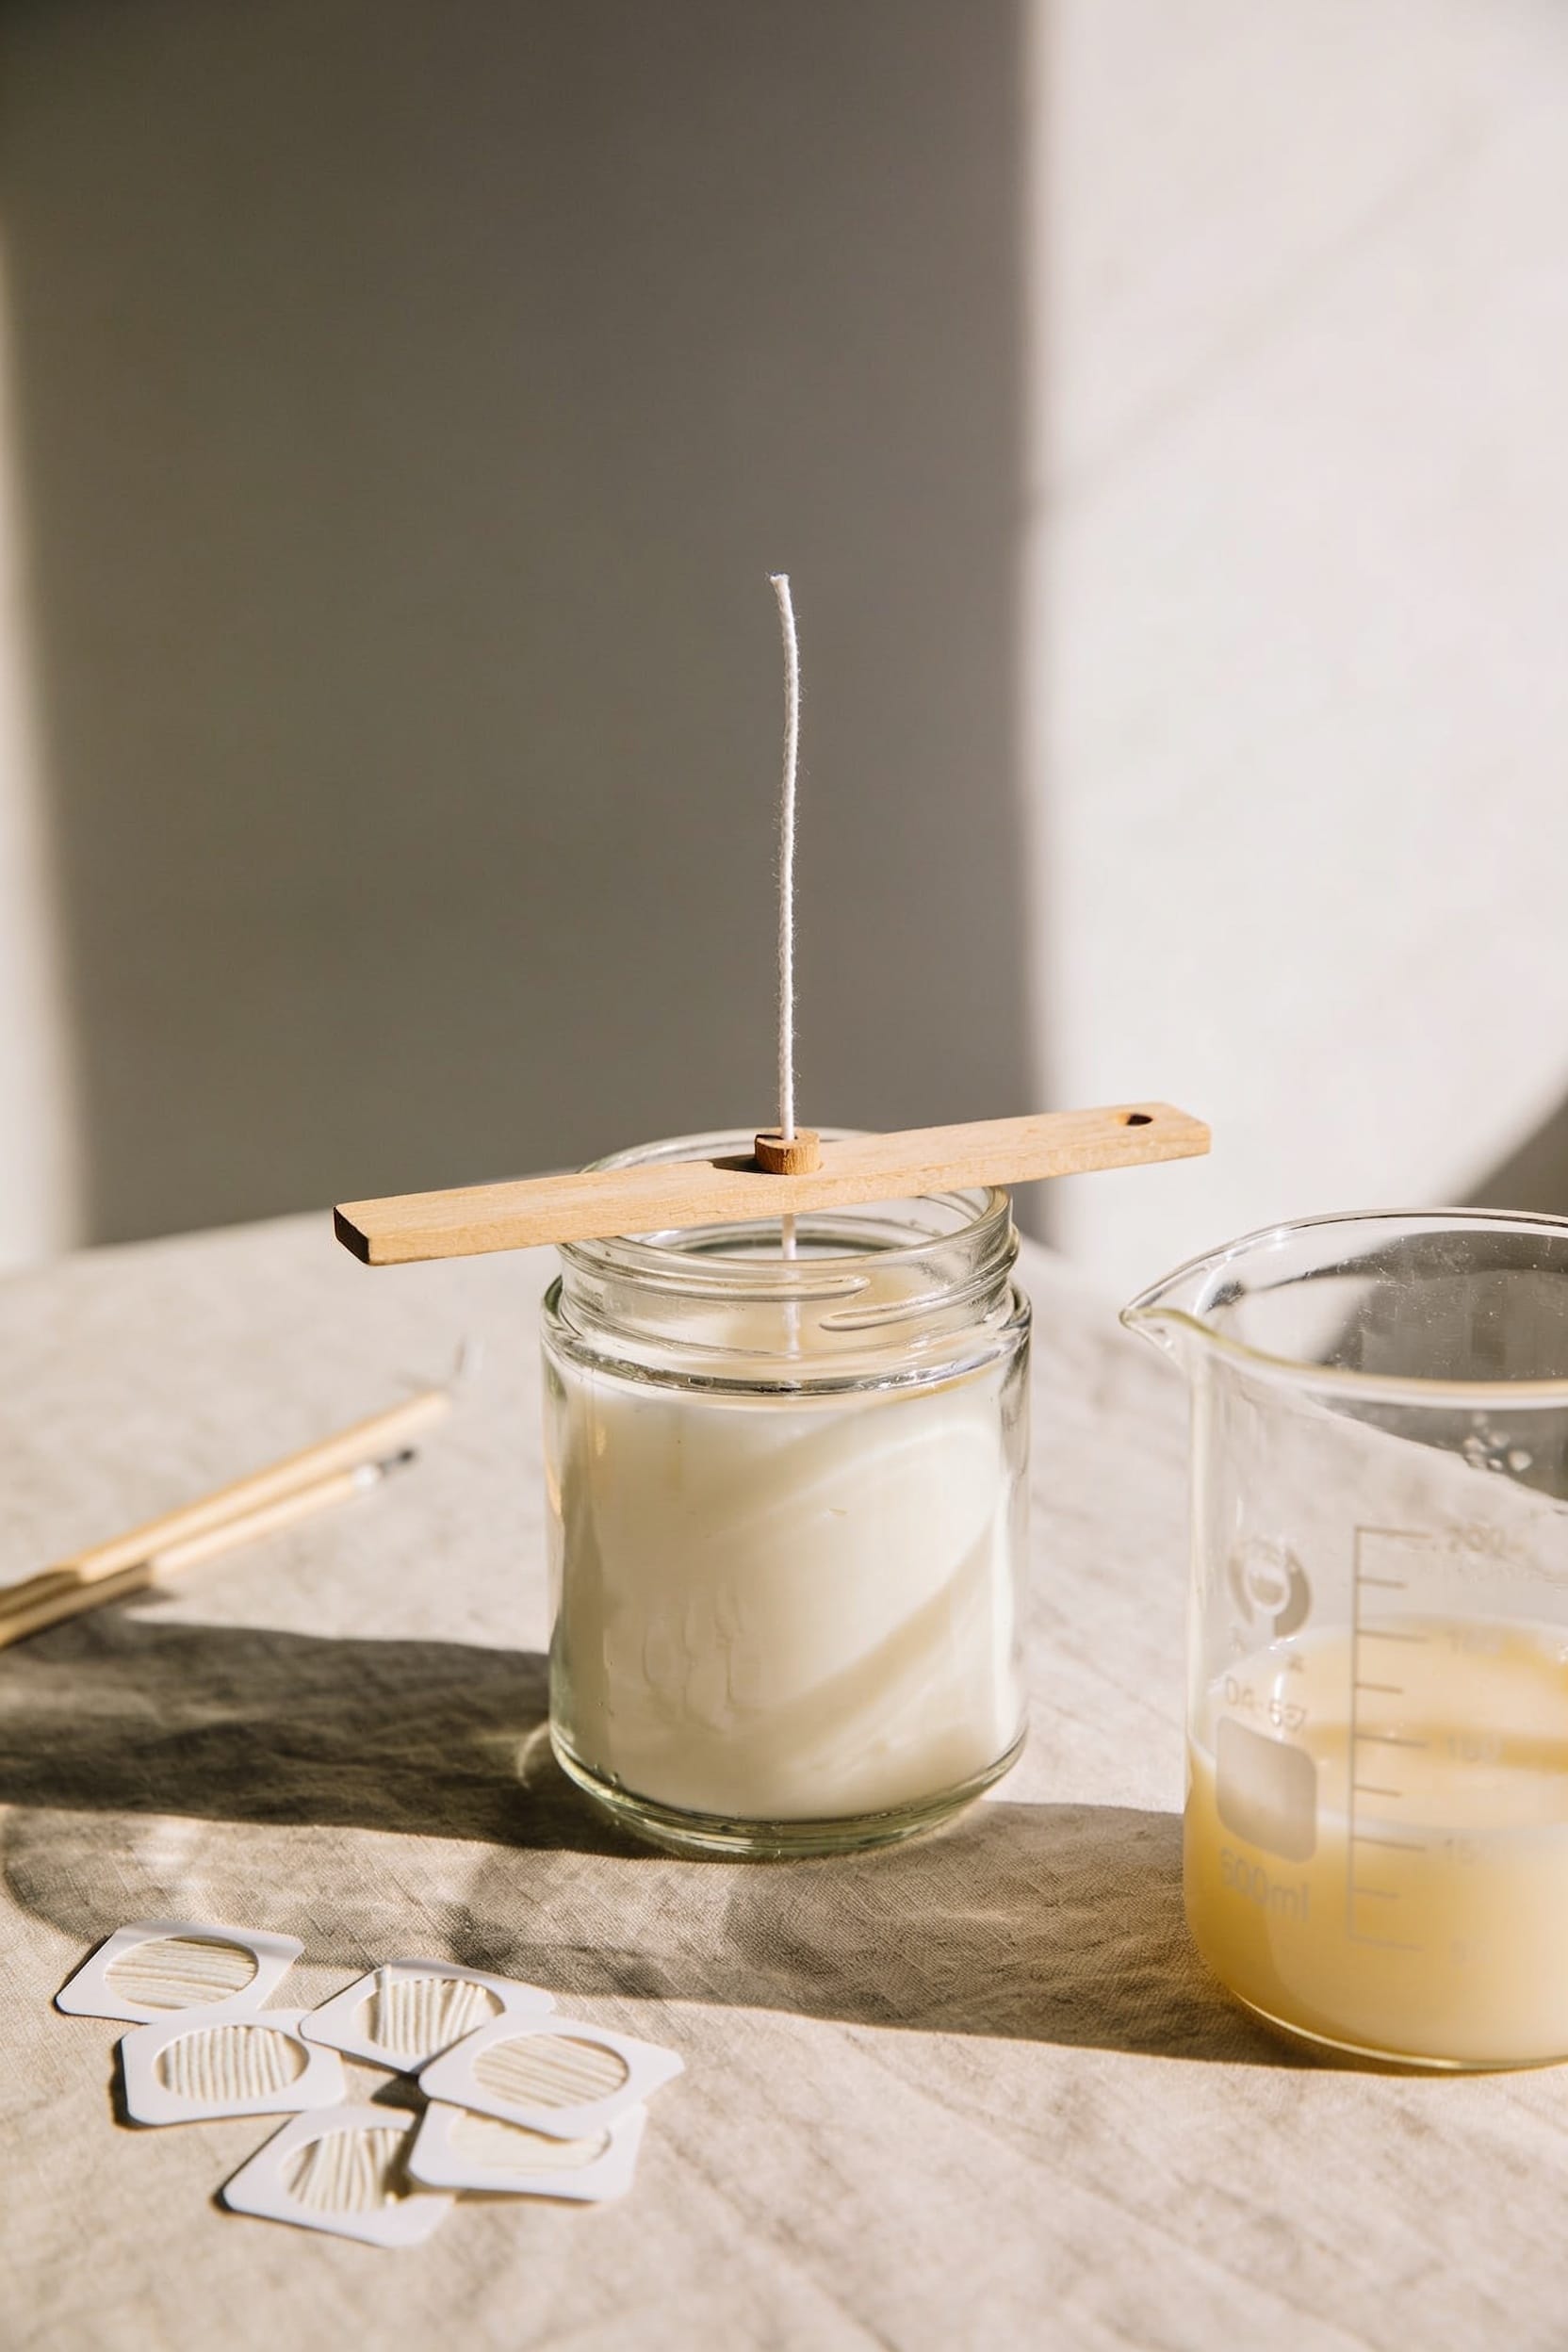

I’ve watched plenty of wicks drift sideways during the pour, ruining an otherwise perfect candle. Anchor your wick at the base with a wick pin or glue dots, then secure the top with a wick bar or clothespin to keep tension steady as the wax cools. Pour slowly and avoid jostling your workspace—vibrations shift everything. Watch that melt pool during your first burn to catch drift early, and if it happens, reposition while wax is still workable. Nailing this setup transforms your consistency entirely.
Key Takeaways
- Use a wick pin or oblong clip at the base to anchor the wick securely in votives and containers.
- Apply a wick bar or clothespin at the top to maintain straight tension and prevent tilting during pouring.
- Combine glue dots at the base with top anchoring for jars to ensure stable centering throughout cooling.
- Pour slowly and maintain consistent, gentle wick tension to prevent alignment shifts caused by fast pouring or vibration.
- Match centering tools to your container type and track successful setups in writing to replicate centered results consistently.
Why Wick Centering Matters for Safe, Even Burn
When your wick wanders off-center during the pour, you’re not just making a cosmetic mistake—you’re setting up a candle that’ll burn hot on one side and leave a thick wall of unmelted wax on the other. That heat buildup on one side? It creates unsafe burning conditions and violates basic safety standards for candle performance. Off-center wicks cause uneven melt pools, meaning some areas of your container get scorching hot while others stay cool. Your candle burns faster on one end, tunnels (melts down the center while leaving wax walls), and you’ll waste money on wax that never actually burns. A centered wick guarantees even heat distribution, a flat melt pool, and a candle that performs the way you intended.
Centering Methods for Votives, Jars, and Containers
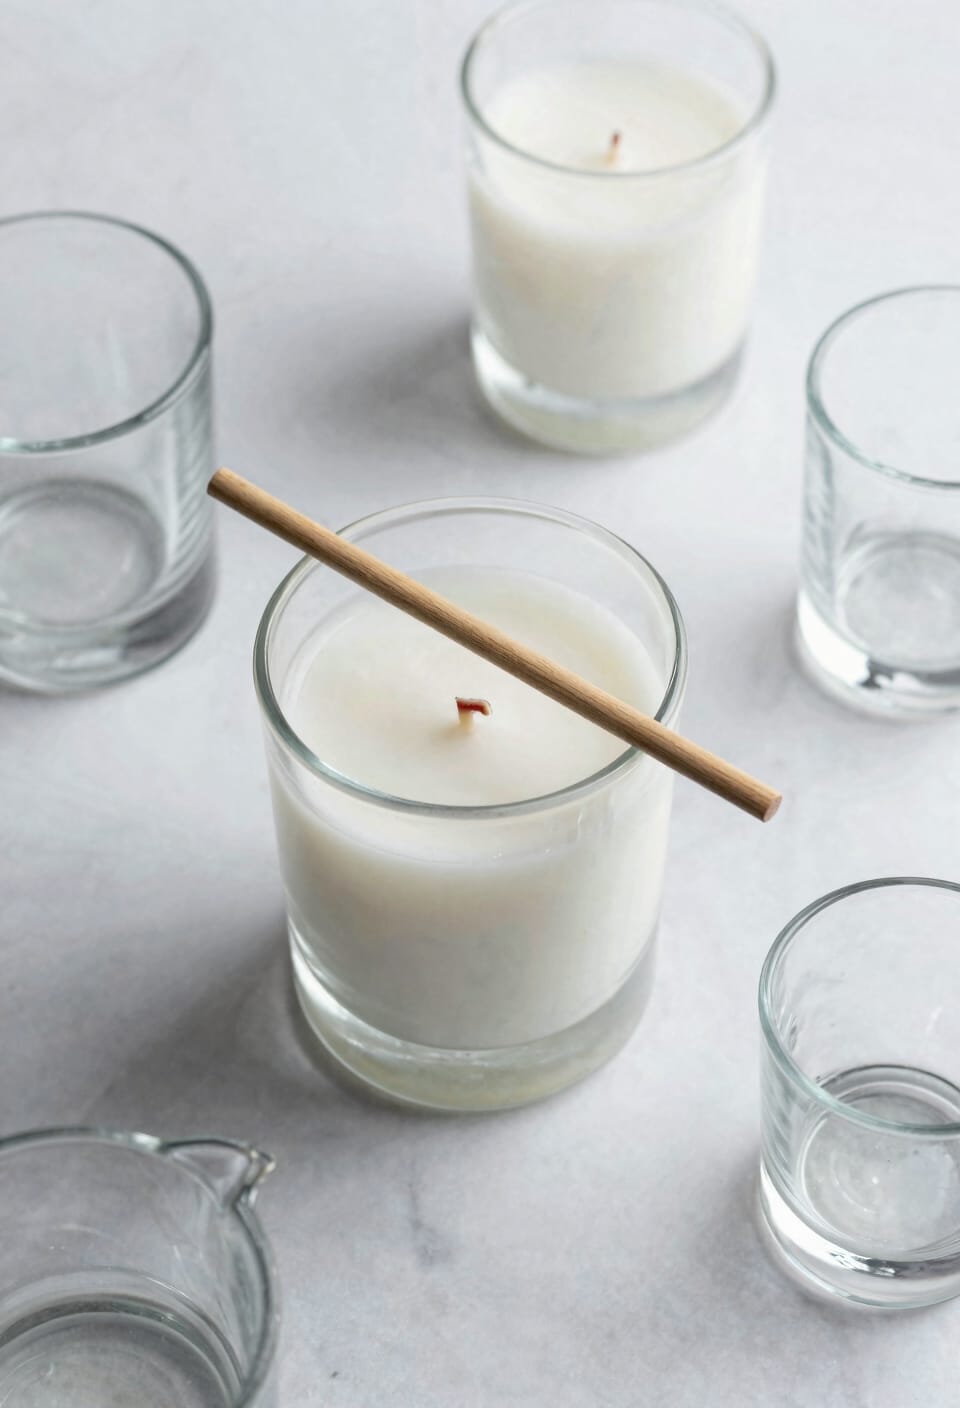
Now that you know *why* centering matters, let’s talk about the actual techniques—because knowing your wick needs to stay put and actually keeping it there are two different things. For votives, I use a wick pin or a 33 mm oblong clip at the base to anchor everything down. With jars and containers, glue dots work wonders for securing the wick center, while a wick bar at the top keeps things straight during the pour. Mold adapters are lifesavers if you’re working with irregular shapes. Look, wick glueups aren’t fancy, but they’re honest work. Fill your container to 75-80% capacity, maintain that center position throughout, and you’ll avoid the dreaded side heat buildup that ruins burns and wastes wax.
Recommended Products

Made of high grade tool steel hardened and ground

SOY CANDLE MAKING KIT FOR ADULTS: Make your own candles with our candle making supplies kit: natural soy wax for candle making 50 lb bag, 500 cotton candle wicks for candle making, 500 candle wick stickers for candle making, 10 wick holders.

【Center & Set Wick in Just 1sec】Literally: Unlike traditional methods, its glue-free solution eliminates most time-consuming steps, allowing you to centering wick in 1 second.
Wick Pins, Glue Dots, and Paper Cutouts: Which Tool When
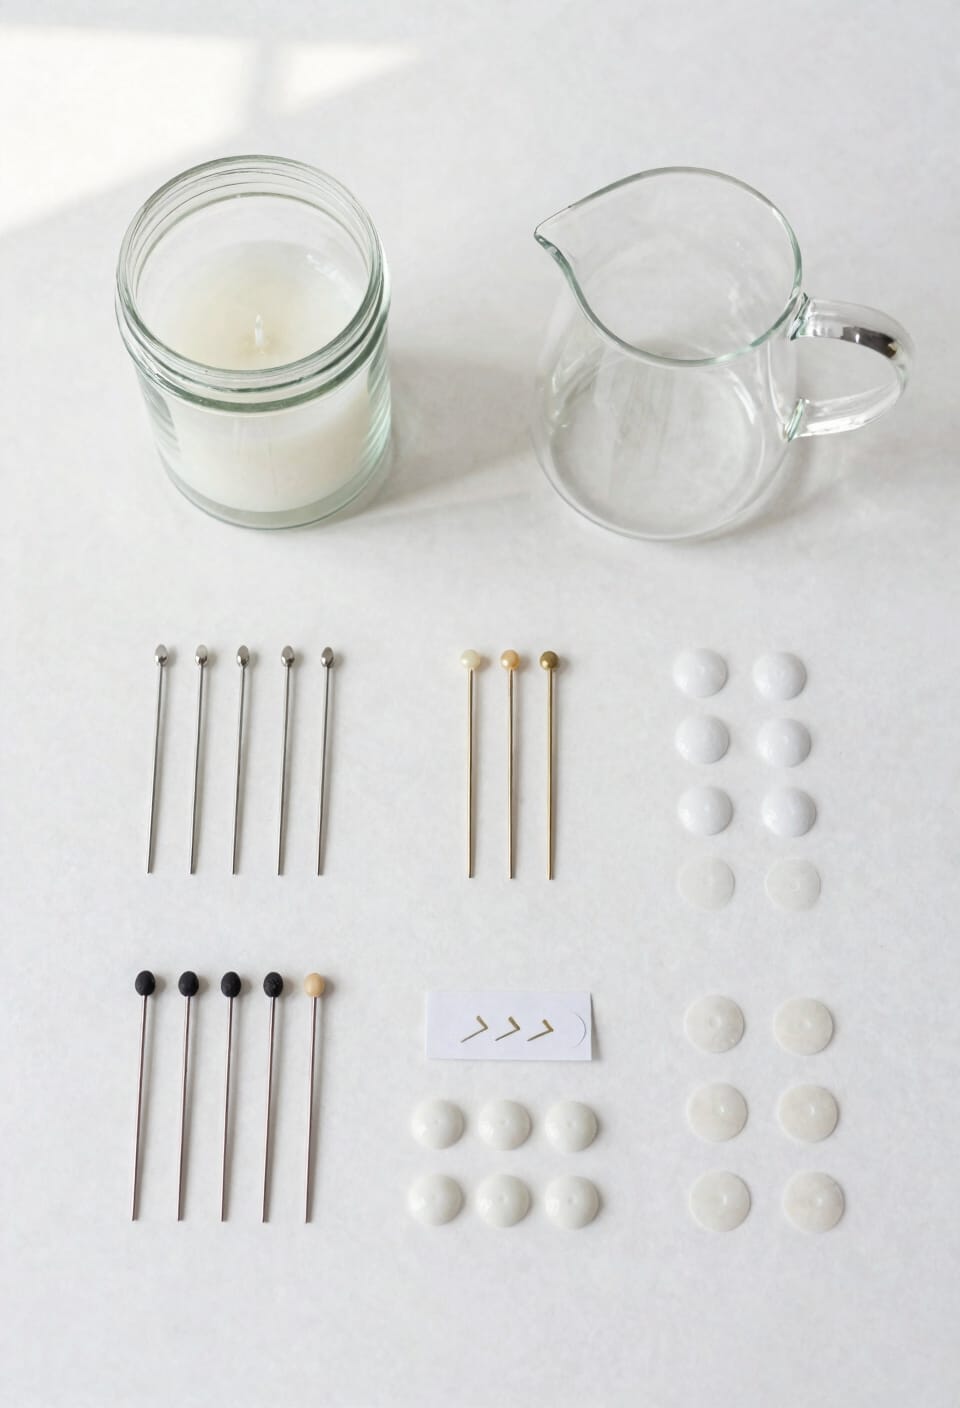
You’ve got your centering method down in theory, but the real question is which tool actually belongs in your hand at any given moment. For votives, I reach for the wick pin every time—it’s my workhorse for cotton and flat braided wicks. The 33 mm oblong clip secures everything at the base while you pour without fuss. Now, adhesive alternatives like glue dots work beautifully for jars when combined with a wick bar at the top. Here’s the thing: that paper cutout method? I use it for repeated vessel shapes since it gives you a reliable center reference without permanent wiring techniques required. Each tool solves a specific problem. Match the tool to your container, and your wick stays put.
Recommended Products

Stainless Steel Material: these wicks clips are made of stainless steel, durable, reusable, no rusty, heat-resistant and hard, and has a long service life

Firmly Hold Wicks: The clips hold the wooden wick firmly in place without moving or interfering with burning. They are of nice quality and allow for an even burn rate.The clips are easy to use and perfect for DIY wood wick candles.
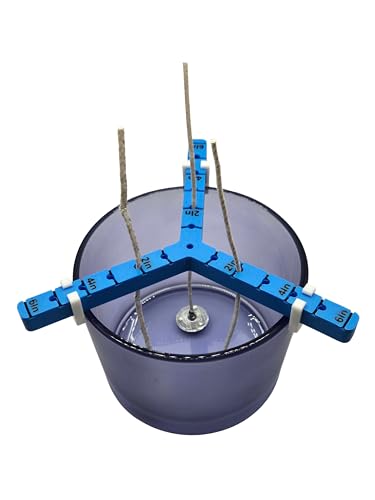
Universal 3-Wick Holder – Designed to hold up to three wicks in place for perfect candle making. Fits containers up to 6 inches in diameter.
How to Secure Your Wick at the Top
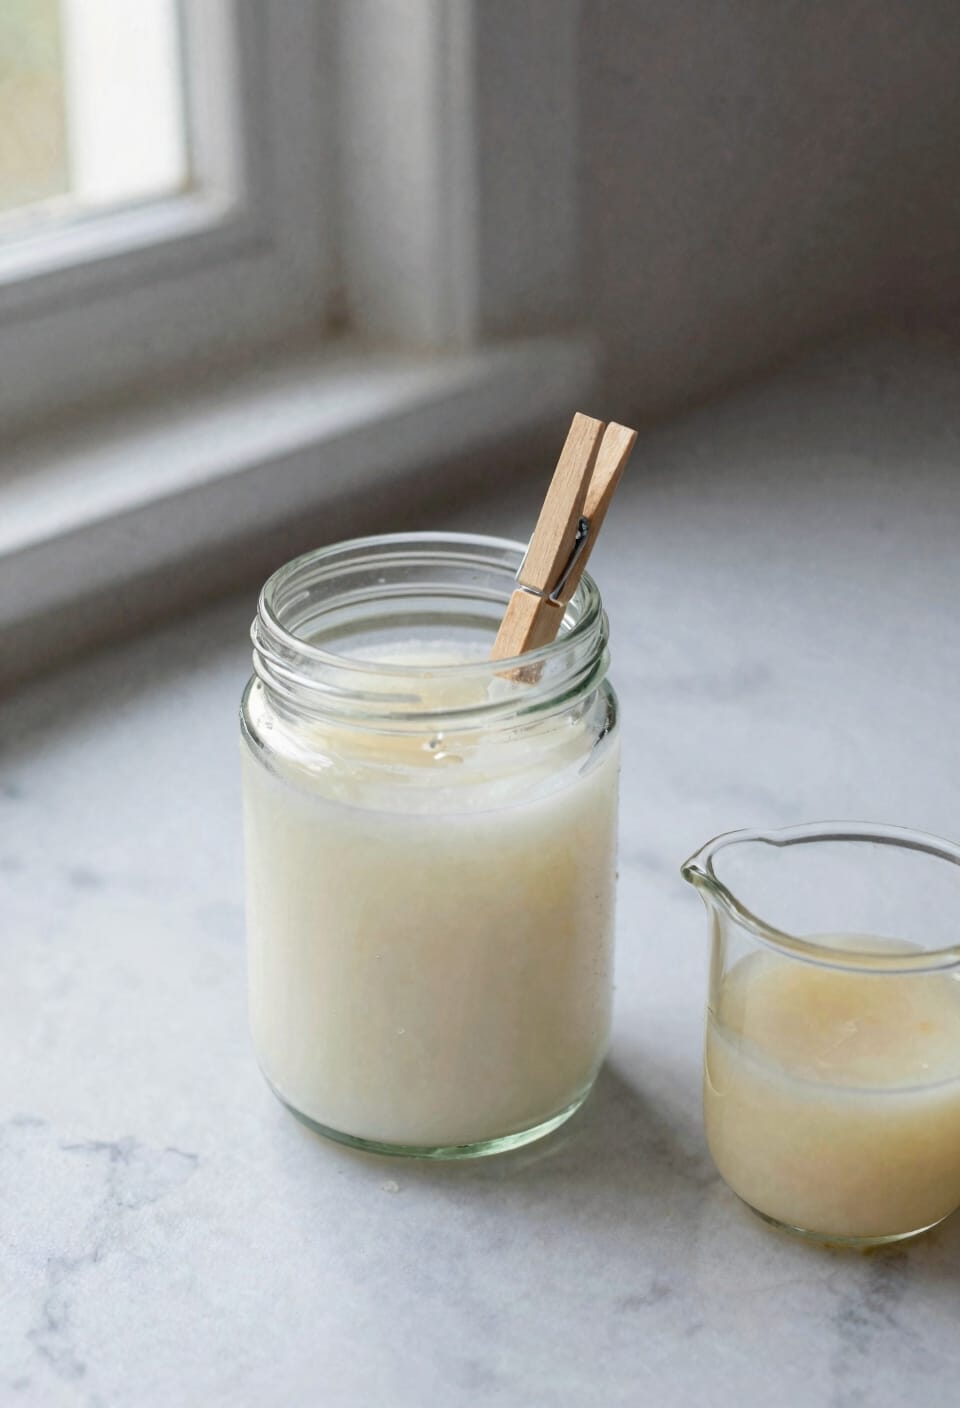
While your wick’s anchored at the bottom and the wax is flowing, what happens at the top is just as critical to getting a clean, even burn. I’ll use either a wick holder or clothespin to keep everything straight during the pour. This top anchor stability prevents the wick from tilting or drifting as hot wax moves around it. You want wick tension—that gentle, consistent pull—maintained throughout cooling. Without it, your wick wanders, pools form unevenly, and you’re left with a candle that burns hot on one side. A wick bar works beautifully for multiple wicks too. The goal’s simple: keep that wick dead-center and perpendicular from pour through cure. That’s when the real performance happens.
Pre-Pour Checklist: Prep Before You Pour Hot Wax
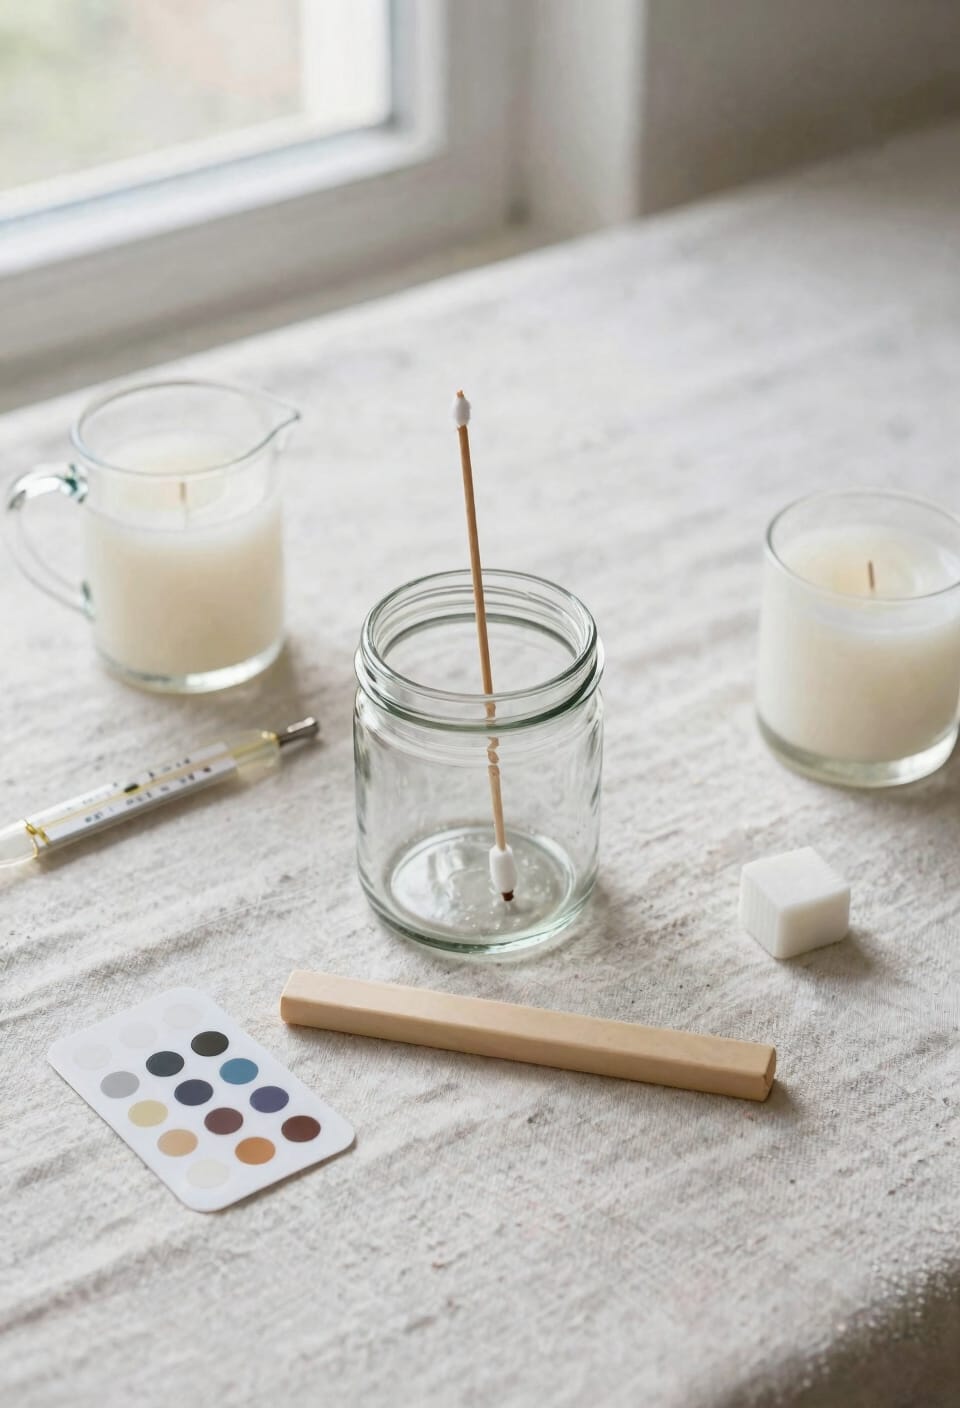
Before you tip that heated wax into your container, everything needs to be in place—and I mean *everything*. Run through your safety checklist: Is your pouring temperature correct for your wax type? Have you tested material compatibility between your fragrance oil and wax? Double-check that your wick’s secured at the bottom and top—no floaters allowed. Your wick bar should be holding steady, not tilted. Fill your container to that 75-80% mark you’ve measured out. Make sure your workspace is clear of distractions. Now, verify your mold or jar can handle the heat you’re about to introduce. Trust me, I’ve learned the hard way that prepping properly prevents disasters. Take the extra two minutes.
Prevent Wick Drift: Why Sizing and Anchoring Matter
Now that your wick’s anchored and your pour temperature’s dialed in, there’s still one thing that’ll sabotage a perfectly prepped candle: a wick that drifts. Here’s the thing—wick tension, meaning how tightly your wick’s held at both ends, directly affects whether it stays put during the pour. I’ve watched wicks float sideways in hot wax, and it’s almost always because I underestimated melt resistance, or how well a wick withstands the liquid wax’s movement and heat. Proper sizing matters here. A wick that’s too thin lacks the structural integrity to fight drift. Too thick, and you’ll get tunneling instead. Match your wick diameter to your container width, and secure both top and bottom with real tension—not just hope.
Common Centering Mistakes and Fixes
Even with the best wick sizing and anchoring strategy in place, I’ve seen candles sabotaged by mistakes so common they’re almost predictable. The biggest culprit? Pouring too fast. When you rush, surface tension works against you, and your wick alignment shifts before the wax sets. I’ve also watched mold vibration undo perfect centering—bumping your workspace during cooling is basically asking for trouble. Then there’s the rookie move: securing wicks too loosely at the top. They look centered, but the moment hot wax hits, they drift. And here’s what really gets people: using white puff pads or sticky dots alone without a proper wick bar. They’re helpers, not solutions. You need that top support holding your wick straight through the entire pour and cooling period.
Recommended Products

Comes in individual boxes of two! Stainless Steel; Size: 6.77 x 2.44 Inch

9-Inch Hemp Wicks Fit All Lux Mundi Candles: Twice the length of standard wicks and compatible with all Cathedral Candle Lux Mundi refillable oil candle holders - altar candles, sanctuary lights, advent candles, and paschal candles

Precision Alignment: Designed for precise tailstock alignment on lathes, this MT3 mandrel bar ensures accurate centering and minimizes runout, improving machining quality and consistency.
Burn-Test Your Candle: What to Look for the First 2 Hours
Your wick’s centered, your pour’s done, and now comes the part that’ll actually tell you whether you did everything right—the burn test. Light that candle and watch closely during the first hour. You’re looking for soot observation—any black buildup on the container walls or wick means your wick’s too thick or your fragrance load (that’s the percentage of scent oil mixed into your wax) is throwing off the burn. By the second hour, check your meltpool depth, which is how far the melted wax has spread from the wick. You want it reaching the container edges evenly without tunneling down the center. If your pool’s uneven or shallow, your wick centering wasn’t quite right, or your wick size needs adjusting. These first two hours tell you everything.
Troubleshoot Angled or Floating Wicks After Pour
If you’ve poured your candle and come back to find the wick lounging at an angle like it owns the place, or worse, floating around in the warm wax like it’s on vacation, I feel you—I’ve been there, staring at a candle that looked perfect five minutes ago and now looks like it’ll burn like a lopsided mess.
Here’s the thing: pre-secured wicks sometimes float when hot wax hits them, especially if you didn’t use enough adhesive sleeves or wick foam at the base. The wax temperature matters too—pour too hot and you’re basically asking for disaster. If your wick’s already drifted, you’ve got limited options. You can try repositioning it while the wax’s still workable, using a wick foam insert for better grip. Going forward, double-check your anchoring method before pouring. Proper sizing prevents pool depth issues that cause wicks to topple post-burn.
Recommended Products

If the foam in your cover is cracked or damaged, and the external vinyl is fine, this item will allow you to replace the foam in one side of your cover.

Textured Metal: In order to bring you a better experience, we use higher quality metal to produce these candlestick holders, the gold electroplated surface makes it more shiny and easy to clean. And we increased the weight of the bottom to make the gold candlesticks more stable, even if you use them outdoors, they will not be blown over by the wind.
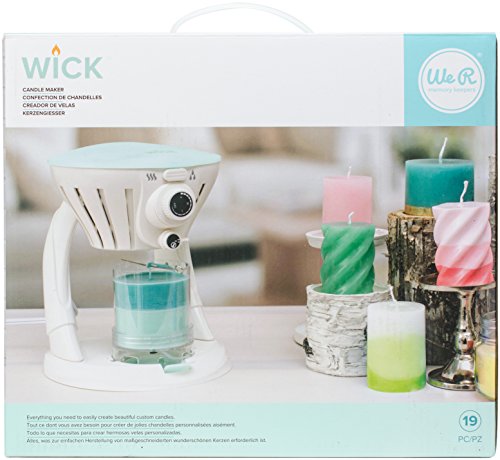
COMES WITH EVERYTHING YOU NEED: This kit includes 3 lbs of Paraffin Wax, 72 inches of cotton wick, 3 candle rubber stoppers, pigment (red, yellow, blue, white), 3 candle molds with base, and a color mixing chart
Fine-Tune Your Setup for Future Batches
Now that you’ve figured out what went wrong with that floating or angled wick, the real payoff happens when you take what you learned and actually build it into your process going forward. Start recipe tracking right now—jot down your wick size, container type, pouring temperature, and which centering tool worked best. Future batching becomes so much easier when you’ve got those details locked in. I keep a simple spreadsheet: container dimensions, wick pin versus glue dots, whether my wick bar held steady through cooling. You’ll spot patterns fast. Did the 51 wick drift in eight-ounce jars but stay put in ten-ounce ones? Write it down. That’s your blueprint. Next batch, you won’t guess—you’ll know exactly what worked before.
Frequently Asked Questions
Can I Reuse Wick Pins and Glue Dots Across Multiple Candle Batches?
I’d recommend replacing glue dots after each batch due to material breakdown and adhesive weakening. Wick pins, however, you can reuse indefinitely if they’re clean and undamaged. Just inspect them regularly for reuse concerns like bent tips or residual wax buildup.
What’s the Ideal Wick Diameter for Different Jar Sizes and Container Types?
I’ve found that matching wick diameter to jar size is like fitting a shoe—too loose and it wobbles, too tight and it doesn’t perform. I recommend burn testing each diameter for peak flame size and jar compatibility.
How Long Should I Wait After Pouring Before Removing Centering Tools?
I’d recommend waiting until your candle’s cooling time is complete and the surface loses its tackiness before removing centering tools. This typically takes several hours, ensuring proper wick positioning throughout solidification.
Are There Eco-Friendly Alternatives to Glue Dots and Sticky Pads?
I’ve found that plant-based putties are worth their weight in gold for eco-conscious crafters. They’re reusable and work just like sticky dots. Natural beeswax also anchors wicks effectively while keeping your practice sustainable.
Can Wick Centering Tools Work With Specialty Wax Blends and Additives?
I’ve found that wick centering tools work reliably with specialty wax blends. You’ll want to monitor additive interaction closely, though, as fragrance retention can affect wick stability during cooling phases.
Conclusion
You’ve now got the blueprint to keep your wick standing tall like a sentinel through the pour. I’ve fumbled enough off-center flames to know how frustrating a wandering wick can be. Master these techniques, and you’re building a foundation for candles that burn true and bright. Your future self—the one lighting these beauties weeks from now—will thank you.