As an Amazon Associate, we earn from qualifying purchases. Some links on this site are affiliate links at no extra cost to you. Our recommendations are based on thorough research and editorial judgment.

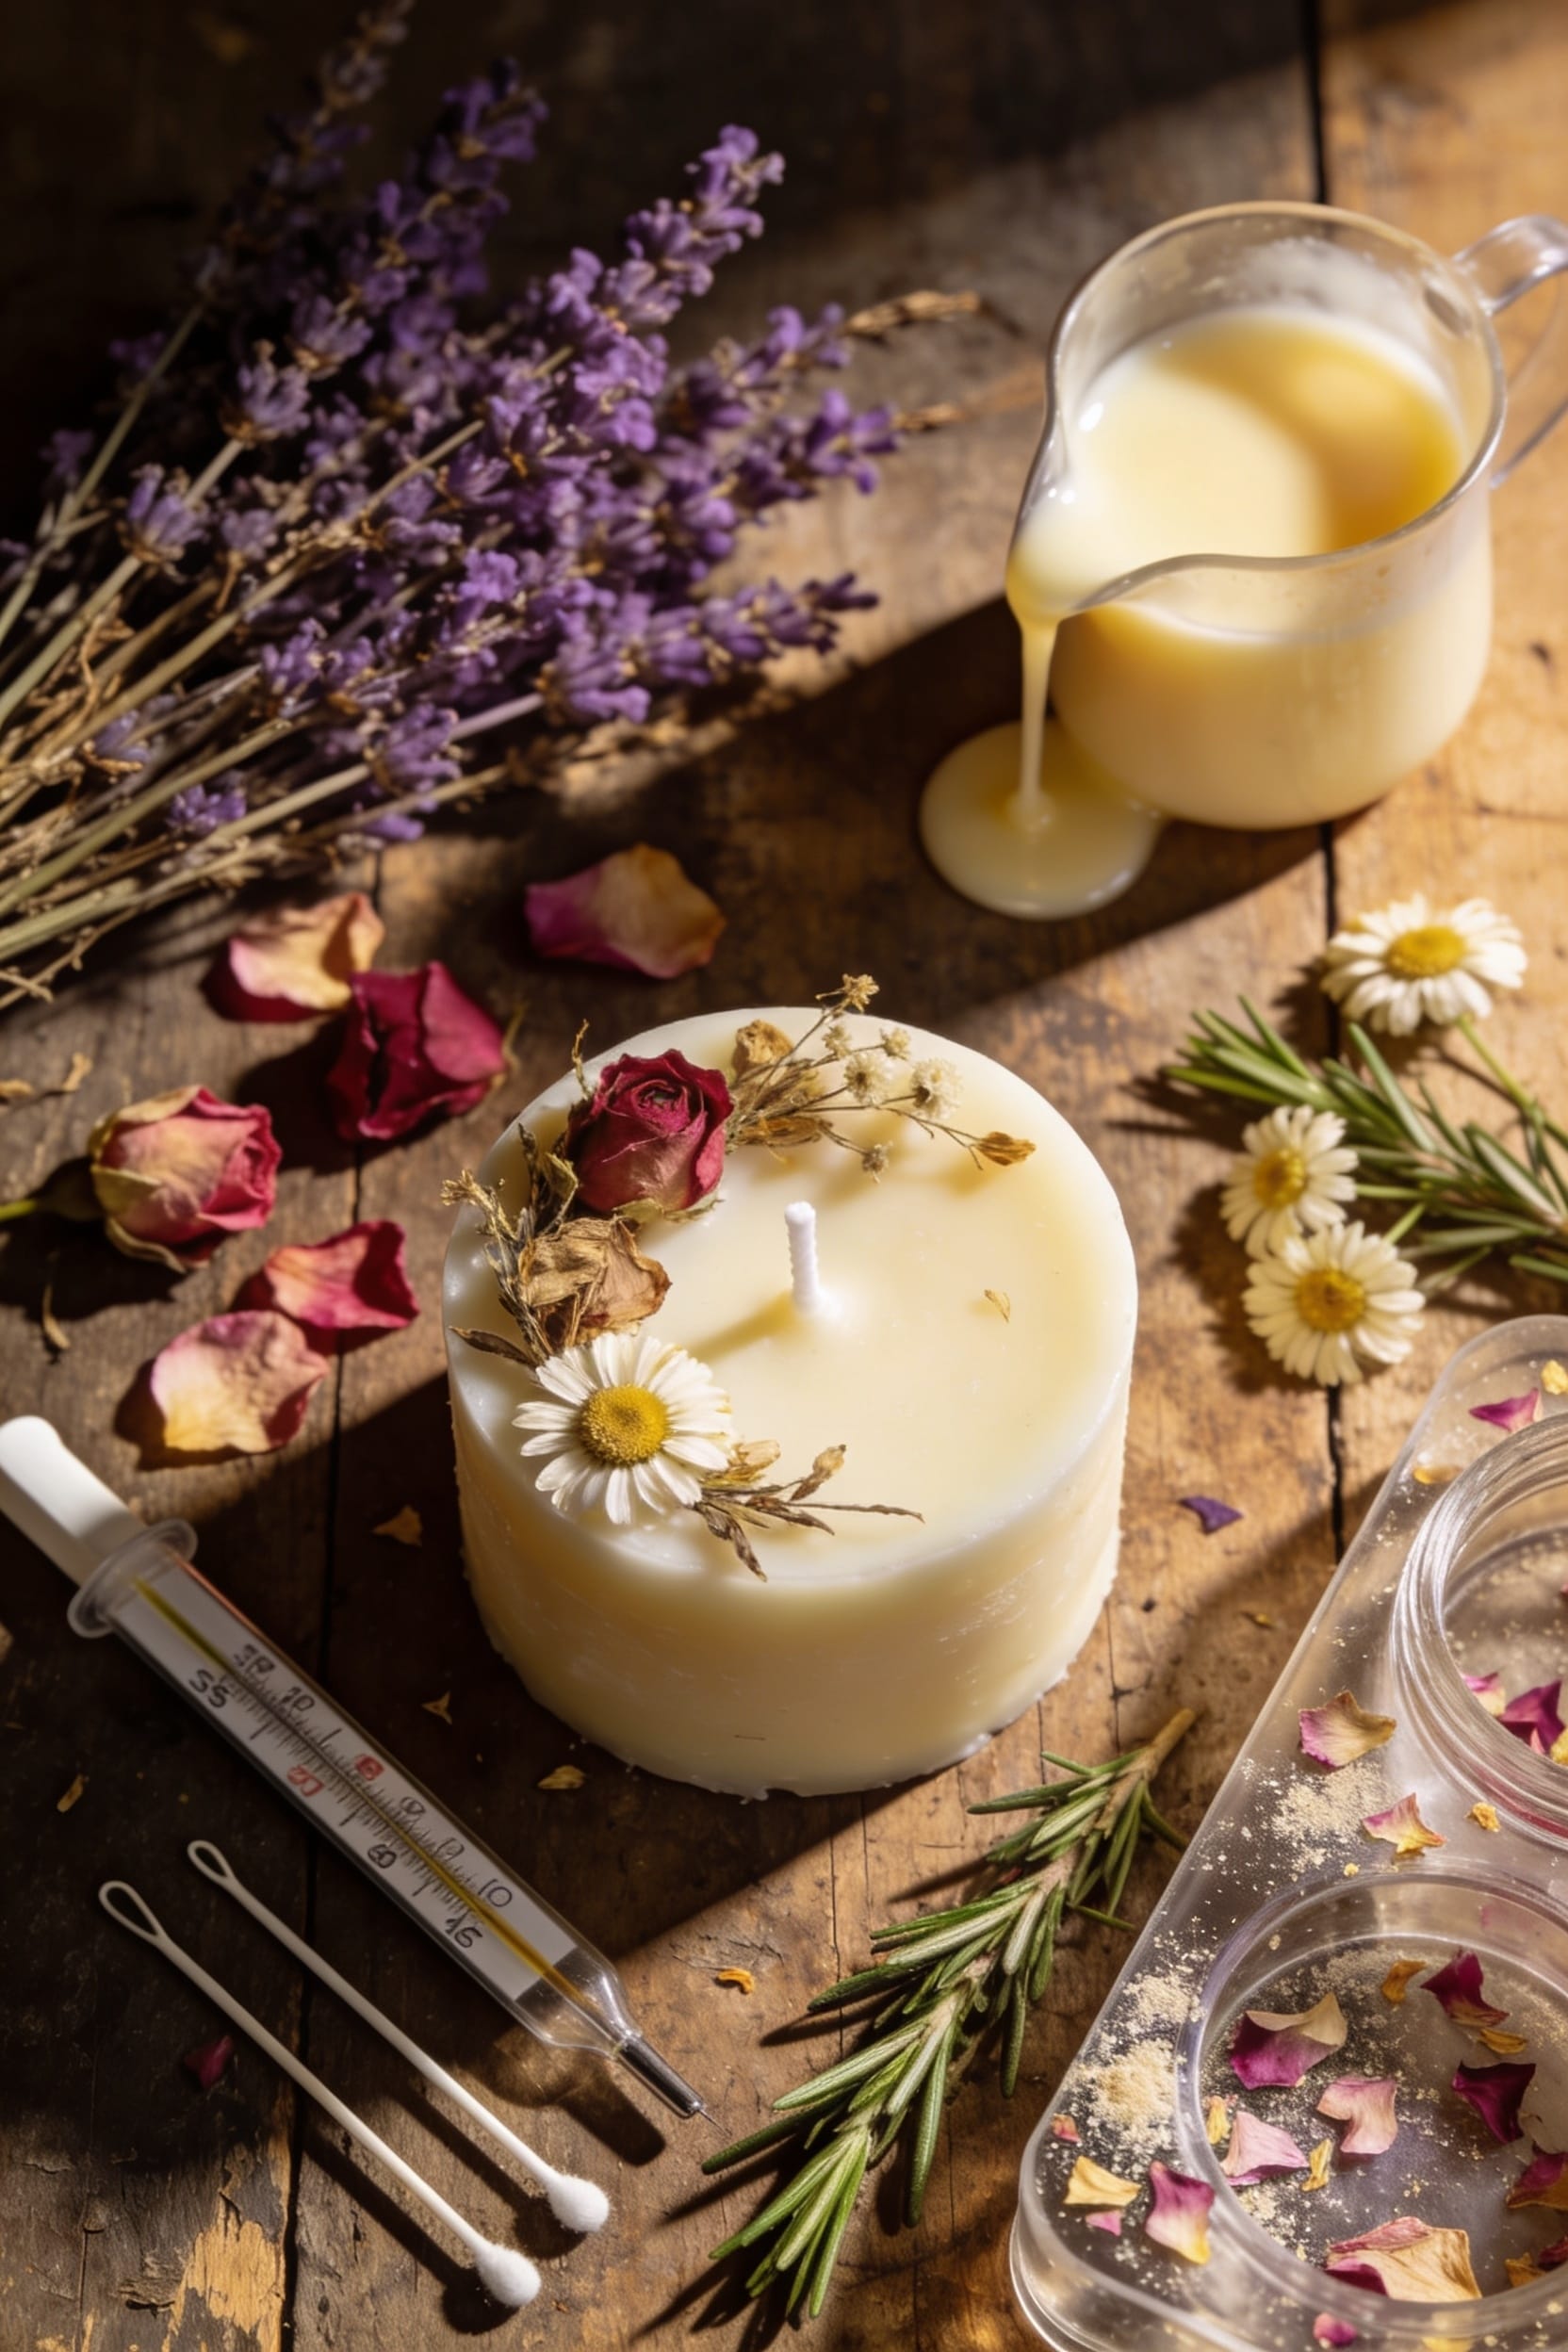
How to Make Botanical Candles With Dried Flowers & Herbs

dried flowers are basically kindling, so I’d skip the open flame altogether and go wickless instead. If you’re set on burning them, use soy wax—it holds botanicals better than paraffin—and keep those petals at least half an inch from the wick. Position small pieces around the perimeter, let your candle cure forty-eight hours, and stay nearby that first burn to catch any unexpected flare-ups. Trim your wick to a quarter-inch and snuff flames immediately if things get sketchy.
Key Takeaways
- Choose soy wax for cleaner burning and better botanical retention; use a double boiler for controlled melting around 170–180°F.
- Select colorfast dried flowers like lavender, rosemary, and calendula; break into small pieces and keep away from the wick.
- Position botanicals at least half-inch from the wick after initial wax sets to prevent flammability and ensure even burning.
- Cure candles for at least 48 hours before burning to allow fragrance oils to bond with wax and mature properly.
- Monitor the first hour of burning closely; trim wicks to quarter-inch and snuff flames if they grow unusually large.
Decide: Open Flame or Safer Alternative?
Before you get too far down the road of embedding botanicals into melted wax, you’ve got to make a real decision: do you want an open flame candle, or would you rather sidestep the fire hazard altogether?
Look, I’ll be straight with you. Dried flowers near a wick create legitimate flammability risks. The National Candle Association doesn’t mess around about this—flames can spike unpredictably, and that’s not ideal when you’ve got botanicals acting as kindling.
Now, candle alternatives exist for exactly this reason. Wickless candles eliminate open flame concerns entirely. You could also repurpose those botanicals as fire starters for campfires, tuck them into sachets, or explore commercial options. Pillar molds offer another safer route for botanical designs.
Honestly? If safety matters more than having an actual flame, skip the traditional candle altogether.
Recommended Products

Comprehensive Packages for Your Needs: this wedding gift candles set includes 24 elegantly molded flower candles, each beautifully encased in a holy white packaging box with clear window; To further enhance your decor, 1 roll of 50 yards beige ribbon and 50 gold stamping white love tags are provided. This thoughtful packaging transforms them into ideal return gifts for bridal showers, weddings, or baby showers, ensuring your guests leave with a lovely keepsake

🫧 100% Natural & Organic: Made from pure, eco-friendly ingredients, ensuring a clean and safe burn for you and the environment
Gather Your Wax, Wicks, and Containers
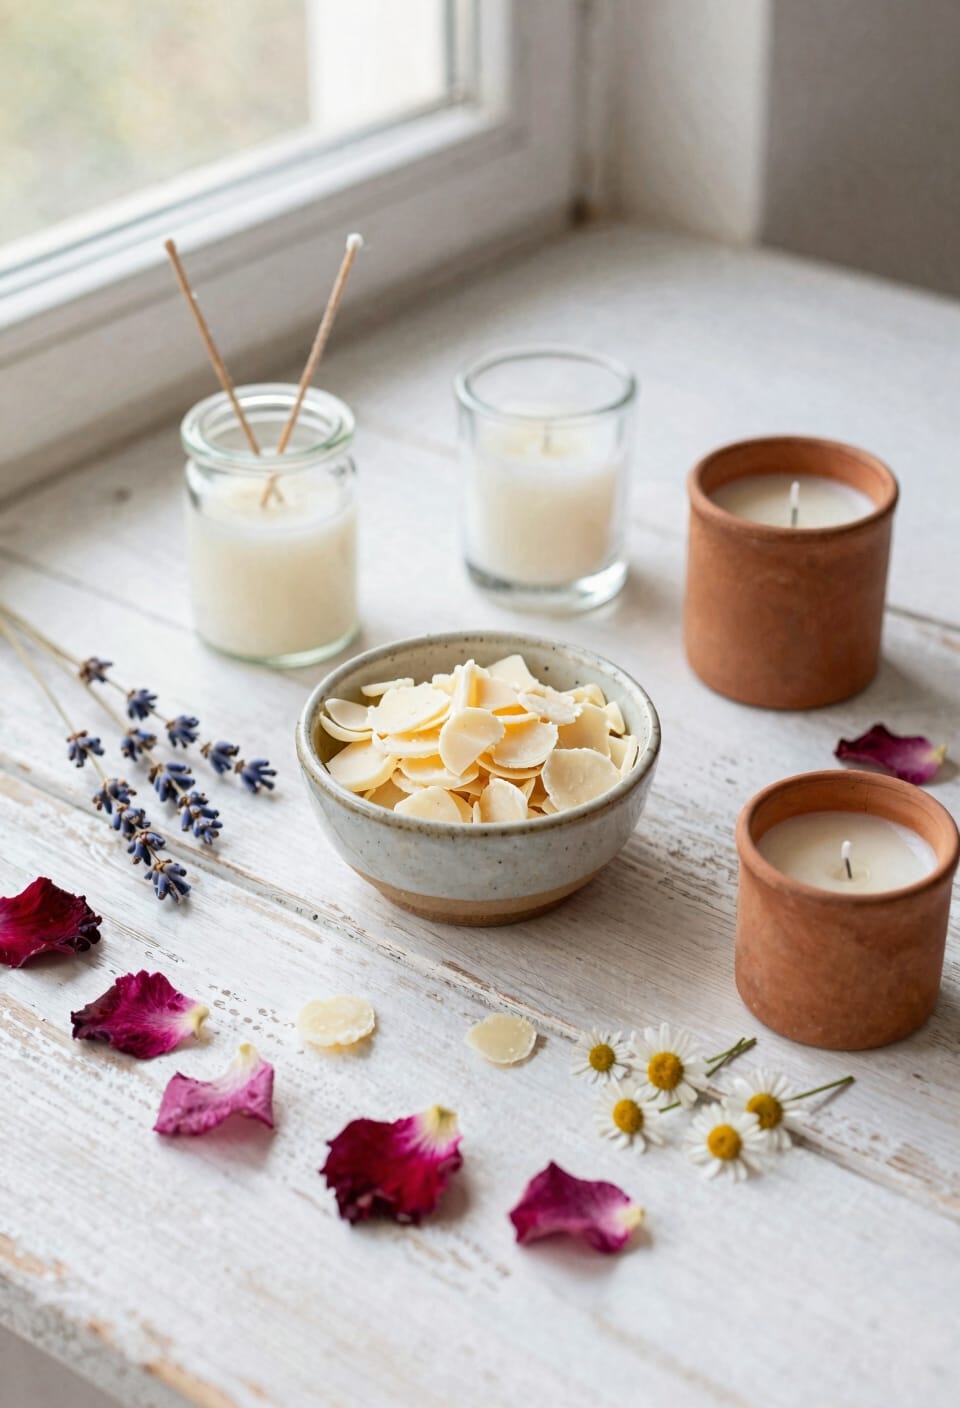
All right, assuming you’ve decided to move forward with an open flame candle despite the risks (I get it—there’s something irresistible about real fire), you’ll need to gather the actual materials before you melt anything. Start with wax sourcing: soy wax is your best bet for botanical candles since it holds dried flowers beautifully and burns cleaner than paraffin. You’ll want container sizing that matches your wax amount—glass jars work great, though tins are equally charming. Grab proper wicks sized for your container’s diameter; too thin and they’ll drown, too thick and they’ll smoke like crazy. I’ve made both mistakes. Have a double boiler ready, a thermometer for pouring temperatures, and dried botanicals prepped separately.
Recommended Products

Industrial 67 Lbs Capacity Wax Melting Pot Pro Package Model: Includes Large Spout, Lid, Pouring Pot, Stirring Spoon. Cutting-edge technology ensures rapid melting of soy wax, paraffin, coconut, and beeswax for efficiency. It's perfectly suitable for most Wax types and Melt & Pour soap bases. Its user-friendly temperature guage allows temperature adjustment from from low to high temperature which maintains roughly 100 - 350 degrees Fahrenheit.

65 LBs Capacity Wax Melting Pot Pro Package Model: Includes Large Spout, Lid, Pouring Pot, Stirring Spoon. Cutting-edge technology ensures rapid melting of soy wax, paraffin, coconut, and beeswax for efficiency. While it can't be used for lye soap making due to aluminum's reactivity with lye, it's perfectly suitable for Melt & Pour soap bases. Its user-friendly temperature guage allows temperature adjustment from from low to high temperature which maintains roughly 100 - 350 degrees Fahrenheit.
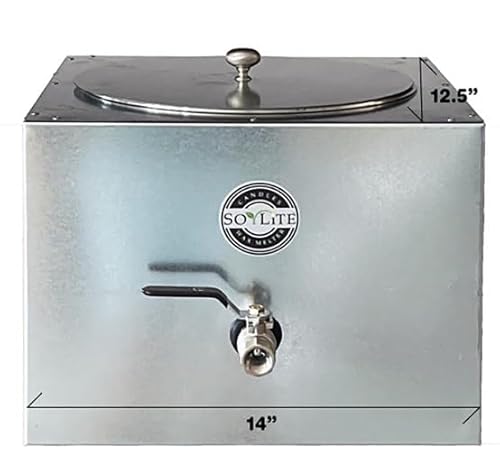
Profeshional wax melter for candle making, Effortlessly make large batches candles . No more messing with temperature control. This new wax melter automatically keeps wax around 180 to 190 degrees. Just simply add wax and turn on. If you are running a small business or handling a big custom order? SoyLite will help save you time.
Choose the Right Dried Flowers and Herbs
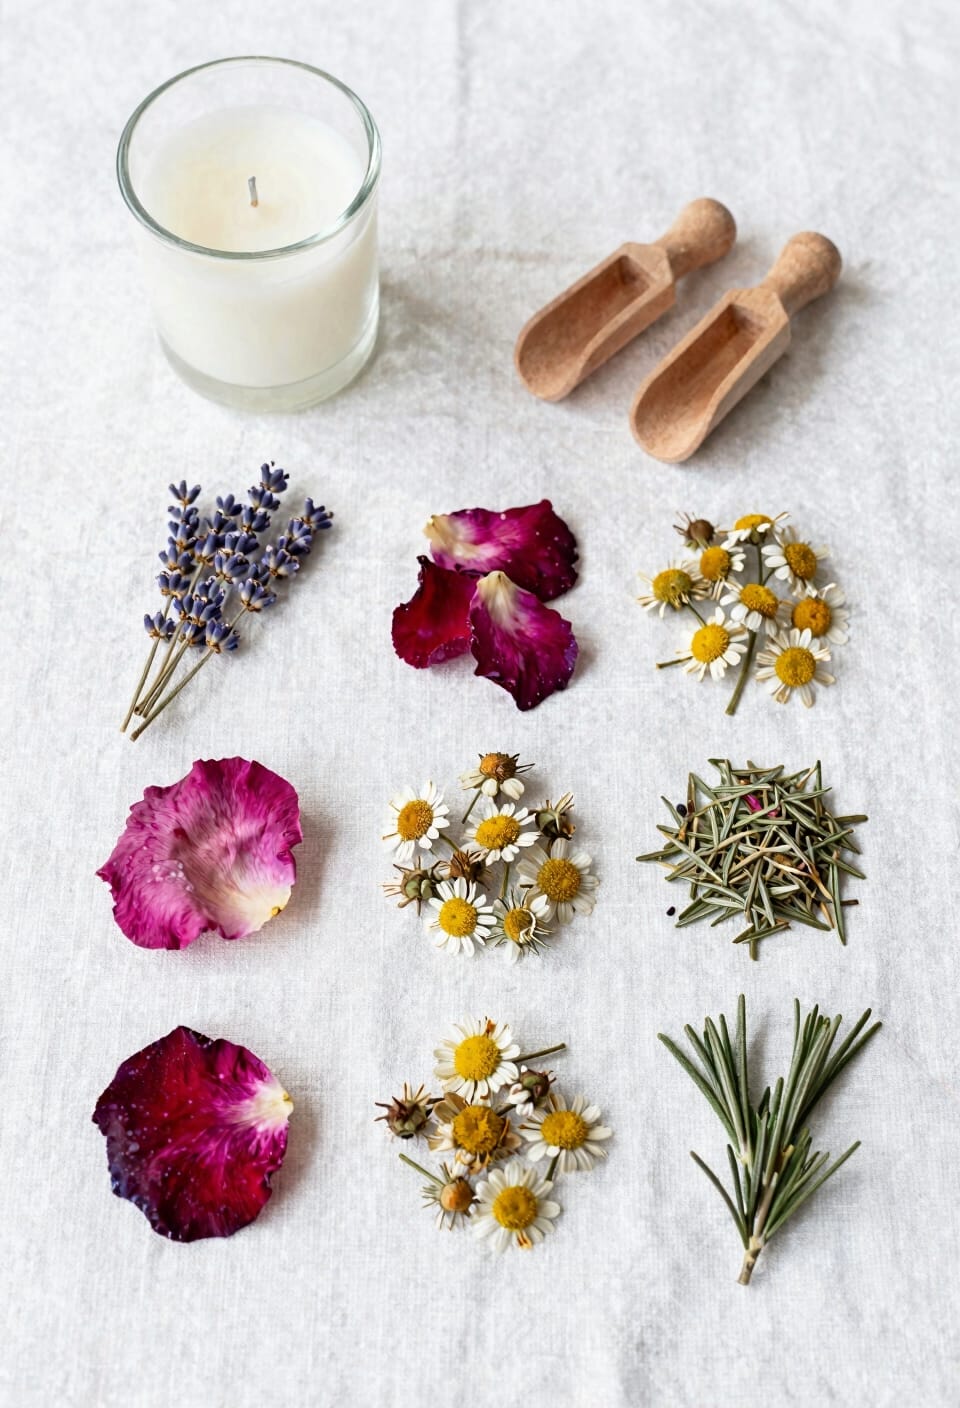
Since you’ve already got your wax melting setup ready, the flowers you choose will make or break whether your candle actually looks good—and burns safely. Look, I’ve learned this the hard way. Lavender buds are your friend because they’re colorfast varieties that hold their purple hue through the whole process. Rosemary, calendula, and bachelor’s buttons work similarly well. The key is scent retention too—dried botanicals that’ve been properly preserved won’t turn black or weep moisture into your wax. Break everything into small pieces, keep petals away from the wick, and use less than you think you need. Trust me on this one. Too many botanicals make for uneven burning and potential fire hazards that’ll ruin your project fast.
Recommended Products

Natural Dried Lavender Flower: you will receive 36 natural dried lavender bundles with delicate wrapping papers, and 36 purple organza bags, in which you can place dropped buds to make sachets to hang around your room, each lavender bouquet has about 80-90 stems, total about 2880-3240 stems

Indulge in the Fragrant Bliss: our 7 pound of French dried lavender flowers are ideal for adding a touch of natural fragrance to your home, DIY crafts, and weddings
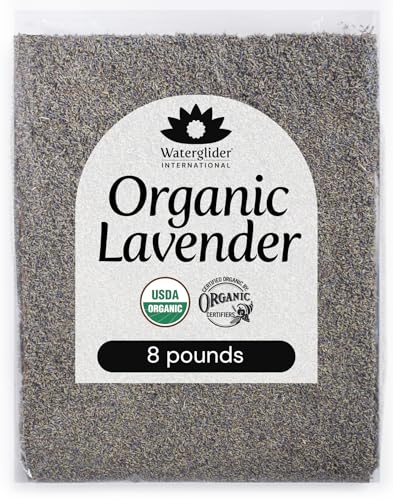
Giant 8 (Eight) pound Box of Bulk Organic Lavender for crafts, DIY, oils, aromatherapy, candles, soaps, sachets and more
Prepare Your Botanicals for Even Distribution
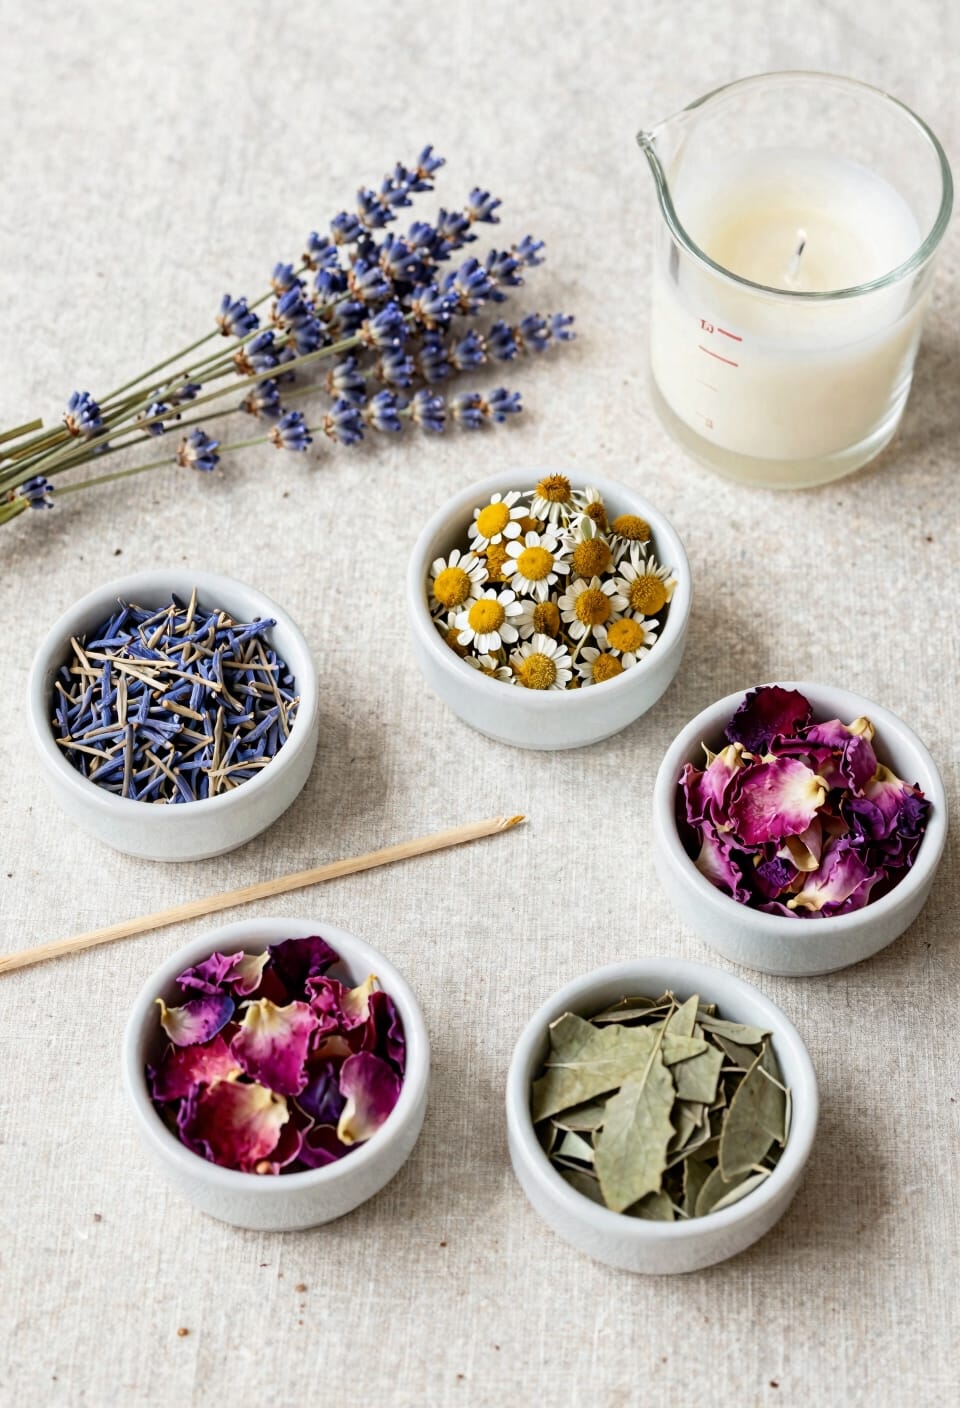
Now that you’ve got your dried flowers picked out, the way you prep them makes all the difference between a candle that looks intentional and one that looks like you just dumped a handful of botanicals into melted wax and hoped for the best (I’ve done that—don’t).
Start by trimming stems short—you want small, manageable pieces. Use a sieve to separate petals from larger material, which helps them distribute evenly throughout your pour. Break anything oversized into smaller fragments. This matters because big chunks burn unevenly and can shift during hardening, leaving bare spots.
I’m serious about the less-is-more approach here. You’ll be tempted to load them in. Resist that urge. Thin, even distribution always outperforms a dense cluster.
Melt and Pour Your Wax
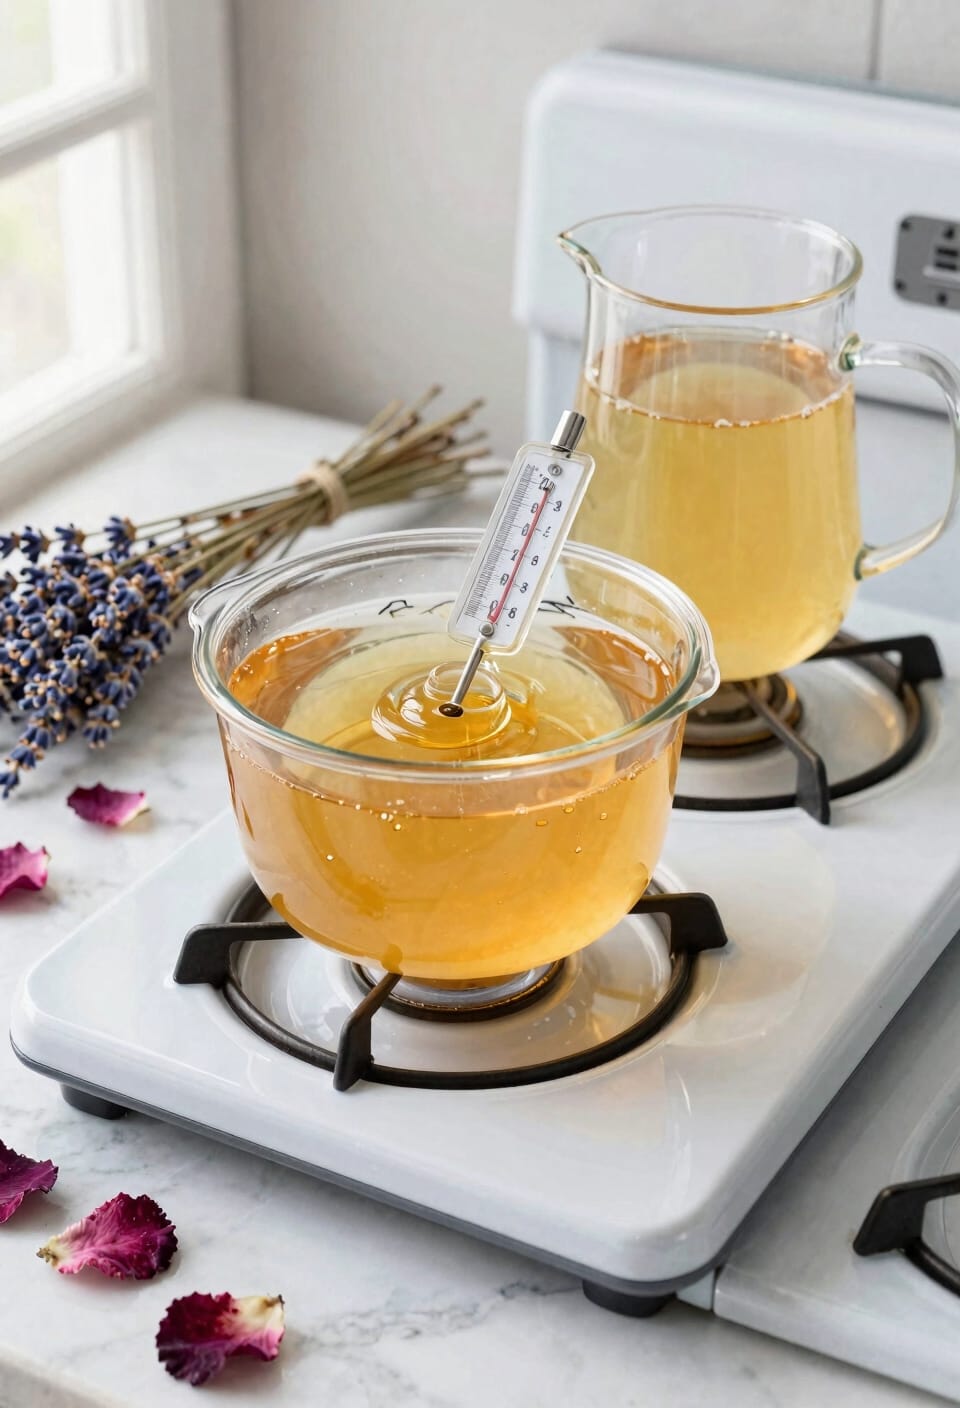
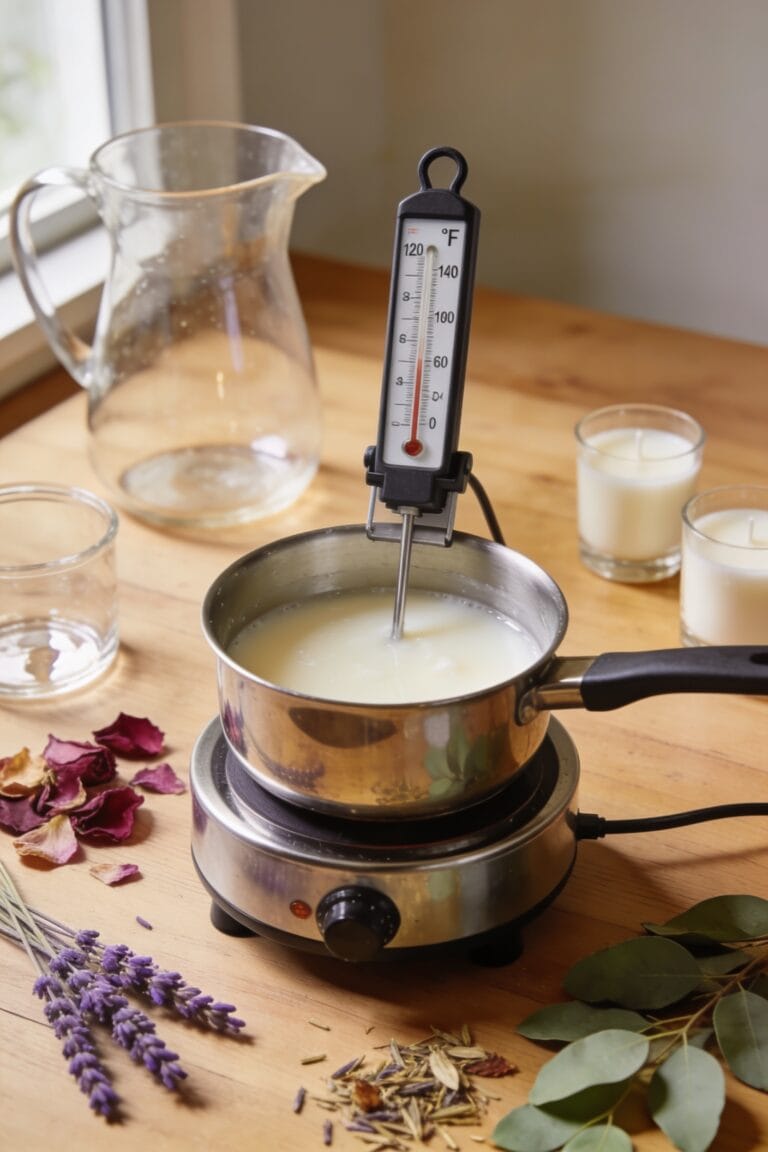
The double boiler method is your safest bet here—it keeps your wax at a gentle, even temperature without scorching it, which I learned the hard way after ruining a batch by getting impatient and melting soy wax directly over high heat (it smelled like burnt popcorn and looked like wet cardboard). Fill a larger pot with water, nest a heat-safe bowl on top, then add your wax. This temperature control prevents degradation that ruins both scent throw and color.
Now, you’ll want to monitor the thermometer closely. Soy wax typically melts around 170–180°F. Once it’s completely liquid, pour slowly into your prepared containers. Work deliberately but not frantically. Let the wax set for a few hours before adding botanicals. Rushing this step invites air bubbles and uneven cooling.
Recommended Products
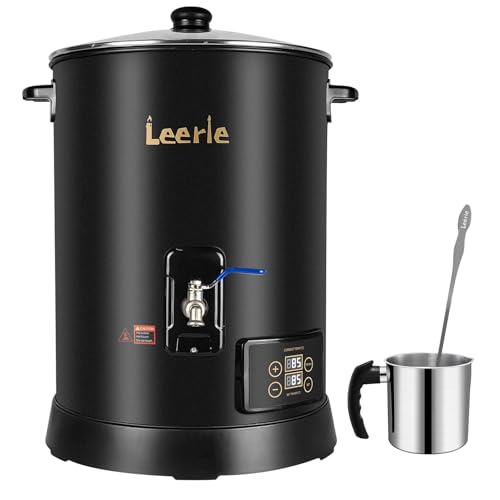
✔ MELT MORE, SELL MORE—30LBS AT ONCE : Scale up without slowing down. Designed for professional makers, the Leerie D15 Wax Melter holds up to 30 lbs of wax—enough to pour 120 4oz candles in a single session. Perfect for small businesses and studios handling wholesale orders, seasonal demand, or daily restocks. Big capacity, big results—minus the batch hassle.

Fast Melt 60 Candles for You: Achieving a rush order for a bulk order was made easy. TOAUTO 30Lbs wax melter can melt 30Lbs of candle wax and make 60 8-ounce candles at a time, greatly reducing your production time and making mass production of candles piece of cake. it's time to consider investing in a fully functional candle maker machine!

【Heating Core Spout Technology】SAY NO TO clogged! The patented spout tech keeps wax heating and running internally. The nozzle is located lower than the bottom of the internal container allowing the wax to flow emptying and faster pouring easily. Great for a clean pour! Built for candles, soap making, ideal for DIY hobbies, small-medium size candle business.
Position Botanicals Away From the Wick
Once your wax has cooled and set, you’re ready to add the dried flowers and herbs—but here’s where a lot of people get careless and end up with flames that look like tiny campfires inside their jars.
Keep distance between your botanicals and the wick. Aim for at least a half-inch barrier. This ember barrier prevents dried petals from catching fire directly. I’ve watched calendula buds ignite like tiny torches when positioned too close—it’s genuinely unsettling.
Break flowers into smaller pieces rather than using whole blooms. Sprinkle them around the candle’s perimeter, away from that central wick. Think of it as creating a safe zone where heat can’t reach them easily.
Your beautiful botanical design means nothing if it’s flaring dangerously. Respect that fire hazard, and you’ll have a gorgeous, safe candle.
Let Your Candle Cure Before Lighting
Resisting the urge to light your candle the moment it hardens is one of the hardest parts of candle making—I get it, you’ve just created something beautiful and you want to experience it. But here’s the thing: you need to let it cure. Cure time is the period where your wax fully sets and your fragrance integrates throughout—think of it like letting bread rise. I typically wait at least 24 hours, though 48 is better. This matters because scent maturation, the process where fragrance oils bond with wax molecules, takes time. Light it too soon and you’ll get weak throw, uneven burn, and disappointment. Wait it out. Your nose will thank you.
Watch for Flare-ups While Burning
Now here’s where dried botanicals get a little tricky—they’re beautiful, genuinely, but they’re also sitting right there next to an open flame, and dried plants are, well, flammable. I’ve watched candles I’ve made suddenly flare up, and it’s genuinely unnerving.
Your flare up triggers are usually small: a petal drifting too close to the flame, an ember catching something nearby. That’s where ember management comes in. You’ll want to stay nearby while your candle burns, at least the first hour. If you see the flame jumping or growing unusually large, snuff it out immediately—don’t blow it out, you’ll scatter embers everywhere.
Keep botanicals at least a half-inch from your wick base. Trim your wick to a quarter-inch too. These aren’t suggestions. They’re how you actually keep burning under control and enjoy your candle safely.
Recommended Products


Elegant Design: Features a long, 13-inch brass handle adorned with a butterfly and flower design, adding a decorative touch to your candle display.

EXTEND THE LIFE OF YOUR CANDLE: Wick trimmers are a must-have precision tool to properly care for your candle. Our stainless steel wick trimmers use a patented design that allows you to trim your wick and catch the debris with one snip.
Frequently Asked Questions
Can I Use Fresh Flowers Instead of Dried Ones in My Botanical Candles?
I’d advise against using fresh flowers. When comparing fresh vs. preserved botanicals, fresh flowers contain moisture that’ll cause oozing, blackening, and potential fire hazards. I recommend sticking with dried flowers for safer, better-burning candles.
What Is the Ideal Curing Time Before I Can Safely Burn My Candle?
I’d love to tell you it’s ready immediately, but I’m afraid patience wins here. I recommend waiting 24-48 hours for complete wax crystallization and cure time before burning your botanical candle safely.
How Much Dried Botanicals Should I Add to Avoid Overpowering the Scent?
I’d recommend using a 1:10 botanical ratio—keeping dried flowers to roughly 10% of your wax volume. This scent balance prevents overpowering floral notes while maintaining visual appeal. Start conservatively; you can always add more botanicals next batch.
Can I Combine Multiple Types of Dried Flowers in One Candle Design?
Yes, I’d layer your botanicals like a painted canvas. I’d combine lavender, calendula, and bachelor’s buttons for striking color combinations and textural contrast. I’d keep pieces small and distribute them evenly throughout.
What Should I Do if My Candle Flame Becomes Too Large While Burning?
I’d recommend you trim your wick to 1/4 inch and remove any debris or fallen botanicals from the wax’s surface. These steps’ll help control the flame’s size and prevent dangerous flare-ups during burning.
Conclusion
I’ve watched my botanicals transform from scattered petals into something whole, something that glows. That’s what these candles are—seeds of intention pressed into wax. When you light yours, you’re not just burning fragrance; you’re releasing what you’ve carefully tended. The flowers held their shape through the pour, just as you’ll hold yours through whatever comes next. That’s the real magic here.