As an Amazon Associate, we earn from qualifying purchases. Some links on this site are affiliate links at no extra cost to you. Our recommendations are based on thorough research and editorial judgment.

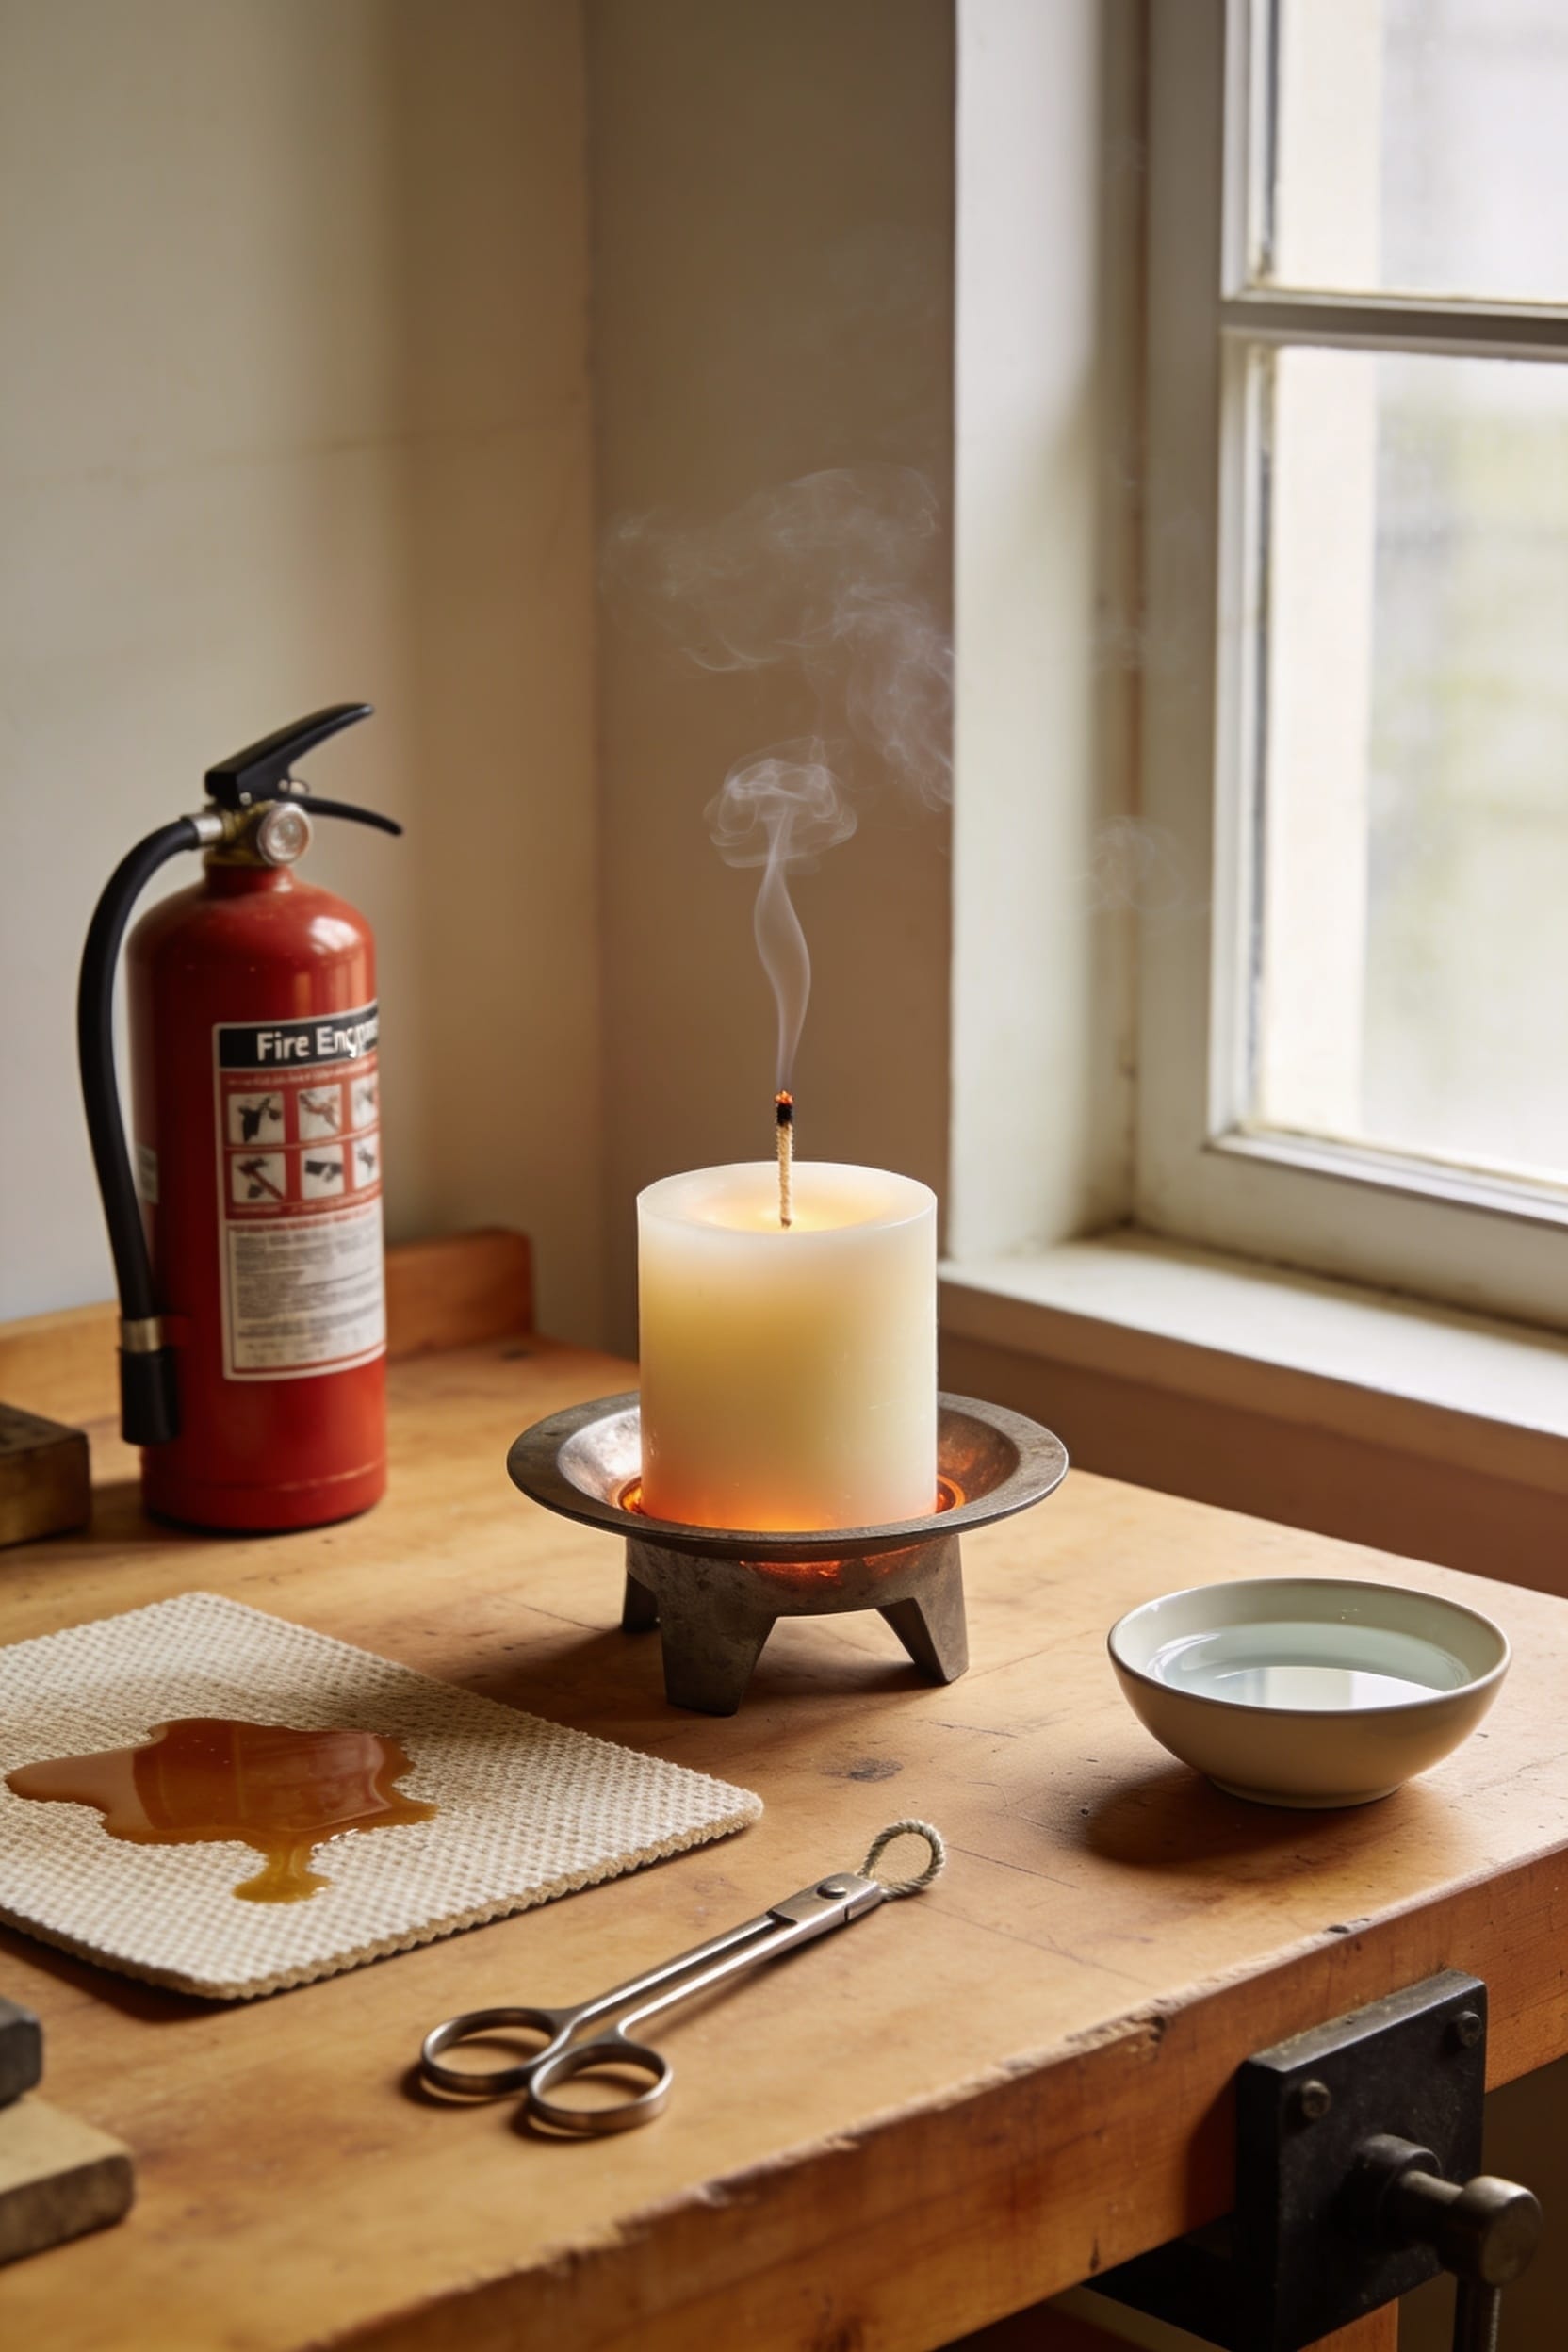
Candle Making Fire Safety: How to Prevent Burns, Fires & Spills

I’ve nearly torched my kitchen more times than I’d like to admit, so listen: fire safety in candle making isn’t negotiable. Use tempered glass containers only, never leave a burning candle unattended, monitor your wax temperature religiously to prevent overheating, keep fragrance oils away from heat sources, space candles three inches apart minimum, trim wicks to quarter-inch, and limit burns to four hours. Most disasters I’ve seen were completely preventable with proper equipment and attention. Stick around—I’ll walk you through exactly how to nail each step.
Key Takeaways
- Monitor wax temperature with a reliable thermometer and follow manufacturer guidelines to prevent overheating, smoking, and container damage.
- Wear heat-resistant gloves, eye protection, and an apron; keep a fire extinguisher nearby when handling hot wax.
- Never leave burning candles unattended; set a timer and stay present to prevent tipping, flame instability, and fire spread.
- Use tempered glass or ceramic containers rated for candle making, and space candles at least 3 inches apart.
- Trim wicks to 1/4 inch and limit burn sessions to 2–4 hours to prevent excessive soot and unstable flames.
Why Candle Safety Matters: Core Dangers and Prevention
When you’re pouring hot wax into containers and working with open flames, things can go wrong faster than you’d think—and I say that from experience, having watched melted wax do some genuinely alarming things in my own workspace over the years. Overheated wax can break glass containers, trigger respiratory hazards, and create fire risks you won’t see coming. Poor ventilation traps carbon monoxide and fragrance fumes that’ll leave you dizzy and nauseated. Using the wrong wax formulation or low-quality fragrance oils compounds these dangers. Some people develop candle allergies from inferior ingredients or improper fragrance loads—that’s the percentage of scent oil mixed into wax. Here’s the thing: most disasters are preventable through proper equipment selection, workspace setup, and attention to temperature management. Safety isn’t boring—it’s what lets you actually enjoy candle making.
Choose Heat-Resistant Containers and Molds
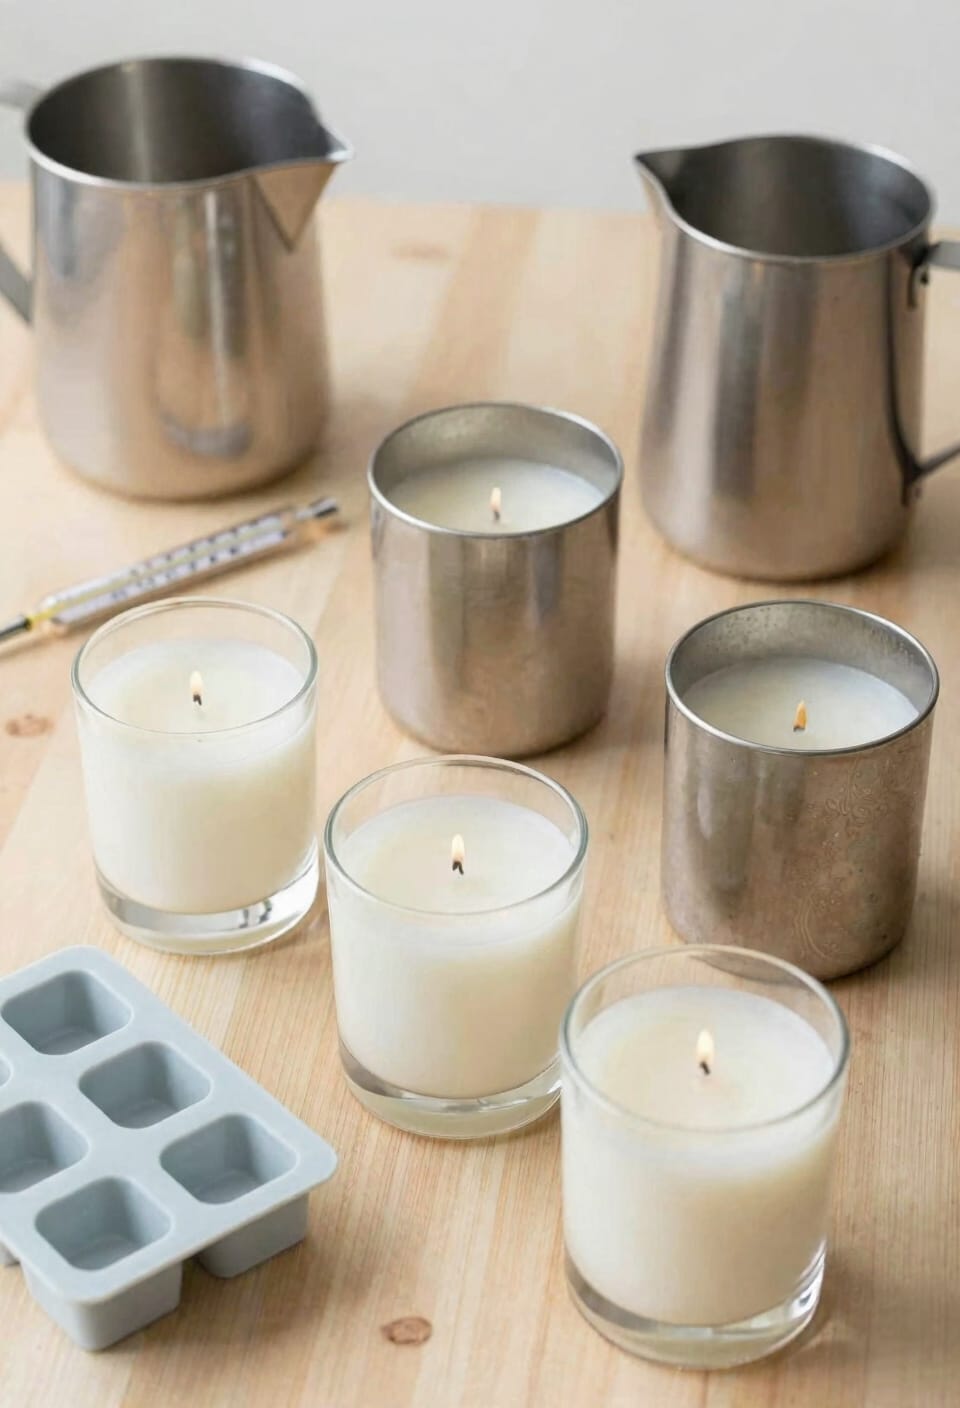
Now that you’ve got the fundamentals down, let’s talk about the actual vessels you’re pouring into—because I’ve learned the hard way that not all containers are created equal. You need tempered glass or ceramic vessels specifically graded for candle making. Regular glassware? It’ll shatter when your wax gets too hot. I’ve seen it happen, and it’s messy.
Silicone molds, pillar molds, and votives are solid choices too. But here’s where I almost made a costly mistake: clamshells can’t handle wax hotter than 150°F. Pour above that temperature and you’re risking damage and potential safety issues.
The point is simple. Invest in proper containers. Your candles—and your safety—depend on it.
Recommended Products

Reliable Performance: These classic chimney shape lanterns are made from strong heat resistant glass for long-lasting durable performance. Chimney glass is used as lampshade for effective brightness.

【Glass Candle Vessel】 30 Pcs empty candle containers, 30 Pcs jars with bamboo lids, The perfect container for making candles.

Premium Material: Our 24 oz mason jar are made of high-quality glass which ensures long-lasting use, PA-free and Lead-free. The wide-mouth design adds convenience to your daily activities, making it a reliable choice for various purposes
Monitor Wax Temperature Carefully
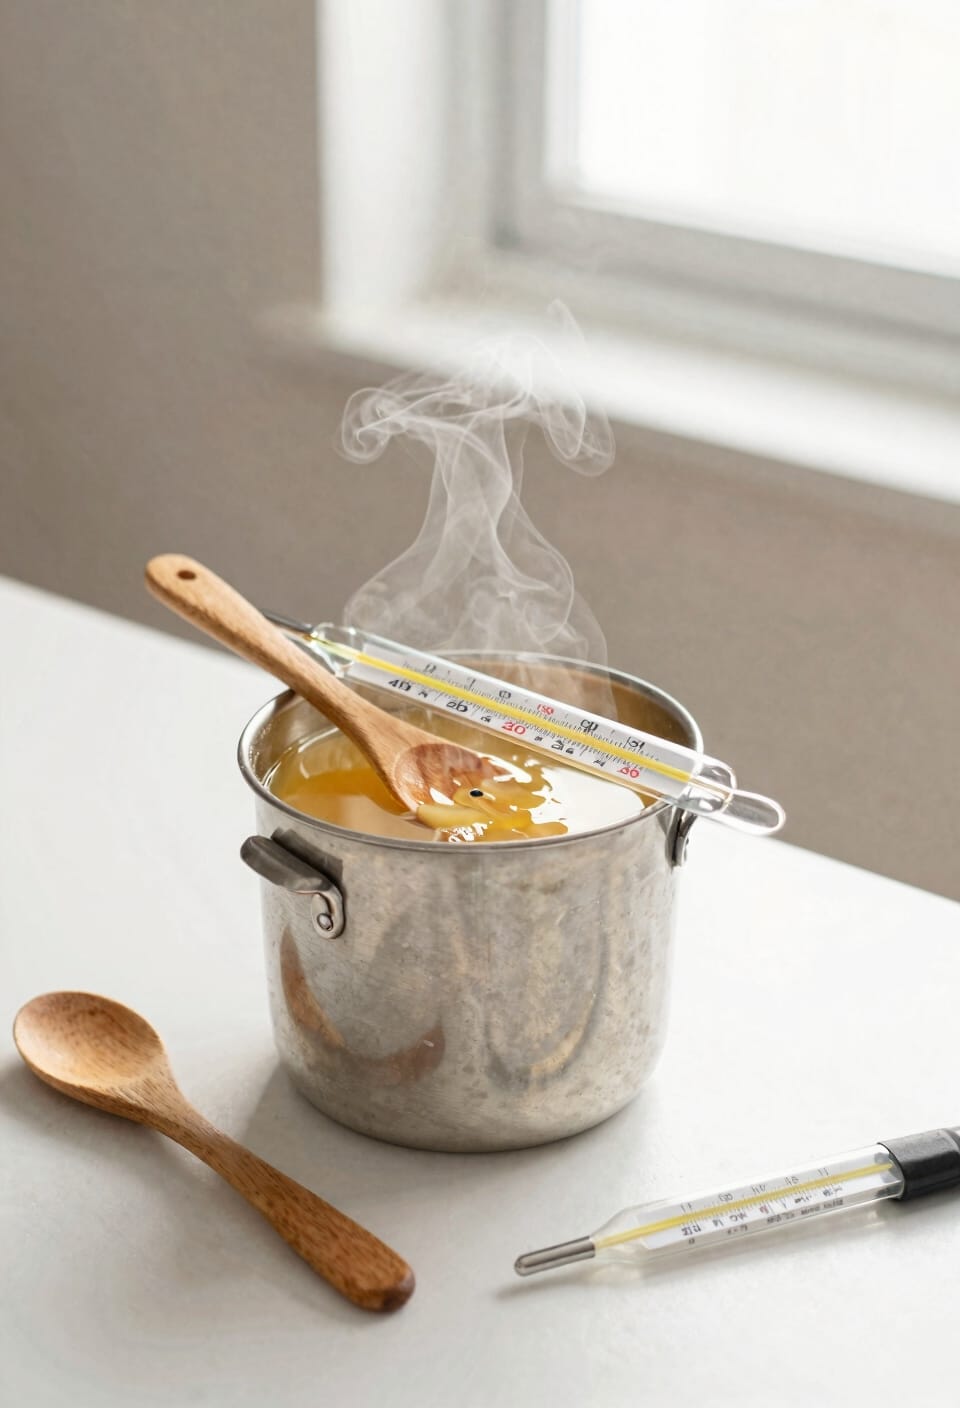
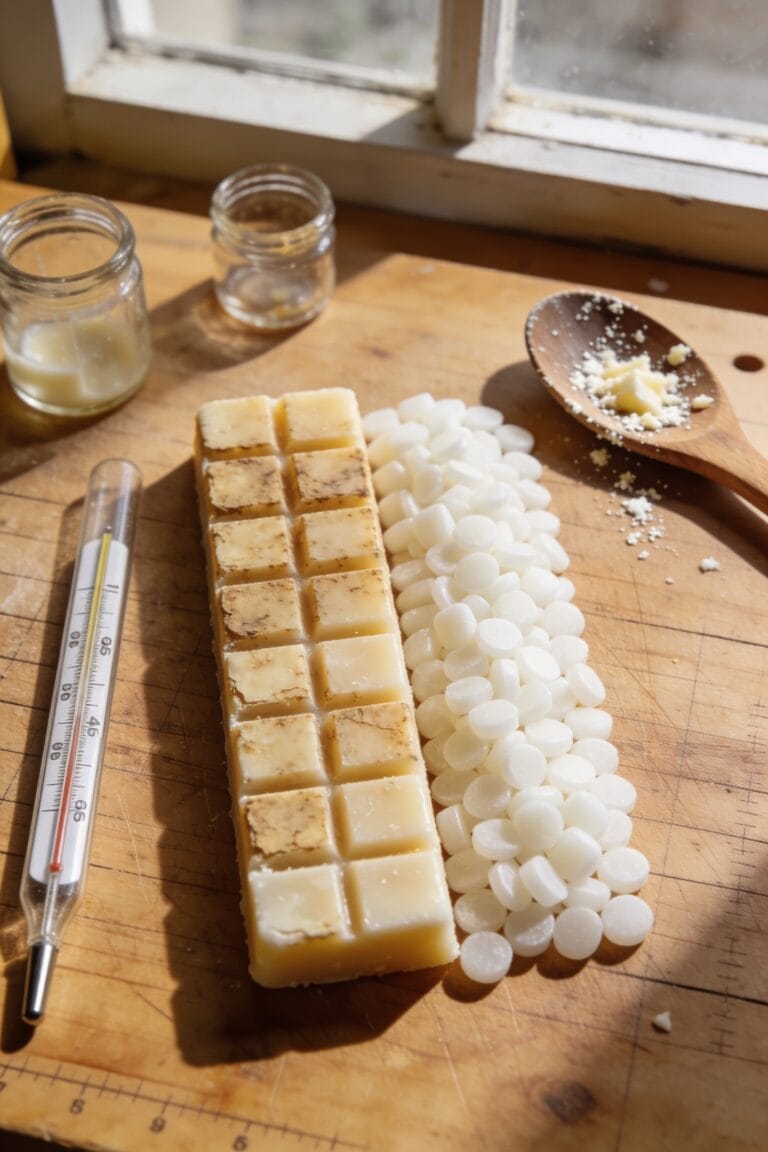
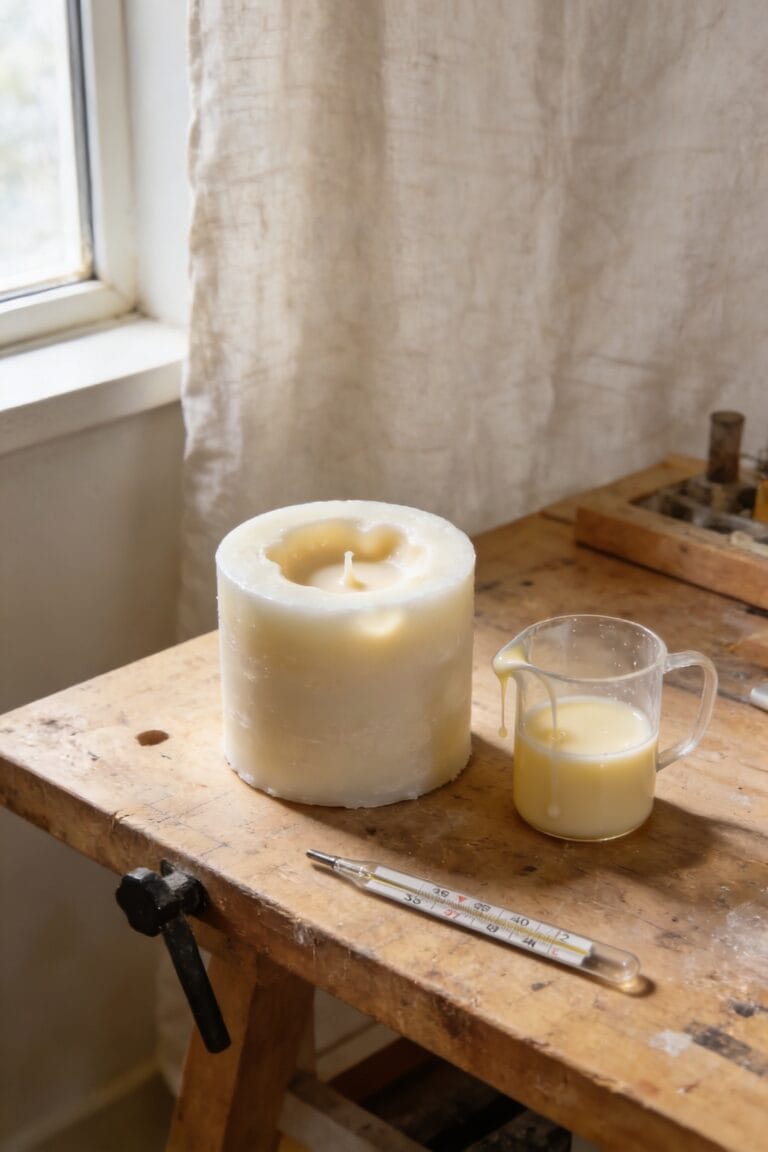
Temperature control is, honestly, where most candle-making disasters begin. You’ll need a reliable thermometer—I mean a real one, not guessing—to monitor your wax as it heats. Different wax types have different melting thresholds, meaning the temperatures at which they shift from solid to liquid. Paraffin prefers higher heat, soy’s more forgiving, and coconut wax sits somewhere between. I’ve watched overheated wax smoke, crack containers, and create genuine fire hazards. Use temperature probes to track your wax constantly. Most fragrances and dyes need specific temperature windows to incorporate properly, and pouring too hot causes container damage and uneven cooling. Stay within manufacturer guidelines for your wax type. It’s tedious, I know, but it’s the difference between beautiful candles and expensive mistakes.
Recommended Products

Complete Candle-Making Toolkit at Your Fingertips:From precision tools like the digital scale to pro tools like the wick trimmer and heat gun, this all-in-one kit covers every step of the process. Whether you’re fixing imperfections, trimming wicks for a clean burn, or measuring out the perfect fragrance ratio, this kit simplifies even the most detailed aspects of candle making.

🥇 Voted #𝟭 𝗺𝗶𝗱-𝗽𝗿𝗶𝗰𝗲𝗱 𝘁𝗵𝗲𝗿𝗺𝗼𝗺𝗲𝘁𝗲𝗿 by America's Test Kitchen and Wirecutter and #𝟭 𝘁𝗵𝗲𝗿𝗺𝗼𝗺𝗲𝘁𝗲𝗿 by NBC News. Featured in major publications: WIRED, GQ, Gear Patrol, Men's Health, Bloomberg, Bon Appétit, New York Magazine, Business Insider, and much more.

What you'll get: The candle making kit includes a digital wax melter, 3 colored dyes, 3.5-inch candle wick, 6-inch candle wick, 2 spoons, a candle wick placement tool, 4 candle wick holders, one measuring cup and detailed instructions make it ideal for beginners.
Select the Right Wick Size
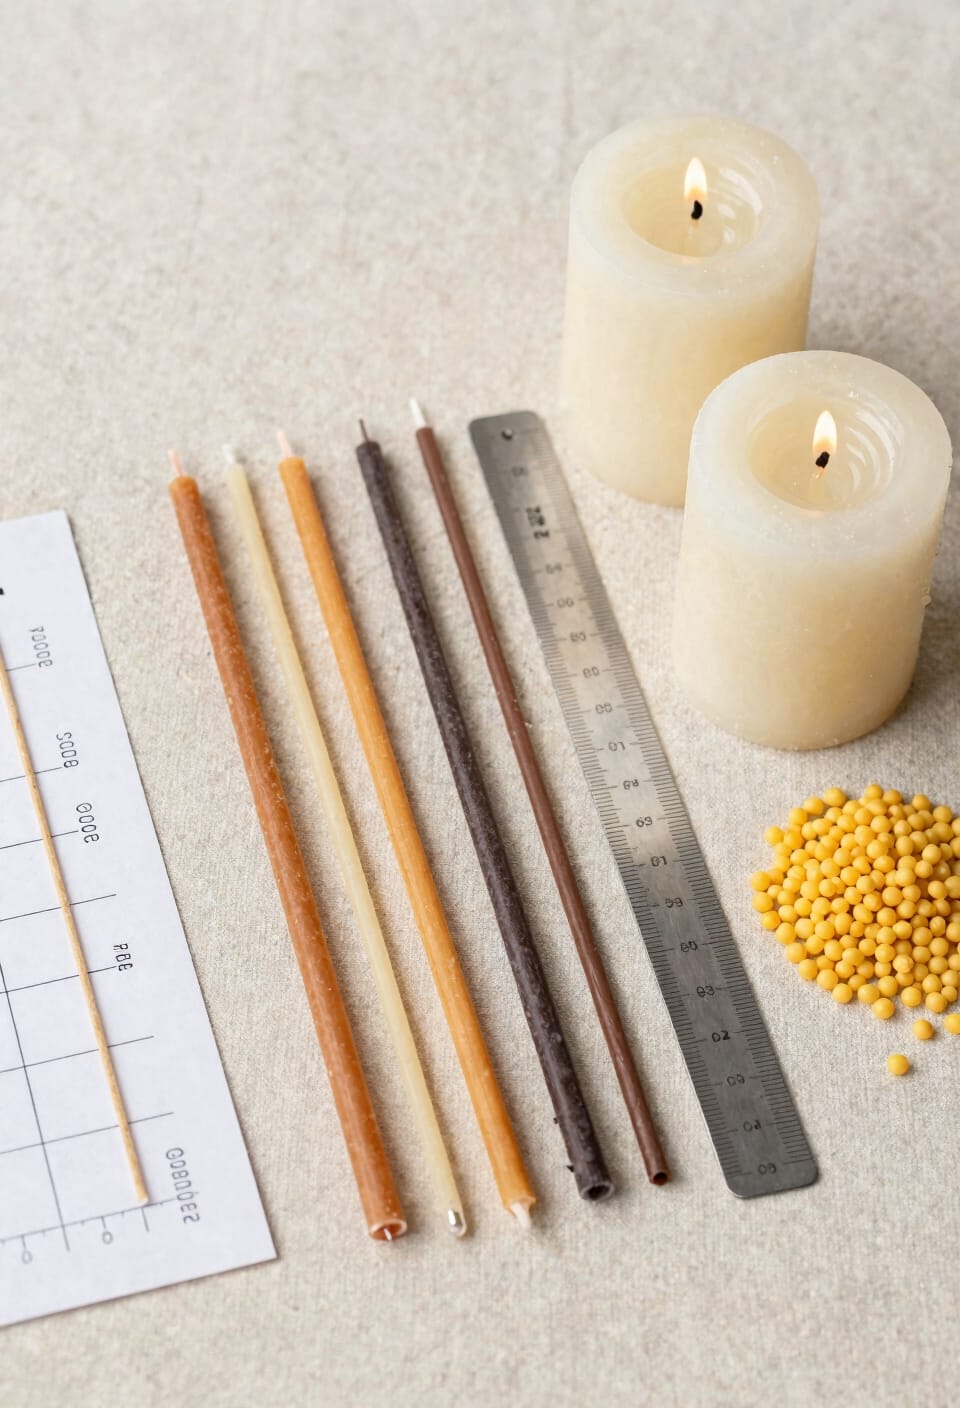
Pick the wrong wick size and you’re effectively setting yourself up for a candle that either won’t burn properly or burns too hot—and neither option ends well. I’ve learned this the hard way. An oversized wick creates excessive soot, mushrooming (that bulbous carbon buildup at the wick’s tip), and respiratory hazards from smoke buildup. Through wick testing—literally burning sample candles to observe their behavior—I’ve discovered that proper flame control depends entirely on matching wick diameter to your specific wax type and candle diameter. Soy wax typically needs a different wick than paraffin. Trim your wick to ¼ inch before lighting. This simple step prevents mushrooming and unstable, dangerously high flames. Get it right, and your candles burn clean and safely.
Recommended Products
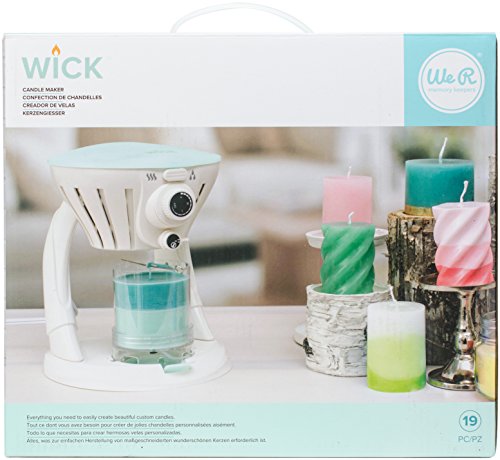
COMES WITH EVERYTHING YOU NEED: This kit includes 3 lbs of Paraffin Wax, 72 inches of cotton wick, 3 candle rubber stoppers, pigment (red, yellow, blue, white), 3 candle molds with base, and a color mixing chart

WORLD CLASS FRAGRANCE: Created by the world’s leading perfumers, our Kyoto In Bloom Candle features top notes of Fresh Lime, Bergamot and Citrus, middle notes of Camellia and Lotus, and base notes of Amber, Sandalwood, Musk and Vanilla. An intense and long-lasting fragrance that will transform the air in any space, whether that be the bedroom, bathroom, kitchen or living room.

Fragrance Notes: Top: Pink Pepper, Neroli Middle: Iris, Jasmine, Tobacco Leaf Base: Oak Moss, Sandalwood, Smoky Musk Essential Oils: Frankincense, Patchouli
Set Up Your Candle-Making Workspace
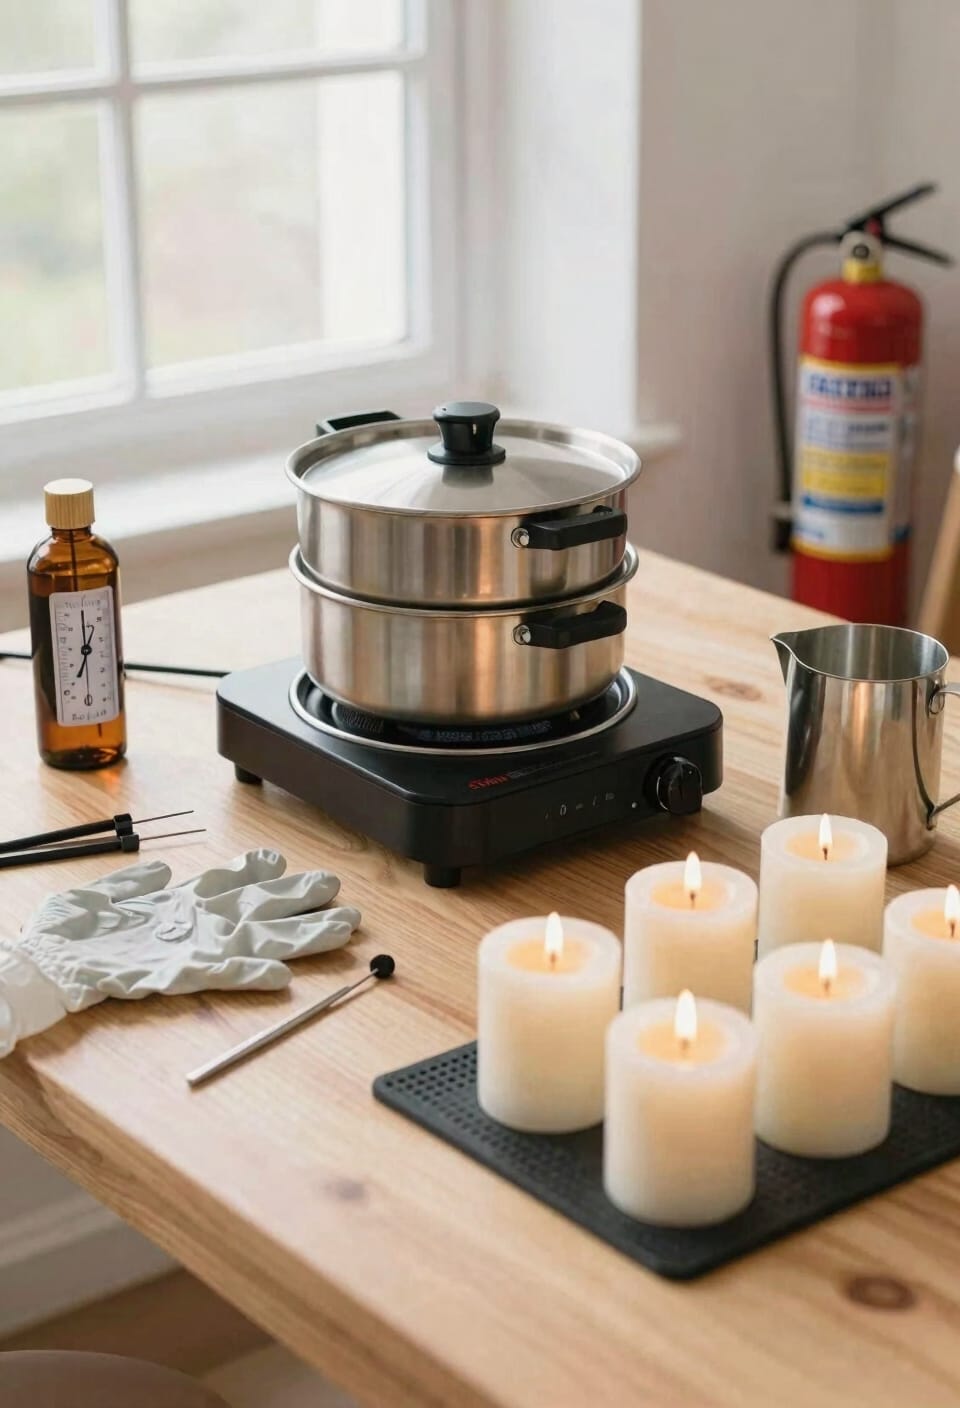
Before you heat a single drop of wax, you’ve got to create a workspace that’ll actually support what you’re doing—not work against you. I’m talking about a dedicated space with heat-resistant surfaces where wax spills won’t destroy your table or create a fire hazard. You’ll need good ventilation, whether that’s a fan or open windows, because fragrance oils and melting wax release fumes you don’t want breathing in all day. Install dedicated lighting so you’re not squinting at temperatures and pouring in shadows. Keep storage cabinets nearby for your supplies, but never store fragrance oils near your melting station or open flames. Add a fire extinguisher within arm’s reach. Your workspace isn’t fancy—it’s just smart.
Recommended Products

PEACE OF MIND ANYTIME: Be prepared for unexpected fire emergencies with HALT! Handheld Fire Safety Spray. Specifically designed for home use, HALT! acts fast to suppress small fires within seconds—compact, easy to use, and always ready when you need it most.

✅【Suitable Size】the measures 18 x 24 inch/24X36inch/36X36inch/ large size to use in daily life, you can simply trim the sheet into wanted shape or size to satisfy your various projects, thickness 6mm, 21oz./sq. yd
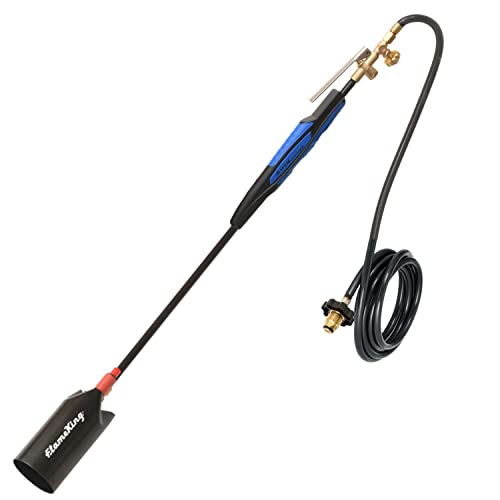
MULTI-PURPOSE PROPANE TORCH: More than just a WEED BURNER; it is also great for melting snow and ice, removing parking lot markings and paint, thawing frozen pipes and equipment, melting tar and asphalt, repairing roof and various woodworking projects
Establish Proper Ventilation
When you’re melting wax and releasing fragrance oils into the air, you’re introducing fumes—volatile organic compounds that’ll mess with your respiratory system if you’re breathing them in for hours at a time. I learned this the hard way after my first marathon pouring session.
Now, proper airflow mapping means identifying where air enters and exits your workspace. Position fans to pull fumes away from your face and toward windows or vents. You’re not just being dramatic—carbon filtration systems actually trap those VOCs, especially helpful if you can’t open windows year-round.
Look, decent ventilation prevents chemical buildup that accumulates over repeated sessions. You’ll notice the difference immediately: clearer head, easier breathing, better focus on your actual candles. That’s worth the investment.
Wear Protective Gear When Crafting
Your skin doesn’t need to learn what melted wax feels like the hard way. Wear resistant gloves—nitrile or heat-resistant varieties work best—whenever you’re handling hot wax or pouring into molds. I’ve watched molten wax splash in slow motion enough times to know that even a second of protection makes the difference between a minor scare and a real burn.
Eye protection matters too. Fragrance oils can splatter, especially when you’re stirring or adding them to heated wax. Goggles aren’t glamorous, but neither is explaining to someone why your eye is irritated.
Throw on an apron as well. Long sleeves and pants keep your skin covered while you work. You’re not being paranoid—you’re being smart.
Recommended Products

Clavies Gloves are excellent for handling hot objects out of the autoclave or oven

Heat Protection: our heat resistant gloves are designed with quality silicone bumps to effectively isolate your hands from heat sources up to 250 Centigrade/ 482 Fahrenheit; Instantaneous contact with a heat source will no longer result in burns, ensuring your safety in various scenarios

Heat-resistant: Protect your hands from soldering and hot air, up to 392˚F/200˚C with the gloves' heat-resistant, silicone dots
Keep Fragrance Oils Away From Flames
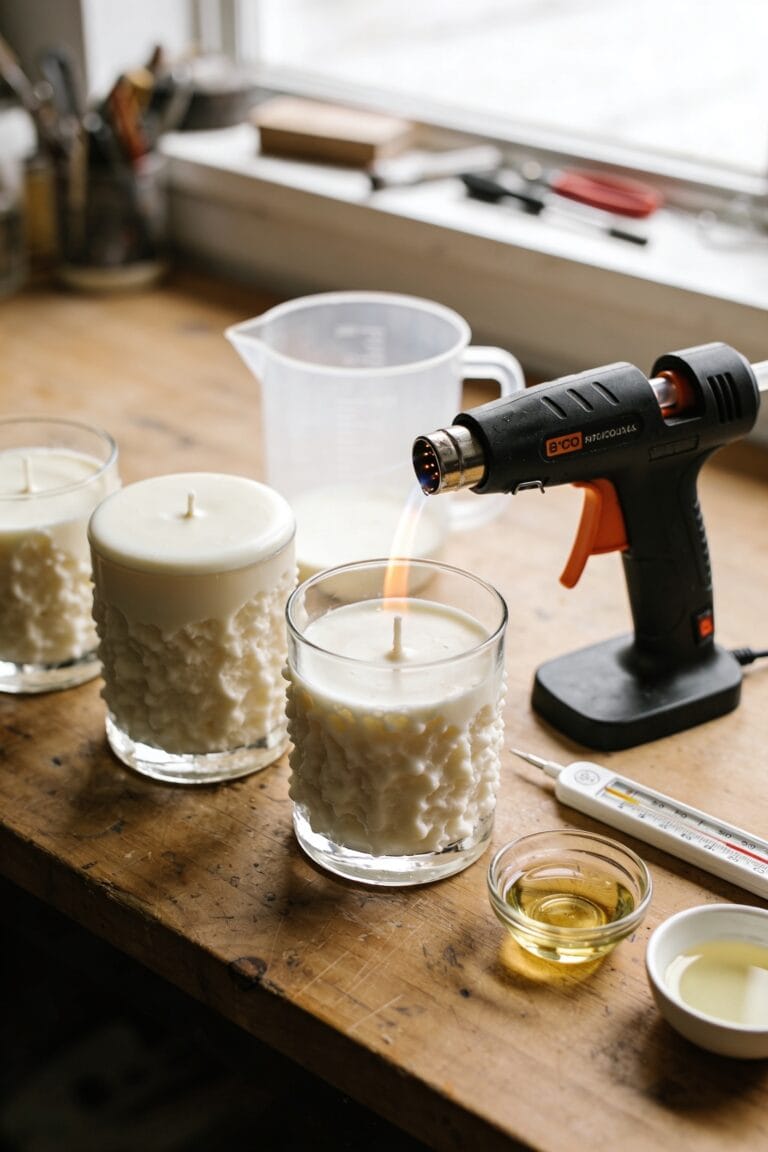
Fragrance oils are accelerants, plain and simple—they’re flammable liquids designed to release scent when warmed, not to sit anywhere near an open flame. I’ve seen fragrance storage accidents happen, and they’re not pretty. When you’re melting wax, keep your fragrance oils stored in a separate area, away from your heat source and any ignition sources like your melting pot or burner. Don’t get lazy about this. That bottle of vanilla or lavender can ignite faster than you’d think if the temperature climbs or a spark finds it. Store them in a cool, dark cabinet far from your workspace. It’s the single easiest safety rule to follow, and honestly, it’s the one that matters most. Protect your ingredients, protect yourself.
Space Candles Correctly When Burning
If you’ve ever watched two candles burning inches apart and wondered why one’s flame kept dancing wildly while the other sat there sulking, you’ve run into the spacing problem—and it’s way more serious than just uneven burning.
Here’s the thing: keep multiple candles at least 3 inches apart. That distance prevents excessive heat from building up between them, which warps containers and creates unstable flames. When I’m planning draft layouts for multi-candle displays, I treat spacing guidelines like non-negotiable rules—they exist because I’ve seen what happens when you don’t follow them.
Position each candle at least 12 inches away from anything flammable too. Three of five candle fires start when flammables sit too close. Your spacing matters.
Burn for 2–4 Hours and Never Leave Unattended
Candles frequently teach us hard lessons about patience—and I learned one the expensive way by ignoring burn time entirely. I’d light a candle, get distracted, and return hours later to find a blackened container and a flickering mess. That’s when I discovered the 2–4 hour sweet spot. Burning within this window creates an even melt pool without overheating your vessel. Short sessions prevent tunneling—that frustrating center-only burn that wastes wax around the edges. Now, here’s what matters most: never leave a burning candle unattended. Unattended risks include flame instability, accidental tipping, and fire spreading to nearby flammables. You’re not just protecting your candle; you’re protecting your home. Set a timer. Stay present. Your future self will thank you.
Frequently Asked Questions
How Should I Extinguish a Candle Flame Safely Without Using Water?
I recommend you use a candle snuffer to safely extinguish your flame—it’s the best method. Alternatively, you can gently blow out the flame from the side. Never use water, as it’ll cause dangerous splattering. A wick trimmer helps prevent future issues.
What Distance Should Separate Multiple Candles to Prevent Excessive Heat?
I’d recommend you keep multiple candles 3–4 inches apart to prevent excessive heat and uneven burning. Some candle makers prefer spacing them 6–8 inches apart for extra safety, which I find works best in smaller spaces.
How Close Can Flammable Items Be Placed Near Burning Candles?
You shouldn’t place flammable items closer than 12 inches from burning candles, as three of five candle fires start when flammables are too near. I’d recommend you keep distance and avoid drafts to prevent accidents.
What Should I Do if Fragrance Oil Contacts My Skin?
If fragrance oil contacts your skin, you should wash the affected area immediately with cool water and mild soap. If irritation persists or worsens, seek medical attention promptly.
When Should Candles Be Extinguished to Prevent Container Damage?
Ever wondered when’s too late to keep your candle burning? I’d extinguish mine before the wax reaches ½ inch from the bottom. This timing protects your container during the cooling point and guarantees proper wick maintenance throughout its lifespan.
Conclusion
You’ve now got the knowledge to craft beautiful candles—but here’s what keeps me up at night: the ones you’ll make anyway, despite everything you’ve just read. You’ll rush a cure time. Skip the thermometer. Leave a candle burning while you shower. And maybe nothing happens. Maybe it does. The difference between a hobby you love and one that haunts you? It’s these small choices you make right now.