As an Amazon Associate, we earn from qualifying purchases. Some links on this site are affiliate links at no extra cost to you. Our recommendations are based on thorough research and editorial judgment.
Double Pour Candle Technique: How & Why to Do a Second Pour
The double pour technique lets you fix those frustrating sinkholes—those crater-like depressions that form when wax shrinks as it cools—by pouring a second layer after your first one sets. You’ll wait 4–6 hours until the surface feels firm but still slightly warm, then reheat reserved wax and pour it slowly around the wick, tapping gently to settle bubbles. It’s especially useful for soy and coconut waxes, which shrink aggressively, and it doubles as a way to create layered colors or scents that make your candles look intentionally crafted rather than flawed.
Key Takeaways
- Wax shrinks during cooling, creating sinkholes; a second pour fills these surface imperfections for a polished appearance.
- Wait 4–6 hours until the first pour is firm but still warm before applying the second layer.
- Reheat reserved wax to 170–180°F, poke holes around the wick, then pour slowly while keeping the wick centered.
- Double pouring enables layered colors and scents, creating visual appeal and stronger fragrance distribution for premium gifting.
- Smooth the final surface with a heat gun on low, then allow the candle to cool completely undisturbed.
What Are Sinkholes and Why They Form in Candles?
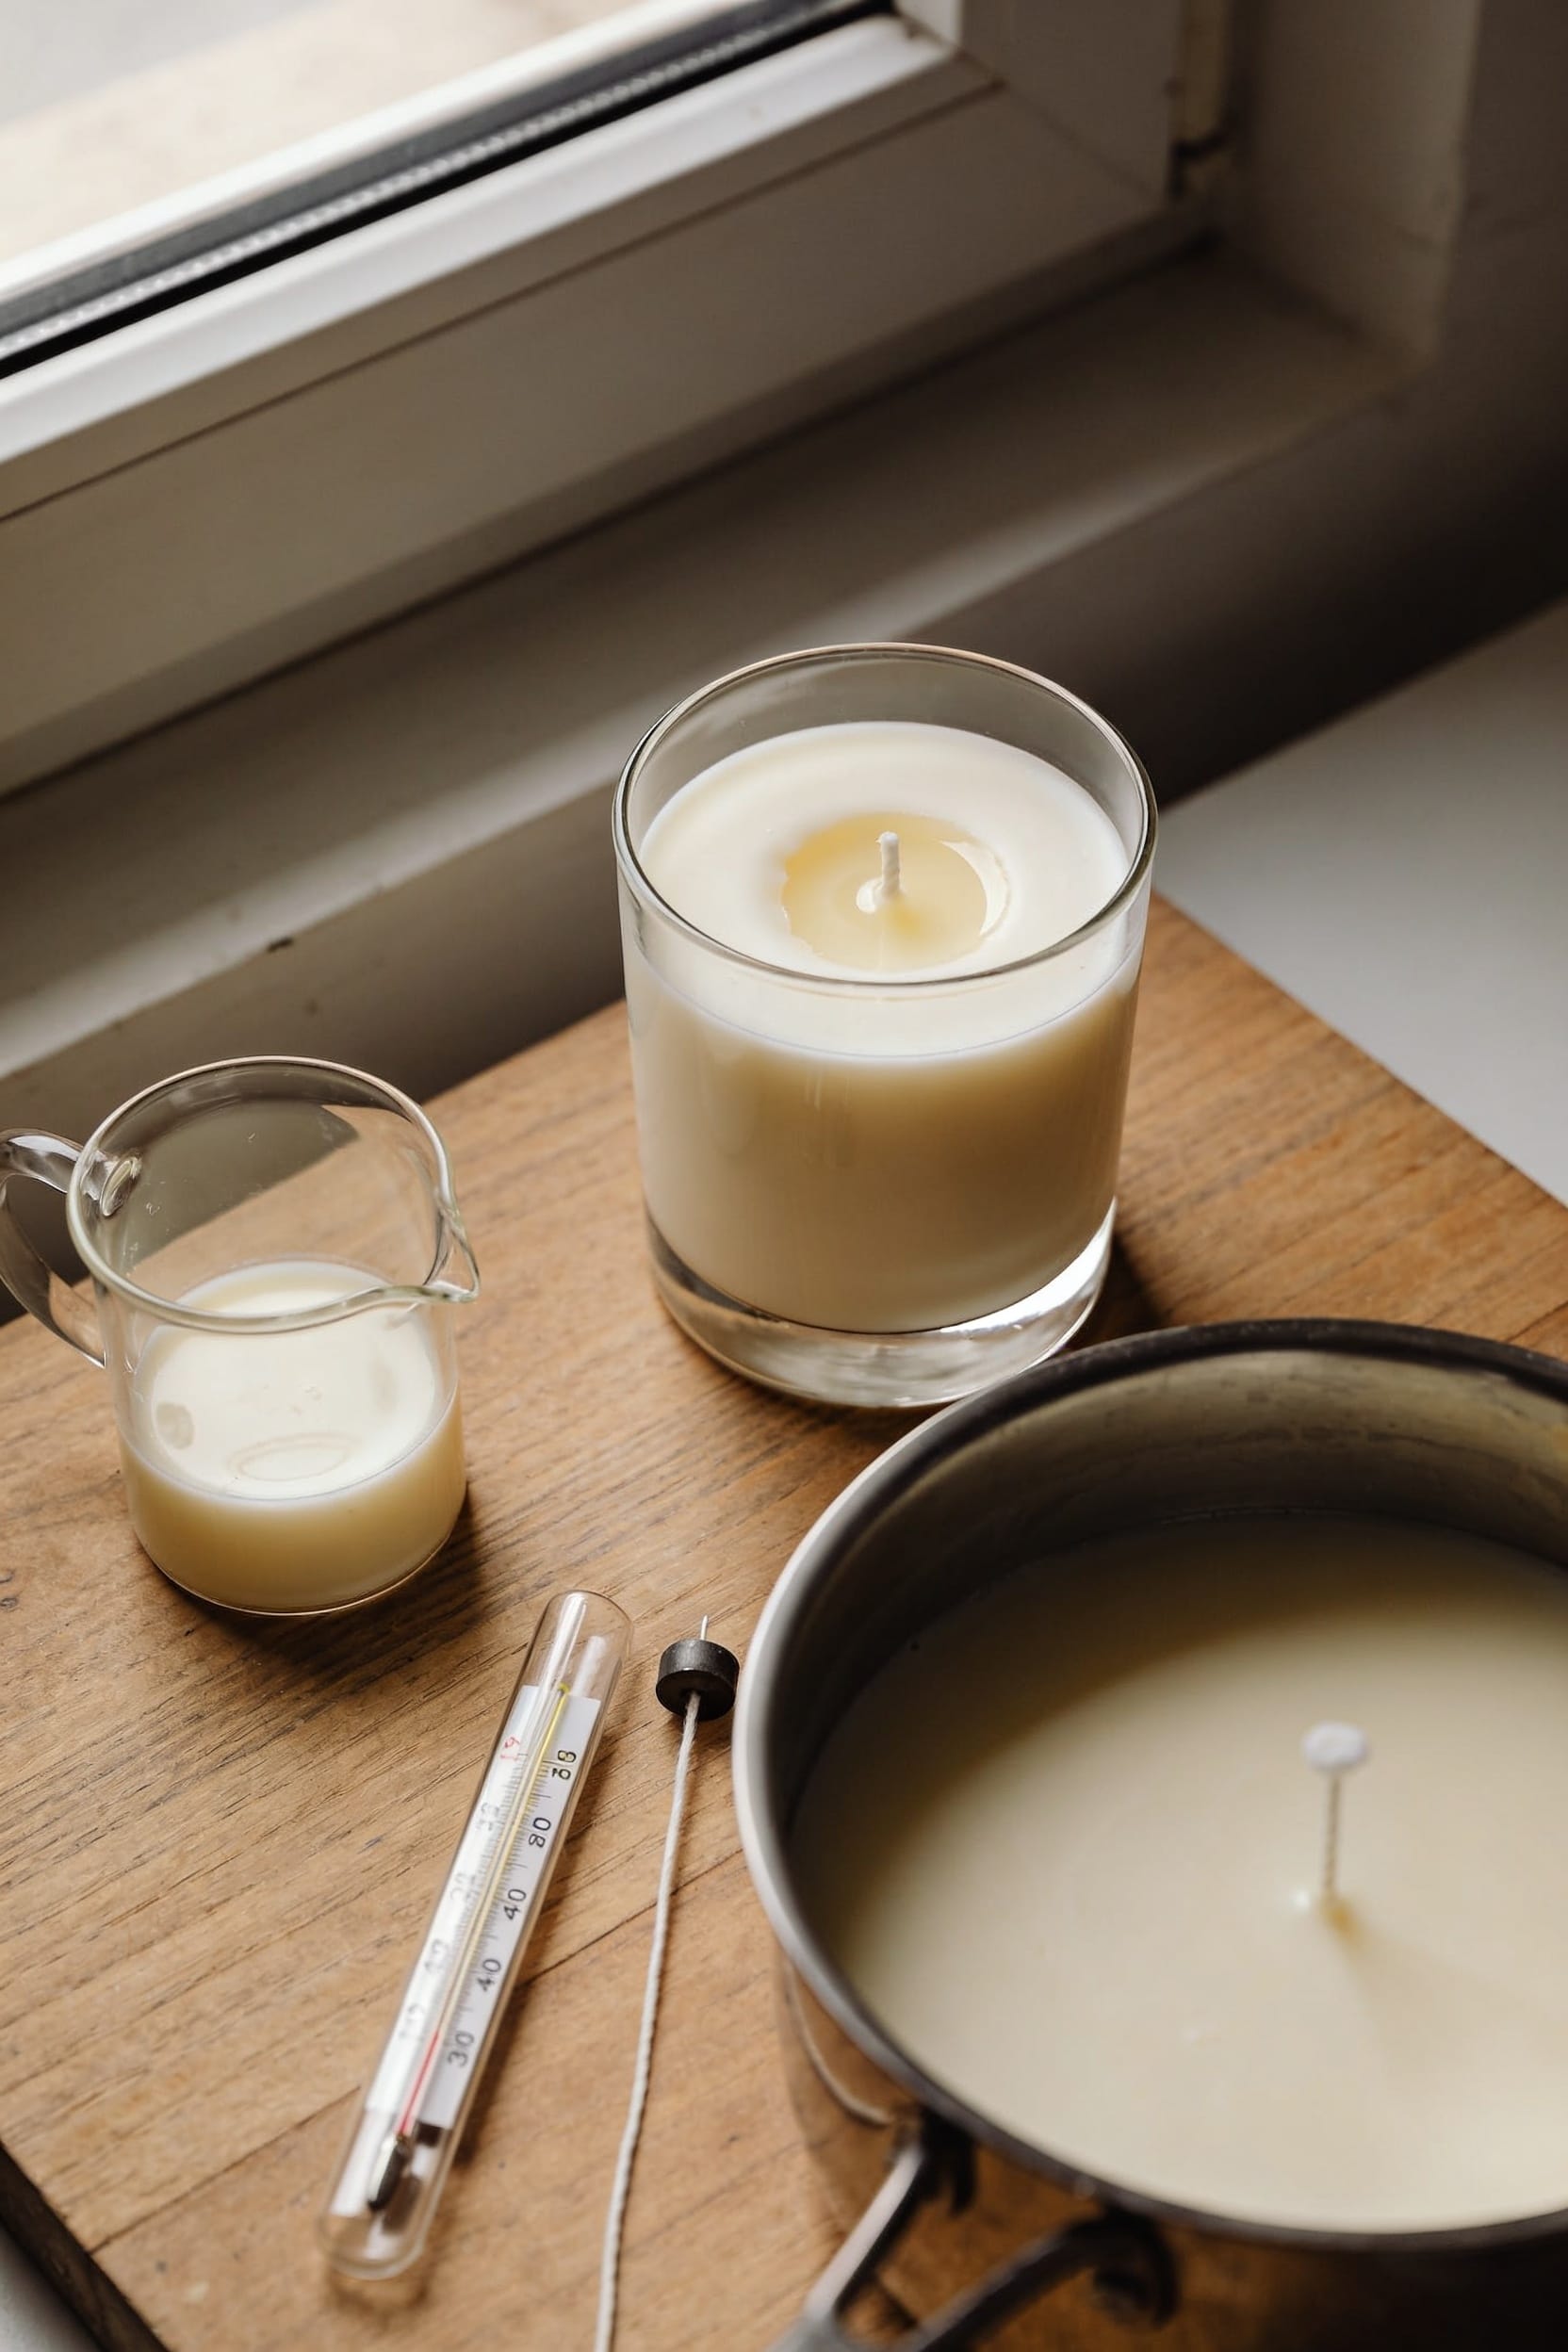
When you pour your first batch of wax and it cools, you’ll notice something frustrating happening in the center of your candle—the surface starts to sink inward, creating little craters or divots around the wick. Here’s what’s going on: as wax cools, it naturally contracts and shrinks. This cooling shrinkage pulls the surface down, especially toward the center where the wick sits. You’ve also got air pockets trapped inside the wax layers, which collapse as everything sets up. The result? Those annoying sinkholes that make your candle look unfinished, even though you nailed the pour temperature and fragrance load. It’s particularly common with soy and coconut waxes, which shrink more aggressively than paraffin.
When to Double Pour Your Candles
After your first pour cools and you spot those telltale sinkholes forming around the wick, you’ve got a decision to make—and honestly, the answer depends on how bad things actually look. Here’s the thing: timing matters. I wait until the candle’s firm to the touch but still slightly warm, usually four to six hours depending on ambient temperature and container size. Don’t rush this. If you pour too soon, the layers won’t bond properly. Too late, and the wax gets too hard to accept that second layer smoothly.
I also factor in curing times—the period your finished candle needs to fully solidify and stabilize. A second pour shouldn’t happen until you’re confident the first layer’s set enough to hold it.
Choose Your Alternative: Oven Heating vs. Repouring
All right, so you’ve spotted those sinkholes and now you’re staring at two legitimate paths forward—and I’m not going to pretend one’s always better, because honestly, it depends on your candle, your patience level, and what you’re trying to achieve.
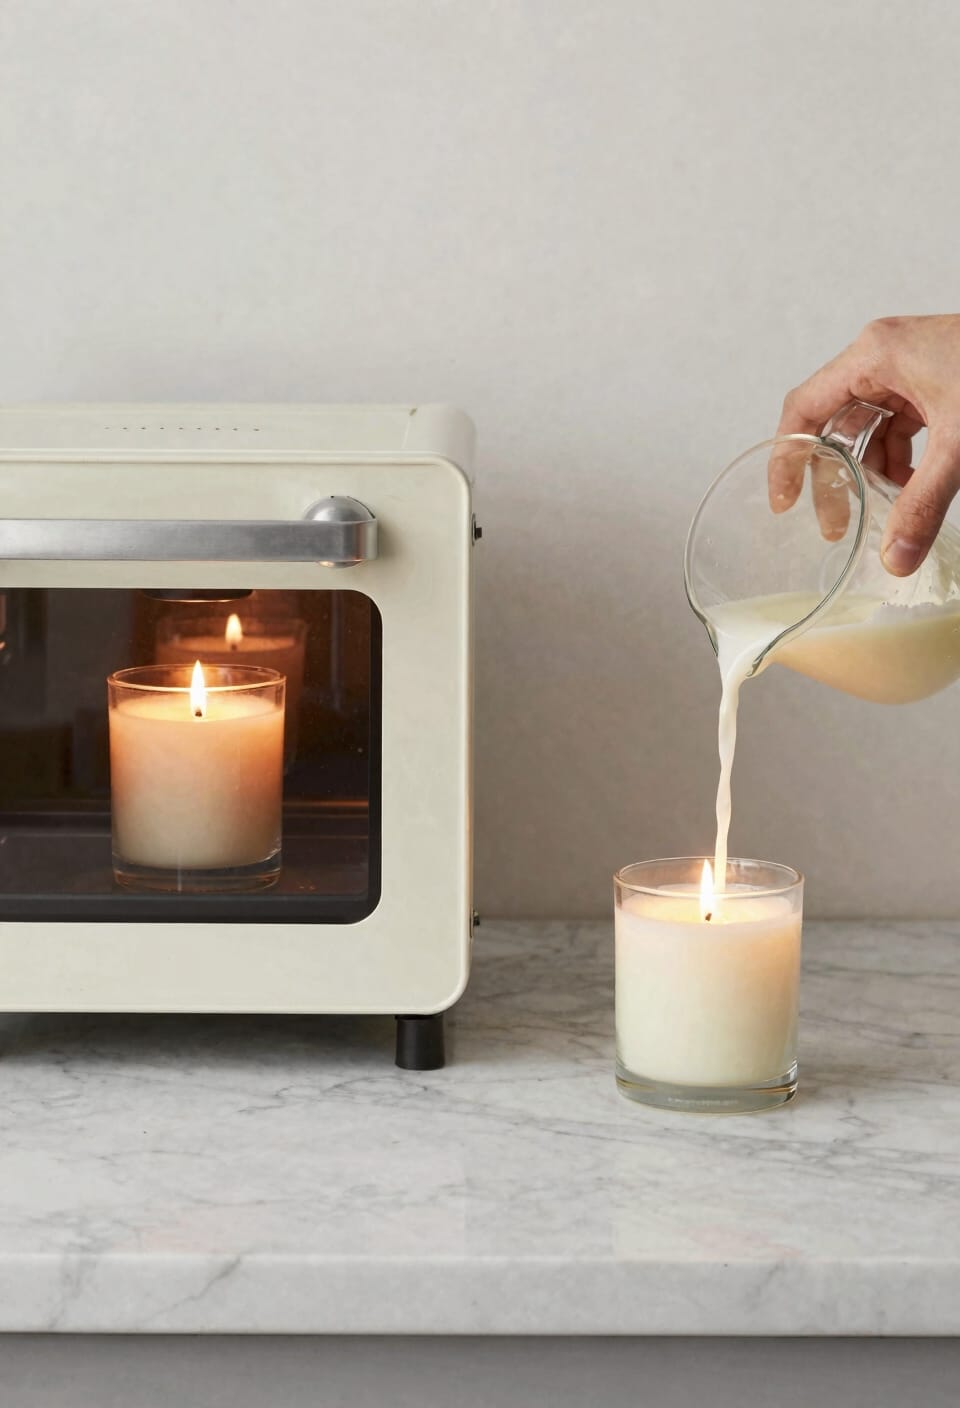
Your oven alternatives involve briefly heating the candle in a low oven, which liquifies that sunken surface without touching the wick. It’s fast, requires zero extra wax, and works beautifully for soy candles that cooperate.
Repouring, though, gives you more control. Surface reheating methods like the traditional second pour let you fill gaps deliberately, tap out bubbles, and maintain fragrance integrity when done right.
Choose oven heating if you’re short on time. Pick repouring if you want precision.
Recommended Products
COMES WITH EVERYTHING YOU NEED: This kit includes 3 lbs of Paraffin Wax, 72 inches of cotton wick, 3 candle rubber stoppers, pigment (red, yellow, blue, white), 3 candle molds with base, and a color mixing chart

【UPGRADE VERSION】TOAUTO V3 Wax Melter with stainless steel ball valve and upgrade inner tank design -- will not freeze up with wax inside the pot, NOT CLOGGY, NO NEED HEAT GUN ANYMORE! If you have a medium consistency of candle orders, this is well worth it to make things easier.If you are thinking of starting a small candle business this is ideal.

Candle Making 101: Paraffin is excellent for any candle application, melt in double boiler (preferred), pour into container with centered cotton or wood wick. Add fragrance or Dyes - Makes great scented candles, create your candle kit,. Like any pure paraffin wax, this wax will tend to shrink when cooled, you might have to re pour .
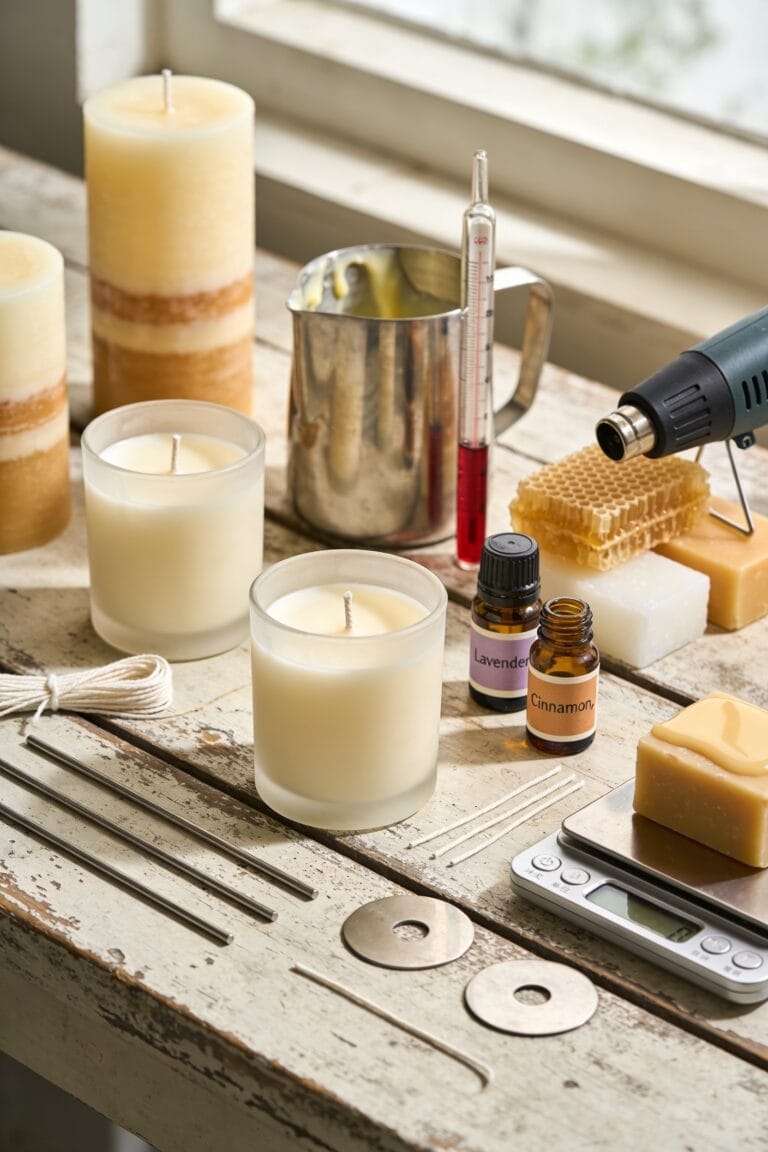
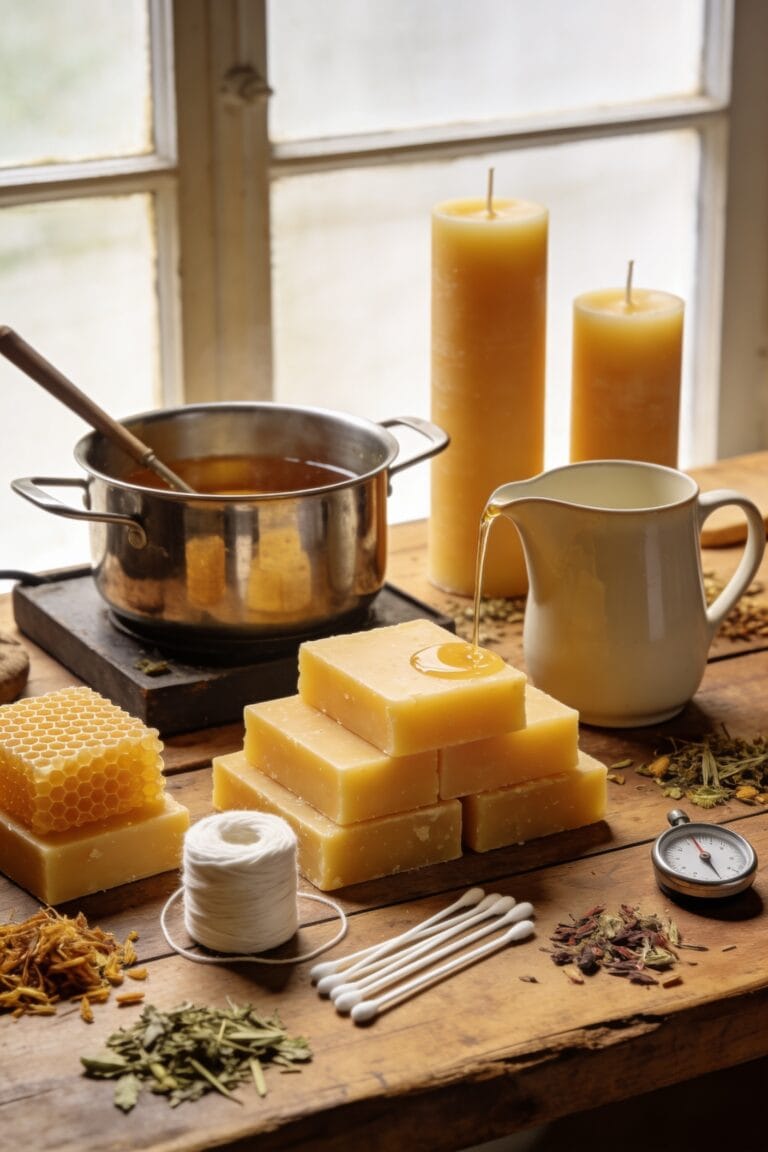
Gather Your Materials for Double Pouring
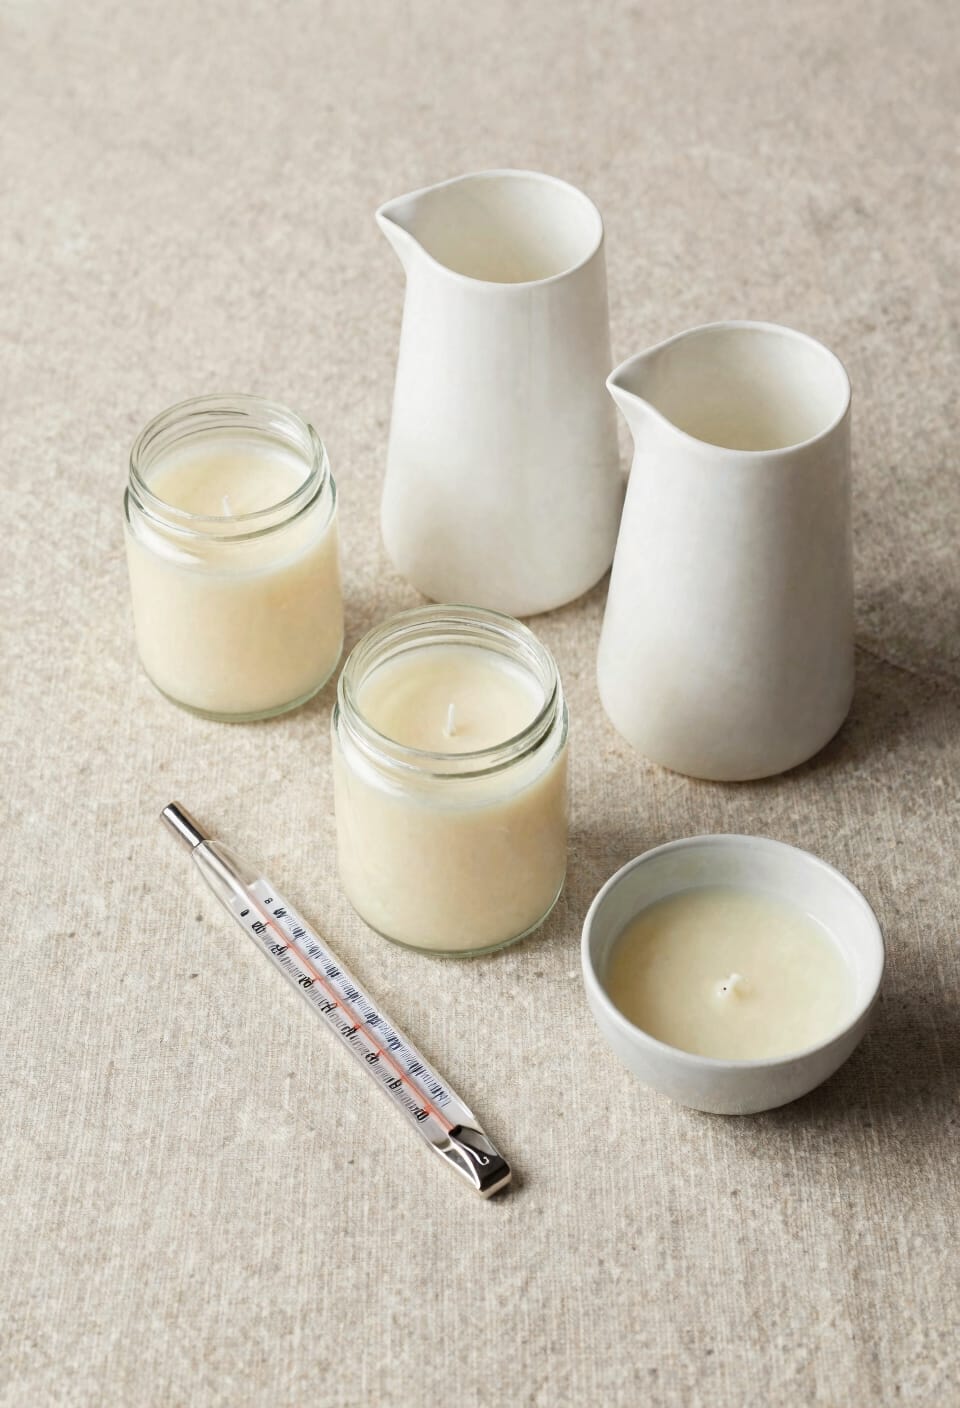
Now that you’ve decided repouring’s your move, you’ll need to actually have something to pour, which means getting your materials sorted before you start melting wax. First, grab your reserved wax from the initial pour—same batch, same color, same fragrance load (that’s the percentage of scent oil mixed into your wax). I’d recommend having extra on hand because, honestly, you’ll mess up temperature eventually.
You’ll also want your wick accessories like centering sticks and wick stickers to keep everything stable between pours. Safety equipment matters too: grab heat-resistant gloves, a thermometer for monitoring temperatures, and maybe a fire extinguisher nearby just in case. Have your pouring pitcher ready, a needle for poking holes, and your containers staged exactly where you need them. Small prep beats large regrets.
Recommended Products

CAPACITY:: 20,000mL (20L), Graduation Range: 4000-16000mL, Graduation Interval: 2000mL, Height: 420mm, Height Tolerence: 2mm, Outer Diameter: 282mm, Outer Diameter Tolerence: 3mm

NATURAL SOY WAX BEADS - Best candle making supplies make the best soy candles! These safe, ethically produced, microwavable and paraffin-free soy wax beads are smooth and creamy in appearance, perfect for votives, pillars, tealights, tarts and melts.

【Heating Core Spout Technology】SAY NO TO clogged! The patented spout tech keeps wax heating and running internally. The nozzle is located lower than the bottom of the internal container allowing the wax to flow emptying and faster pouring easily. Great for a clean pour! Built for candles, soap making, ideal for DIY hobbies, small-medium size candle business.
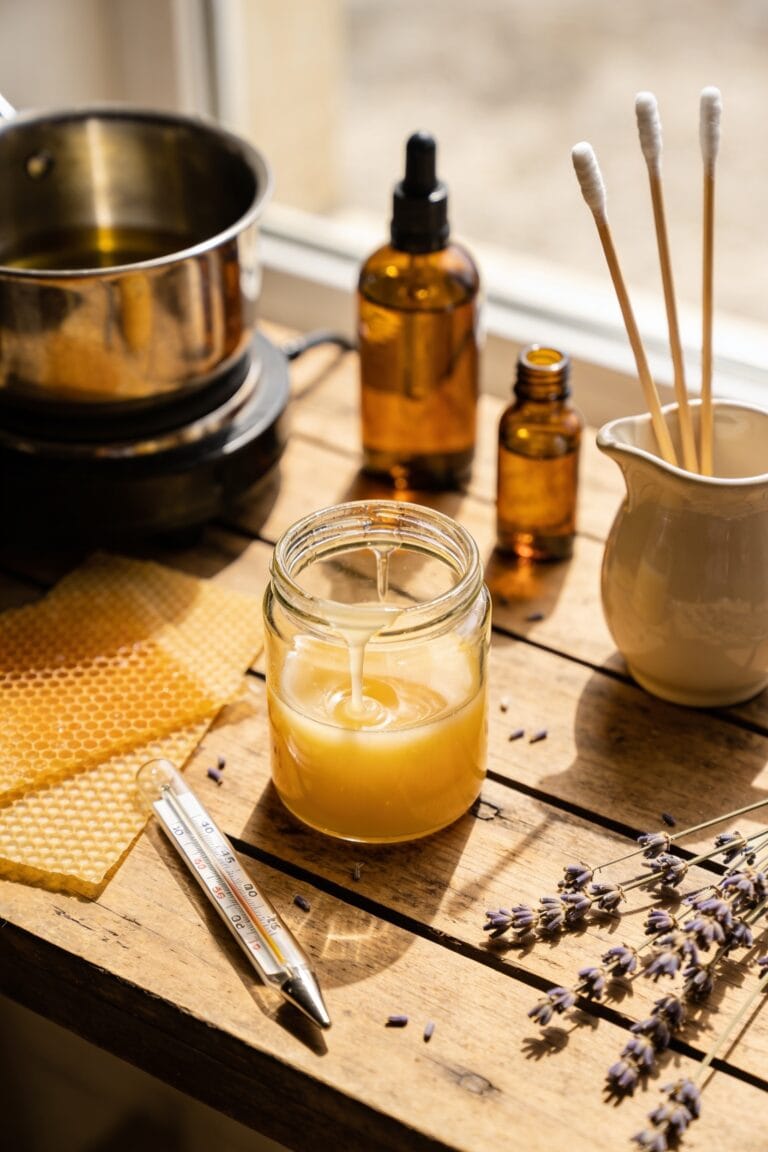
Check Your First Layer’s Readiness
Before you even think about reheating that reserved wax, you’ve got to check whether your first layer’s actually ready for a second pour. Here’s the thing: timing’s everything. I’ve rushed this step before and ended up with a lumpy mess. Give your candle enough time to cool until it’s firm to the touch but not completely hardened. Press your finger gently on the surface—if it leaves a slight indent that doesn’t immediately bounce back, you’re in the sweet spot. Check your surface temperature if you’ve got a thermometer; you’re aiming for around room temperature or slightly warmer. Don’t skip this. A properly cooled first layer guarantees your second pour bonds correctly without creating weird ridges or separation lines.
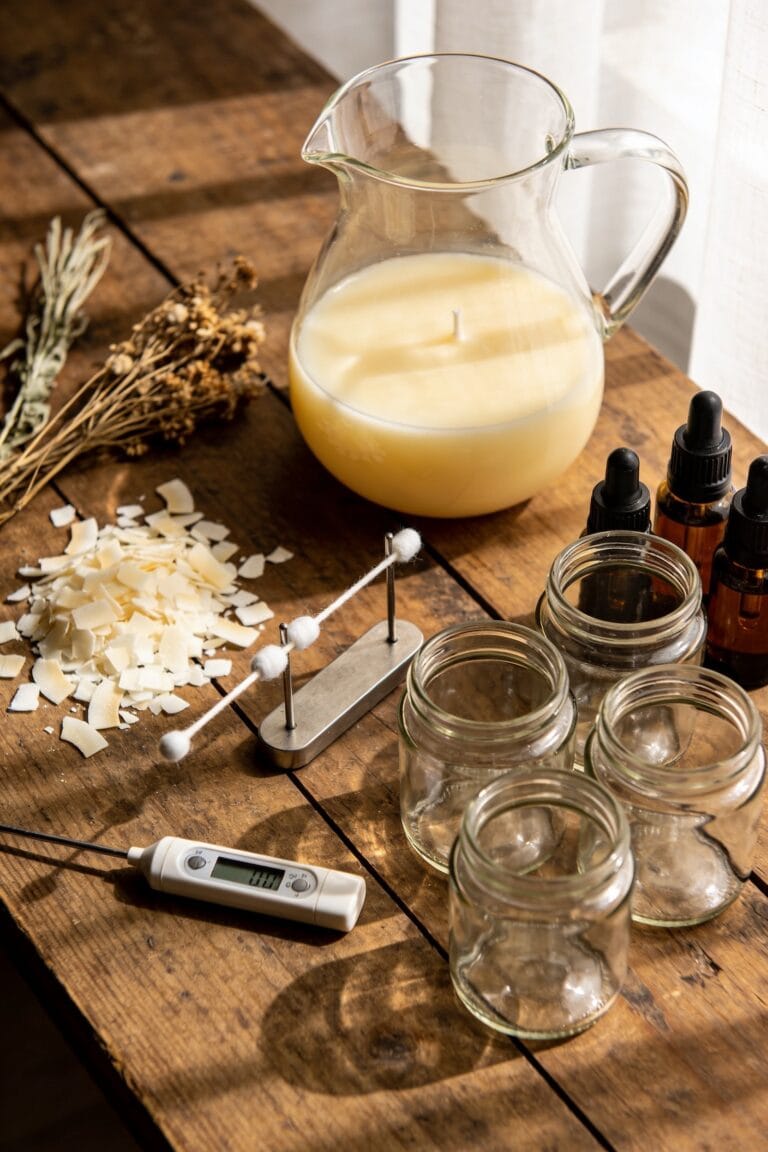
Execute Your Second Pour (Step-by-Step)
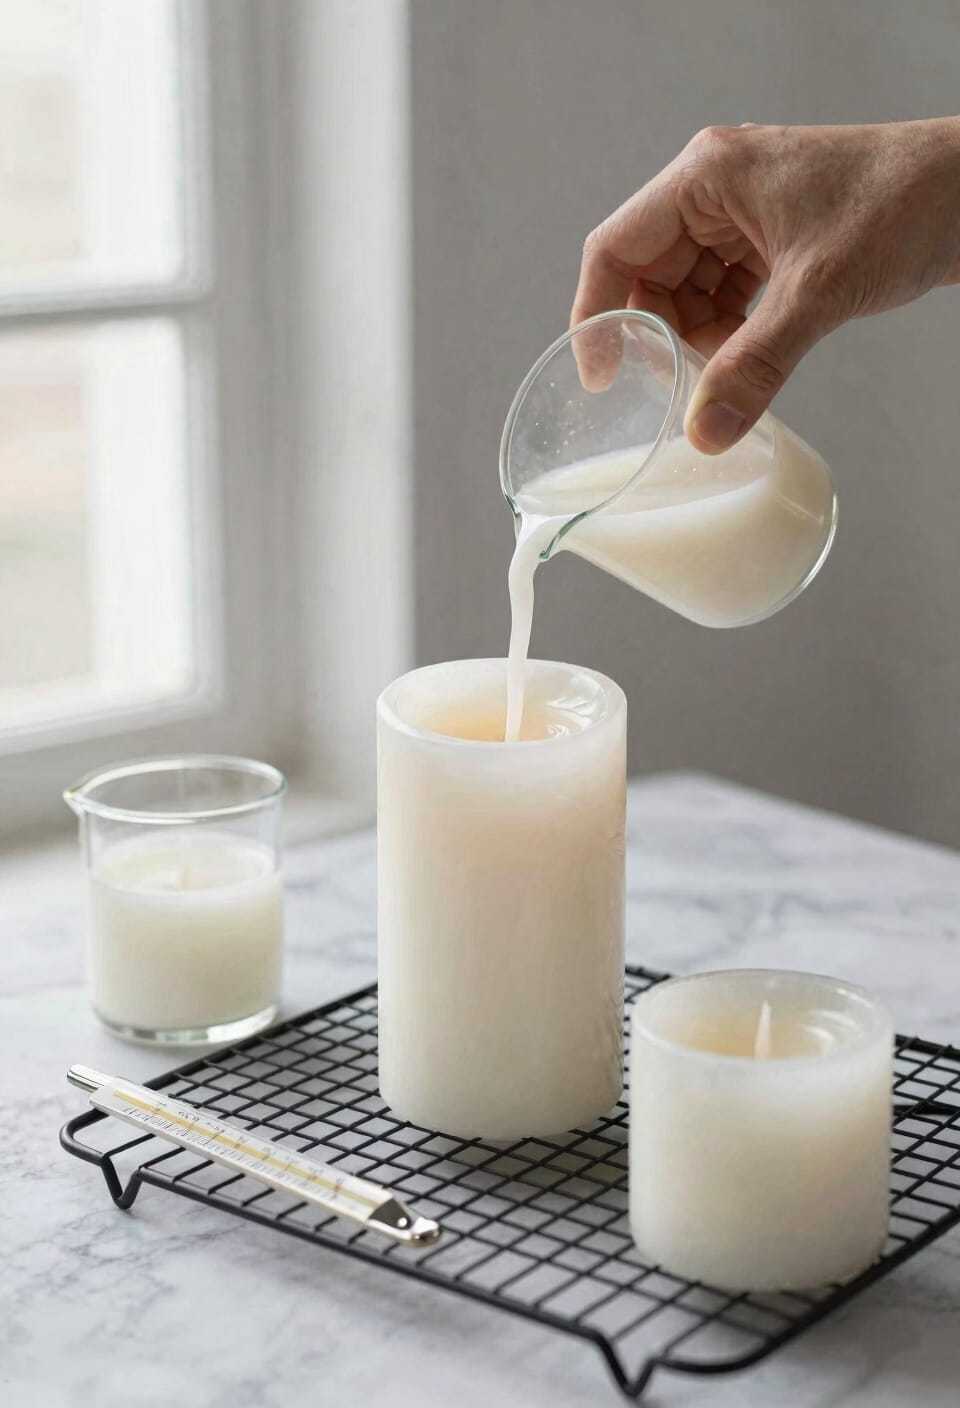
Once your first layer’s cooled to that perfect firmness, it’s time to reheat your reserved wax and get that second pour ready. Now, temperature timing matters here—you’ll want that wax thin but still pourable, around 170-180°F depending on your wax type. I’ve learned the hard way that rushing this step creates thick, uneven tops.
Poke small holes around your wick with a needle or skewer. This lets the melted wax flow into those sinkholes forming in the center. Pour your thin layer slowly and deliberately—that’s your pour technique doing the heavy lifting. Tap the container gently to even everything out. Don’t overfill; you’re just topping off, not starting fresh.
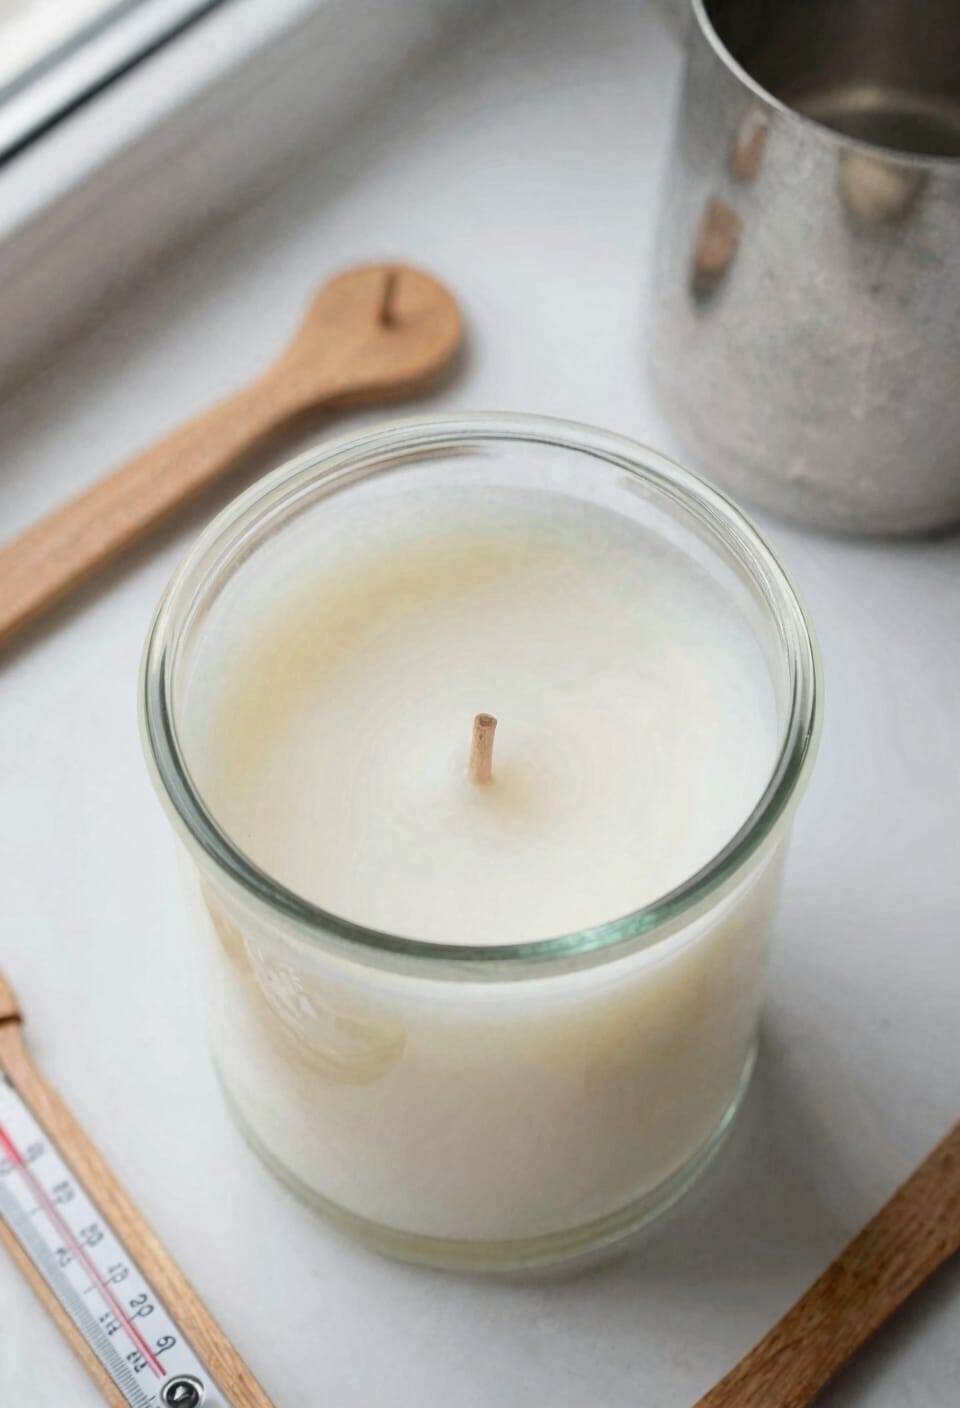
Center Your Wick Correctly
While you’re tapping that second pour into place, your wick’s probably shifted a little—maybe a lot if your container got jostled or if you’ve got a wider mold working against you. Here’s the thing: wick placement matters enormously for even burning and fragrance throw (how strong your candle smells when lit). I use a wick positioning stick—basically a chopstick or pencil you center between the wick and container edge—before pouring, then reposition it afterward. Keep the wick dead center. If it drifts toward one side, you’ll get tunneling, where only half the candle burns. Centering tools aren’t fancy; you probably have something suitable in your kitchen already.
Fix Common Double Pour Mistakes
Even with the best intentions, most people mess up their second pour at least once—and I’ve definitely been there, staring at a candle that looks more like a topographic map than a finished product. Look, the biggest culprit? Pouring your second layer too hot. You’ll melt through your first pour and create color bleeding, where dyes from the core seep into your outer layer like a tie-dye disaster. I’ve learned to let that reheated wax cool until it’s thick but still pourable. Another mistake: wick trimming. If you don’t trim before the second pour, excess wick can cause uneven burning. Keep it at a quarter-inch. Also, don’t skip that needle technique—poke holes around your wick first. Trust me, you’ll thank yourself.
Recommended Products

✔UPGRADE CADNLE CRAFT, BOLDER CREATIONS: With Leerie D6 digital wax melter, you're not just upgrading your equipment—you're upgrading your entire crafting experience. With the 12 lbs capacity to melt up to 48 4oz candles at a glance, without the constant need for refills or multiple melting sessions. D6 Wax Melter is your craft room's new best friend, whether you're a DIY enthusiast looking to make candles for gifts or a small-batch producer aiming to grow your business.


Wax melter for candle making: Large pot holds approximately 7 Qts Melted Wax! Super- Fast Melter can melt Soy Wax, Paraffin, Coconut, Beeswax. Easy to use temperature setting to adjust your tempature as needed. Its best to always check tempature with a thermometer. Great for DIY Candle Makers.
Double Pouring Soy vs. Paraffin Wax
Choosing between soy and paraffin for your double pour changes everything about how the technique actually works, and I wish I’d understood that before I ended up with a candle that looked like it’d been through a blender. Soy absorption works differently than paraffin—soy wax pulls fragrance oils deeper into its structure, which means your second pour needs careful temperature control to bond properly without separating. Paraffin finish, on the other hand, creates that glossy professional look almost automatically because paraffin adheres more reliably to cooled layers. I’ve learned that soy needs patience: pour your second layer when the first is completely firm. With paraffin, you’ve got more flexibility. Choose your wax type before you start, not halfway through pouring.
Recommended Products

CANDLE MAKING SUPPLY KIT: 50lbs soy wax, 500 cotton wicks, 500 glue stickers, 10 metal wick holders. Includes Everything you need to make your own candles.

All-In-One Starter Kit – Everything you need to dive into candle making! Our Hearth and Harbor soy candle wax for candle making includes 45 lbs of smooth soy wax flakes, 100 cotton wicks, 100 adhesive stickers, and 2 centering tools. Perfect for beginners or seasoned DIYers.

Made in the USA. Golden Wax 464 is a completely natural and renewable resource and a solid choice in sustainable waxes. This reliable wax provides a long list of environmental advantages. It’s non-toxic, biodegradable, clean burning, and buying USA products means less fuel was wasted transporting the wax to your home or business.
Perfecting Your Candle’s Top Surface (Smooth and Even)
After you’ve poured that second layer, you’re not actually done—the real work happens in those final minutes when the surface is still soft enough to smooth but firm enough to hold its shape. Here’s the thing: a lumpy top ruins your visual aesthetics, even if the candle performs beautifully. I use a heat gun on low, hovering it about six inches above the surface, moving in slow circles until the wax melts just slightly. You’ll see those tiny ridges disappear. Don’t overdo it—your ambient scent can vanish if you overheat. Tap the container gently on your work surface to settle remaining bubbles. Let it cool completely. That smooth finish? That’s what separates amateur pours from candles you’re actually proud to gift.
Frequently Asked Questions
Can I Double Pour a Candle More Than Twice for Better Results?
I’d recommend sticking with two pours maximum. Multiple pours beyond that risk inconsistent wax layering, fragrance degradation, and unpredictable cooling patterns. Two strategic pours effectively eliminate sinkholes while maintaining candle quality.
How Long Should I Wait Between First and Second Pour Applications?
I’ve learned that timing is your candle’s heartbeat—you’ll want to let your first pour cool until it’s firm to the touch, typically 4-24 hours depending on wax type. This curing time guarantees proper wick priming before your second pour application.
Will Double Pouring Affect My Candle’s Burn Time or Performance?
I’ve found that double pouring doesn’t negatively affect burn time when you’ve got proper wick sizing. Color layering from the second pour won’t impact performance either—you’re just filling surface gaps for a professional finish.
What’s the Ideal Temperature for Reheating Wax for the Second Pour?
I’d recommend reheating your wax to a sweet spot where it flows like honey—typically around 170-180°F. You’ll want ideal temp to achieve proper wax viscosity, ensuring smooth application without overheating your candle’s surface.
Can I Use Different Fragrance Scents for First and Second Pours?
I’d advise against it. Different fragrance scents risk creating competing notes rather than intentional scent layering. I recommend matching fragrances to maintain fragrance integrity and guarantee a cohesive, professional burn experience.
Conclusion
All right, you’ve got this. Double pouring isn’t magic—it’s just patience and intention working together. I’ve botched plenty of pours myself, and I’m telling you: the second pour fixes what the first one couldn’t. Remember, practice makes progress, not perfection. Your next batch’s going to be smoother, more polished, and genuinely beautiful. Keep pouring.