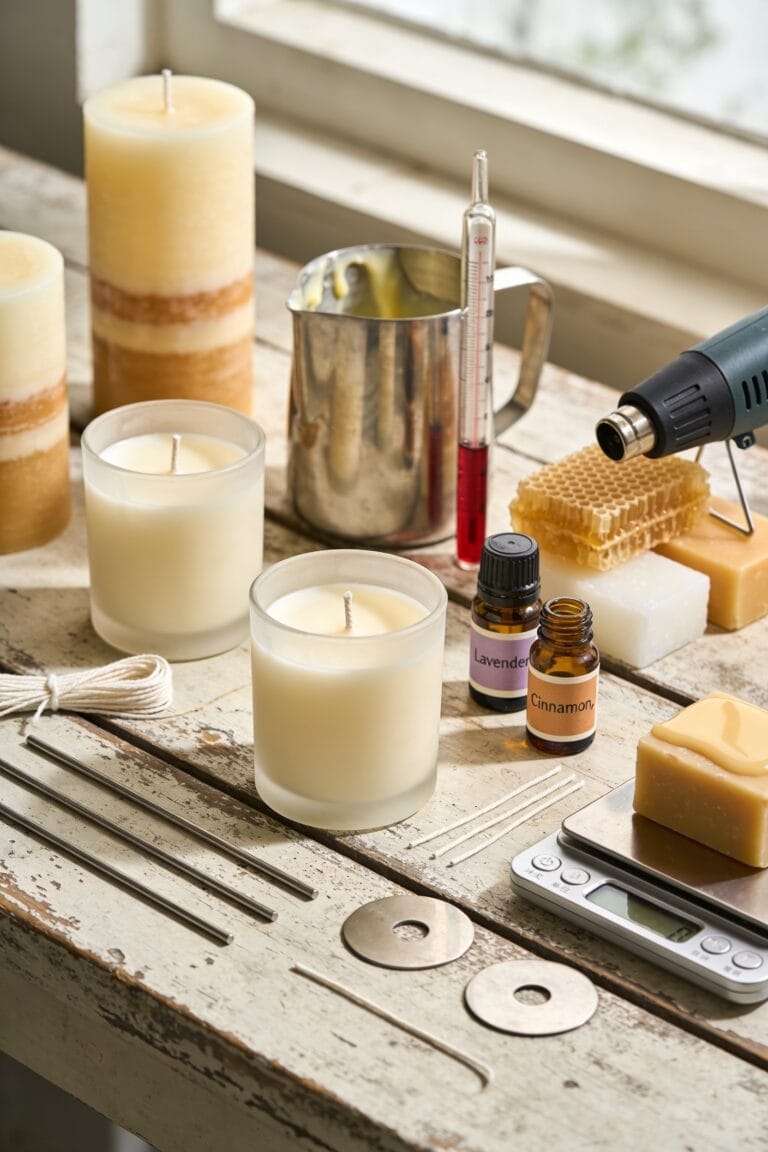
All right, here’s what actually matters: your wax (I’d go soy for fragrance retention), a properly sized wick matched through burn testing, a heat-safe container, fragrance oil at about 7-9% by weight, and honest technique. You’ll melt everything around 170-185°F, pour deliberately, then wait 3-7 days for the wax to fully cure before testing. Most failures I’ve seen come down to wick size or impatience, not ingredients. Stick around if you want the specifics that’ll actually prevent tunneling.
Key Takeaways
- Wax is the candle’s foundation; popular options include soy, paraffin, beeswax, and palm, each with distinct burn qualities and sustainability considerations.
- Wicks must match wax type through testing; organic cotton or hemp wicks trimmed to quarter-inch prevent tunneling and uneven burning.
- Fragrance oils are added at 7–9% by weight by volume; essential oils require lower percentages and initial testing before full batches.
- Containers should be heat-safe tempered glass or ceramic vessels that resist cracking; verify material specifications before purchasing jars.
- Color dyes use half a block per batch mixed thoroughly before pouring; organic embeds like lavender press into cooled wax afterward.
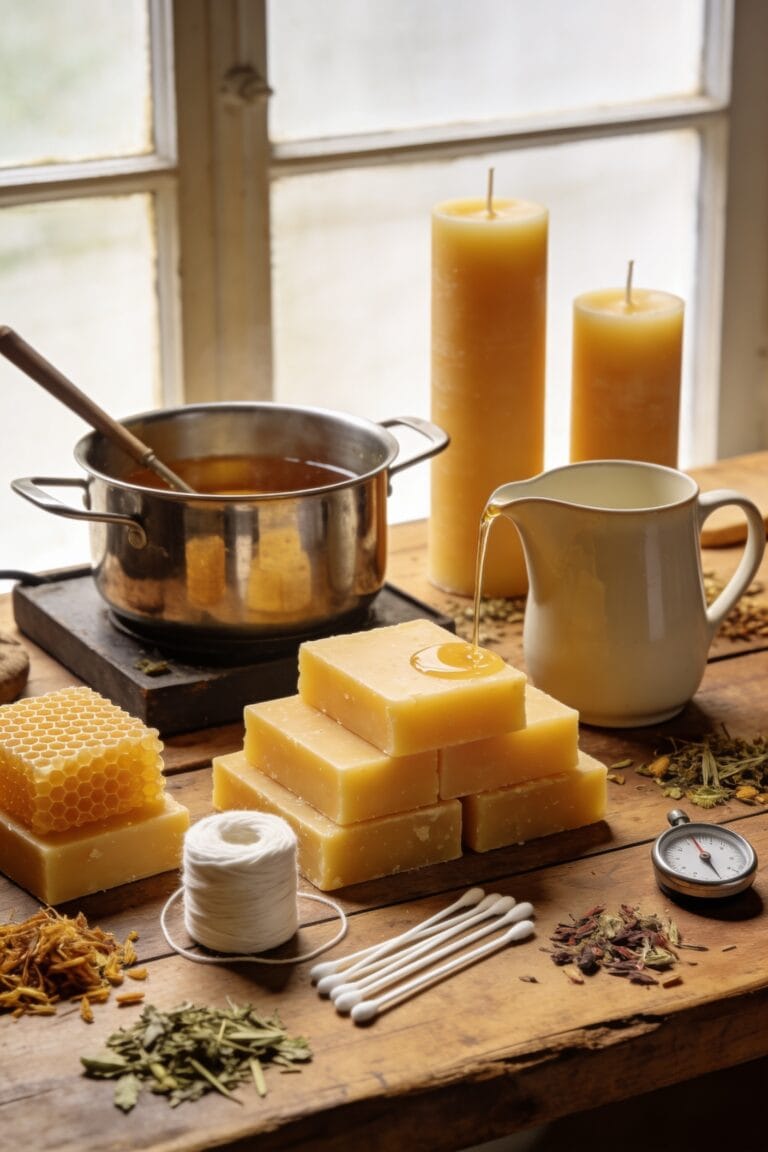
Choose Your Wax Type (Beeswax, Soy, Paraffin, Palm)
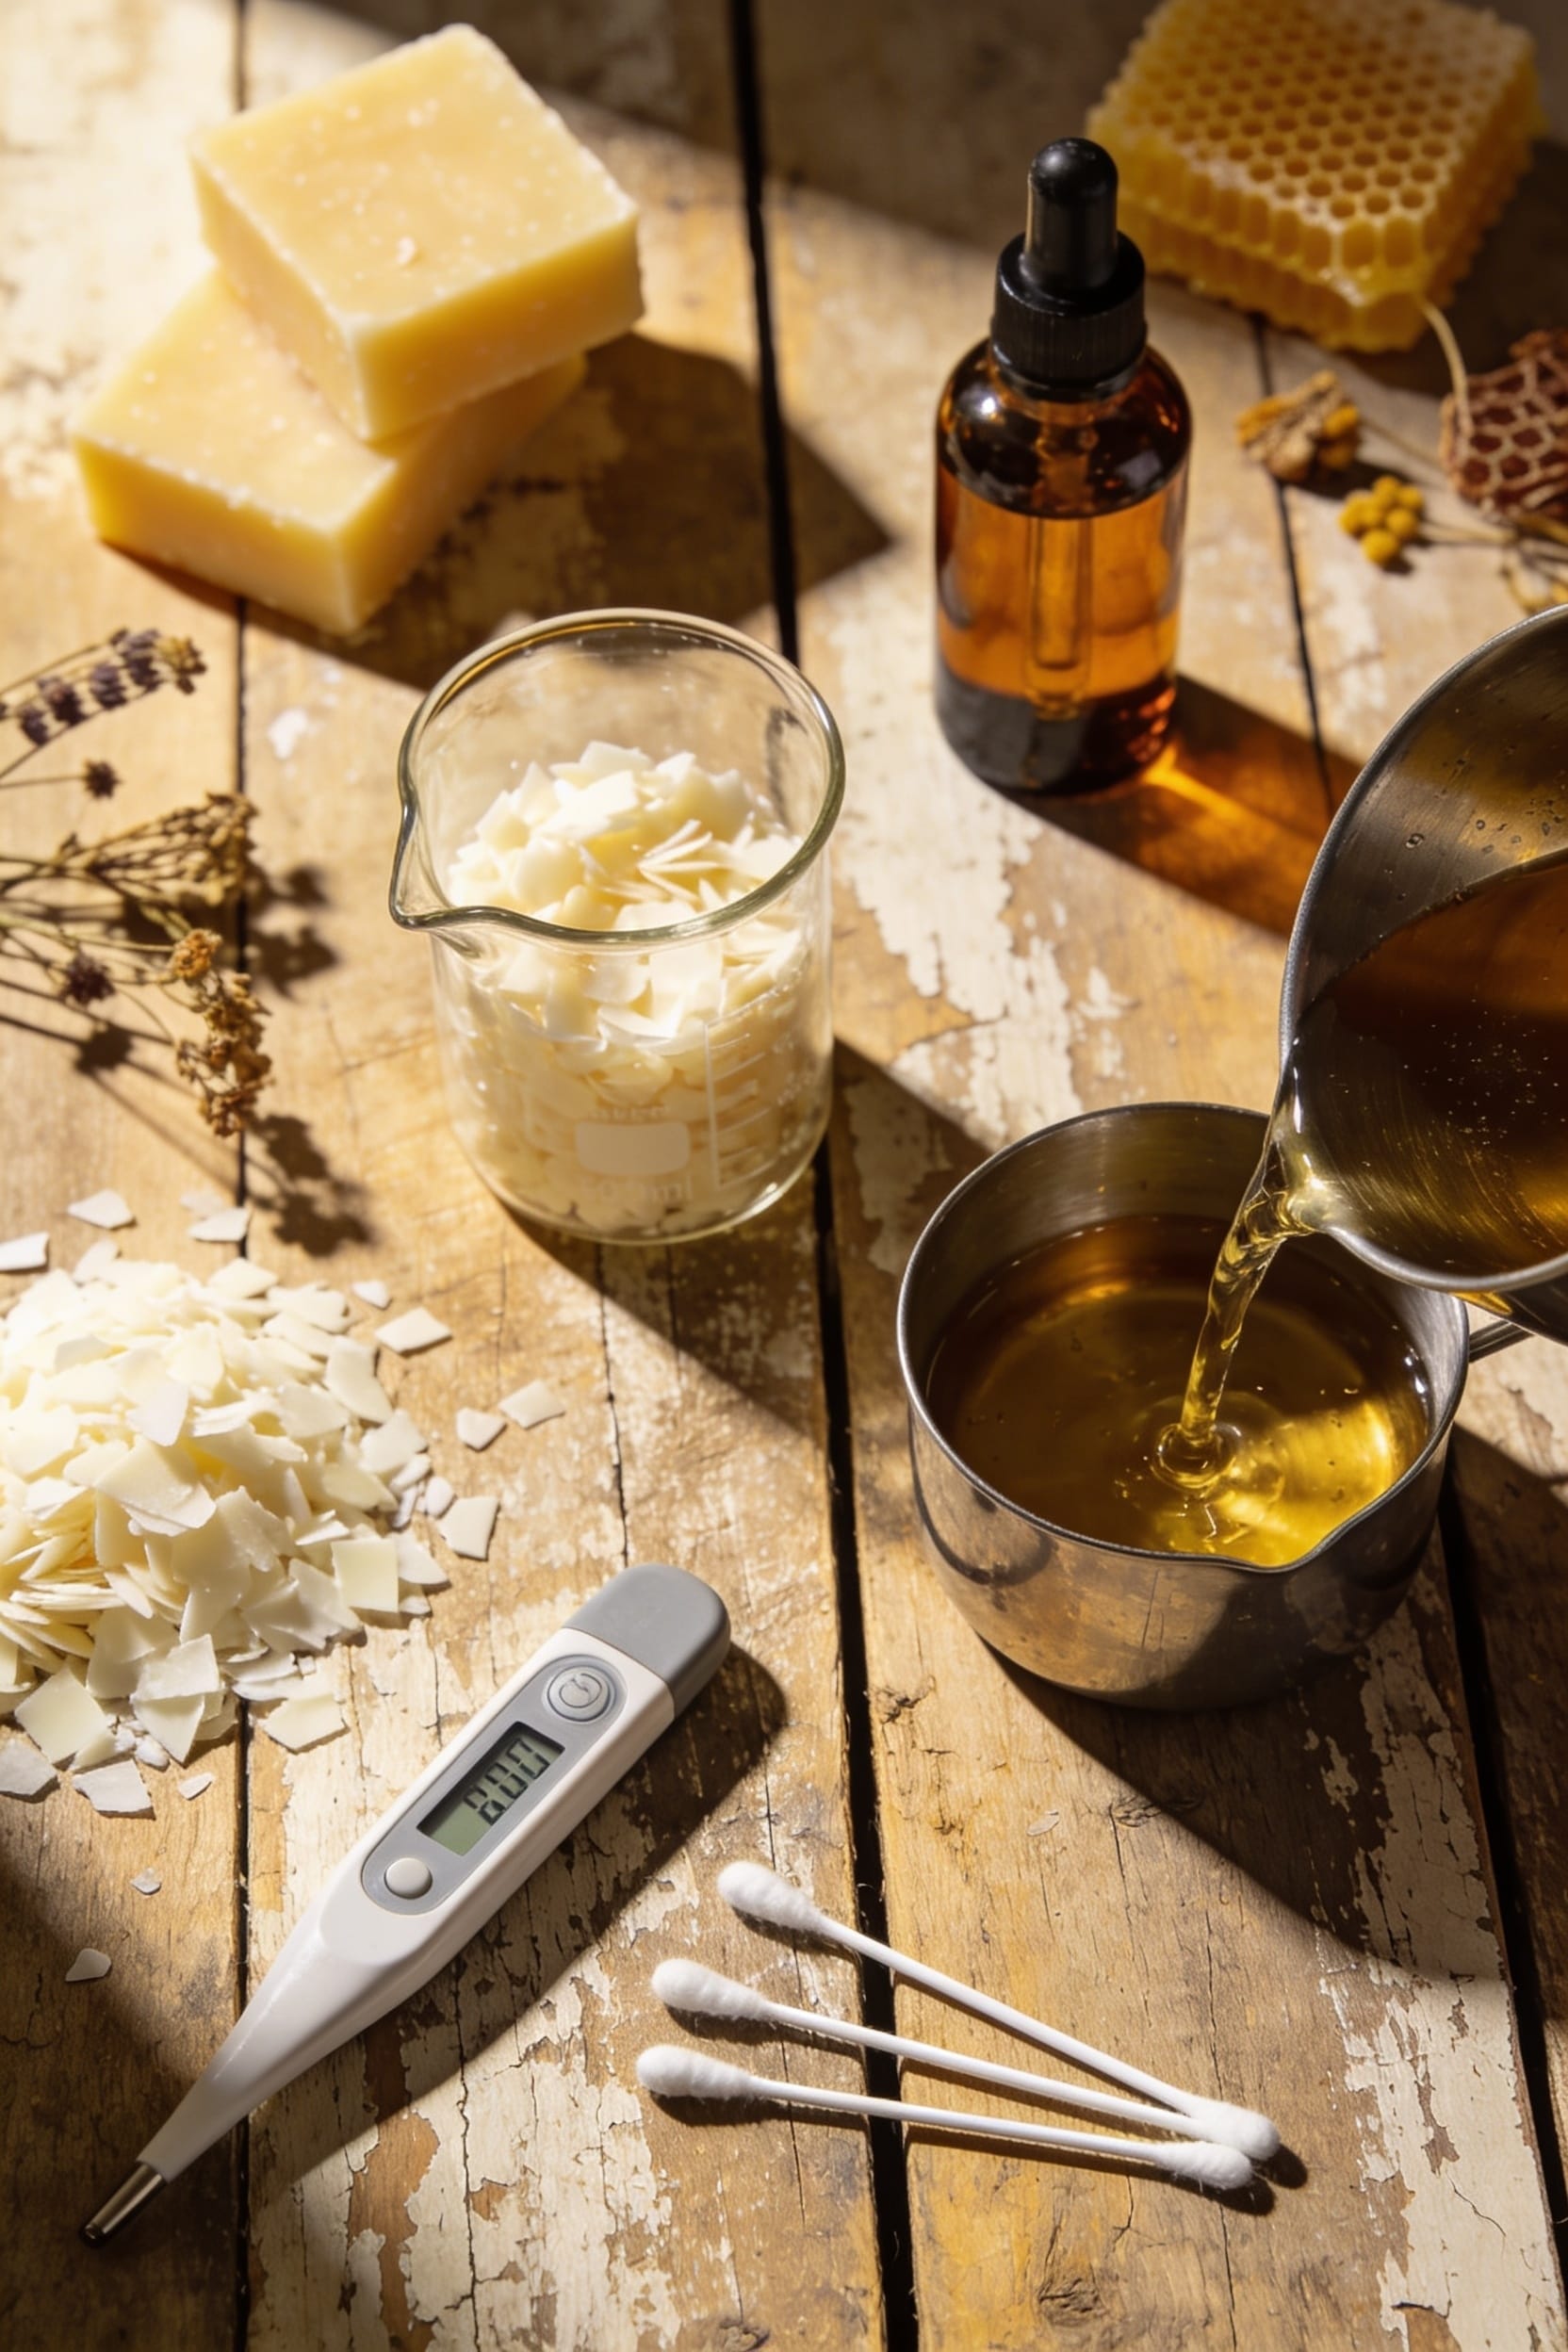
Why does wax choice matter so much? Your wax type determines how your candle burns, how it smells, and honestly, whether you’ll feel good about what you’ve made.
Beeswax sourcing can be tricky—it’s pricey and sustainability concerns linger around harvesting practices. Soy wax blends offer a middle ground: clean-burning and renewable, though hydrogenation effects during processing warrant attention if you’re seeking purely natural options. Paraffin‘s cheap and melts fast, but it’ll soot up your walls like nobody’s business. Palm wax burns long and clean, though environmental issues surround its cultivation.
I’ve experimented with all four. Soy won out for me—it holds fragrance beautifully and I sleep better knowing I’m not contributing to sketchy sourcing practices. Pick what aligns with your values and your budget.
Recommended Products


Safer Ambience for Everyday Moments: Our sand wax candle design with self-extinguishing sand candle wicks minimizes fire risk if tipped and prevents hot wax spills; ideal for homes with pets or kids that won’t renounce stylish décor, offered in White, Red, Nude, and Black for cozy luxury

Professional Wax Melter for Candle Making or Soap Making, Melter 3 Gallon Stainless Tank, Extra Deep for Your Larger Batches Of Candles or Soap, This Has Been Designed From Customers Requests and is Unlike Other Competitors.
Pick the Right Wick for Your Candle

Now here’s where a lot of people go wrong, and I’ve been been there myself—you pick a wick that’s too thin or too thick, and suddenly your candle’s either tunneling down the middle like a sad little cave or drowning in a pool of wax that never quite catches fire. The real secret? Match your wick to your wax type through burn testing, which means actually lighting sample candles and watching how they perform. I’d recommend organic hemp or cotton wicks with sustainers—those little metal discs that hold the wick centered. Start with wick trimming to about a quarter-inch before each burn. You’ll need to test different wick sizes because soy behaves differently than paraffin. Once you find your match, you’ve cracked the code.
Recommended Products

【Center & Set Wick in Just 1sec】Unlike traditional methods, its glue-free solution eliminates most time-consuming steps, allowing you to centering wick in 1 second.

Candle Sets for Women Gift: Our scented candles gift set includes 48 beautifully packaged candles, 48 charming thank-you tags, 48 classy white gift bags and a 18meter hemp rope. Perfect for adding a touch of elegance to any occasion, this set is ideal for baby showers, weddings, holidays, and special celebrations

(20) 20' packs hemp wick
Select a Heat-Safe Container
Having watched melted wax cool unevenly in containers that weren’t up to the task, I can tell you this step matters more than you’d think. You’ll want tempered glass jars or ceramic vessels—materials that won’t crack when hot wax hits them. Standard 4-ounce glass jars work perfectly for beginner batches, though 9-ounce containers need about 7 ounces of wax by weight to look full.
Now, here’s what I’ve learned the hard way: cheap containers fail. They warp, they discolor, sometimes they literally shatter mid-pour. That’s wasteful and genuinely dangerous. Look for jars specifically labeled heat-safe. Double-check the material before ordering.
Your container holds everything—the wax, fragrance load, color, your wick. Get this wrong and the whole pour suffers.
Recommended Products

Safer Ambience for Everyday Moments: Our sand wax candle design with self-extinguishing sand candle wicks minimizes fire risk if tipped and prevents hot wax spills; ideal for homes with pets or kids that won’t renounce stylish décor, offered in White, Red, Nude, and Black for cozy luxury

[Multi-pcs Set] - Premium mercury glass votive candle holders with shimmering finish. Perfect for creating elegant ambiance at weddings, parties, and home decor.

Create a stunning, cohesive look with sixteen matching black lanterns. Perfect for lining walkways, decorating patios, weddings, events, or filling large spaces with warm ambient lighting.
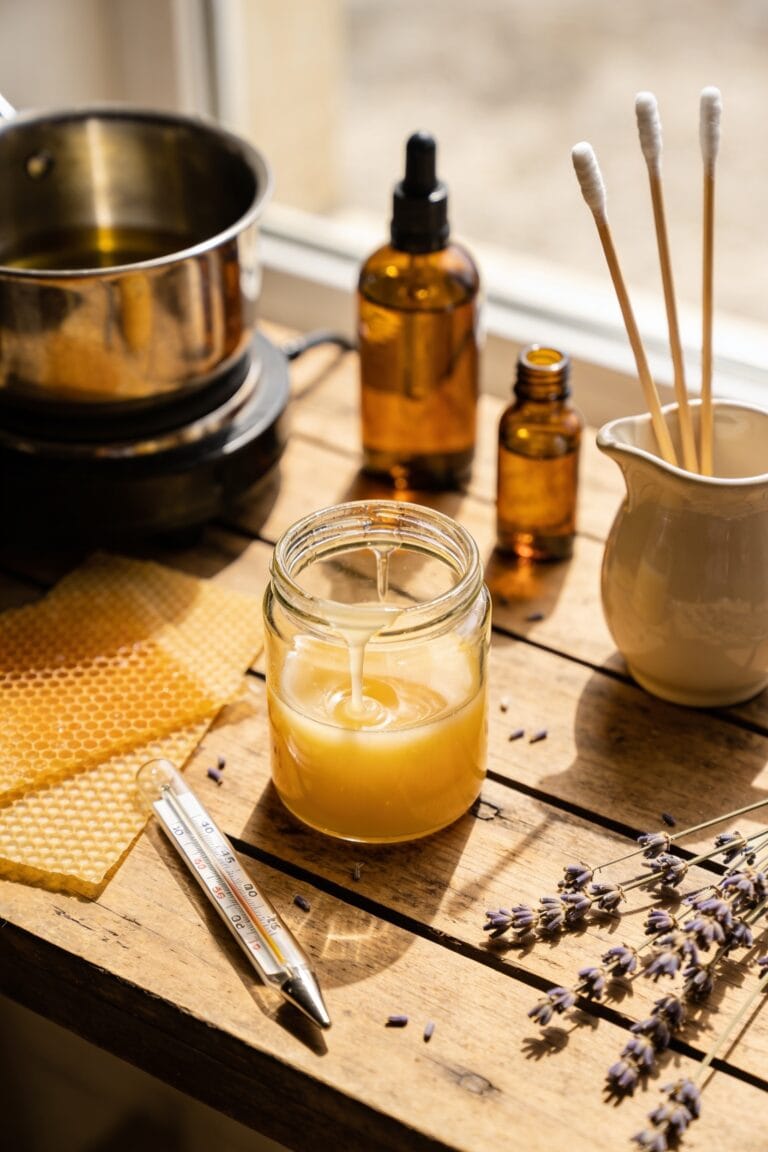
Melt and Mix Your Wax Correctly
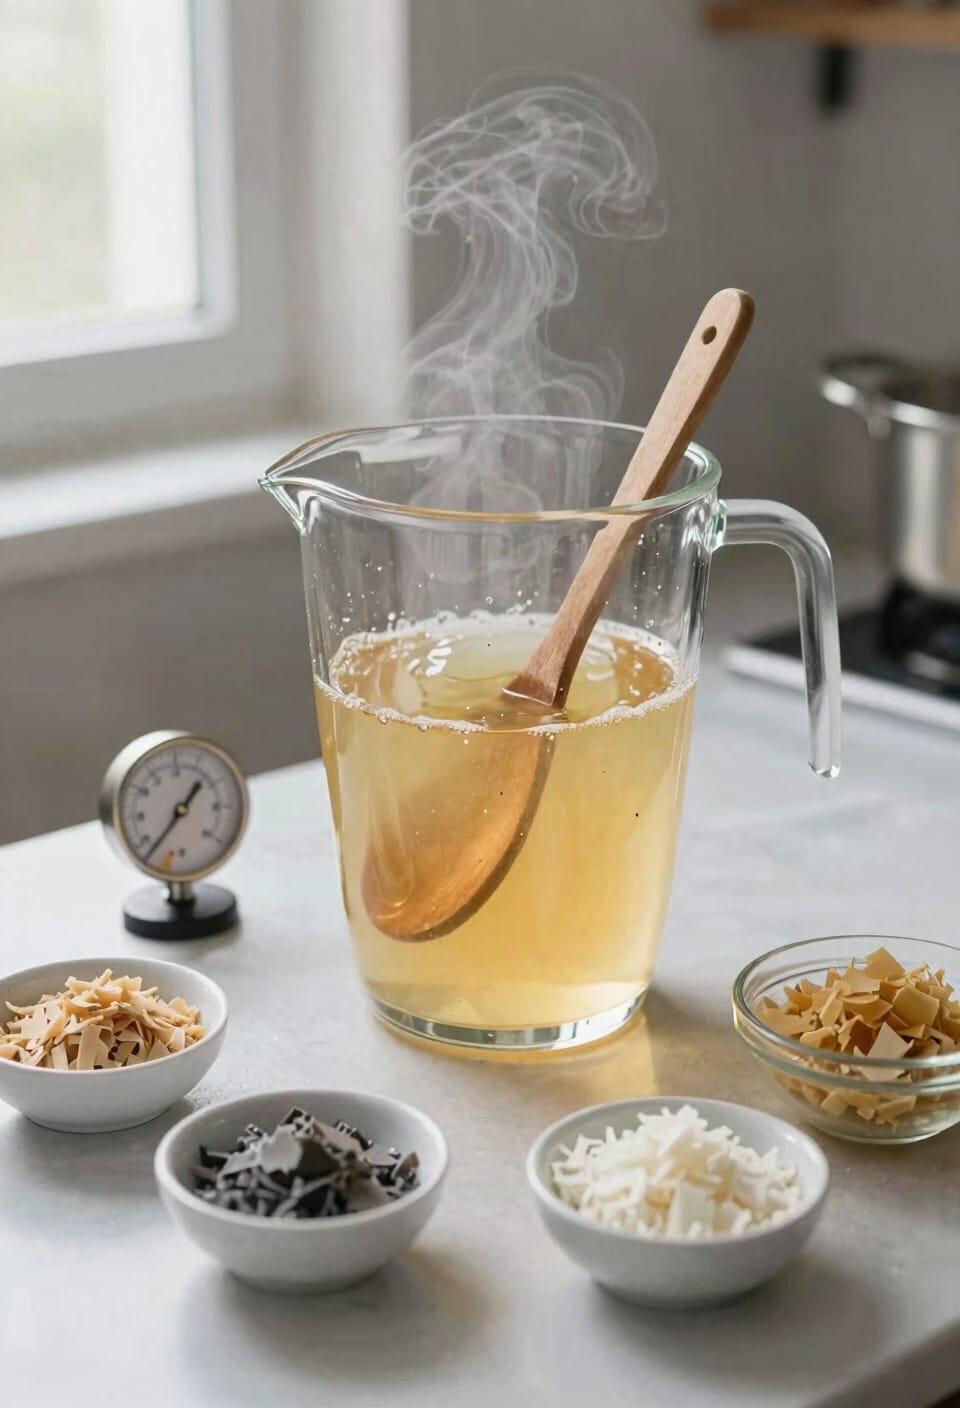
Since you’ve already nailed your container choice, the real test begins the moment you fire up that double boiler. Temperature control is everything here—I’m talking 170 to 185°F depending on your wax type. Use a thermometer. Don’t guess. Soy wax likes the lower end; paraffin climbs higher.
Your stirring technique matters too. Slow, deliberate circles prevent air bubbles and guarantee even melting. When your wax hits that sweet spot, it’s time to add fragrance oils—around 7 to 9 percent by weight. That’s roughly one ounce per batch, though I always test first.
Stir constantly for two minutes after adding scent. This distributes fragrance load evenly throughout. Remove from heat once everything’s smooth and glossy. Don’t rush the pour.
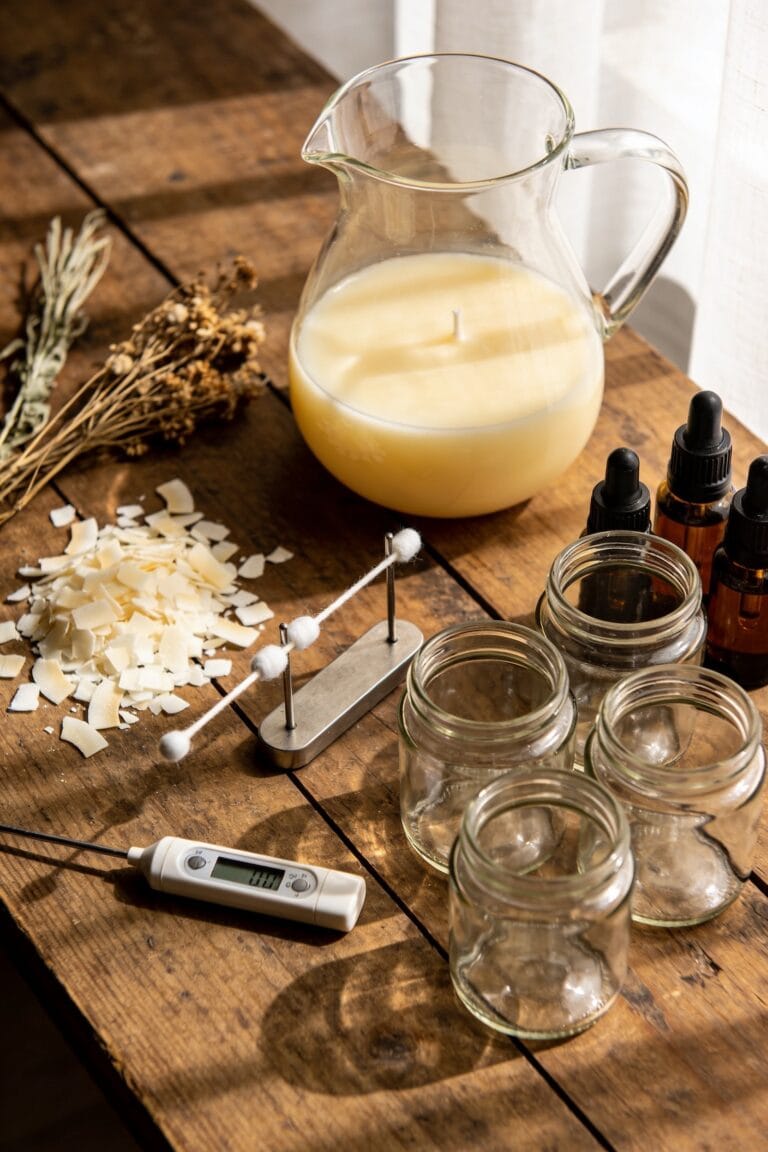
Add Fragrance, Color, and Embeds
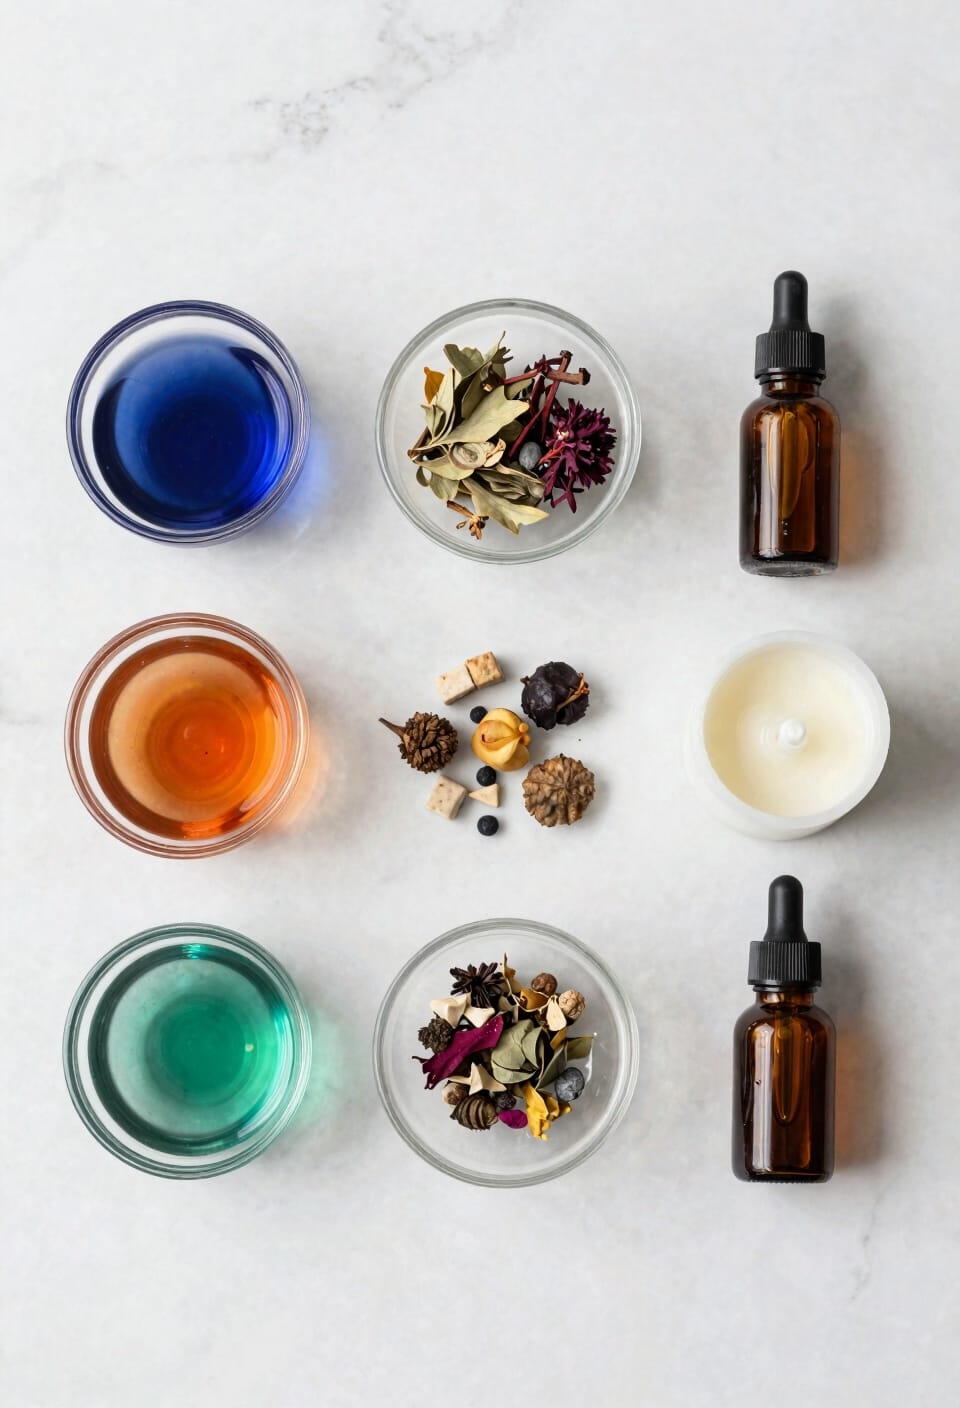
With your wax melted and holding steady at that perfect temperature, you’re ready to layer in the personality—fragrance, color, and those little extras that make your candles feel handmade rather than mass-produced.
Now, let’s talk scent layering. You’ll add fragrance oil at 7-9% by weight—roughly one ounce per sixteen-ounce batch. Stir it in thoroughly at 185°F. Essential oils work too, but use them sparingly at lower percentages.
For color, half a dye block per batch prevents color bleeding, where pigment separates from the wax. Mix it completely before pouring.
Here’s the thing: organic embeds like lavender or coffee beans go in last, pressed gently into cooled wax. They’re not just decoration—they’re your signature.
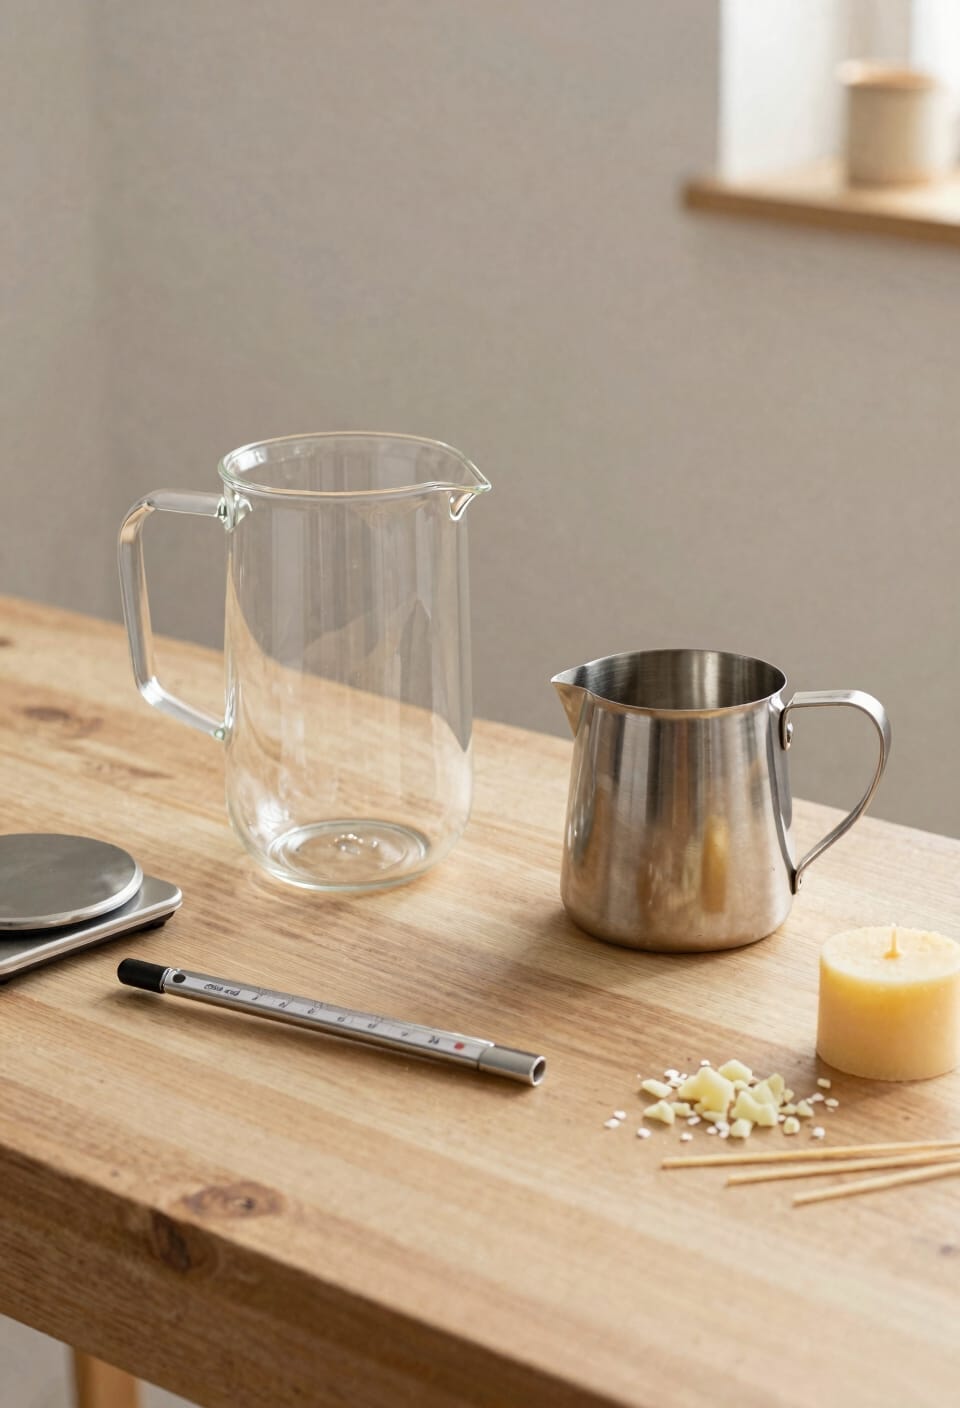
Gather Your Tools and Equipment
A double boiler setup is non-negotiable. You’ll need a dedicated metal pitcher sitting in simmering water—this indirect heat prevents scorching and keeps your safety protocols intact. Grab a thermometer to hit 185°F before adding fragrance, a wooden skewer for stirring, and pencils to center wicks while cooling.
For workspace organization, set up everything before melting: your scale for measuring wax and fragrance load percentages, scissors for trimming wicks, and wick stickers. Keep isopropyl alcohol nearby for cleanup. Trust me, organized space means fewer mistakes and less wax-splattered regret.
Recommended Products

Wax melter for candle making: Large pot holds approximately 7 Qts Melted Wax! Super- Fast Melter can melt Soy Wax, Paraffin, Coconut, Beeswax. Easy to use temperature setting to adjust your tempature as needed. Its best to always check tempature with a thermometer. Great for DIY Candle Makers.

Beeswax Making Kit: There are electric wax melting pot for beeswax melting, 5lbs beeswax, 100 cotton wicks, 100 wick stickers, 1 wooden spoon, 1 AC cable in the package.

UNIQUE ALL-IN-ONE DOUBLE BOILER – Unlike traditional models, this stainless steel double boiler pot has a built-in water chamber for seamless melting. No extra inserts needed! Ideal for chocolate, candy, and candle making with mess-free precision.
Troubleshoot Common Candle-Making Problems
Even the most carefully measured pour can go sideways, and that’s exactly why I’m going to walk you through the problems you’ll actually run into. Tunneling—when wax burns down the middle leaving unmelted walls—happens mostly with oversized wicks or paraffin that’s too soft. Fix it by trimming your wick shorter or switching to a thinner one. Uneven burning stems from improper wick centering or drafty spots near your jar. I’ve learned that patience during cooling prevents most disasters. Let wax fully cure before lighting—usually three to seven days depending on your soy or paraffin blend. Test burn your first batch. You’ll spot issues immediately, and adjusting your fragrance load or pouring temperature becomes second nature once you’ve troubleshot one failed candle.
Recommended Products

The product is 9" 6TPI Reciprocate Blade
COMES WITH EVERYTHING YOU NEED: This kit includes 3 lbs of Paraffin Wax, 72 inches of cotton wick, 3 candle rubber stoppers, pigment (red, yellow, blue, white), 3 candle molds with base, and a color mixing chart

DELIVERS OPTIMUM FLUSH CUTS FOR PRECISION TASKS: Easily cuts soft wire from .005" to .042" while leaving a small, controlled pinch at the cut end; ideal for trimming leads on circuit boards, assembling microelectronics, and fine jewelry work
Frequently Asked Questions
How Long Does Homemade Candle Wax Typically Take to Cool and Cure Completely?
I’d recommend letting your candle cool for 24 hours before lighting it. This cooling time allows the fragrance bonding to fully set, ensuring peak scent throw and a longer-lasting burn.
What Is the Ideal Room Temperature for Pouring Candles to Prevent Imperfections?
I’ll keep my ambient temp steady between 68-72°F while you’re pouring—too cold creates sinkholes, too warm causes tunneling. Your pouring temperature matters just as much; I aim for 185°F to guarantee smooth, flawless candles.
Can I Reuse Old Candle Containers for Making New Homemade Candles?
I’d recommend reusing jars, but you’ll need to clean them thoroughly first. Make sure proper wick placement by removing old wax residue completely. Your containers must be heat-proof and undamaged for safe repouring.
How Do I Know When My Candle Is Fully Cured and Ready to Burn?
Most candles need 24-48 hours curing. I’d recommend an appearance check—the wax should be fully opaque and solid. Then conduct an aroma test to make sure fragrance’s evenly distributed throughout before burning.
What Safety Precautions Should I Take When Melting Wax on a Heat Source?
I’ll use a double boiler setup to prevent direct heat exposure, which reduces fire safety risks. I’ll guarantee proper ventilation setup near my melting station and never leave heated wax unattended while it’s melting.
Conclusion
You’ve now got the blueprint—wax melting like liquid gold, fragrance dancing through warm air, wicks glowing steady and true. I won’t pretend your first batch’ll be perfect. Mine weren’t. But you’ll learn fast, troubleshoot smarter, and soon you’ll be pouring candles that fill rooms with light and scent. That’s the real magic here. Start now.