As an Amazon Associate, we earn from qualifying purchases. Some links on this site are affiliate links at no extra cost to you. Our recommendations are based on thorough research and editorial judgment.
How to Make Votive Candles: Beginner Guide With Wax & Wick Tips
All right, here’s the thing: votives need the right wax—I’d start with soy or plant blends because they burn cleaner—plus a double boiler setup you’ll use constantly. Melt to 185°F, add fragrance oil (aim for 4–6% fragrance load, which is basically how much scent your wax can hold), then pour slowly at 175°F into prepared molds with centered wicks. Let them cool the full 24 hours, top-pour any sinkholes, and you’ve got it. The real mistakes happen when you rush or skip steps, which I definitely didn’t learn the hard way.
Key Takeaways
- Choose soy wax for cleaner burning or paraffin for better color retention; test small batches first before scaling up.
- Use a double boiler setup heated to 185°F, then add fragrance oil at 4–6% load and stir thoroughly.
- Insert wick pins into molds and center wicks using self-centering tabs and blue tack before pouring at 175°F.
- Pour slowly to avoid bubbles and allow votives to cool for a full 24 hours at room temperature.
- Perform a top-pour at 175°F after 24 hours to fill sinkholes and prevent tunneling with properly sized wicks.
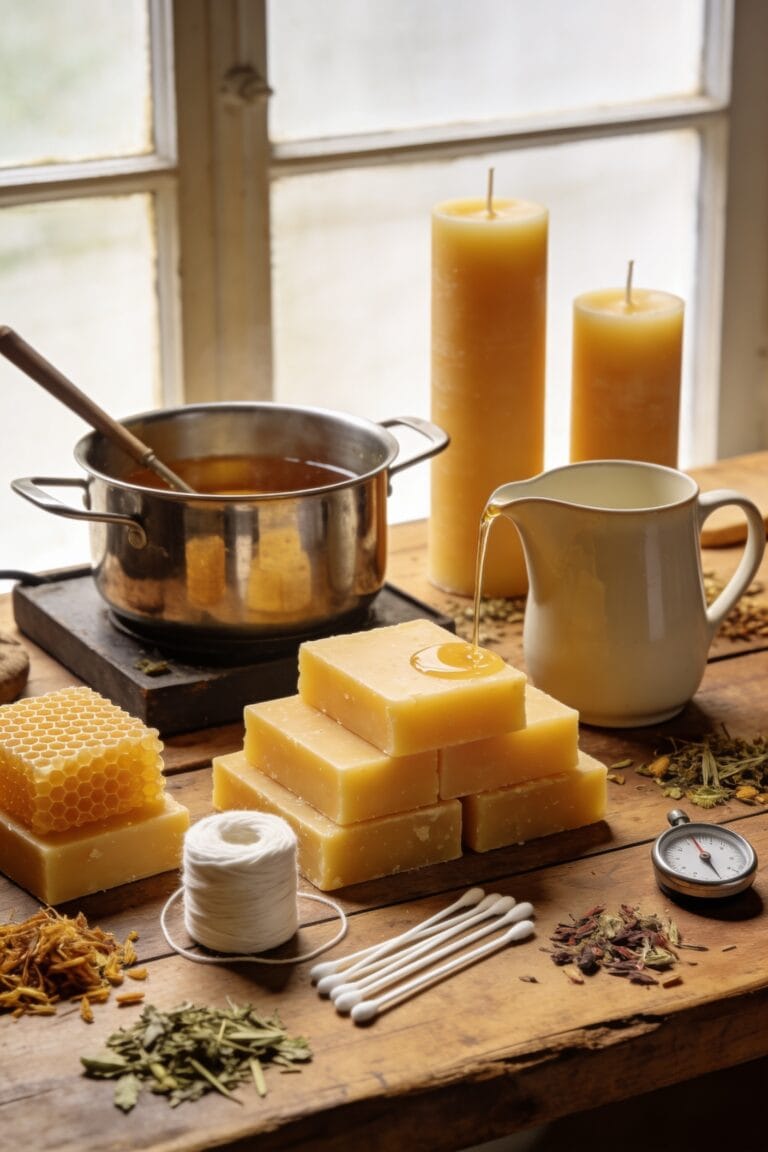
Choose Your Wax for Votive Candles
Look, picking the right wax is where everything starts, and I’ve learned this the hard way—after pouring a batch of paraffin that refused to hold fragrance and watching soy wax sink like it had a personal vendetta against me. You’ve got options. Paraffin holds color and scent like a champ, but it’s petroleum-based. Soy wax burns cleaner and slower, though it demands patience during cooling. Plant based blends give you the best of both worlds—better fragrance load (that’s how much scent your wax can actually hold) without the environmental guilt. For votives specifically, I’m partial to masonry wax or votive-specific container blends. They’re formulated to work in tight spaces. Test small batches before committing to a full pound.
Recommended Products

Personalized stickers with different colors and designs from Kate Aspen. Some assembly required. Stickers arrive unattached and require easy customer assembly.

Long burn time; Ideal for ambience or mood lighting in low light tabletop applications; Costs just pennies an hour to burn
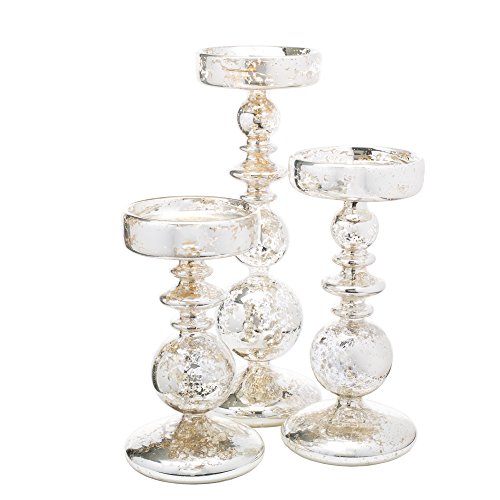
[Multi-pcs Set] - Mercury glass votive candle holders with raised pearl texture and dappled silver interior. Creates elegant shimmer for weddings and home decor.
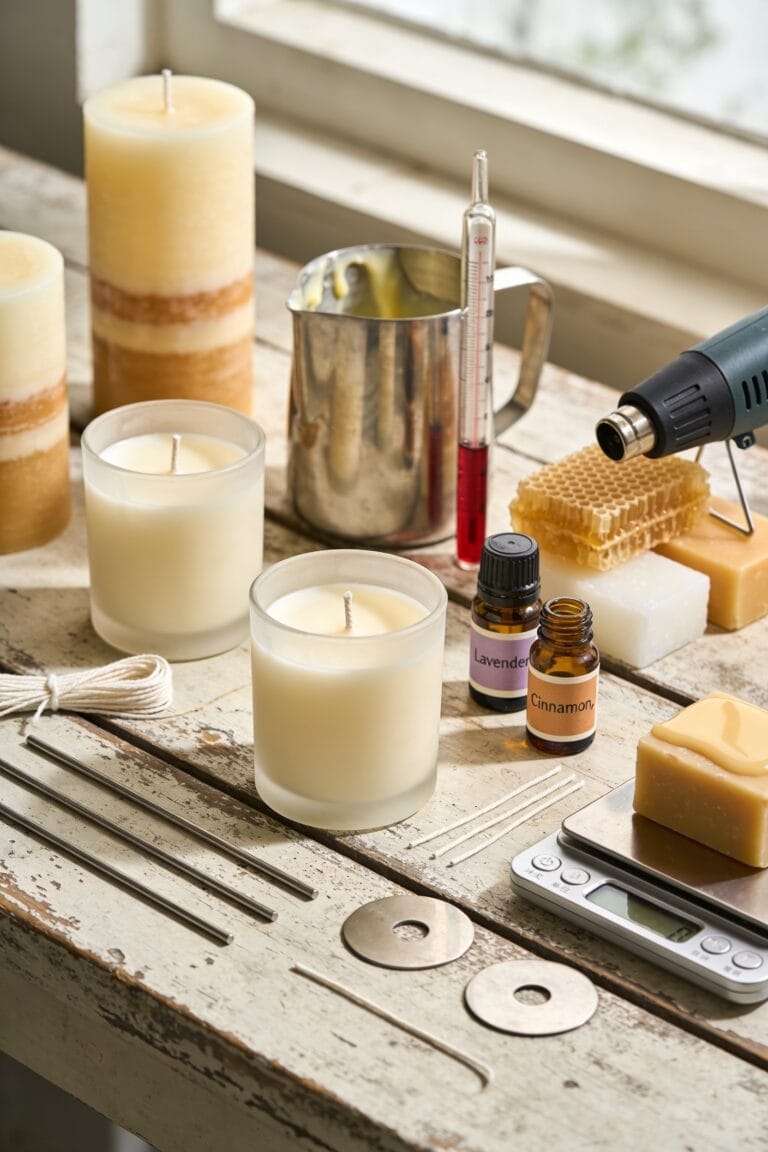
Gather Your Supplies and Equipment
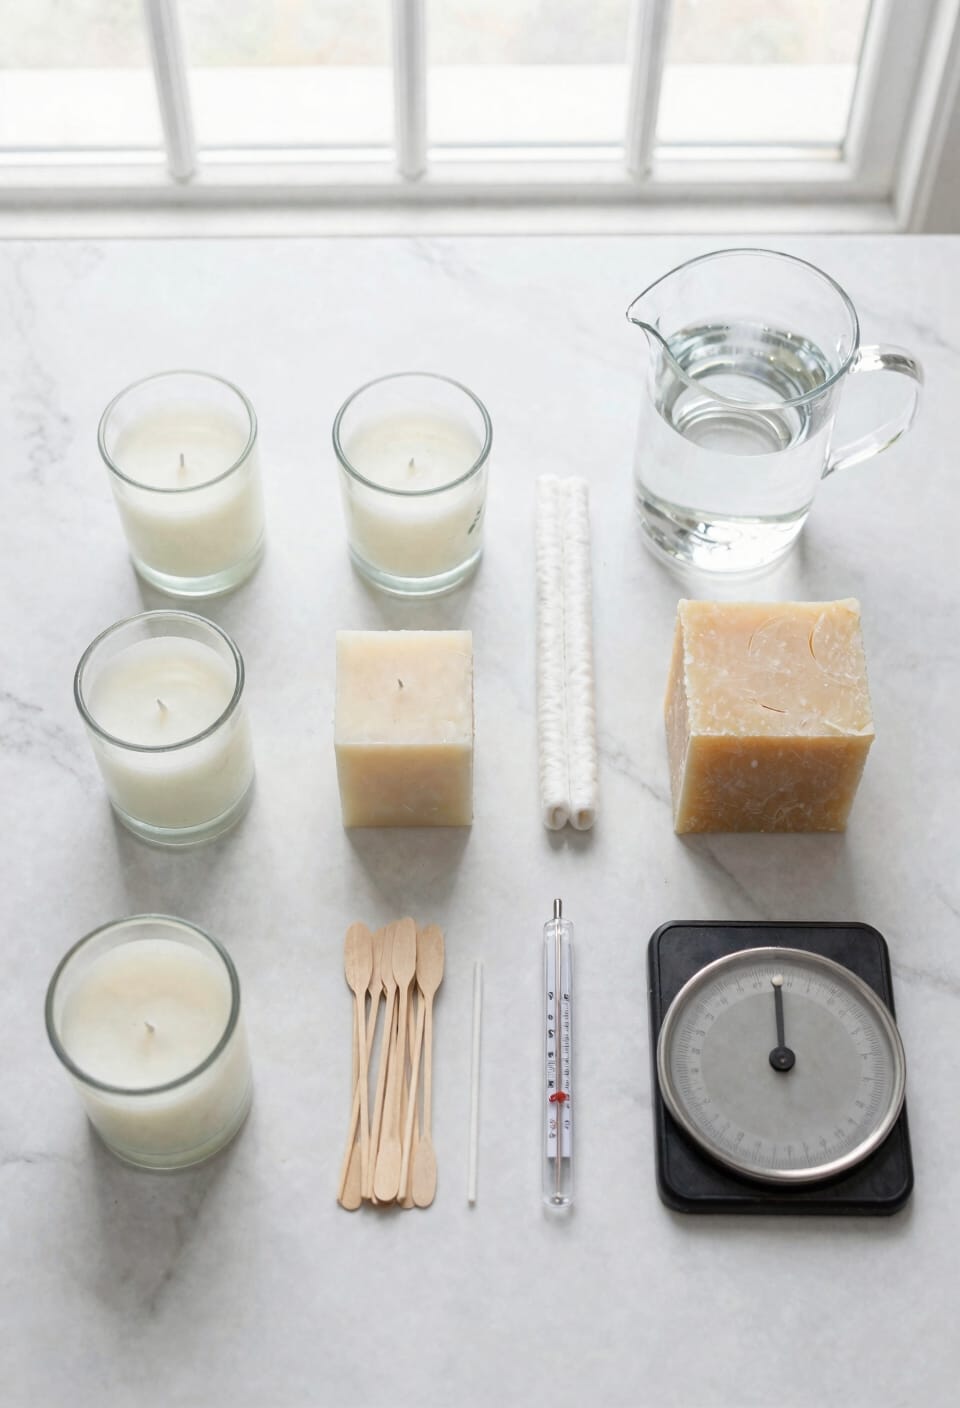
Now that you’ve picked your wax, it’s time to gather everything else you’ll need, because showing up to pour candles without the right gear is like showing up to bake a cake with only a fork. You’ll want a double boiler setup, digital scale, pour pot, and basic stirring tools. Your tool checklist should include wick pins, centering devices, scissors, and pliers. Grab votive molds and prewick assemblies too. For safety precautions, keep fragrance oils and dyes away from skin and eyes—they’re potent. Measure everything on that scale; guessing is how I once made a batch that wouldn’t hold a flame. Stock dye blocks or drops, and grab some blue tack or tape for wick positioning. You’re almost ready.
Recommended Products


Minimal Smoke, Maximum Charm - Breathe easy with clean-burning, clean tech foton candle that set the mood. Our candles are designed for a pure, enchanting glow that enhances your space without the smoke.
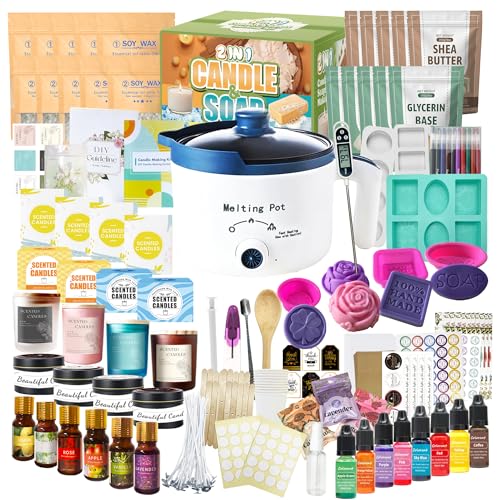
𝐓𝐎𝐏 𝐐𝐔𝐀𝐋𝐈𝐓𝐘 & 𝐐𝐔𝐀𝐍𝐓𝐈𝐓𝐘: Deluxe kit means top quality, quantity and valuable. Including all soap and candles making supplies in one kit, saving up to 40% compared to buying all accessories separately. 4 lbs soy wax and soap base, 8 dyes, 6 essential oils, 4 jars and glass cup, 7 soap molds, enough supplies for you to fully unleash your craftsmanship.
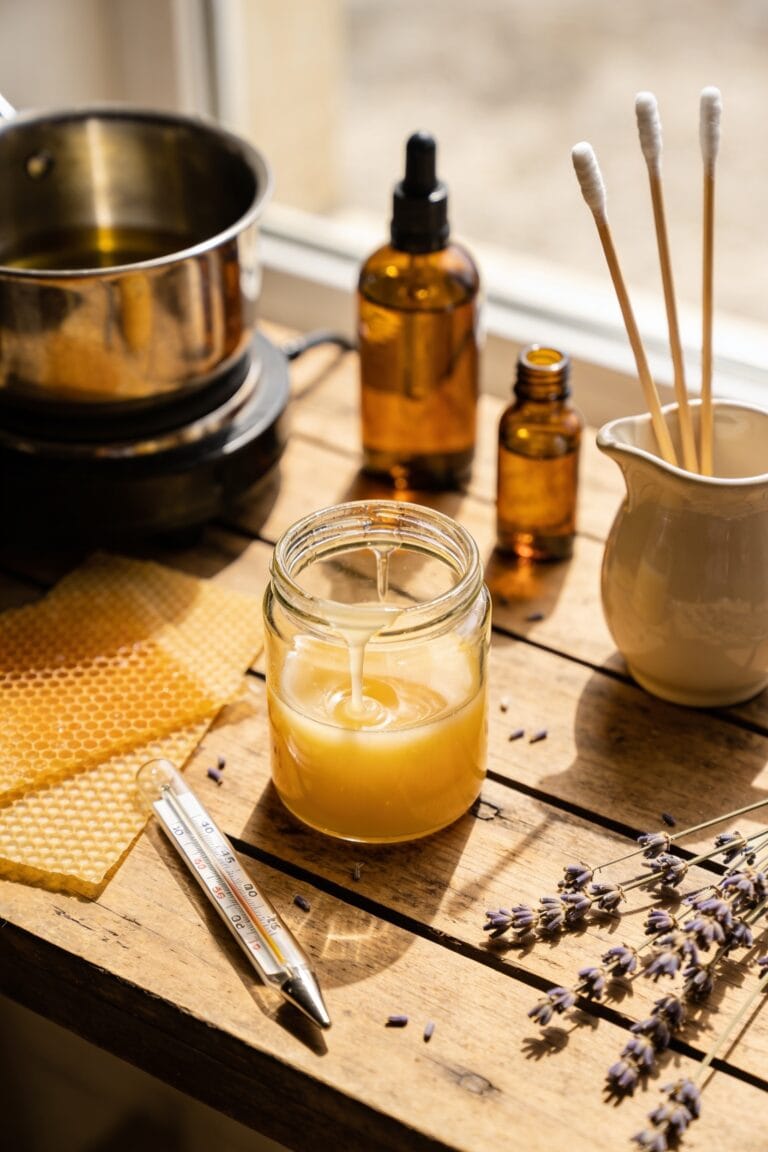
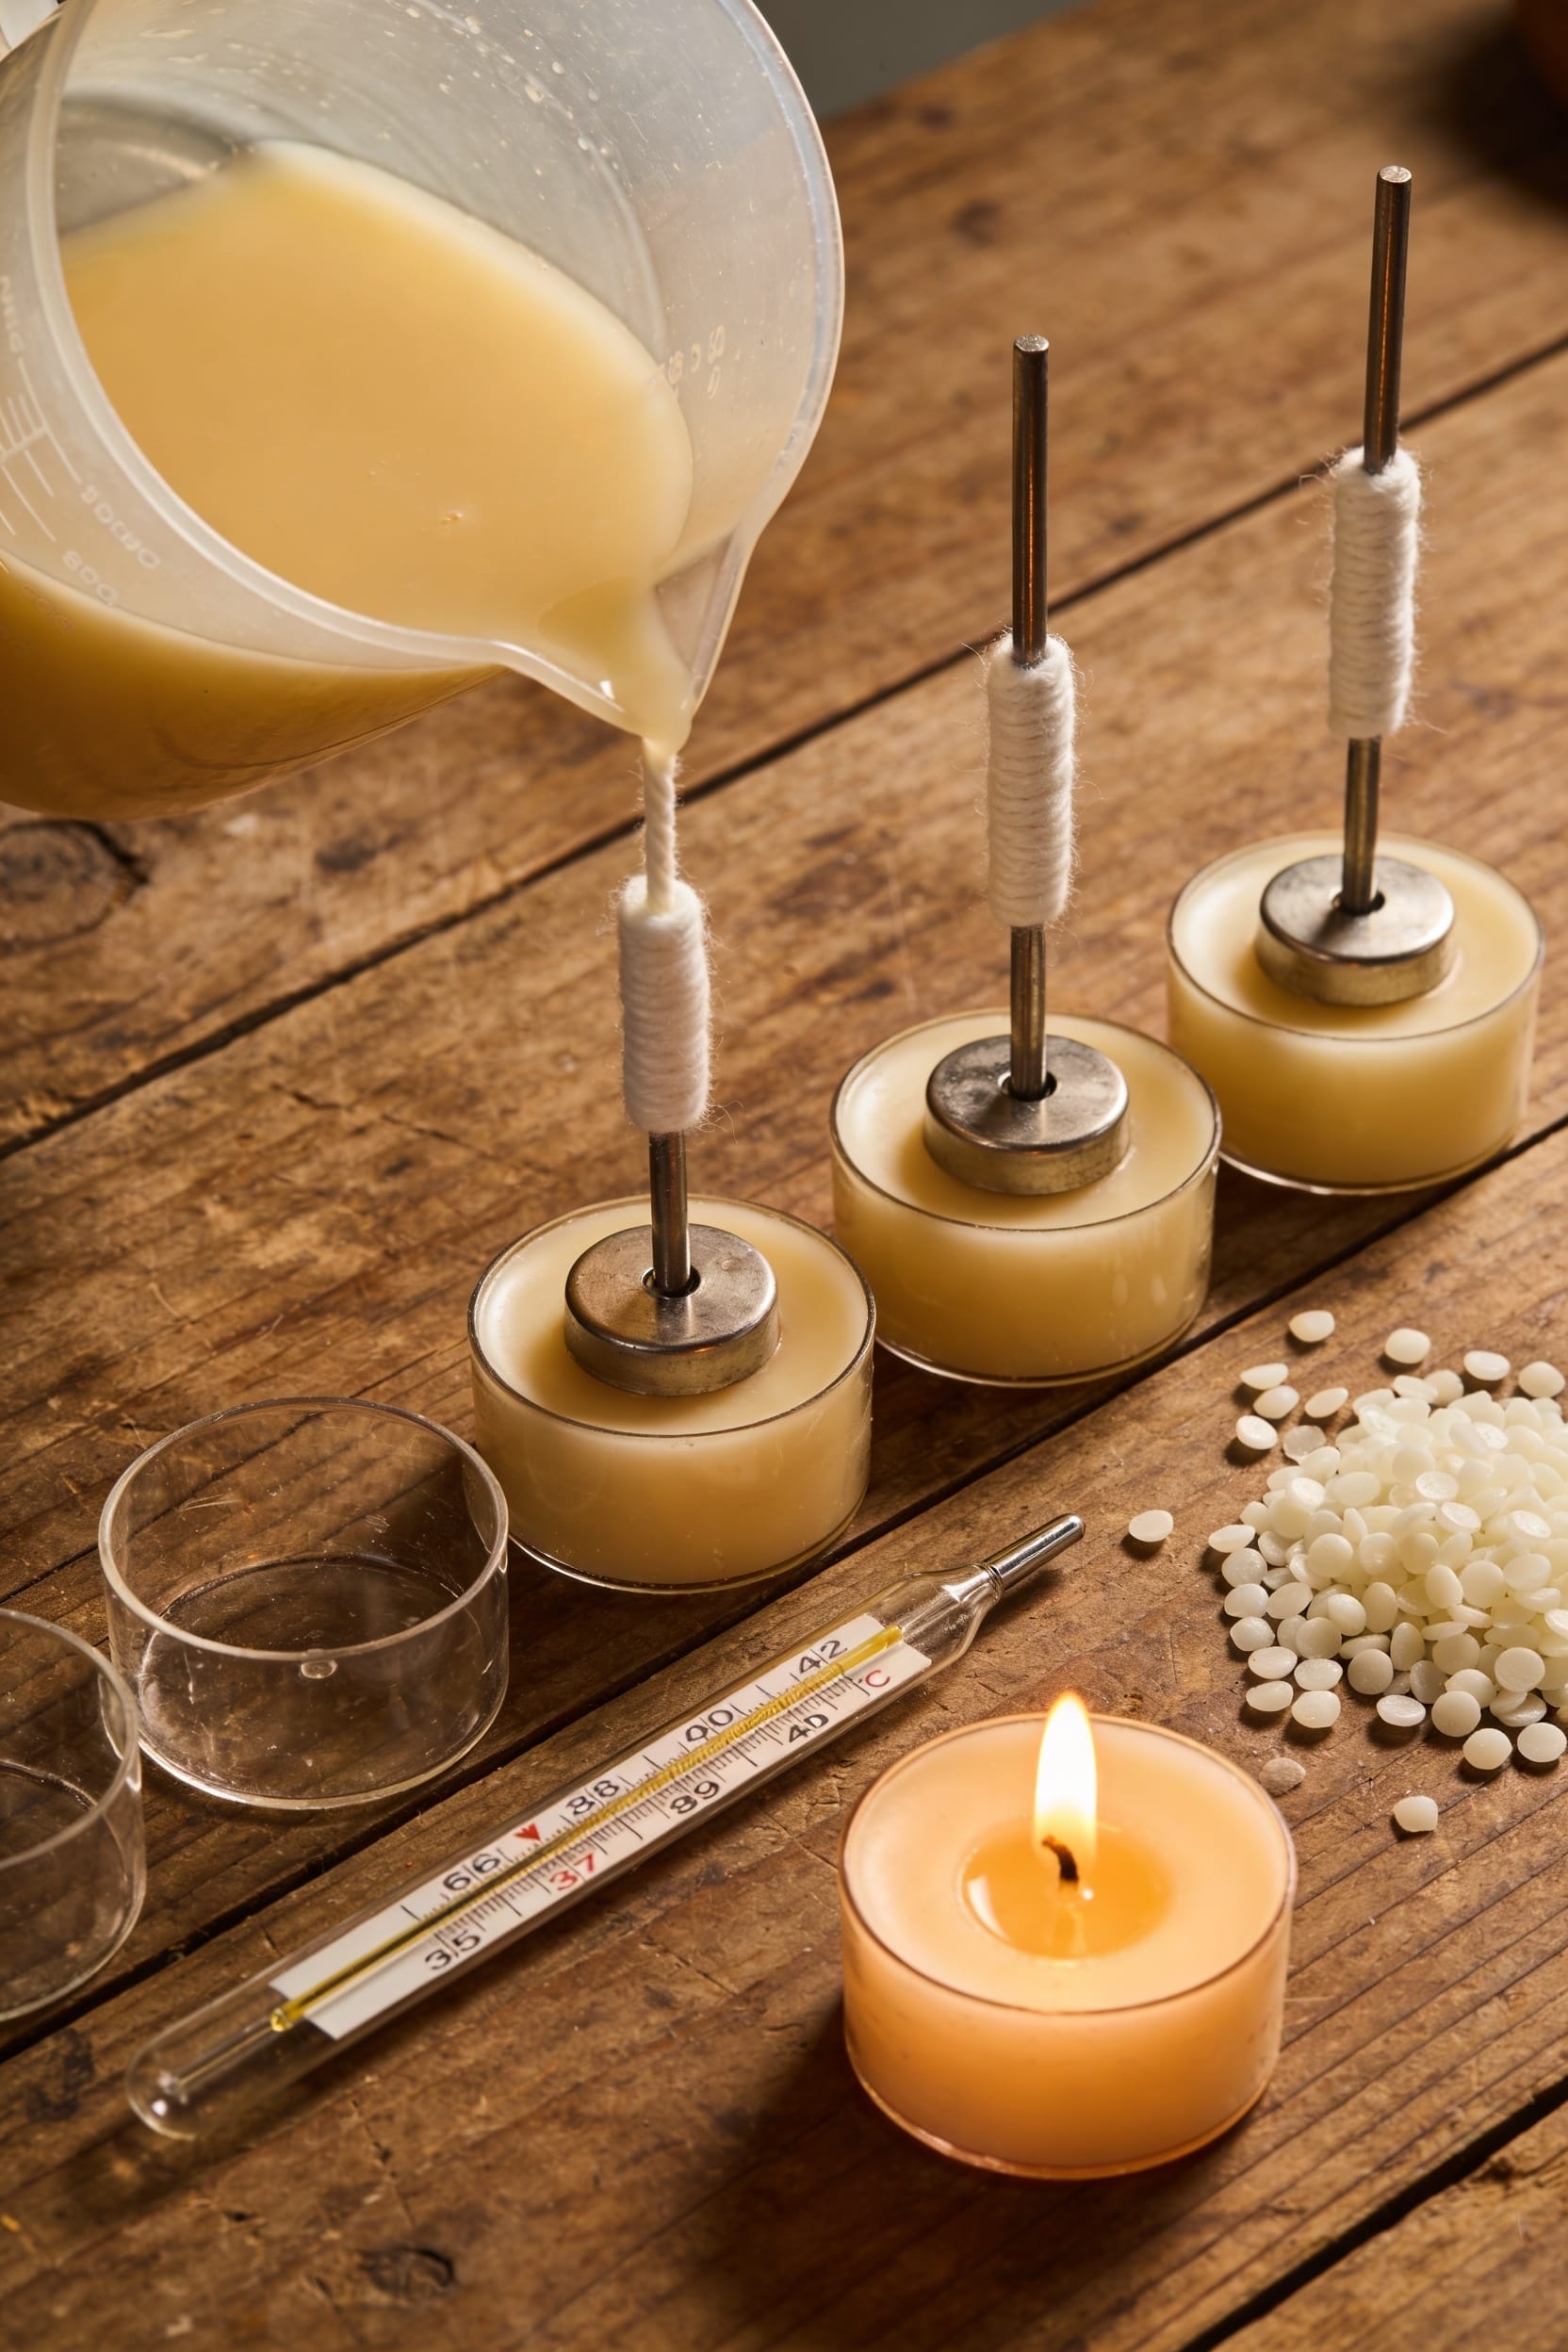
Heat and Melt Your Wax to 185°F
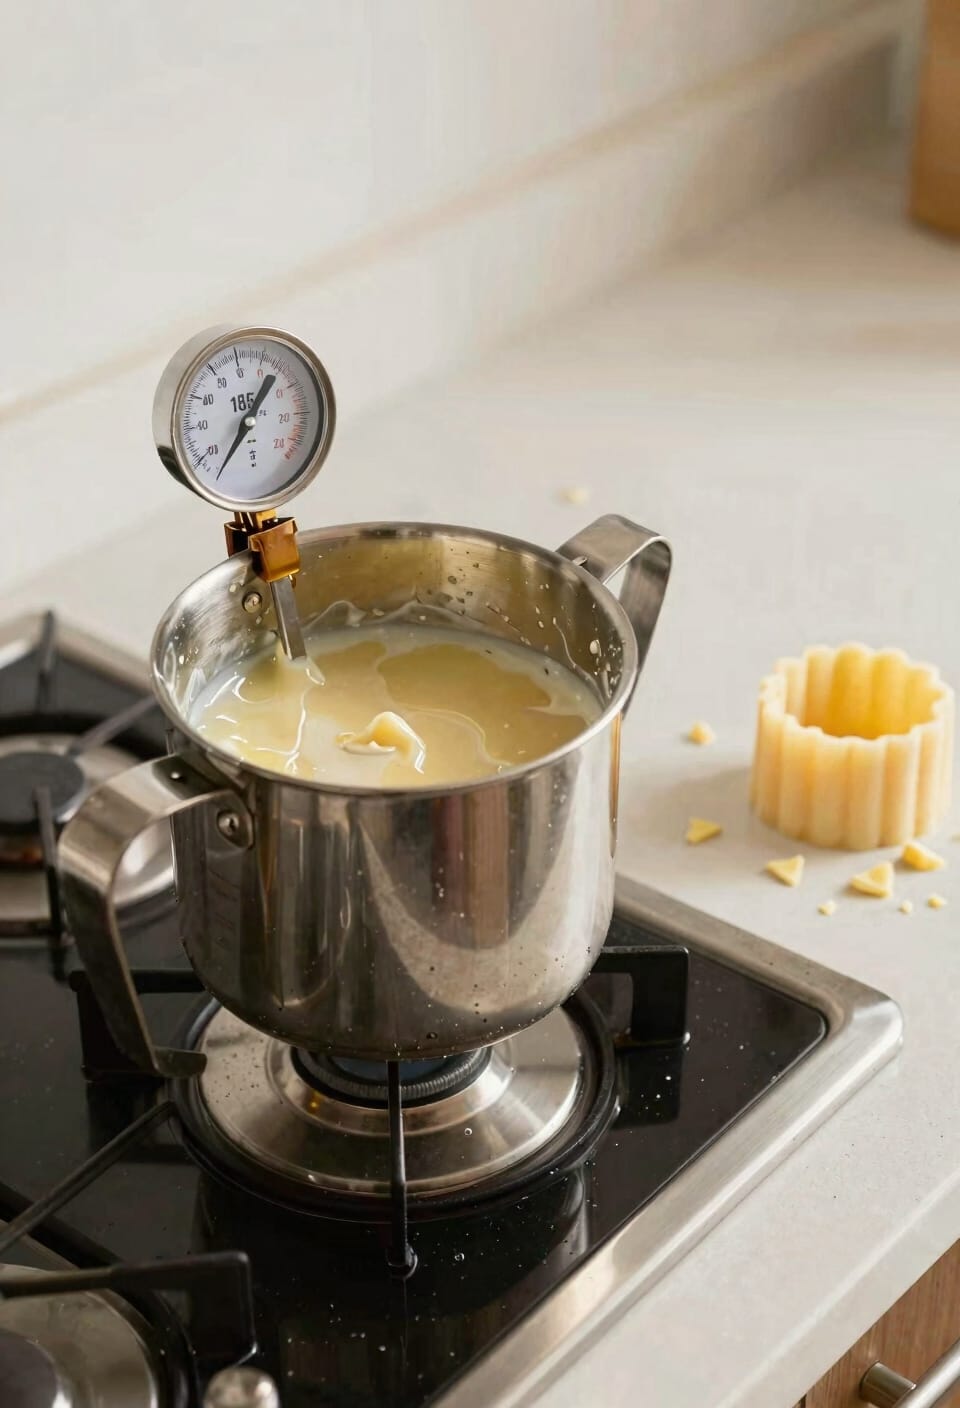
Get your double boiler going—fill that larger saucepan about 25-30% with water and set it on medium heat, then nestle your smaller saucepan on top. You’ll want an ideal thermometer clipped to the rim so you can actually see what’s happening. I’ve melted wax without one, and I’ve regretted it every time.
Now, pour your measured wax—whether that’s soy, paraffin, or a blend—into the top pan. Melting safety means never letting wax touch direct flame; the double boiler keeps temperatures controlled and prevents scorching or worse. Watch it gradually liquify. This takes patience, maybe 10-15 minutes depending on how much you’re working with. You’re aiming for fully liquid before adding fragrance and dye, so don’t rush it.
Blend in Fragrance and Dye
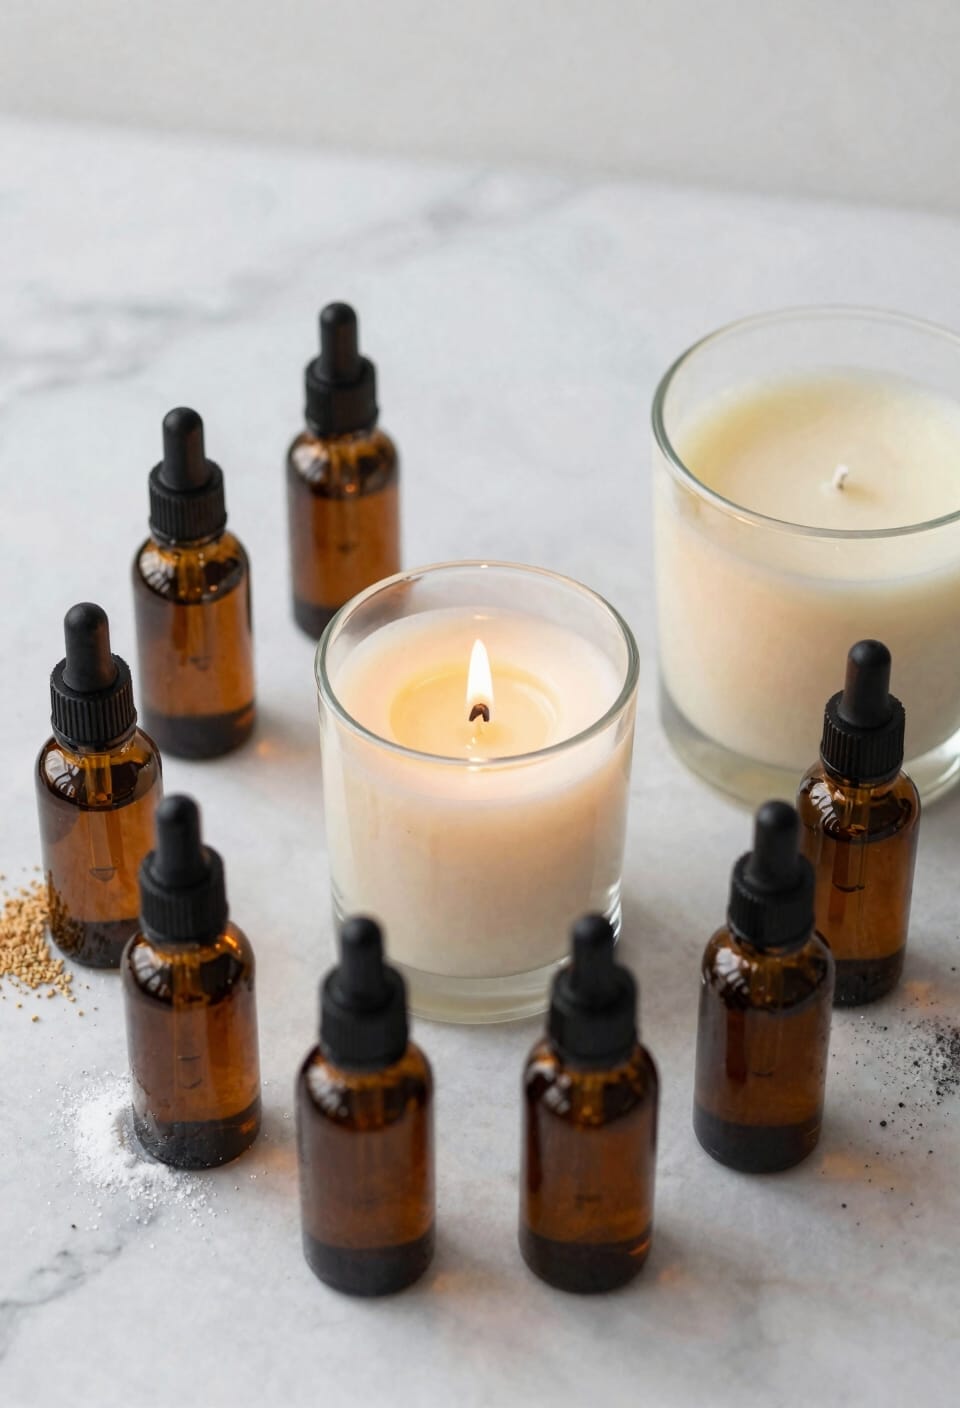
Once your wax hits that fully liquid state, you’ve got maybe a minute or two before it starts cooling back down, so don’t dawdle. Pour your fragrance oil in at 185°F—this temperature lets the scent molecules disperse evenly without burning off. Stir for two to three minutes until you can’t see streaks anymore. I aim for a 4-6% fragrance load, meaning the weight of fragrance compared to wax, which gives you that sweet spot between scent throw and performance.
Now for dye. Break your color blocks into small pieces first—they’ll melt faster. Stir thoroughly until dye saturation is complete and you’ve got no streaks. Scent compatibility matters too; not every fragrance plays nicely with every dye, so test first if you’re experimenting.
Secure Your Wick Before Pouring
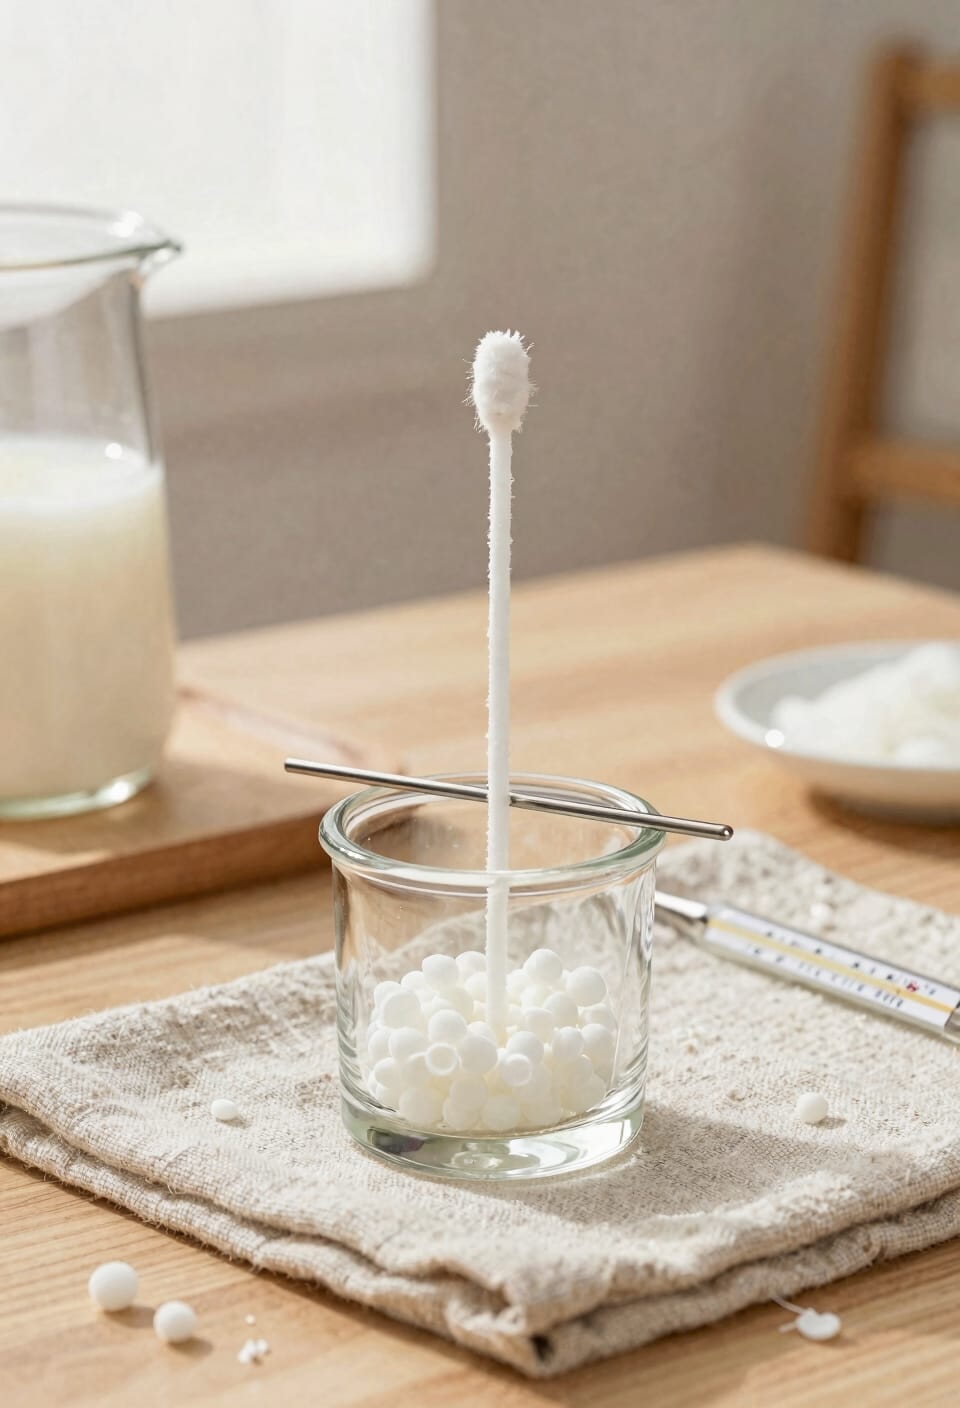
Before you pour that beautiful, fragrant wax into your molds, you’ve got to nail down your wick—and I mean literally. Insert votive pins into your molds first; they’ll anchor the wick while everything cools. Thread your wick through the bottom hole and secure it with about ¾ inch of exposure using tape or putty. Here’s the thing: proper wick anchoring prevents your wick from floating or tilting during pouring, which ruins your mold alignment and creates uneven burns later.
Now, use self-centering metal tabs and blue tack to hold everything steady. I’ve learned this the hard way—a drifting wick means an off-center candle that burns poorly. After your first pour cools for two hours, remove the pin and insert your prewick assembly. Recheck centering periodically as the wax sets. You’ve got this.
Recommended Products

Perfect Set for your Candle Making; Seamless Candle Molds with Wick Pins & Candle Wick

Stainless Steel Material: these wicks clips are made of stainless steel, durable, reusable, no rusty, heat-resistant and hard, and has a long service life

Firmly Hold Wicks: The clips hold the wooden wick firmly in place without moving or interfering with burning. They are of nice quality and allow for an even burn rate.The clips are easy to use and perfect for DIY wood wick candles.
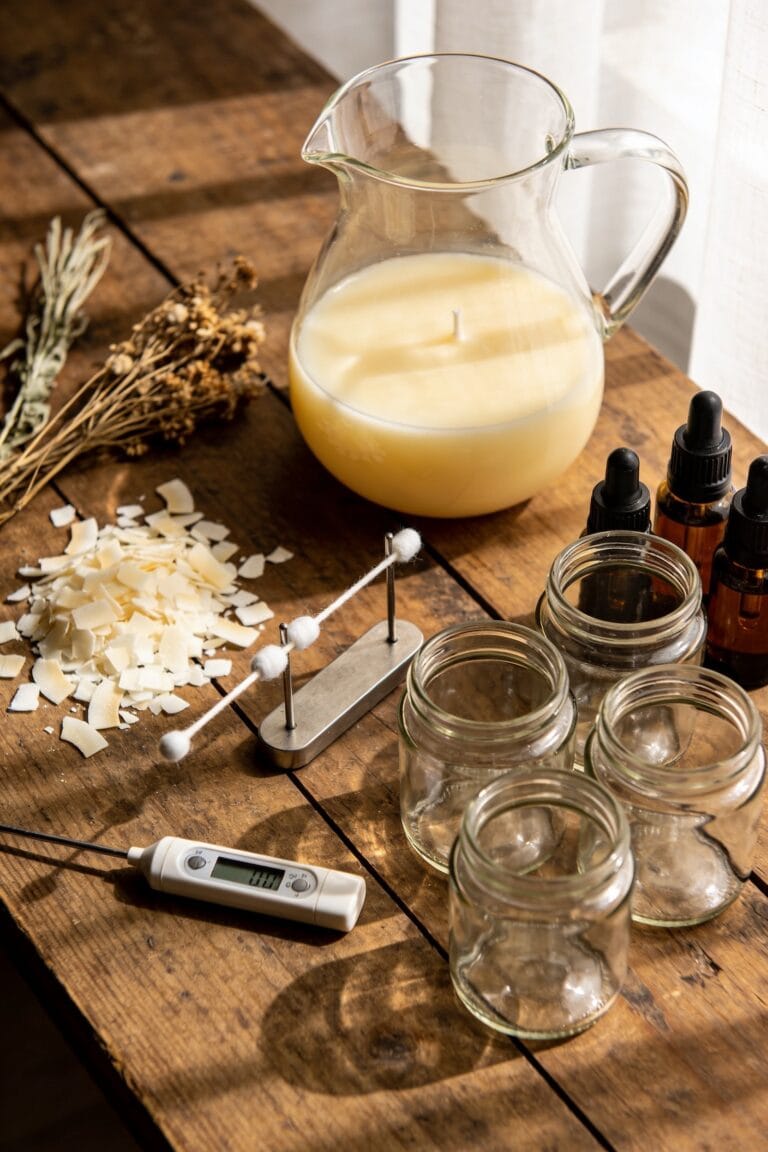
Pour, Cool, and Top-Pour Your Votives
Your wax is ready, your wick is centered, and now comes the moment that separates decent votives from beautiful ones—the pour. I’ll pour slowly at 175°F to avoid bubbles, filling each mold completely to the top. The key here is even cooling. I’m letting everything sit for a full 24 hours at room temperature, which prevents that uneven temperature gradient that creates weird ripples and cracks. After cooling, I’ll spot those sinkholes—those little depressions that form as wax contracts—and I’ll reheat leftover wax to 190°F for a second pour. This top-pour at 175°F fills those gaps and gives you that smooth, professional surface texture and finish polish you’re after. It’s the difference between homemade and actually impressive.
Recommended Products

NATURAL SOY WAX BEADS - Best candle making supplies make the best soy candles! These safe, ethically produced, microwavable and paraffin-free soy wax beads are smooth and creamy in appearance, perfect for votives, pillars, tealights, tarts and melts.

FLEXIBLE RUBBER MOLD FOR EASY RELEASE: Made from high-quality rubber, this mold makes candle removal a breeze; the smooth surface ensures perfect tapers every time without any hassle; ideal for making elegant candles effortlessly.

Black Candle Sand Kit: 16LB black pearled candle sand/ 100 pcs cotton wicks/ 1 pc wooden spoons are included in this set. With different size of container, the candle sand with wick can be alternatives to any kind of candle, such as tealights, pillars, floating candles, votives, etc. The wooden spoon makes easy candle refilling and extinguish.
Fix Sinkholes and Troubleshoot Burning Issues
Even with perfect pours and patient cooling, sinkholes happen—and they’re honestly one of the most frustrating parts of votive making because they’re so preventable once you understand what’s going on. Here’s the thing: sinkhole prevention comes down to your second pour. When wax cools unevenly, it shrinks and creates those annoying little craters around the wick. That’s why I reheat leftover wax to 190°F and fill those divots before they set permanently.
For burn troubleshooting, check your wick first. If your candle tunnels—burns straight down the middle instead of across the whole surface—you’re probably using a wick that’s too thin for your fragrance load. A proper wick should melt the wax evenly from edge to edge. You’ll know you’ve nailed it when the melt pool reaches the container walls without smoking.
Recommended Products
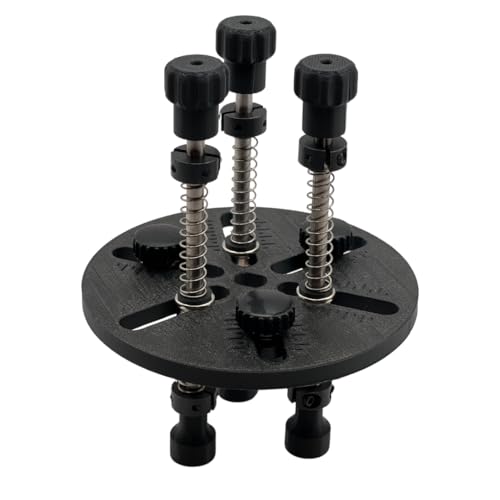
✔ ADJUSTABLE FOR ANY CANDLE JAR – Expandable arms fit jar openings from 2-1/2″ to 4-5/8″ wide, making it perfect for single, double, or triple wick candles in nearly any container.

DESIGNED FOR SMALL OIL CANDLES: These petite aluminum wick holders are built for compact refillable candles like Firefly Bliss Petite, Aura, Zen Petite, 2–5 oz Votives, Transcend, and Ethereal.

Seamless Aluminum Steel Flared Votive Molds
Frequently Asked Questions
How Long Does It Take for Votive Candles to Cure Before Gifting or Selling Them?
I’d recommend waiting 24 hours after your final pour before gifting or selling votives. For peak shipping stability and curing timeframes, I suggest letting them cure for 48 hours total—this guarantees they’re fully set and won’t shift during transport.
Can I Reuse Votive Molds, and How Do I Properly Clean Them Between Batches?
I’d reuse these molds a million times—they’re virtually indestructible. I clean mine with dish soap and warm water between batches. For stubborn residue, I use appropriate cleaning solvents. Proper heat-resistant storage and occasional release agents guarantee incredible mold lifespan.
What’s the Ideal Fragrance Load Percentage to Avoid Scent Throw Problems or Tunneling?
I’d recommend using 4-6% fragrance load by wax weight for ideal fragrance stability and scent layering. This prevents tunneling while ensuring you’re not oversaturating the wax, which compromises burn quality and scent throw.
How Do I Know Which Wick Size to Use for Different Votive Mold Diameters?
Over 80% of candle failures stem from incorrect wick sizing. I’ll guide you: match cotton core tapered wicks to your mold’s diameter—smaller diameters need thinner wicks to prevent tunneling and guarantee proper fragrance throw.
Why Does My Wax Appear Cloudy, and Is This Normal During the Pouring Process?
Your cloudy wax is normal during pouring—it’s called wax bloom or frosting effect. I’m telling you it’ll clear as it cools completely. Pour at 175°F and you’ll achieve that ideal finish you’re after.
Conclusion
You’ve made it this far—your wicks are centered, your pour’s cooling, and honestly? You’re about to pull off something most people think is impossible. But here’s what I won’t tell you: whether your first batch turns out perfect or completely craters. That part’s on you now. I’ve given you everything I know. What happens next is yours to discover.