As an Amazon Associate, we earn from qualifying purchases. Some links on this site are affiliate links at no extra cost to you. Our recommendations are based on thorough research and editorial judgment.
How to Set Up a Candle Making Workspace: Layout, Tools & Safety Tips
All right, here’s the thing—your candle workspace needs five distinct zones: melting, mixing, pouring, curing, and storage. Position your melter near the pouring station to minimize movement, keep curing away from active work to avoid bumps, and use a sturdy table near natural light for accurate color matching. Ventilate properly (fragrance oils release vapors), dedicate electrical outlets to heating equipment, stock a digital scale and reliable thermometer, and organize supplies vertically to prevent cross-contamination. Get these fundamentals right, and you’ll spend way less time troubleshooting disasters.
Key Takeaways
- Organize five workspace zones (melting, mixing, pouring, curing, storage) with melter near pouring station and curing area isolated from active work.
- Position workbench at comfortable height near a window for natural light, using silicone mats to protect surface and simplify cleanup.
- Ensure proper ventilation by opening windows or installing exhaust fans to safely remove fragrance oil vapors and prevent headaches.
- Use dedicated electrical outlets with circuit protection for heating equipment, avoiding daisy-chaining multiple devices to reduce fire risk.
- Maintain workspace temperature between 65–75°F with quality tools including digital scale, reliable thermometer, and double boiler for consistent, quality results.
Plan Your Five Workflow Zones
Picture your workspace before you’ve even pulled out a single container of soy wax—because trust me, you don’t want to be figuring out your layout mid-pour when your wax is already melting and you’ve got no place to set down a hot pitcher.
I organize my space into five distinct zones: melting, mixing, pouring, curing, and storage. Workflow mapping—basically sketching out where each stage happens—prevents you from zigzagging across your workspace like a confused person. Position your melter near your pouring station to minimize distance. Your traffic flow matters too. Keep curing candles away from active work zones so you’re not accidentally bumping finished pours. Natural light near your work table helps with color matching. Vertical storage on pegboard keeps tools visible without eating counter space.
Choose the Right Work Surface and Location
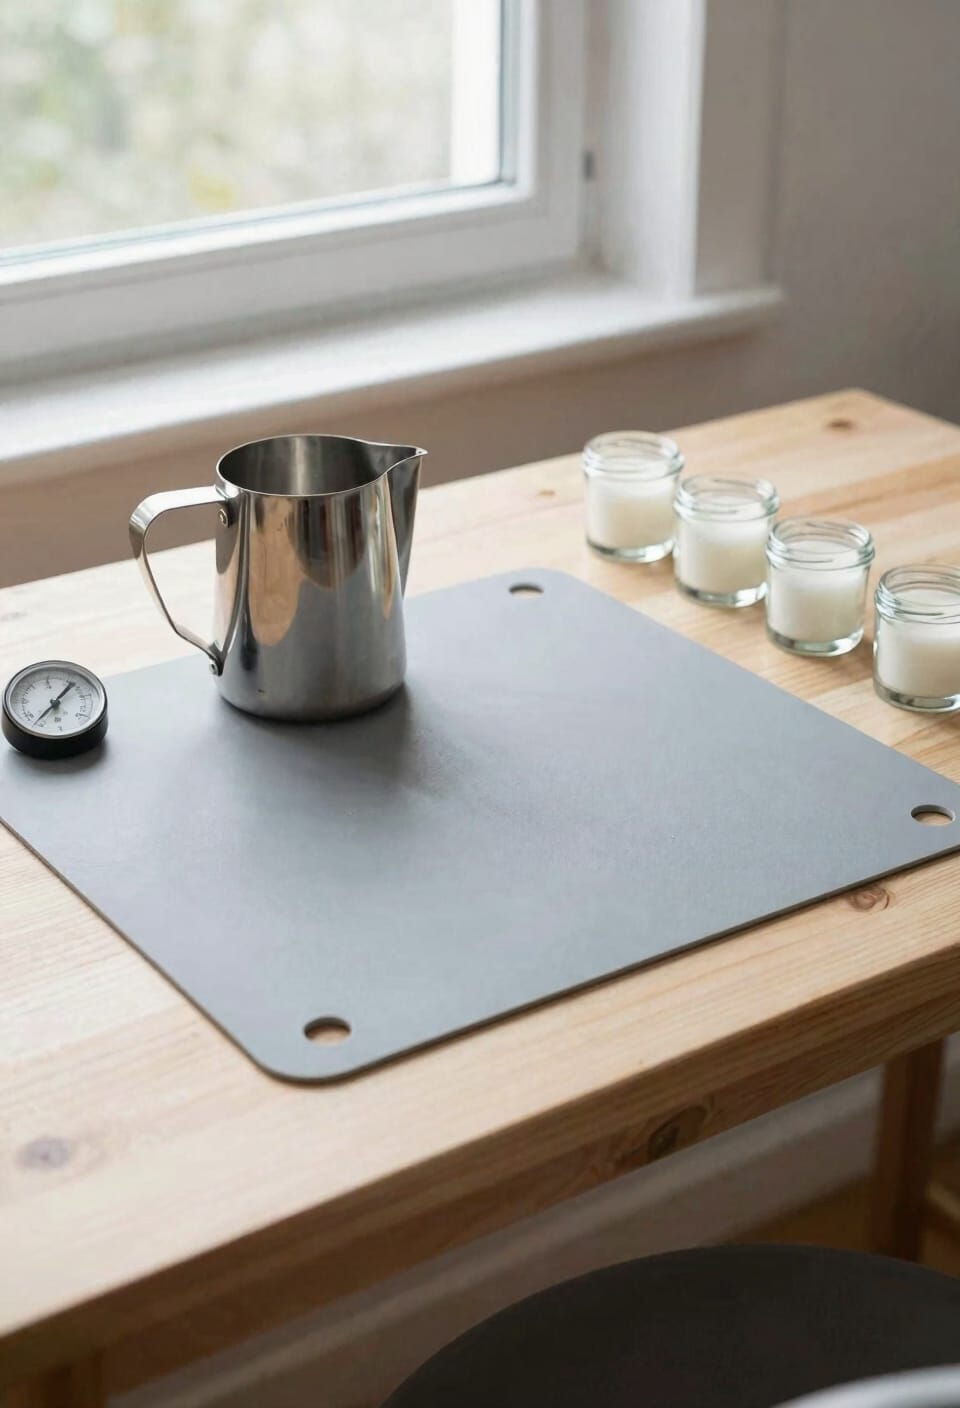
Now that you’ve mapped out where everything’s going, you need to think hard about what you’re actually working on and where that work table lives. I’d recommend a sturdy, flat surface at comfortable height—something that won’t wobble when you’re pouring wax at specific temperatures. Position it near a window for natural light; you’ll need that brightness for accurate color matching and wick placement. If your space is tight, a portable workbench gives you flexibility to tuck it away later. Keep the table away from your heating equipment to avoid temperature fluctuations that’ll mess with your pour. Use silicone baking mats to protect the surface—trust me, spills happen constantly. The right location makes cleanup easier and keeps your candles consistent.
Recommended Products

Versatile: Full-size baking mats with red border designed for full-size cookie sheets, perfect for baking cookies, pastries, and more.

Precision Baking with Dual-Color Clarity & Lays Perfectly Flat: Tired of squinting at faded markings? Our mat features high-contrast dual-color (inch/cm) grids for ultra-clear measurements, ensuring every cookie and pie crust is perfectly uniform. Reinforced edges prevent curling and ensure safe handling, giving you a flawlessly flat, stable surface for rolling and kneading

2MM Thickest silicone mat :Our silicone mats for crafts are twice as thick as regular silicone craft mat(1MM), which means it more stronger, durable and long lasting, providing a better heat insulation effect. Rolled up packaging keeps them lay flat without a wrinkle.
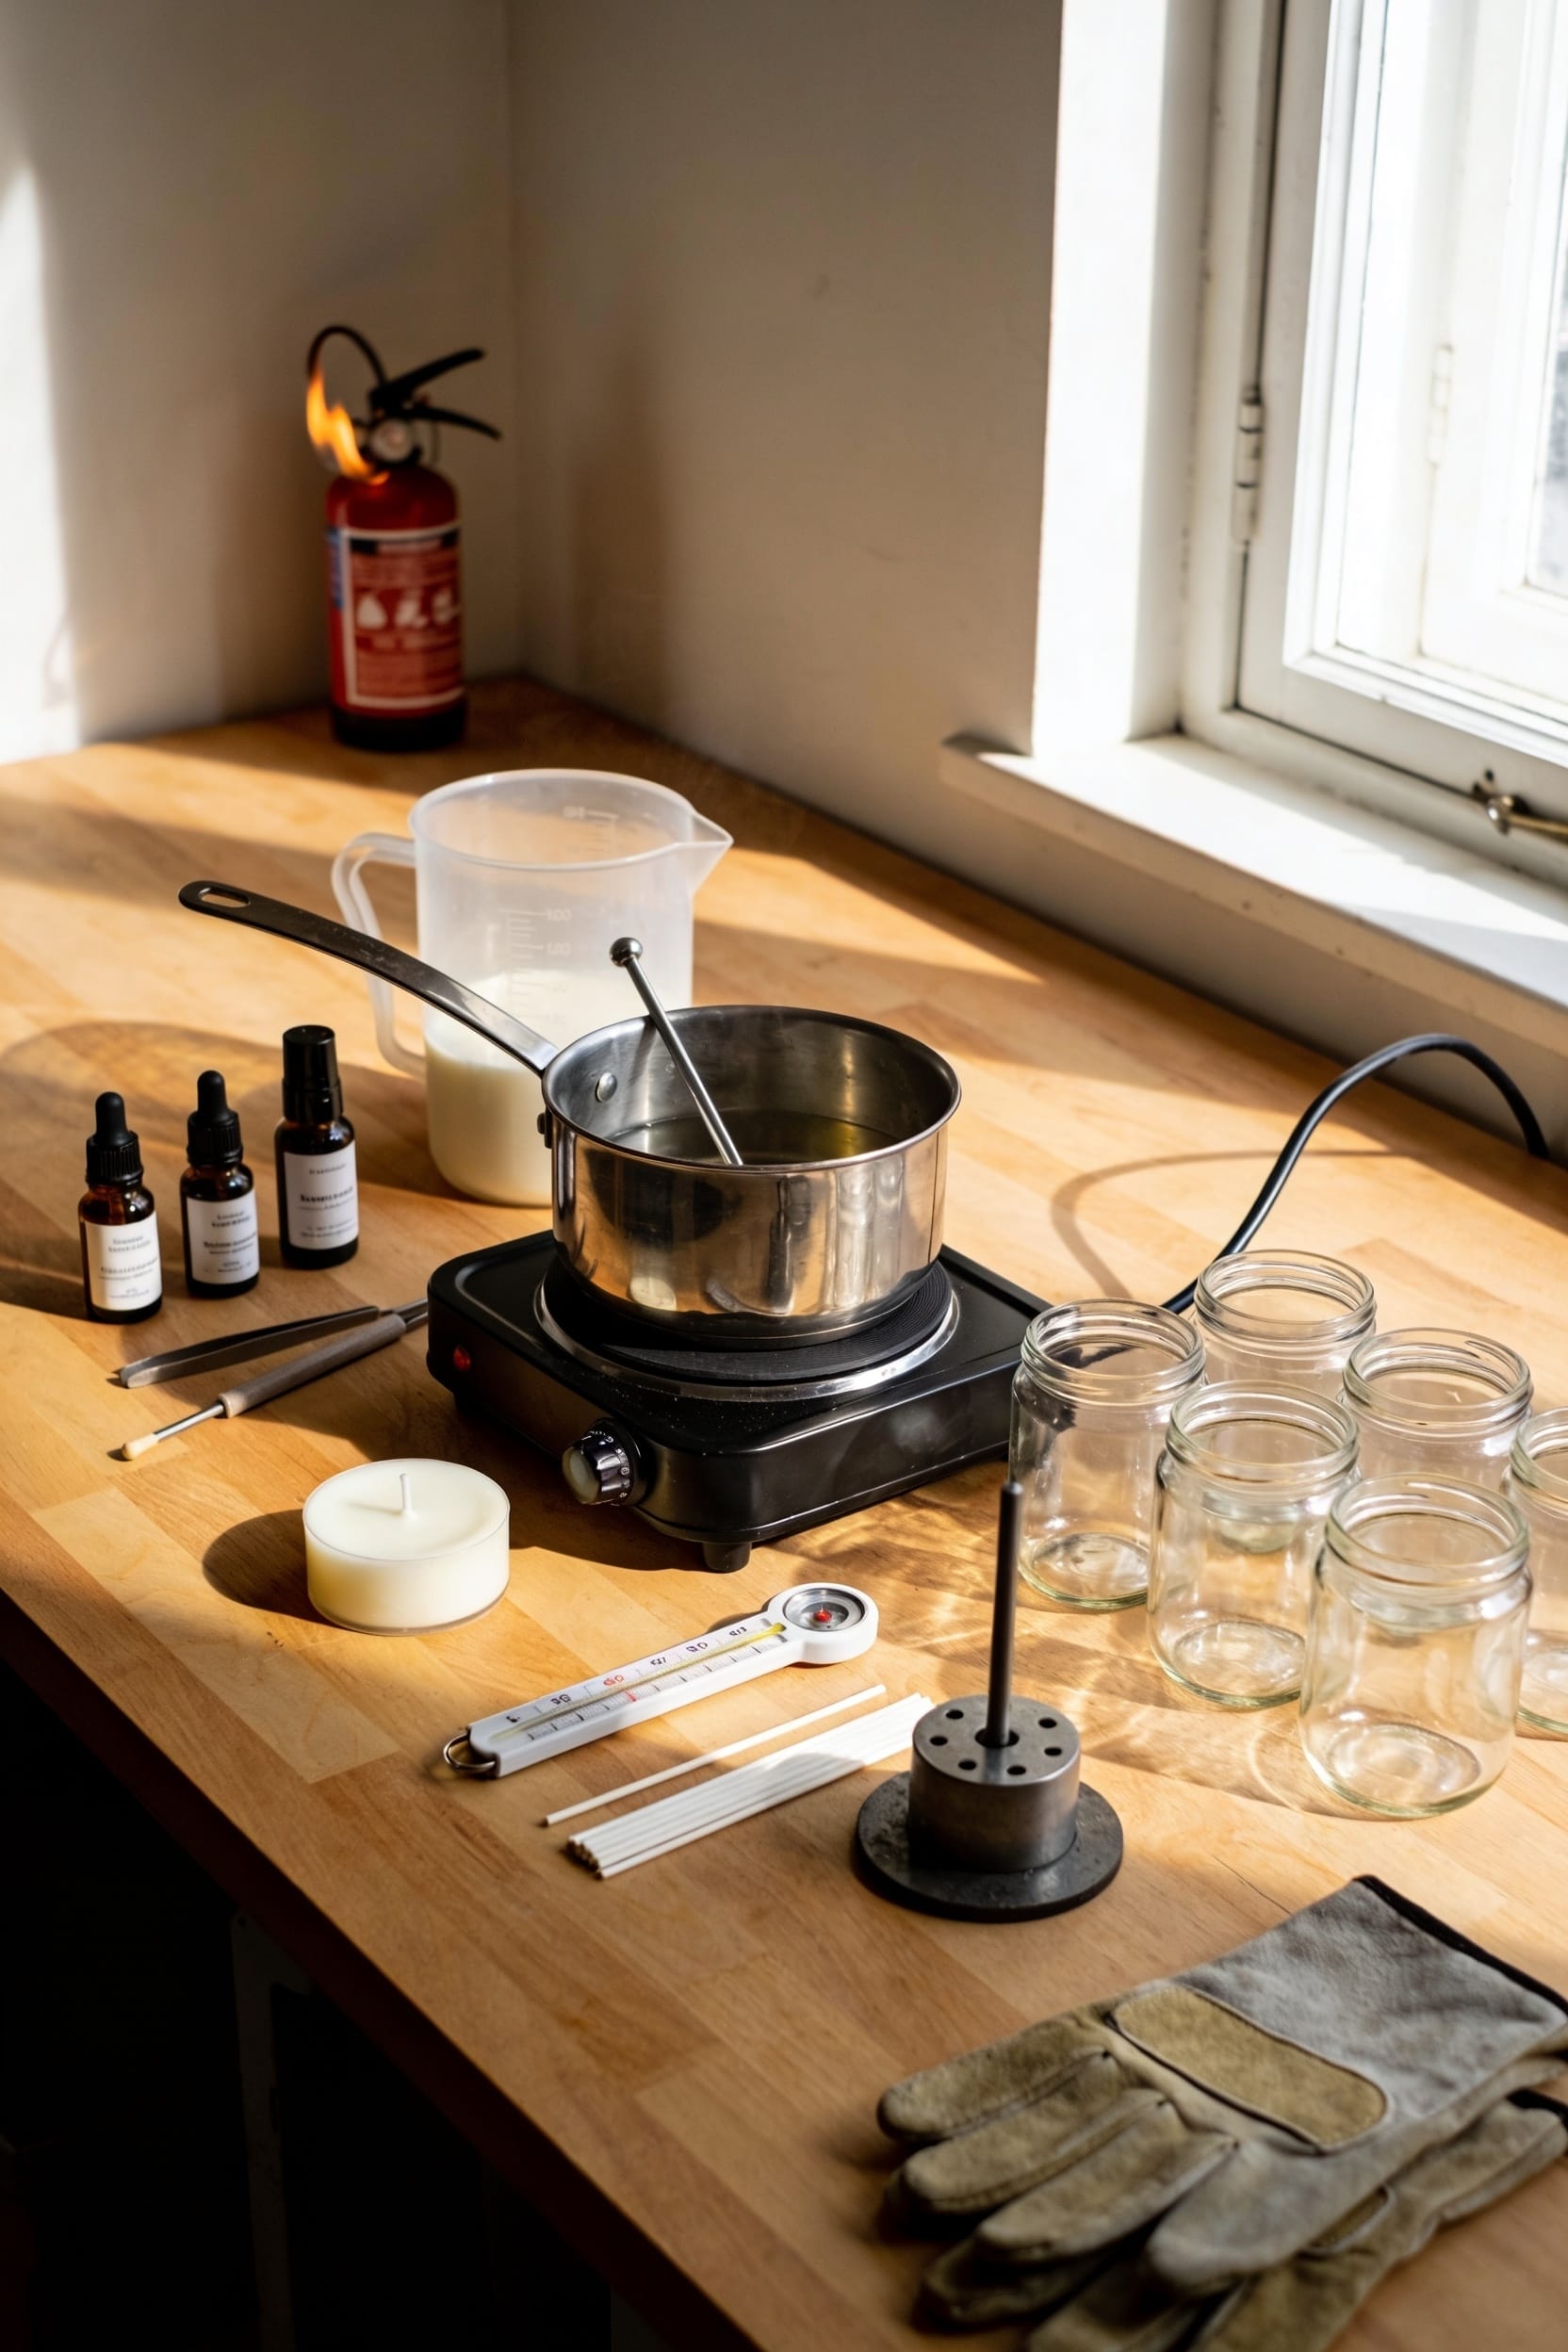
Safety First: Ventilation and Electrical Setup
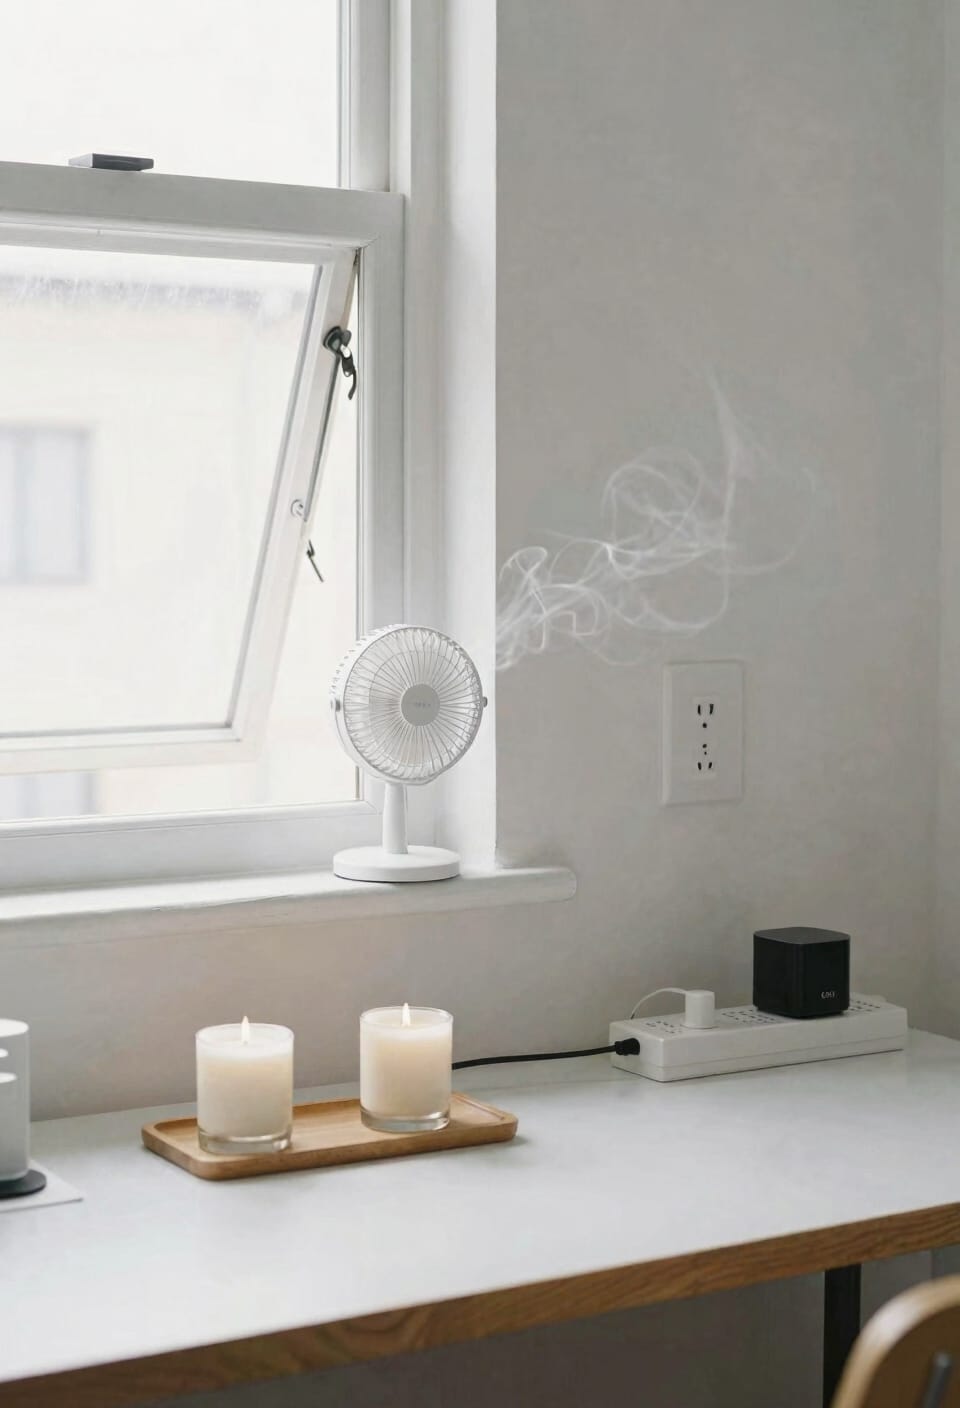
When you’re melting wax and working with fragrance oils that release vapors—especially in a confined space—ventilation isn’t optional, it’s the difference between a comfortable workspace and one that’ll give you a headache after two hours. I learned this the hard way.
Open a window near your work table. Better yet, install a small exhaust fan or air filtration system that actually pulls fumes out rather than just circulating them around. You’re dealing with soy, paraffin, or coconut wax vapors plus fragrance oils—nothing toxic necessarily, but cumulative exposure matters.
On the electrical side, don’t daisy-chain your double burner and wax melter into one outlet. Circuit protection prevents fires. Dedicated outlets, properly grounded. Your heating equipment needs its own electrical real estate. This isn’t negotiable.
Recommended Products

High Speed Direct Drive Centrifugal Upblast Exhaust Fan with speed control (three phase), disconnect switch and 18-3/4" wheel.
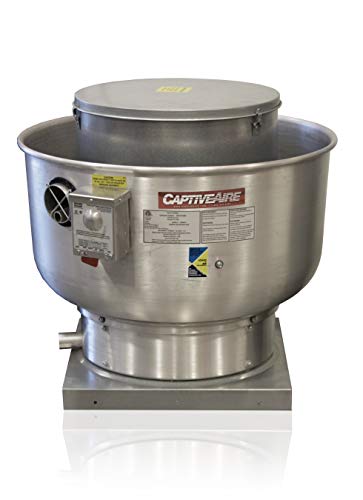
High Speed Direct Drive Centrifugal Upblast Exhaust Fan with speed control, disconnect switch and 10-1/2" wheel.

High speed direct drive centrifugal upblowing exhaust fan.
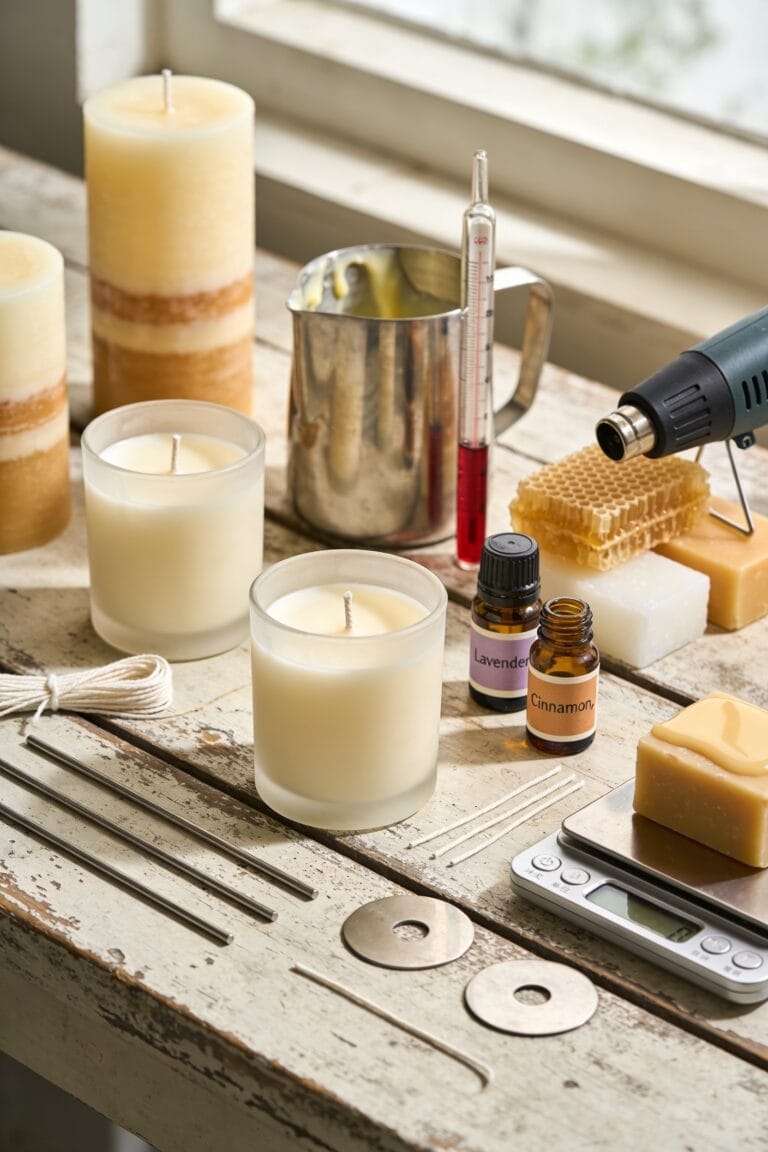
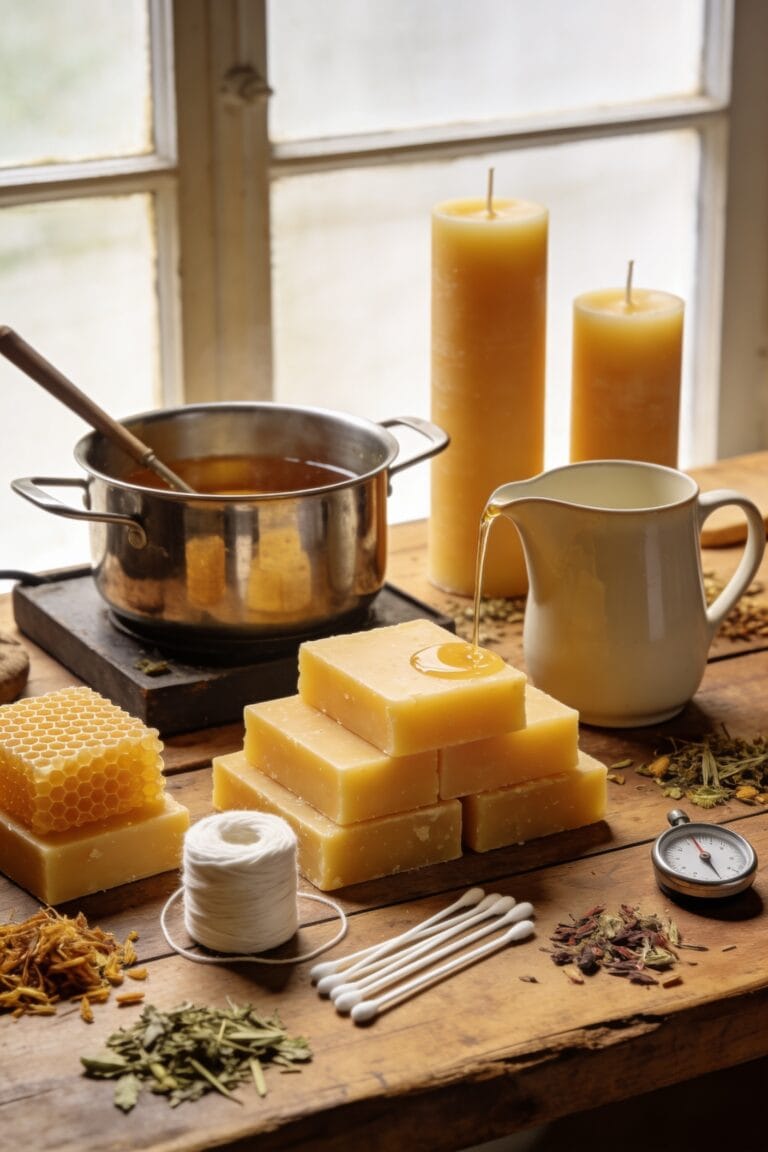
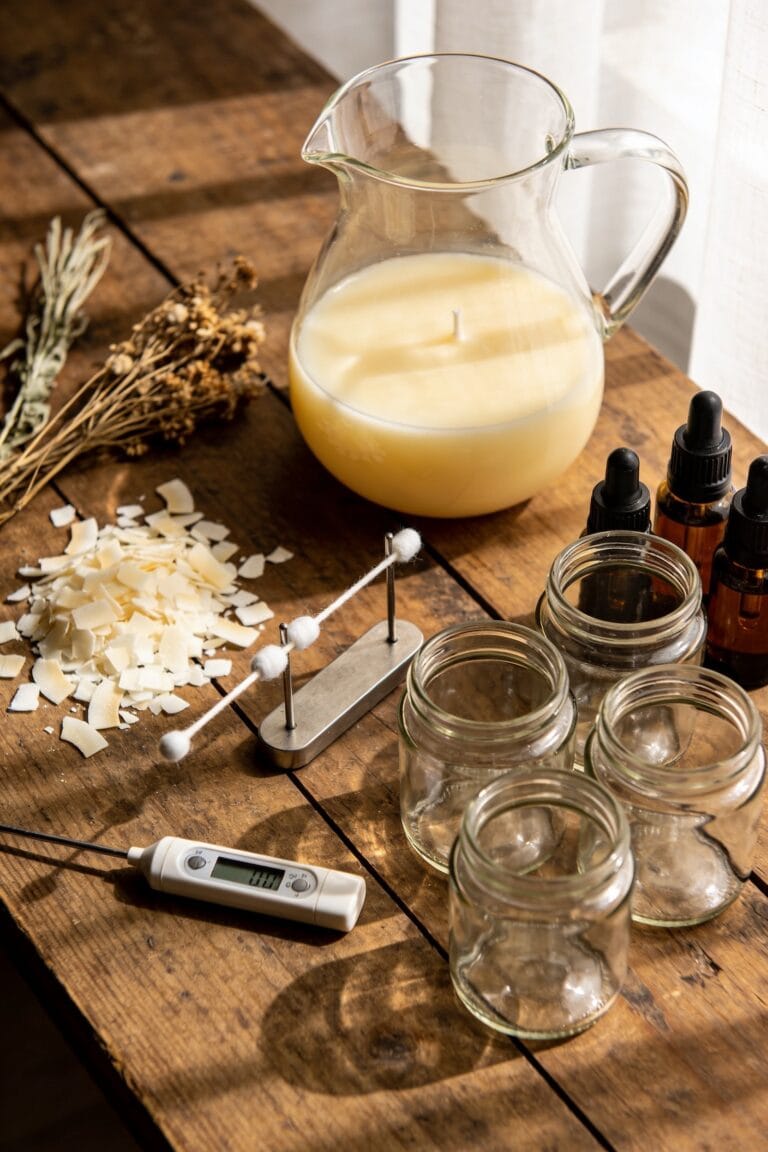
Stock Your Essential Wax Melting Tools
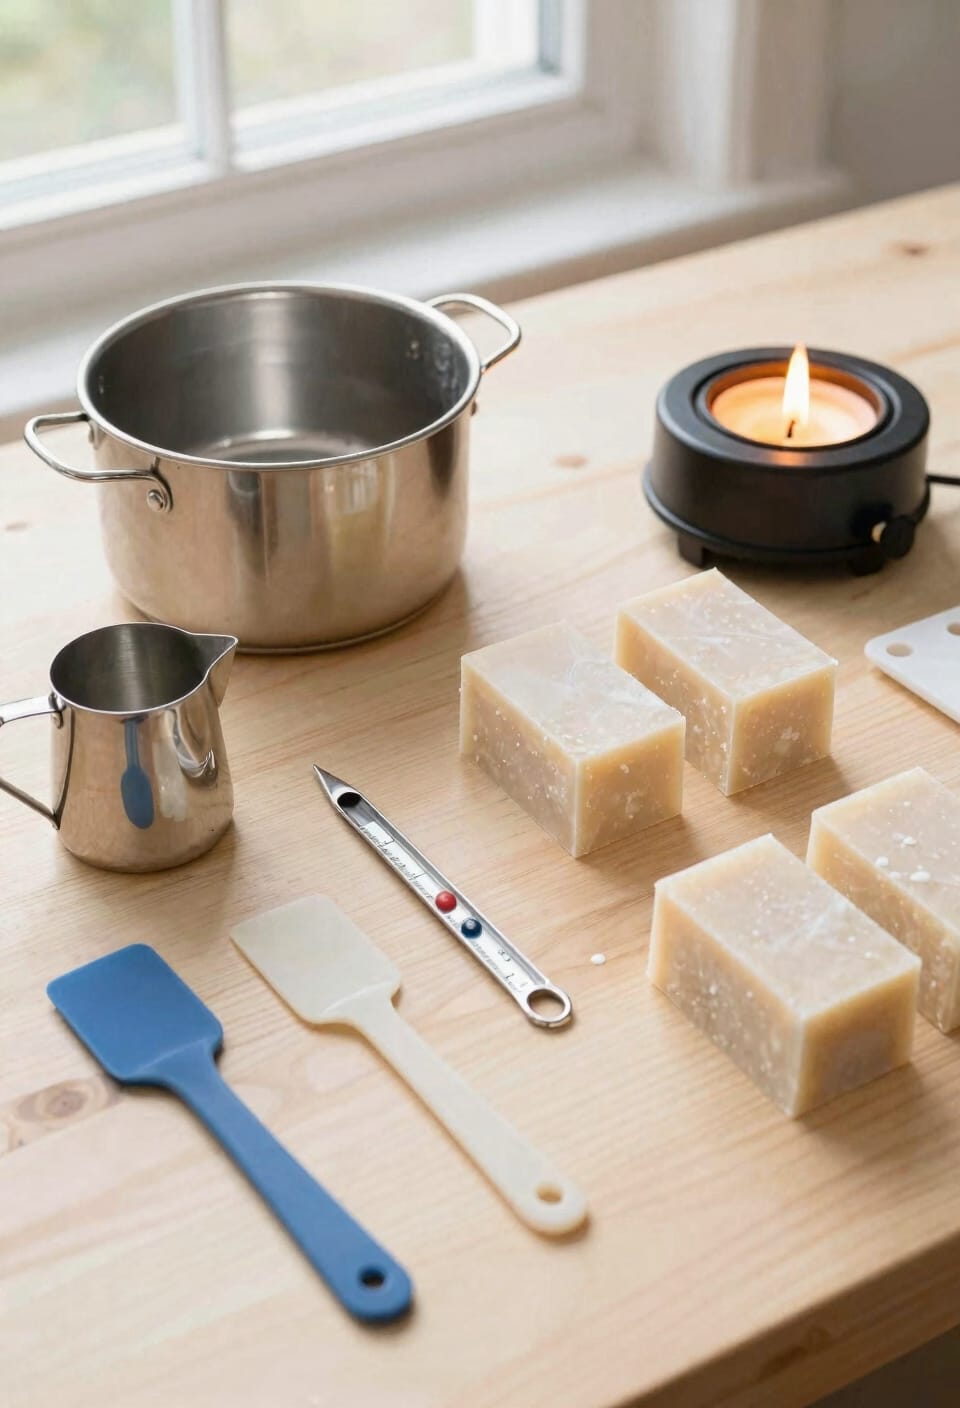
You can’t pour a decent candle without the right gear—and I mean the actual *tools*, not just cramming everything into your junk drawer and hoping for the best. I’d recommend investing in a quality double boiler (that’s a heat-safe container nestled over simmering water) for melting wax evenly without scorching it. Grab a digital scale for precise measurements—fragrance load, the percentage of scent oil you add to wax, really matters, and eyeballing it tanks your candles. You’ll need a reliable thermometer since pouring temperature directly affects surface quality and wick centering, which keeps flames properly positioned. Stock melting pitchers, heat-resistant spoons, and wick stickers to hold wicks steady while wax cools. These aren’t luxuries. They’re the difference between amateur mistakes and actually finished candles.
Recommended Products

High-Quality Beeswax Embossing Mold: Crafted from premium aluminum alloy, our Beeswax Embossing Mold ensures durability and longevity. This high-quality material offers excellent heat dissipation for efficient operation, making it an ideal choice for your beekeeping supply needs

CAPACITY:: 20,000mL (20L), Graduation Range: 4000-16000mL, Graduation Interval: 2000mL, Height: 420mm, Height Tolerence: 2mm, Outer Diameter: 282mm, Outer Diameter Tolerence: 3mm

SOY CANDLE MAKING KIT FOR ADULTS: Make your own candles with our candle making supplies kit: natural soy wax for candle making 50 lb bag, 500 cotton candle wicks for candle making, 500 candle wick stickers for candle making, 10 wick holders.
Set Up Precise Temperature Control
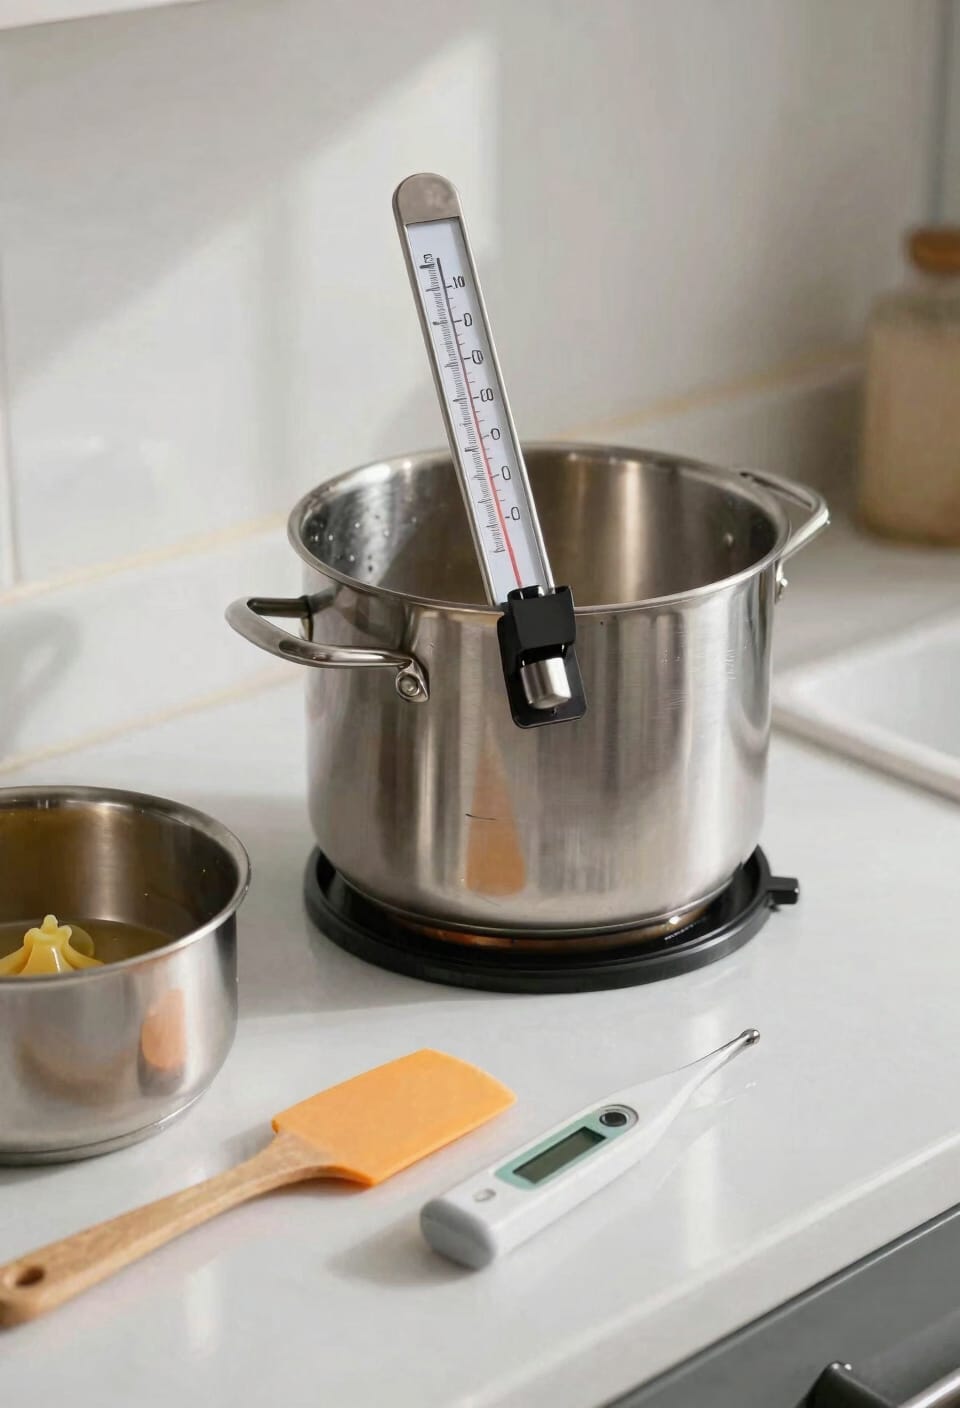
Having nailed down your essential tools, temperature control‘s where the actual magic happens—and I’m not exaggerating. I keep my workspace steady between 65 and 75 degrees Fahrenheit because wax gets temperamental outside that range. You’ll want a dedicated wax melter with precise temperature control—trust me, eyeballing it leads to disaster. I use a calibrated probe thermometer to monitor everything during melting. For serious operations, remote monitoring lets you check temperatures without hovering over your work. Position heating equipment away from your other zones so ambient heat doesn’t interfere with cooling candles. Make sure you’ve got adequate electrical outlets available; overloading circuits while running burners and melters isn’t worth the risk. Consistency here means better finishes, fewer sinkholes, and candles you’ll actually be proud of.
Recommended Products

Professional Wax Melter for Candle Making or Soap Making, Melter 3 Gallon Stainless Tank, Extra Deep for Your Larger Batches Of Candles or Soap, This Has Been Designed From Customers Requests and is Unlike Other Competitors.

Industrial Wax Melting Pot + Large Spout Model With 67 Lbs Capacity Of Wax! Cutting-edge technology ensures rapid melting of soy wax, paraffin, coconut, and beeswax, setting new records for efficiency. It's perfectly suitable for most Wax types and Melt & Pour soap bases. Its user-friendly temperature guage allows temperature adjustment from from low to high temperature which maintains roughly 100 - 350 degrees Fahrenheit.
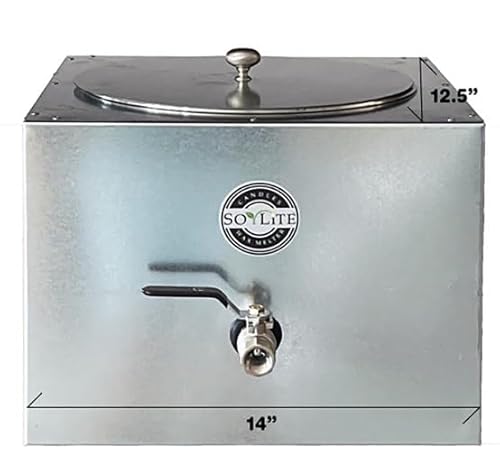
Profeshional wax melter for candle making, Effortlessly make large batches candles . No more messing with temperature control. This new wax melter automatically keeps wax around 180 to 190 degrees. Just simply add wax and turn on. If you are running a small business or handling a big custom order? SoyLite will help save you time.
Optimize Lighting for Accurate Detail Work
Proper lighting can make or break your detail work, and I’ve learned this the hard way—squinting over a dimly lit workspace while trying to place delicate wicks straight is a recipe for crooked candles and frustration. You need bright, even illumination that doesn’t cast shadows across your pouring surface. Natural light from a nearby window helps tremendously, but supplement it with overhead fixtures that minimize glare. Good color rendering—the ability to see true hues—matters when matching dyes to your vision. Position lights to eliminate shadow management issues around your molds and mixing stations. Label everything clearly under proper lighting so you’re not guessing at fragrance bottles or wick sizes. Your eyes will thank you, and your candles will look intentional rather than accidentally wonky.
Organize Supplies to Prevent Cross-Contamination
Keep fragrance oils, dyes, wicks, and tools in their own designated zones, because I’ve watched perfectly good soy wax get ruined when someone grabbed the wrong bottle and poured synthetic dye into a container meant for natural colorants. Color segregation isn’t just neat—it’s essential. I use label coding: red tags for fragrance oils, blue for dyes, green for wicks. Separate your drawers and bins completely. Store colorants nowhere near fragrance, and keep both away from your raw wax station. Transparent containers help you see what’s inside without opening them. When everything has its place and its label, you’ll pour with confidence instead of panic, knowing exactly what you’re grabbing.
Design Vertical Storage for Your Workspace
Now that you’ve got your supplies sorted and labeled, you’ll realize pretty fast that horizontal storage alone won’t cut it—especially if you’re working in a smaller space or your collection’s already threatening to take over your entire tabletop.
I’ve learned this the hard way. Vertical racks become your best friend here. Install pegboards on walls for hanging tools, molds, and thermometers. Use vertical racks to stack fragrance oils, dyes, and wicks efficiently without eating up precious workspace. Hanging baskets work great for wicks and smaller supplies—they’re accessible and keep clutter contained.
The magic happens when you go vertical. You’re maximizing every inch while keeping everything visible and within arm’s reach. Your workflow speeds up markedly when you’re not digging through drawers hunting for supplies mid-pour.
Troubleshoot Common Wax Melting Problems
Even with the best workspace setup and all your supplies organized vertically, things can still go sideways once you start melting wax—and I’m speaking from experience here. Uneven heating is one of the biggest culprits I’ve encountered. Your double burner might have hot spots, causing some wax to scorch while other sections stay cool. Use a thermometer constantly and stir frequently to distribute heat evenly across your melt pitcher.
Fragrance retention—how well your scent sticks around after curing—suffers when temperatures spike too high. I’ve learned that overheating wax breaks down fragrance molecules, killing your throw. Keep your melter between 170 and 180 degrees Fahrenheit for soy and coconut blends. Lower heat, better scent. You’ll waste fewer batches this way.
Recommended Products

TWENTY POUNDS of PREMIUM FLORIDA SPRING BLOSSOM BEESWAX: 100% Natural, clean burning, sweet floral, with the honey-like fragrance typically associated with beeswax, cosmetic ready and suitable for food contact. Our pure beeswax bars are perfect for a wide variety of applications. Packaged in a one-pound bars (5″ x 3.5" x 1.75").

Fast Melt 60 Candles for You: Achieving a rush order for a bulk order was made easy. TOAUTO 30Lbs wax melter can melt 30Lbs of candle wax and make 60 8-ounce candles at a time, greatly reducing your production time and making mass production of candles piece of cake. it's time to consider investing in a fully functional candle maker machine!

Fast Melt 80 Candles at A Time: The TOAUTO WMF-10L digital wax melter can handle a rush order for bulk candle production. It can melt 10 quarts of candle wax and create 80 4-ounce candles at a time, significantly reducing production time and making mass production easier.
Frequently Asked Questions
What Size Workspace Do I Need to Start Candle Making at Home?
You don’t need much space—I’d recommend starting with a small tabletop or compact corner. A sturdy countertop at comfortable height works perfectly. I’ve found that vertical storage like pegboard maximizes efficiency, letting you create quality candles in minimal square footage.
How Often Should I Replace or Maintain My Wax Melter and Equipment?
Studies show 40% of equipment failures stem from neglect. I’d recommend annual inspections of your wax melter and burners. Keep spare parts handy—replacement heating elements and thermometers prevent production downtime and guarantee consistent, quality candles.
Can I Use Recycled Containers for Pouring Wax, and Are They Safe?
Yes, I’d recommend reused glassware if it’s heat-resistant and sturdy. You’ll want safety testing first—ensure containers withstand melting temperatures without cracking or leaching harmful substances into your wax.
What’s the Best Way to Prevent Wax From Hardening in Pouring Pitchers?
I’ve found that many crafters don’t realize heat retention matters—you’ll prevent hardening by keeping pitchers on low heat between pours and using silicone liners for better insulation and easier cleanup afterward.
How Do I Choose Between Soy, Paraffin, and Gel Wax for Beginners?
I’d recommend starting with soy wax for its natural soy benefits and ease of use. Paraffin’s affordable but messier. I’d avoid gel initially—gel drawbacks include difficulty blending and higher costs for beginners.
Conclusion
You’ve now got all your ducks in a row—a workspace that’s safe, organized, and ready to produce quality candles. I won’t sugarcoat it: you’ll still mess up. You’ll overheat wax, forget to measure fragrance, pour too hot. That’s part of the journey. What matters is you’re set up to learn from those mistakes instead of repeating them. Now go make something beautiful.