As an Amazon Associate, we earn from qualifying purchases. Some links on this site are affiliate links at no extra cost to you. Our recommendations are based on thorough research and editorial judgment.
Why Is My Candle Repour Not Smooth? Tips for a Flawless Second Pour
Look, your repour’s still bumpy because you likely didn’t change anything from pour one—or you changed the wrong thing. Here’s what actually matters: pour temperature, fragrance load percentage, your cooling room’s temperature and airflow, and whether you’re stirring gently enough. If you’re using soy wax, blend it with coconut or paraffin to stabilize cooling. Most important? Troubleshoot one variable at a time, keep your room draft-free and warm, and stir slowly. The specifics of what went wrong—and how to fix it—depend on which of these you’re actually messing up.
Key Takeaways
- Repours often repeat original mistakes if environmental factors like drafts and temperature remain unchanged from the first pour.
- Identify the root cause before repouring: check for mold contamination, verify pour temperature accuracy, and confirm correct fragrance load.
- Change only one variable at a time when adjusting technique, temperature, or environment to isolate the problem effectively.
- Maintain consistent, warm ambient temperature during cooling and eliminate drafts to prevent uneven setting and lumpy surfaces.
- Clean residue and leftover wax from molds thoroughly before repouring to prevent contamination affecting surface smoothness.
Why Your Repour Has a Bumpy or Uneven Top
When you pour a candle and it cools into something that looks more like a moonscape than a smooth surface, there’s almost always a reason—and the good news is that most of them are fixable. Here’s the thing: bumpy tops usually stem from surface tension issues or wax crystallization—that’s when wax molecules reorganize into visible patterns as they cool. Uneven cooling creates the biggest culprit. If your room’s cold or drafty, the top sets before the underlying wax settles, leaving you with an irregular finish. Temperature matters too. Pour too hot and you’ll get sinkholes; pour too cool and the wax sets fast, trapping air bubbles that show up as bumps. Fragrance oils can worsen this if overheated or over-stirred. The good news? Most problems trace back to your pour temperature and cooling environment—both things you control completely.
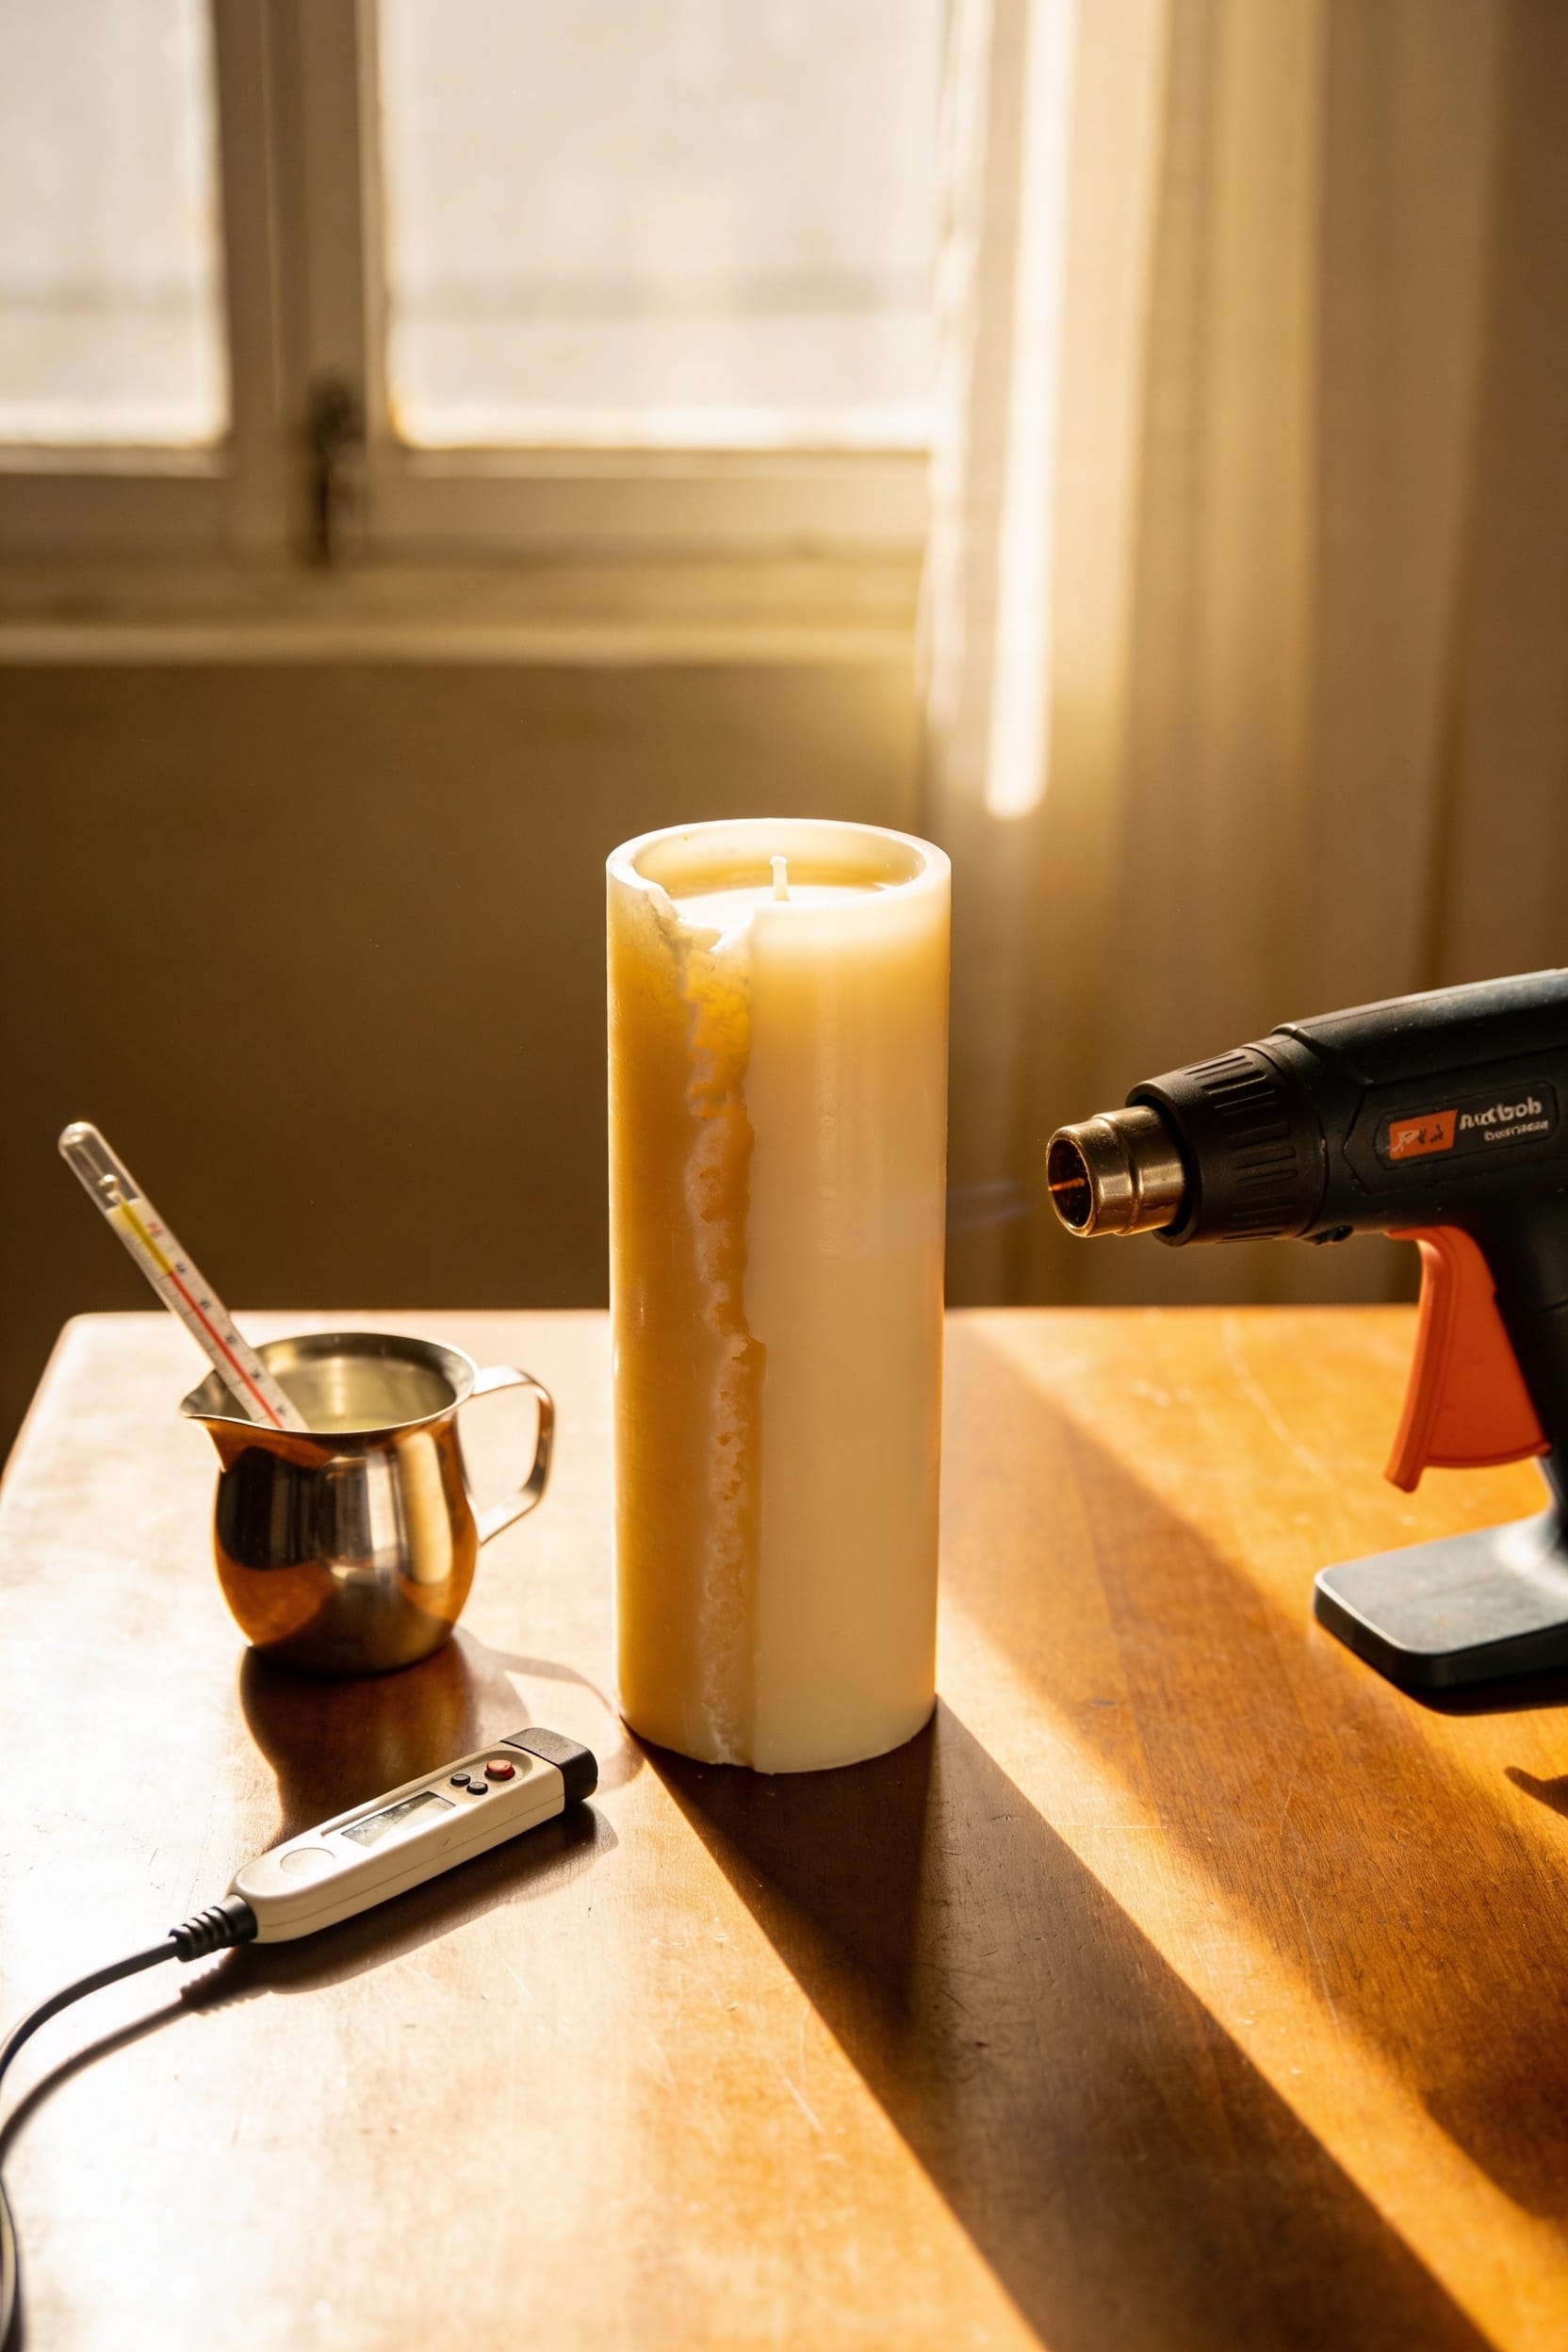
Quick Fix: Use a Heat Gun to Smooth Your Candle
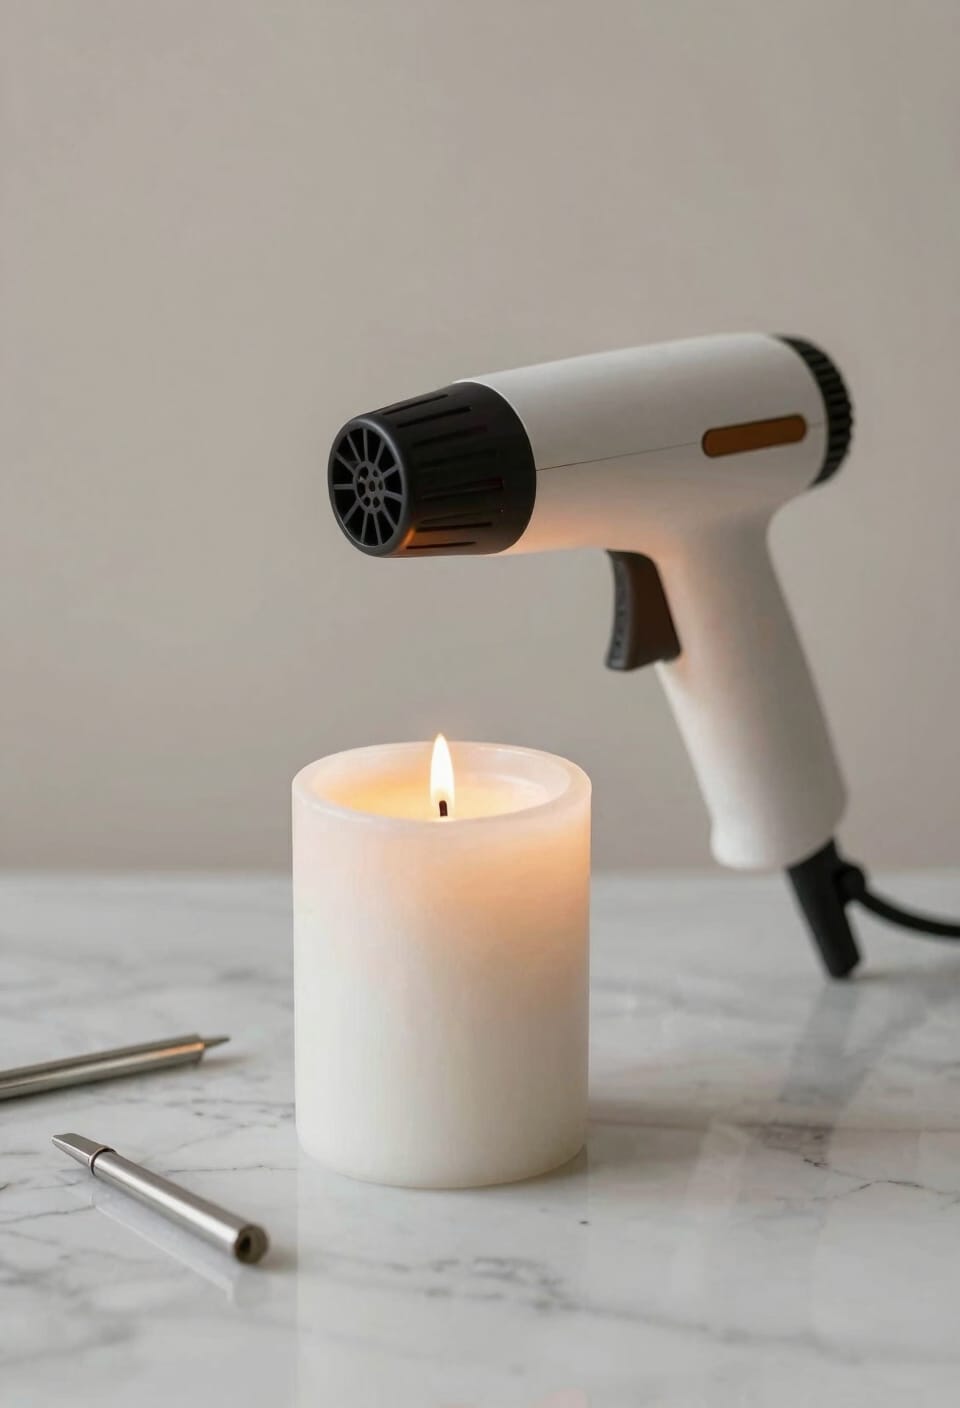
Now, if prevention didn’t work out and you’re staring at a candle top that looks like it went ten rounds with a cheese grater, there’s a surprisingly simple fix that doesn’t involve starting over. Grab a heat gun—that tool you’ve probably got collecting dust anyway—and use it for surface restoration. Hold it about six inches above the bumpy top and move it slowly, steadily across the entire surface. You’re aiming to melt just the top eighth inch, allowing the wax to level itself naturally as it cools. This heat smoothing technique works surprisingly well for minor imperfections, especially with soy or soy-blend candles. Avoid overheating though—you don’t want discoloration or wick damage. It’s not perfect prevention, but it saves a ton of wasted wax.
Recommended Products

THE ORIGINAL MASTER HEAT GUN SINCE 1958: Rugged, reliable, the workhorse of heat guns. Master Appliance has been designing and assembling industrial-grade heat guns in Racine, WI for over 65 years. Trusted by professionals across industrial, aerospace, automotive, and manufacturing environments worldwide.
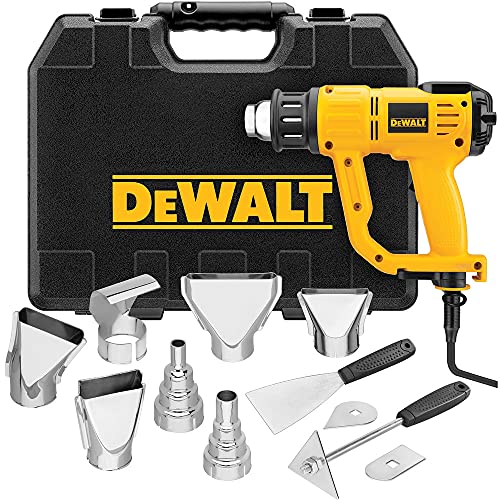
LCD display of DEWALT heat gun allows user to adjust temperature within 50-degree increments

NATURAL: Our waxes are designed for a long and clean burn. Our Coconut Soy Blend is composed of high quality coconut wax, soy wax, and small amounts of paraffin. Because of the blend's nature, color may vary between off white and beige.
When to Repour vs. When to Accept the Result

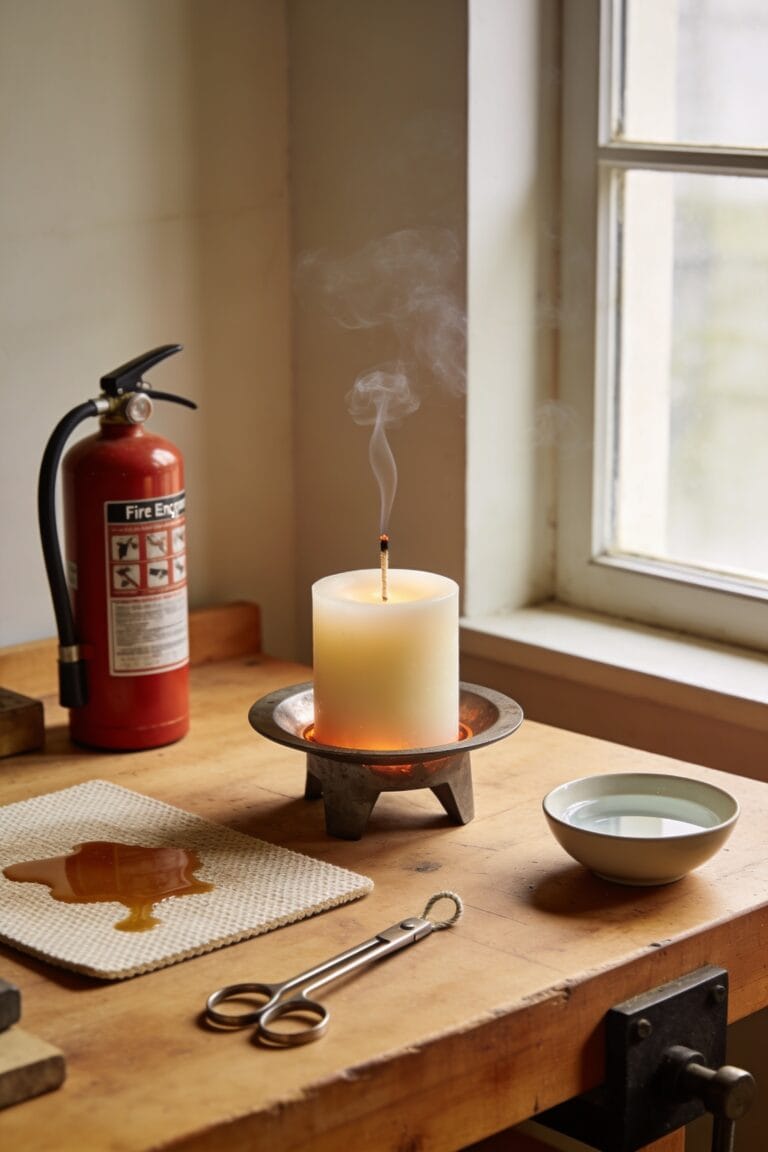
Before you dump the whole batch and start fresh, let’s talk about whether you actually need to. Not every imperfect candle deserves a repour. If the finish timing is close—meaning the top’s settling within a day or two—you might just need a wick adjustment instead. Sometimes a slightly shorter wick burns cleaner and hotter, evening out uneven cooling marks as it burns.
Here’s the thing: minor bumps and texture variations fade once your candle cures fully. Soy wax especially shows surface roughness initially, then smooths during the burn. Save repours for real problems—deep sinkholes, major cracks, or fragrance oils that clearly separated. You’ll save time, wax, and frustration by accepting natural imperfections that won’t affect performance. That’s experience talking.
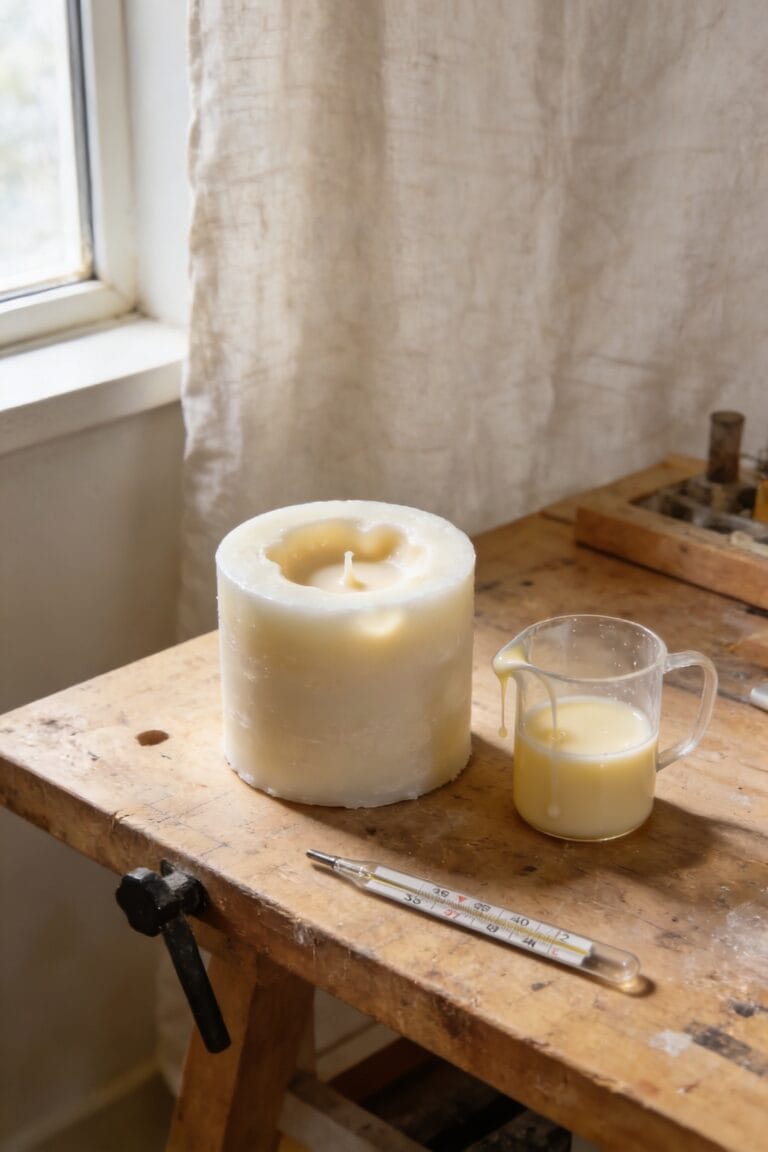
Pouring Too Hot or Too Cool: Temperature’s Role in Bumpy Tops
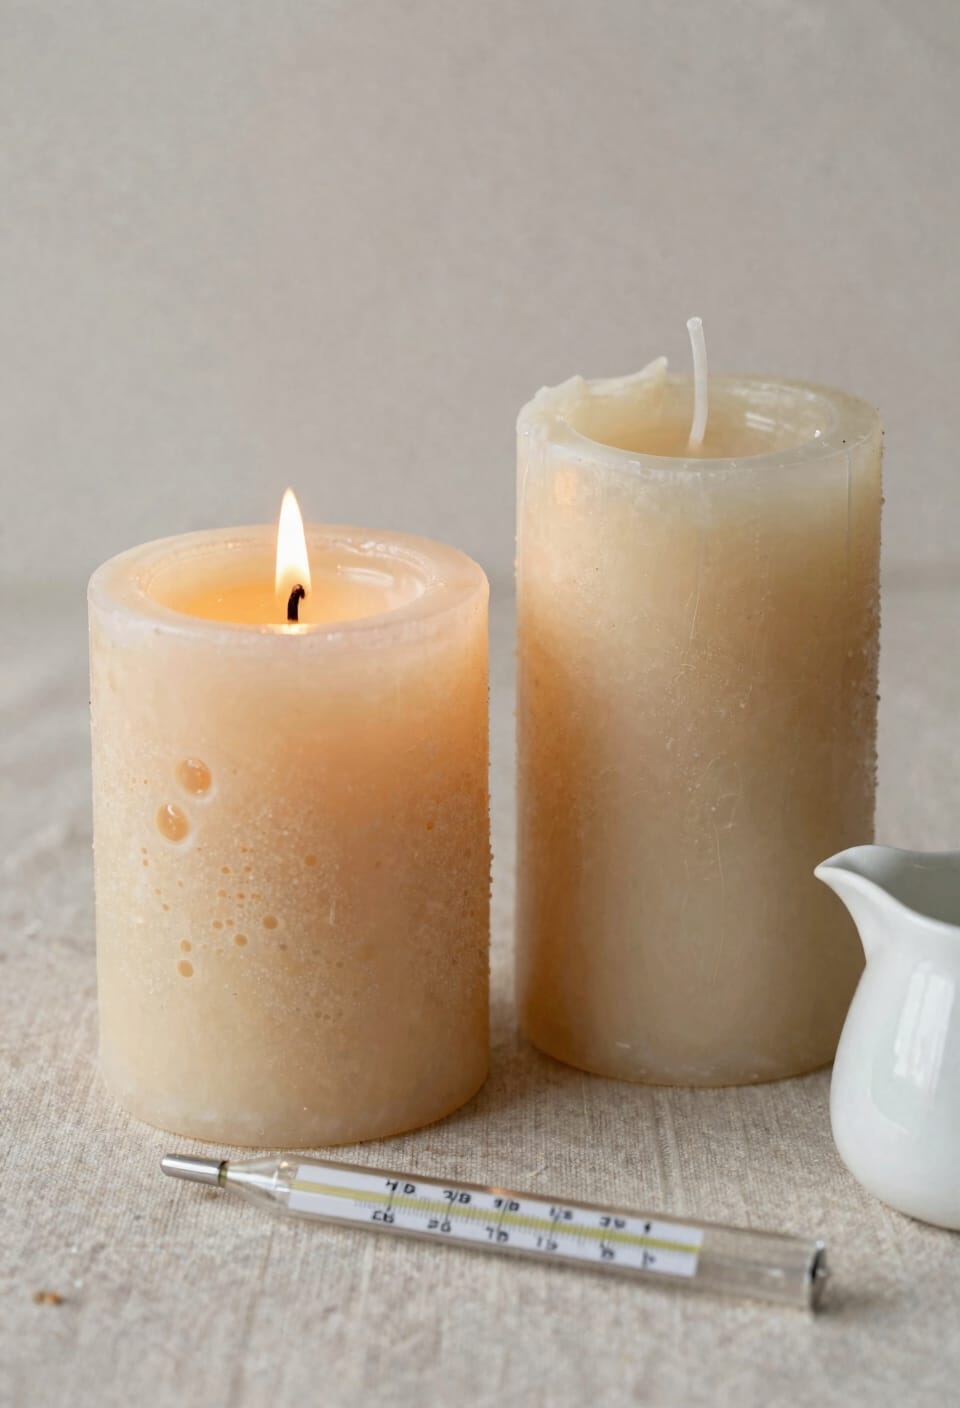
Temperature is honestly the biggest lever you’ve got for controlling whether your candle’s top comes out smooth or looking like the surface of the moon. Pour too hot, and your wax shrinks dramatically as it cools, creating sinkholes and cratering. Pour too cool, and the surface sets before the deeper layers settle, leaving you with a bumpy, uneven finish. The issue comes down to wax viscosity—how thick or thin your melted wax flows—and the cooling gradients across your candle. Start with your fragrance manufacturer’s recommended temperature. If you’re still getting roughness, try pouring a few degrees cooler than usual. You’re aiming for that sweet spot where wax flows evenly and cools gradually, not fighting against itself.
Recommended Products

TWENTY POUNDS of PREMIUM FLORIDA SPRING BLOSSOM BEESWAX: 100% Natural, clean burning, sweet floral, with the honey-like fragrance typically associated with beeswax, cosmetic ready and suitable for food contact. Our pure beeswax bars are perfect for a wide variety of applications. Packaged in a one-pound bars (5″ x 3.5" x 1.75").

✔UPGRADE CADNLE CRAFT, BOLDER CREATIONS: With Leerie D6 digital wax melter, you're not just upgrading your equipment—you're upgrading your entire crafting experience. With the 12 lbs capacity to melt up to 48 4oz candles at a glance, without the constant need for refills or multiple melting sessions. D6 Wax Melter is your craft room's new best friend, whether you're a DIY enthusiast looking to make candles for gifts or a small-batch producer aiming to grow your business.

【UPGRADE VERSION】TOAUTO V3 Wax Melter with stainless steel ball valve and upgrade inner tank design -- will not freeze up with wax inside the pot, NOT CLOGGY, NO NEED HEAT GUN ANYMORE! If you have a medium consistency of candle orders, this is well worth it to make things easier.If you are thinking of starting a small candle business this is ideal.
Why Too Much (or Wrong) Fragrance Ruins Your Pour
When you dump too much fragrance oil into your melted wax—or worse, use one that’s incompatible with your wax type—you’re effectively destabilizing the entire structure of your pour. I’ve watched it happen countless times: scent saturation beyond recommended fragrance load percentages (that’s the maximum amount of fragrance oil your specific wax can actually hold) creates lumps, craters, and that frustratingly bumpy surface.
Here’s the thing: different wax types require different fragrance compatibility profiles. Soy wax, for instance, plays better with certain oils than paraffin does. Excess fragrance doesn’t just smell strong—it interrupts how wax molecules bond during cooling.
Stick to your wax manufacturer’s recommended percentages. Your candle will smell plenty good, and your top will actually be smooth.
Pouring Technique Errors That Create Rough Surfaces
All right, pouring technique is where a lot of otherwise solid candle makers stumble—and I’m speaking from personal experience here, having watched perfectly good wax go bumpy the moment I got impatient. Pouring too quickly or from high above incorporates excess air into your wax, which shows up as a rough, cratered surface once it sets. Pour ergonomics matter: keep your pitcher steady, pour low and slow, and maintain consistent tool maintenance on your pouring vessel so nothing’s dripping or splattering mid-pour. A gentle, steady pour at the right temperature minimizes those air bubbles entirely. Stir fragrance thoroughly but gently too—aggressive stirring whips in air that’ll haunt your finish. Patience here pays dividends.
Recommended Products

Super-Fast Wax Melting Pot: Melts Soy Wax, Paraffin, Coconut & Beeswax in record time. You'll be surprised why you didn't have a large wax melter like this earlier. Easy to use thermostat can be set anywhere from a Warm - 400 degrees F.

【10Lbs Wax Melting Pot】TOAUTO designed our candle wax melter pot for making candles in bulk easier than ever before! Wax machine could do 10Lbs wax at a time improve your candle making production line and save your time A LOT! Get started in your candle business and DIY your own holiday gift candles.

【15L Large Capacity Candle Wax Melter】This electric wax melting pot holds bulk wax for dozens of candles per batch. Fill wax at least 2cm deep (do not exceed max fill line) to avoid dry-run damage. Works great for soy wax, beeswax, paraffin and coconut wax, perfect for hobby DIY and small candle business production
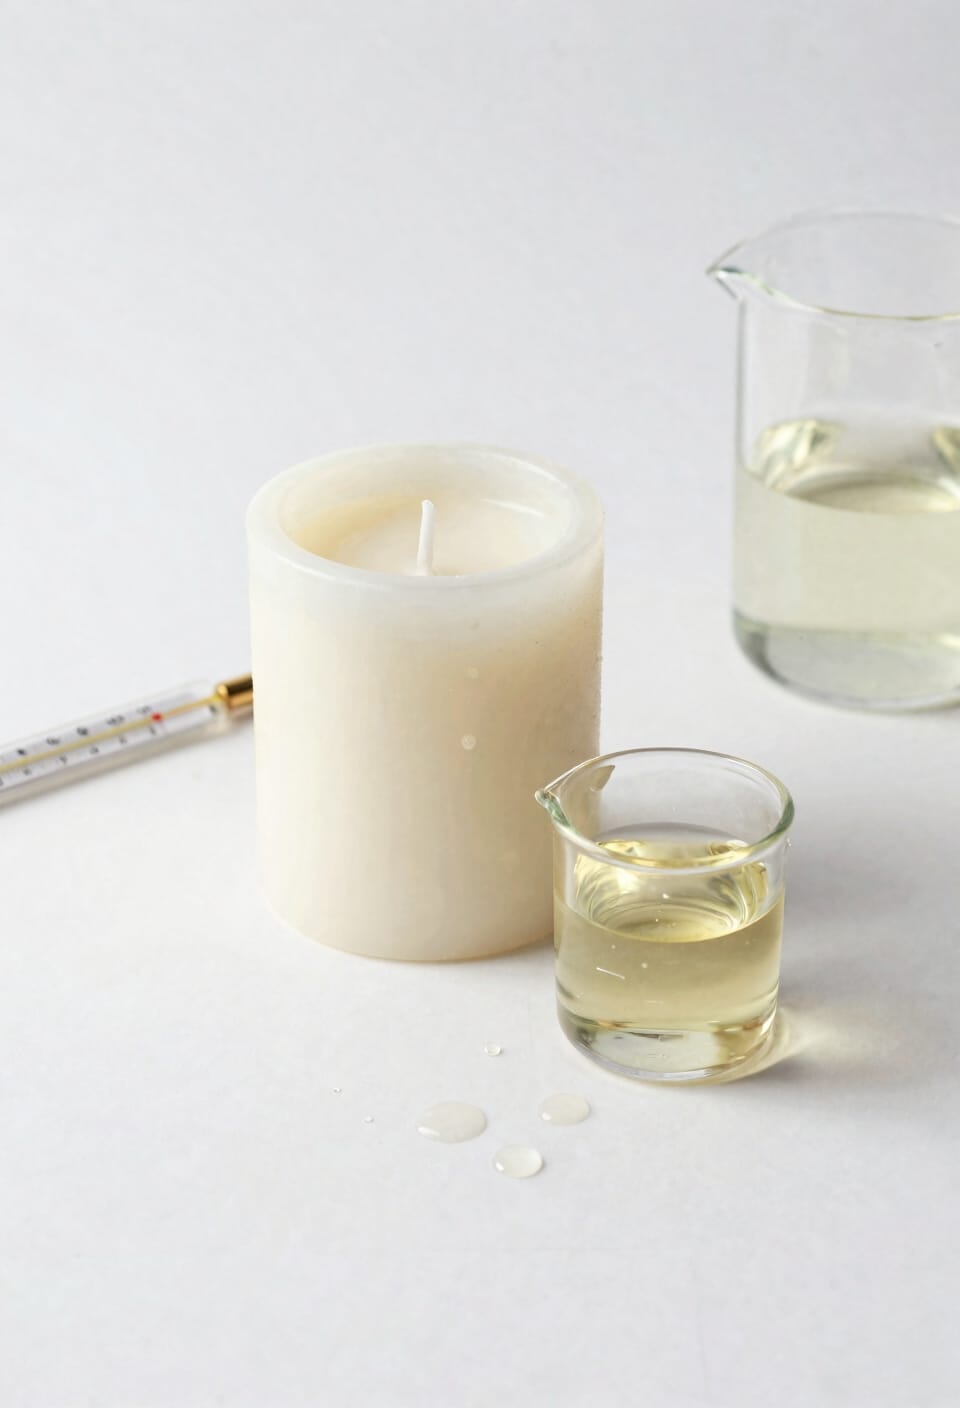
How Room Temperature and Airflow Create Lumps
Now, you’ve nailed your pour technique—pitcher steady, wax flowing smooth, no air whisked in—and yet you still end up with a lumpy, crater-pocked surface once everything cools. The culprit? Your room itself. When your ambient temperature fluctuates or drops too quickly, the wax’s outer layer sets before the interior fully settles, creating those frustrating lumps. Drafts make it worse—ceiling fans, open windows, or air vents accelerate uneven cooling. I’ve learned this the hard way more times than I’d like admitting. Keep your pouring space warm and consistent, close those windows, and silence the fans during cooldown. Draft control genuinely matters. Your candles will thank you with smooth, professional-looking tops every single time.
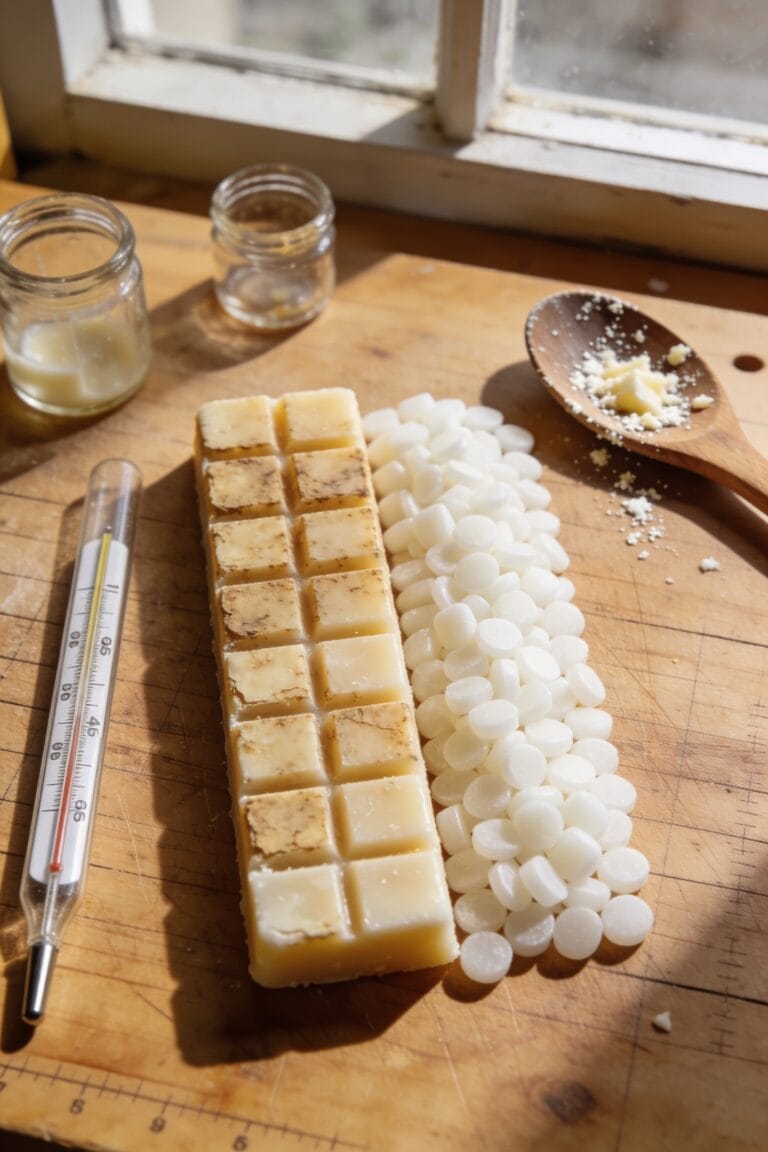
Soy vs. Paraffin: Which Wax Won’t Sink or Crack
Once you’ve dialed in your pouring technique and locked down your cooling environment, the wax itself becomes your next lever—and here’s where soy and paraffin diverge in meaningful ways. Paraffin benefits from superior stability during cooling, resisting sinkholes and cracks better than pure soy. I’ve watched paraffin hold its top layer flat while soy wrestled with uneven settling. That said, soy sustainability appeals to many of you, and that’s valid. The compromise? Blend them. I mix soy with coconut or paraffin, which smooths everything out beautifully. The blend stabilizes cooling, reduces shrinkage, and gives you that flawless finish you’re after. Pick your wax type first, follow its exact pour temperature, and you’ve eliminated half your surface problems right there.
Recommended Products

You know it as: Pearled Wax, Pearled Candles, Candle Pearls, Pearl Wax, Candle Powder, Granulated Natural Plant Based Wax.

Wax Weight: 3,632 g/ 128.12 oz

CANDLE MAKING SUPPLY KIT: 50lbs soy wax, 500 cotton wicks, 500 glue stickers, 10 metal wick holders. Includes Everything you need to make your own candles.
How to Stop Air Bubbles During the Repour Process
Air bubbles are the invisible saboteurs hiding in your wax right now, waiting to surface as tiny craters and rough patches once your candle cools—and here’s what I’ve learned after pouring hundreds of batches: they’re almost entirely preventable if you catch them at the source.
Now, here’s the thing: I pour slowly and steadily, never rushing or pouring from height. That alone cuts bubbles dramatically. If you’re serious about a flawless repour, consider gentle degassing—basically letting your melted wax sit undisturbed before pouring so trapped air naturally rises and escapes.
For larger operations, a vacuum chamber removes air completely, though most hobbyists don’t need one. Stir fragrance oils gently and deliberately. Avoid vigorous mixing that whips air into your wax. You’ve got this.
Recommended Products

High-quality construction: Crafted from durable aluminum, this vacuum chamber offers superior strength and longevity, ensuring it withstands rigorous usage for up to 10,000 cycles.

High Efficiency: 5 CFM 1/3 HP Single Stage Vacuum Pump, Direct Drive Motor is easy to start. The stainless steel container is in high strength, very durable and can withstand up to 160ºF, the ultra-large volume of vacuum chamber can meet the demand of larger volume of liquid operation. The tempered glass lid is durable and sturdy, which is specially designed for stabilizing wood and experiments with volitile compounds, and can provide a good visibility for work, it is bulletproof

Premium Strength: Crafted from high-strength stainless steel, our vacuum chamber is rock-solid and can withstand long-term usage. The tempered glass lid adds stability for experimenting with volatile compounds and provides excellent visibility during work
5 Repour Mistakes That Recreate the Same Bumpy Top
If you’ve already repoured once and ended up with the same bumpy, cratered top, there’s a good chance you’re repeating the exact mistake that caused it in the first place—and I’ve done this too, gotten frustrated, and just poured again without changing anything, expecting different results.
Look, before you repour, identify what actually went wrong. Was your mold contamination the culprit? Double-check for dust, residue, or leftover wax. Did you make label errors about your pour temperature or fragrance load percentage—the amount of scent oil you added? If you’re using the same temperature, same fragrance mix, same rushed technique, you’ll get identical results. Change one variable at a time. Lower your pour temperature slightly. Stir more gently. Give your cooling environment time to stabilize. Don’t repeat the original mistake.
Frequently Asked Questions
How Long Should I Wait Before Attempting a Repour on My Candle?
I’d recommend waiting 24-48 hours for proper curing time before repouring. This allows your candle to cool completely and stabilize. Make certain temperature control remains consistent throughout—avoid drafts and keep your space warm for the smoothest results.
Can I Reuse the Same Fragrance Oil Percentage for My Repour Attempt?
What if reusing the same fragrance percentage is actually causing your roughness? I’d recommend reducing it slightly for your repour to guarantee better scent compatibility and fragrance strength without disrupting the wax structure further.
What’s the Ideal Room Humidity Level for a Smooth Candle Repour?
I’d keep your room’s humidity low—ideally under 50%—while ensuring good room ventilation. High humidity interferes with even cooling, creating that bumpy texture you’re trying to avoid on your repour.
Should I Remove the Old Wick Before Pouring the Repour Layer?
I’d remove the old wick before repouring—it’ll sink unevenly otherwise. You can replace wick afterward or use a new one, ensuring it’s centered perfectly for that flawless, smooth second layer you’re after.
How Many Times Can I Safely Repour the Same Candle?
I’d recommend limiting repours to two or three maximum times. Beyond that, you’ll risk wick degradation and structural weakness. Each repour stresses the wick, so I suggest starting fresh with a new candle instead.
Conclusion
You’ve learned the culprits: temperature swings, fragrance overload, air bubbles trapped beneath the surface. You’ve discovered the fixes: heat guns smooth what patience won’t, proper temps prevent sinking, the right wax type matters more than you’d think. You know when to repour and when to accept imperfection. Your next candle won’t be bumpy. Your next pour will be flawless. Your confidence will finally match your ambition.