As an Amazon Associate, we earn from qualifying purchases. Some links on this site are affiliate links at no extra cost to you. Our recommendations are based on thorough research and editorial judgment.

Why Is My Candle’s Scent Throw Weak? In-Depth Troubleshooting Guide
Weak scent throw usually boils down to five fixable issues: your wick’s the wrong size (too small means shallow melt pool and weak fragrance release), your fragrance load—that’s the percentage of scent oil you’ve mixed in—sits below the sweet 6–10% range, you haven’t let it cure long enough for the oils to stabilize, you’re burning it wrong, or you’ve gone nose-blind and can’t actually tell it’s working. We’ll walk through each one.
Key Takeaways
- Undersized wicks create shallow melt pools that fail to evaporate fragrance oils effectively; increase wick size incrementally to deepen the pool.
- Fragrance loads below 6% or exceeding wax maximum reduce scent throw; test between 6–10% with 8% as the optimal starting point.
- Insufficient curing time prevents fragrance molecules from bonding with wax; allow minimum one week for soy or blended waxes before testing.
- Room size, ventilation, and olfactory fatigue mask true scent throw; test consistently in identical environments and use third-party blindfolded testers for accuracy.
- Overburning or improper wick trimming torches fragrance oils; trim wicks to one-quarter inch and burn 3–4 hours minimum for full melt pool formation.
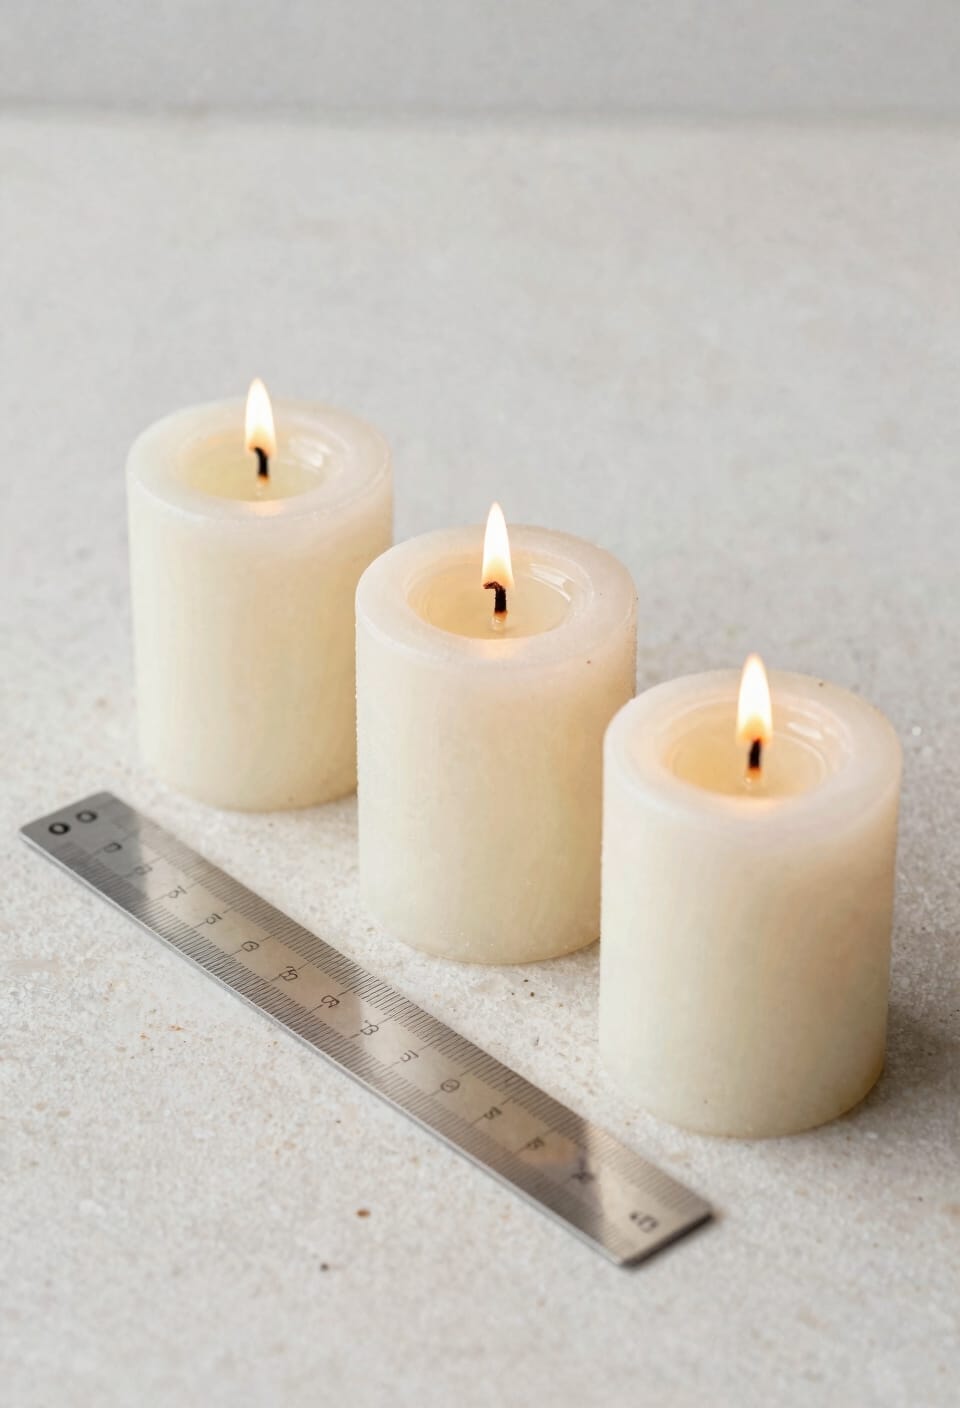
Melt Pool Depth: The Visual Diagnostic for Wick Correctness
When your candle’s burning but the scent feels disappointingly faint, the melt pool—that growing circle of melted wax spreading out from the wick—is your best visual clue about whether your wick size is actually the problem. All right, here’s the thing: your pool depth serves as wick evidence that tells you whether fragrance is actually evaporating into the room.
A shallow melt pool means your wick’s too small. The wax isn’t melting deeply enough for proper fragrance release. You’ll get weak scent throw every single time.
A crater-shaped pool that’s too deep? That’s a wick that’s oversized, burning too hot and torching off your fragrance oils before they can do their job.
Visual diagnostics matter here because the pool shows you exactly what’s happening at burn level. Measure it. Adjust accordingly.
Wick Size: Your Primary Control for Flame and Scent Throw
Now here’s where most people get stuck: you’ve dialed in your fragrance load, you’re hitting the right pour temperature, and you’re letting your candles cure properly—but the scent still feels like a whisper instead of a shout. Your wick is likely the culprit.
Think of your wick as the engine controlling everything: flame height, melt pool depth, heat intensity. The capillary action—how the wick draws melted wax upward—determines how much fragrance actually evaporates into your room. Too small, and you’re starving the flame. Too large, and you’re burning off oils before they can disperse.
Start by adjusting wick size up or down one to two sizes. Check flame stability and melt pool formation. Regular wick trimming keeps things honest. Different wick materials behave differently too, so don’t hesitate to experiment.
Recommended Products

Variable speed goes anywhere from 100 to 1,100 RPM on the low setting and 100 to 2,500 RPM on the high setting

Long burn time; Ideal for ambience or mood lighting in low light tabletop applications; Costs just pennies an hour to burn
Fragrance Load: Finding the 6–10% Sweet Spot for Strong Scent Throw
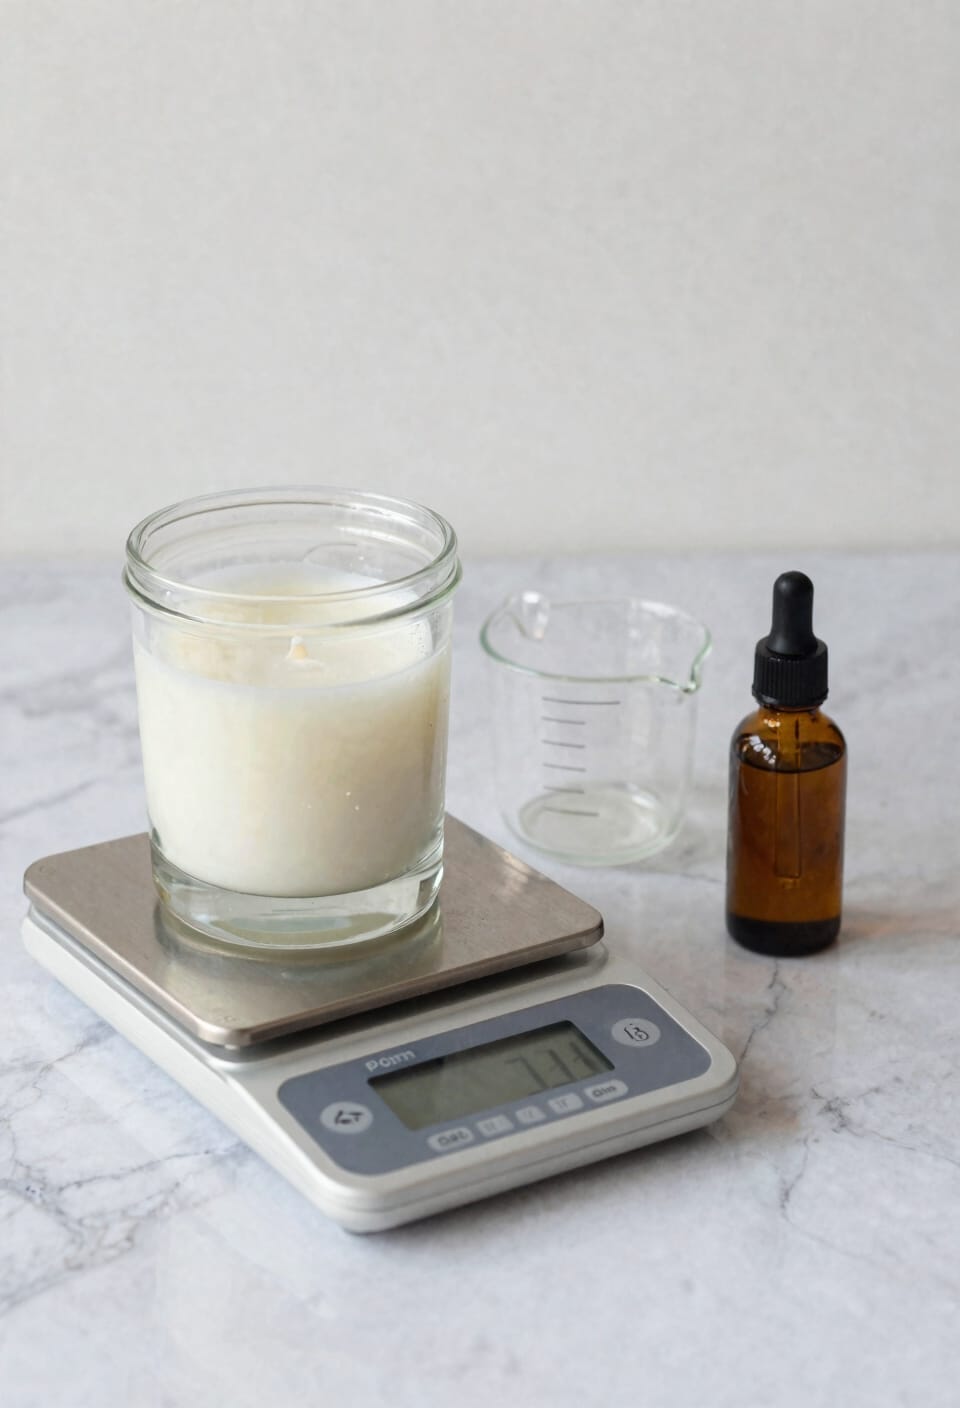
If you’ve nailed your wick size and your pour temperature‘s dialed in but the scent still isn’t filling the room, you’re probably under-loading or over-loading your fragrance—meaning you haven’t hit the right percentage of fragrance oil mixed into your melted wax.
Most waxes perform best between 6–10%, with 8% as the sweet spot. I’d start 1–2% below max and work upward incrementally. Here’s why: exceeding your wax’s capacity causes wick clogging, weak throw, and sweating. Dense oils like gourmands actually perform better at lower concentrations due to oil volatility and aromatic stability. Think fragrance layering and scent synergy—less isn’t always worse. Test methodically. Your nose will thank you.
Recommended Products
This Fragrance Oil invites in the soft and sweet aroma of a Tahitian Island breeze. Our stylish and high quality 16oz Aluminum Bottles with tamper evident ring and cap are lightweight and durable.

OIL USES: Designed for but not limited to candle scents for candle making (especially works well with soy wax candle making), diffuser oil scents, freshie scents, oils for laundry, soap making supplies, slime scents, oils for skin, perfume oil, bath and body formulations, bath bombs, and many more essential DIYs.

Oil Uses: Designed for but not limited to candle scents for candle making (especially works well with soy wax candle making), diffuser oil scents, freshie scents, oils for laundry, soap making supplies, slime scents, oils for skin, perfume oil, bath and body formulations, bath bombs, and many more essential DIYs.
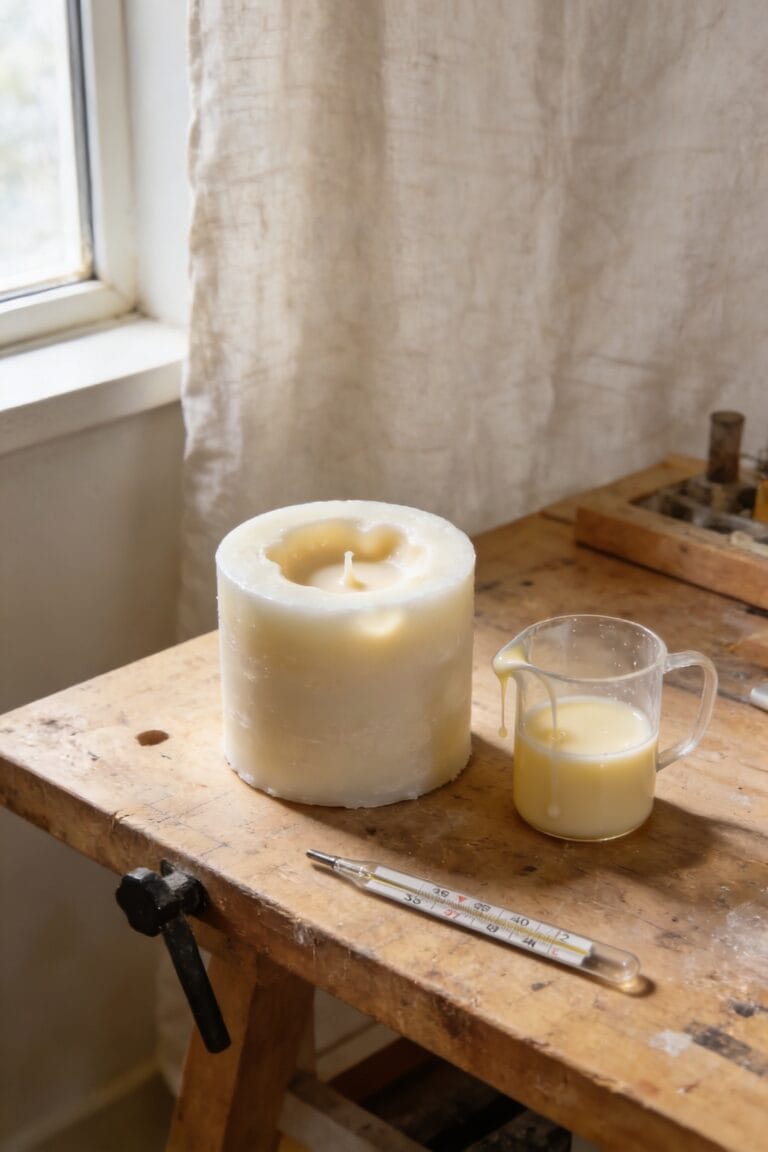
Temperature Control: Three Critical Mistakes That Destroy Scent Release

You’ve dialed in your fragrance load—you’re hitting that sweet 8% mark—and your wick’s the right size, so why’s the scent still wimpy? Temperature control. I’ve watched candle makers nail fragrance percentage, then sabotage everything by adding oils at the wrong heat or pouring too cool. Here’s the thing: fragrance oils need proper bonding with melted wax, and that only happens within specific temperature ranges—typically 170–180°F depending on your wax type. Add oils too hot and you’ll literally burn off aromatic compounds. Pour too cold and fragrance sits unevenly distributed throughout the candle. Check your thermometer calibration regularly. Account for ambient humidity too, since moisture affects how fragrance molecules disperse during curing. Get these temperatures dialed, and your scent throw transforms dramatically.
Recommended Products

🔥【INTUITIVE TEMP GAUGE】-BT-985B professional infrared gun makes temperature measurement and observation easier. Just point and shoot! Built-in double aiming lazer enables you identify target area quicker. Get instant readings within 0.25 second, improving work efficiency greatly!

🎯【Industrial High Temperature Gun】AIOMEST AI-1600 laser thermometer gun measures temperatures from -58℉ to 2912℉ (-50℃ to 1600℃) within 0.25s with ±2% high accuracy and 0.1℃/0.1℉ resolution. Easily switch between Celsius and Fahrenheit degree for versatile applications.

Fast And Accurate-Efficiently Manage Lead Temperature To Ensure Uniform Castings Every Time
The One-Week Cure: Why Full Scent Development Can’t Be Rushed

You can nail your fragrance load, dial in your wick, and hit those temperatures perfectly—but if you light that candle before it’s fully cured, you’re throwing away all that work. Most soy or blended waxes need a minimum of one week for chemical curing, which is when fragrance molecules fully bond and stabilize within the wax itself. I’ve tested candles too early—they smell weak, inconsistent, flat. That premature scent throw isn’t your actual performance. Packaging impact matters here too; sealed containers during cure help retain volatile oils. The complete molecular integration happens during those seven days. Skip it, and you’re getting an artificially depressed scent profile. Test after the cure completes. You’ll be shocked at the difference.
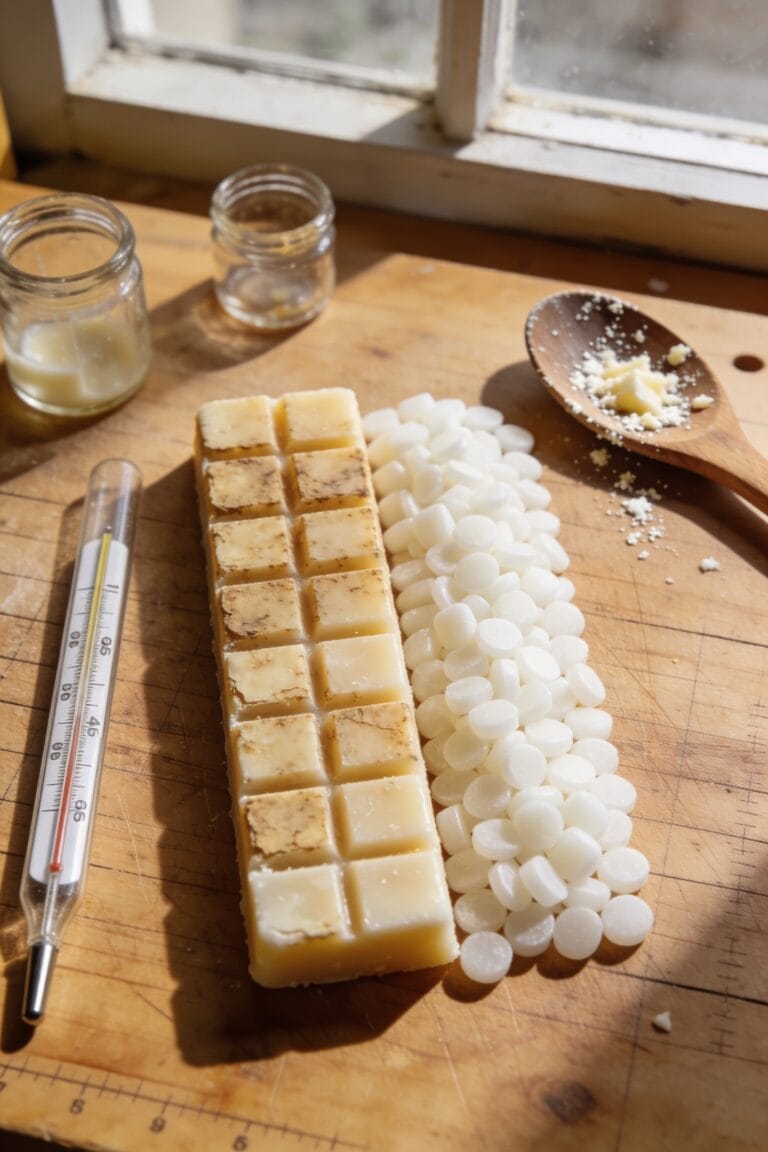
Wax Type and Quality: Why It Impacts Your Scent Throw Potential
Different wax types—soy, paraffin, coconut, or blended—each hold and release fragrance in fundamentally different ways, and picking the wrong one can tank your scent throw no matter how perfectly you’ve dialed in everything else. Soy wax burns clean and eco-friendly, but it demands precise fragrance load balance to perform well. Cheaper soy blends frequently fail to hold fragrance adequately, which is why wax sourcing matters more than you’d think. Paraffin holds fragrance aggressively but isn’t sustainable. Coconut blends offer middle ground, though their lower melt points speed fragrance evaporation. Additive impacts also shift performance—some wax conditioners strengthen scent throw, while others dilute it. The real lesson? Quality wax from reputable suppliers gives you a fighting chance at genuine scent strength.
Recommended Products
Wax Material: Our candle making flakes are made of hydrogenated soybean oil, specifically Golden Brand 444, designed for container and tea light candles

45 Pound Case A luxurious, creamy coconut apricot candle wax blend for luxury candle making. This candle wax also has a very small amount of refined food grade paraffin wax to help with wax performance. We have found that this small addition of paraffin wax enhances its burn characteristics that candle makers love.

Hemp Coconut Soy Wax Hemp Coconut Soy wax is a container wax that is a blend of natural hemp, soy, coconut and food-grade paraffin wax. This is an easy to use, single pour wax with great cold & hot throw. This wax also has great glass adhesion with an even slow burn.
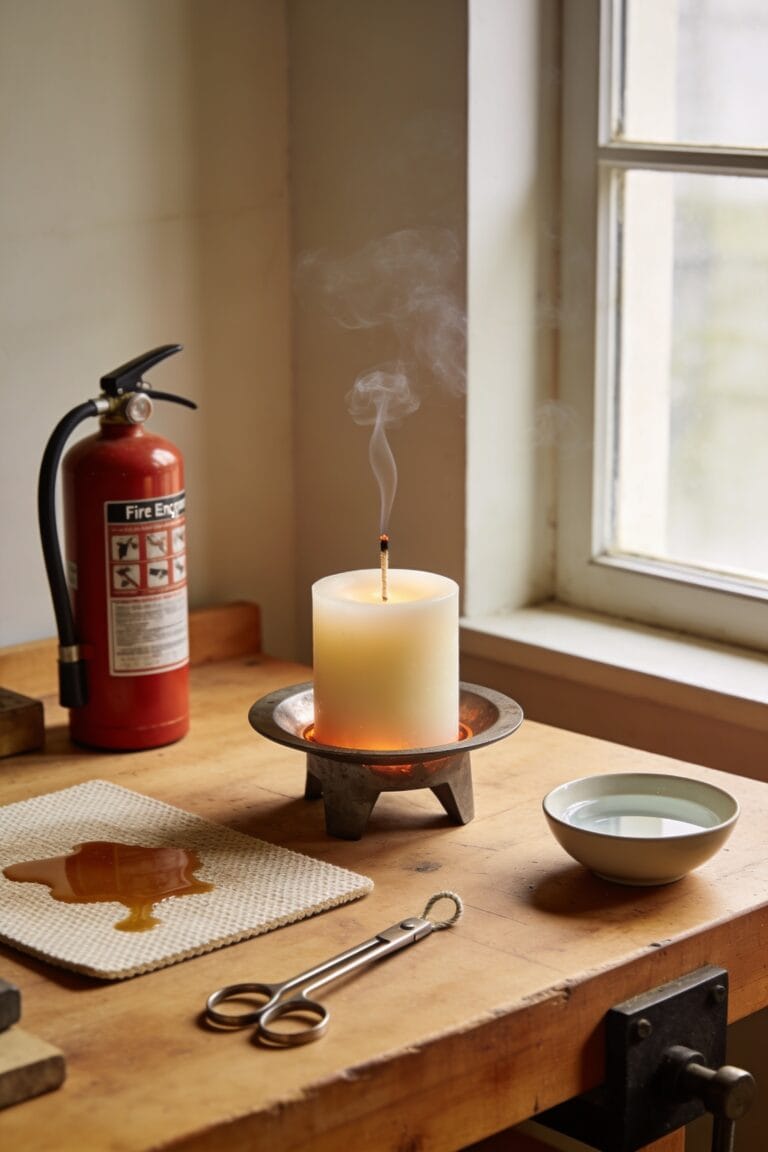
Burn Protocol: How to Release Your Candle’s Full Potential
All right, here’s the thing—you can nail your fragrance load, pick the perfect wick, source premium wax, and still end up wondering why your candle smells like almost nothing. The culprit? Your burn protocol, meaning how you’re actually using the candle.
You need to burn for 3–4 hours minimum so the melt pool—that melted wax circle on top—fully forms across the surface. Shorter burns create tunneling and trap fragrance deep inside.
Here’s my maintenance tips: trim your wick to one-quarter inch before each lighting technique. Trim frequency prevents excessive heat that burns off scent too fast.
Even burns require patience. Leave your candle burning long enough. That’s literally it. Stop testing after five minutes and actually let the thing work.
Recommended Products

Comes in individual boxes of two! Stainless Steel; Size: 6.77 x 2.44 Inch

【10 Pcs Wick Trimmer Bulk】 With 10 gold candle wick trimmers included, this set is perfect for businesses, candle makers, or households with multiple candles. The bulk quantity ensures you always have a spare on hand, whether for different rooms and workshops. The consistent performance across all units makes them reliable for professional use, eliminating the need for frequent replacements.

【10 Pcs Wick Trimmer Bulk】 With 10 candle wick trimmers included, this set is perfect for businesses, candle makers, or households with multiple candles. The bulk quantity ensures you always have a spare on hand, whether for different rooms and workshops. The consistent performance across all units makes them reliable for professional use, eliminating the need for frequent replacements.
Room Size and Ventilation: Setting Realistic Expectations
Now, let’s talk about something I didn’t fully control in my early candle days—I’d pour the perfect candle, nail the fragrance load, trim that wick religiously, and still get complaints that nobody could smell it across the room. The culprit? Room size and ventilation. A small 4-ounce candle simply can’t fill a sprawling living room with scent, no matter how perfectly you’ve made it. Airflow patterns matter too—strong ventilation and occupancy density affect how fragrance disperses. If you’re testing in a compact bedroom versus a kitchen with multiple windows open, you’ll get wildly different results. Set realistic expectations based on your candle’s size and the space it’s meant to fill. That’s not a candle failure—that’s physics.
Nose Blindness and Olfactory Fatigue: Why You Can’t Trust Your Own Assessment
When you’ve been burning the same candle in your office for three days straight, your nose stops registering the scent—even though everyone who walks in can smell it immediately. That’s sensory adaptation, and it’s messing with your ability to assess your candle’s actual performance.
Your olfactory system literally stops detecting constant smells. This anosmia awareness is vital for honest testing. You can’t trust your own nose after prolonged exposure, so here’s what works: leave the room for one to two hours, then return. Your scent sensitivity resets.
Better yet, have friends test your candles without telling them what to expect. Their fresh perspective beats your adapted one every time. Retraining techniques like this eliminate false negatives and give you accurate fragrance load and wick performance data.
How to Test Scent Throw Accurately Without Olfactory Bias
You need a testing protocol that strips out your own bias, because honest feedback is the only way you’ll know if your candle actually smells good or if you’ve just gone nose-blind to it. Leave the room for one to two hours after lighting—this breaks your olfactory adaptation and lets your nose reset. When you return, you’ll catch the scent throw accurately without that numbing effect. Consider blindfold testing with a friend who hasn’t been around the candle. They’ll give you unfiltered feedback on whether the fragrance is actually present or just a phantom you’ve imagined. Rotation breaks between different candles also help; switching scents resets your perception. Test consistently in the same room size, same time of day, and always wait that essential break period.
Frequently Asked Questions
Can I Add Fragrance Oil to My Candle After It Has Already Cooled Completely?
I’d caution against adding oil after cooling—you won’t achieve proper fragrance bonding. The wax won’t integrate the fragrance evenly, leaving you with weak scent throw and potential wet spots from surface mixing.
Does the Color or Type of Dye Affect How Strong My Candle’s Scent Throw Is?
I’ve found that dye color and type don’t markedly affect scent throw. However, certain colorfast additives can interfere with fragrance oil bonding, potentially weakening performance slightly.
How Do I Know if My Fragrance Oil Is Expired or Degraded in Quality?
You’ll notice rancidity indicators like off-putting odors, discoloration, or separation in your fragrance oil. I’d recommend flash point testing—degraded oils show inconsistent results. Store oils properly to prevent this degradation.
Will Burning Multiple Candles Together in One Room Create Stronger Scent Throw?
I’ll tell you: burning multiple candles together creates stronger perceived scent through layering, but I’d make certain wax compatibility first. Mismatched wax types compete rather than complement, weakening your overall fragrance throw.
Can I Reheat and Remelt My Candle to Fix Weak Scent Performance?
You can try remelting your candle using the rewax technique, but I’d recommend trimming your wick first to address the underlying burn issue causing weak scent throw.
Conclusion
You’ve now got the roadmap. But here’s what I’m not telling you yet: the real magic happens when you stop chasing quick fixes and start treating your candles like experiments. Every adjustment you make—wick size, fragrance load, cure time—compounds with the others. The candle that transforms your entire operation? It’s waiting on the other side of your next failure.