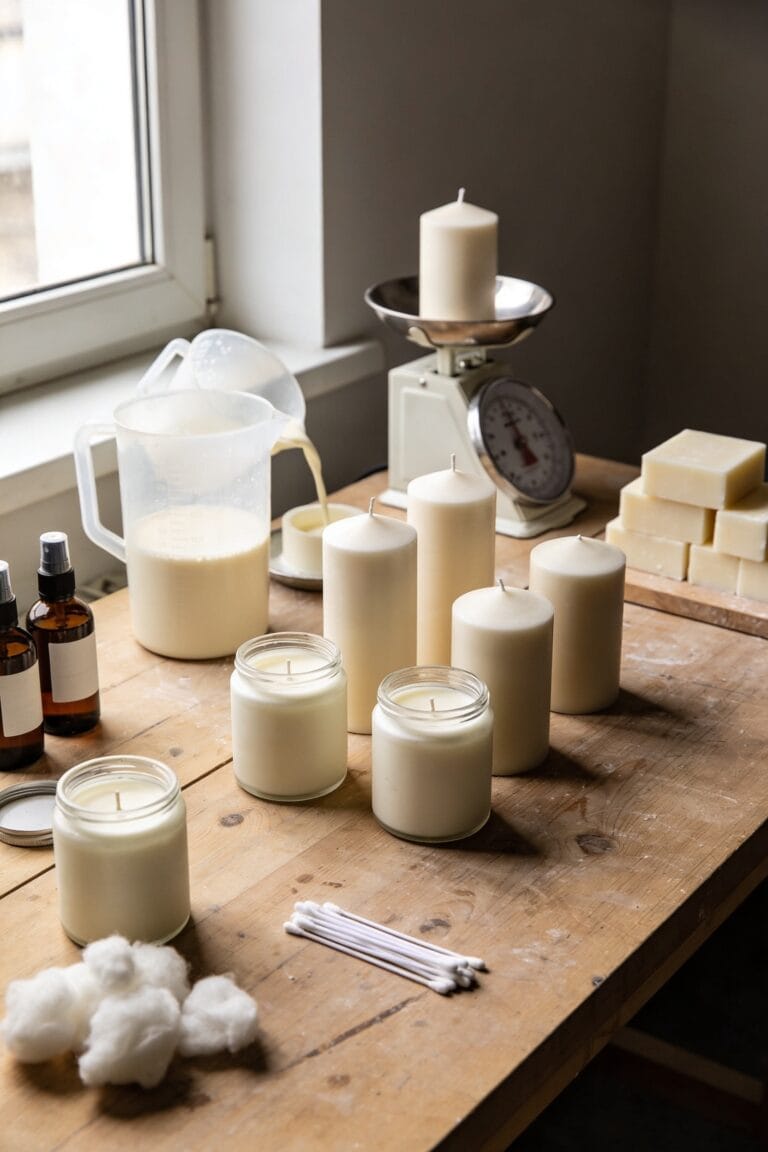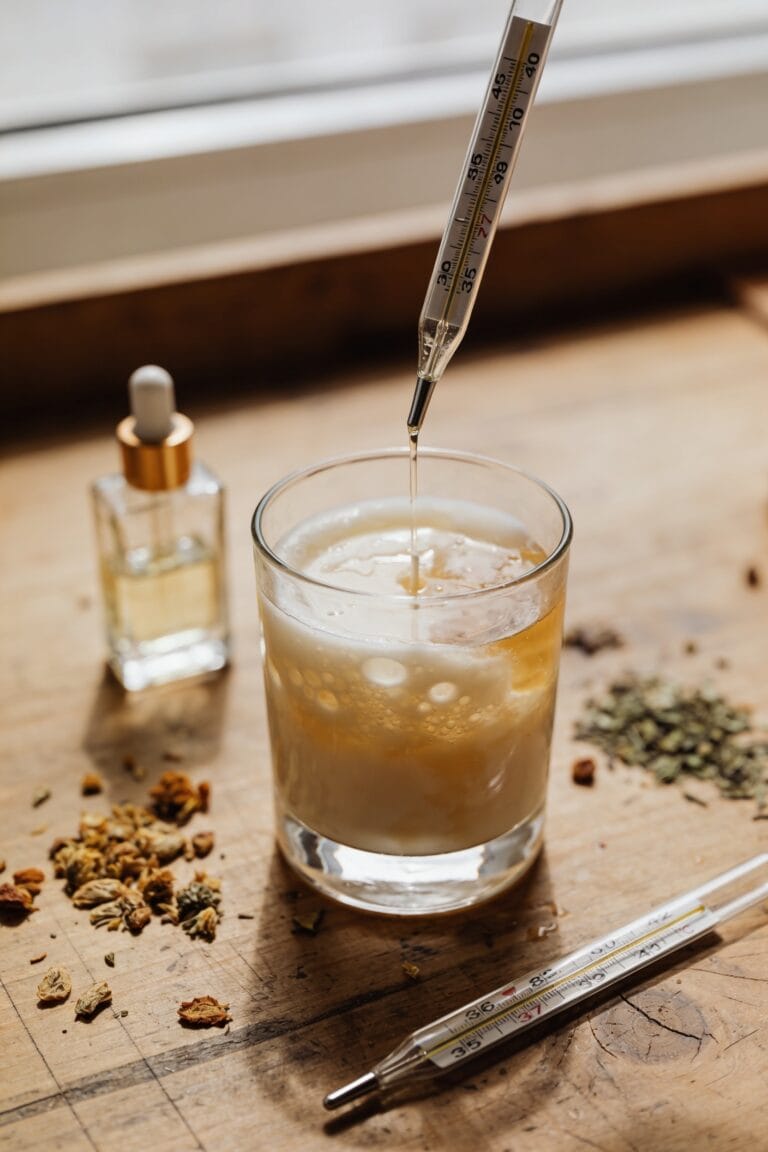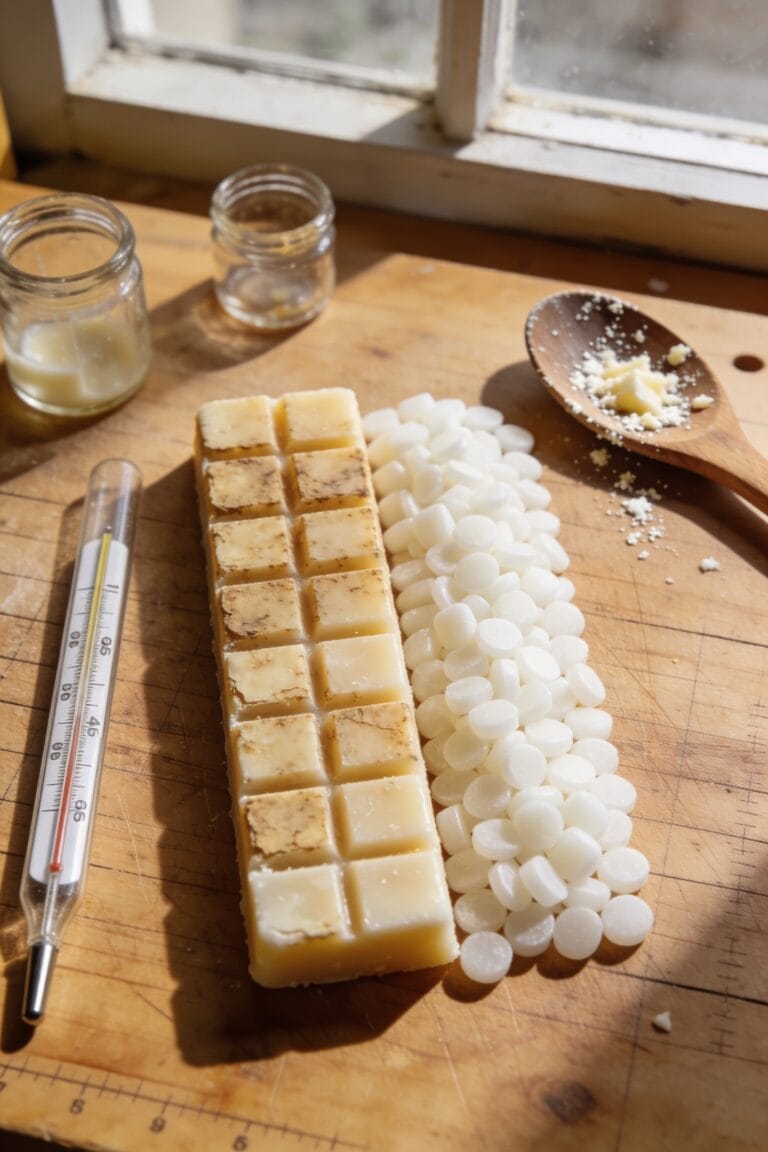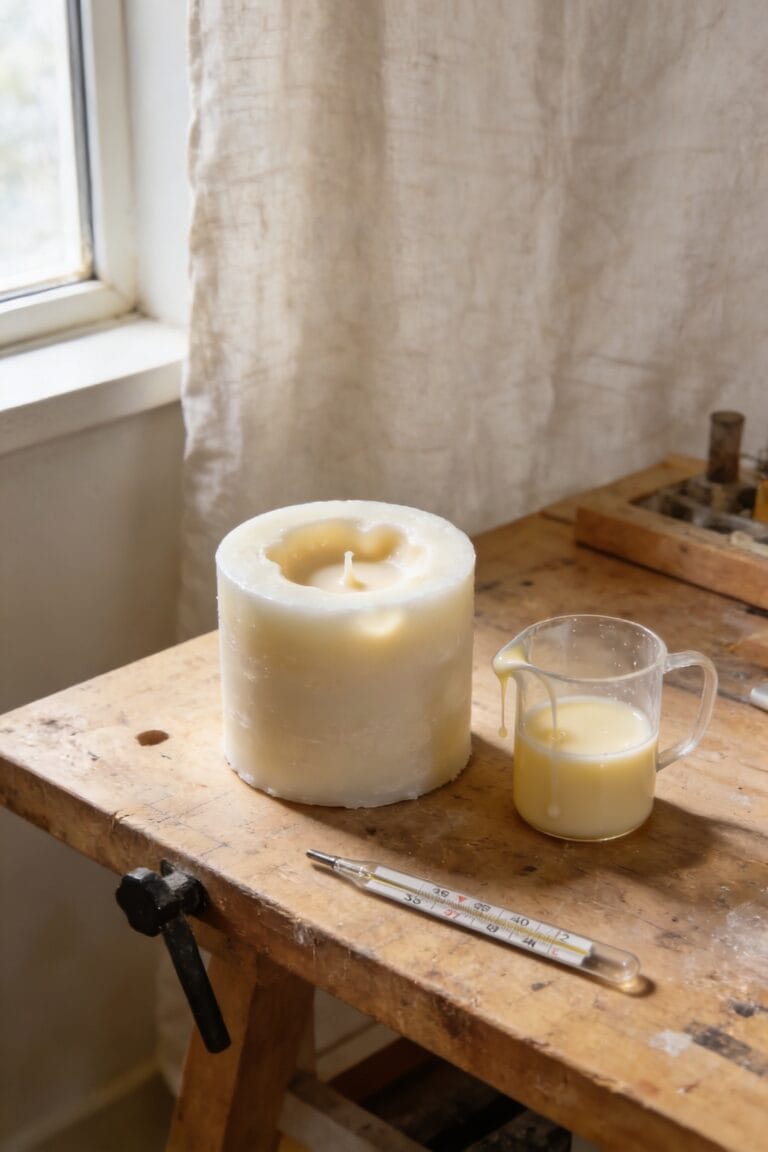
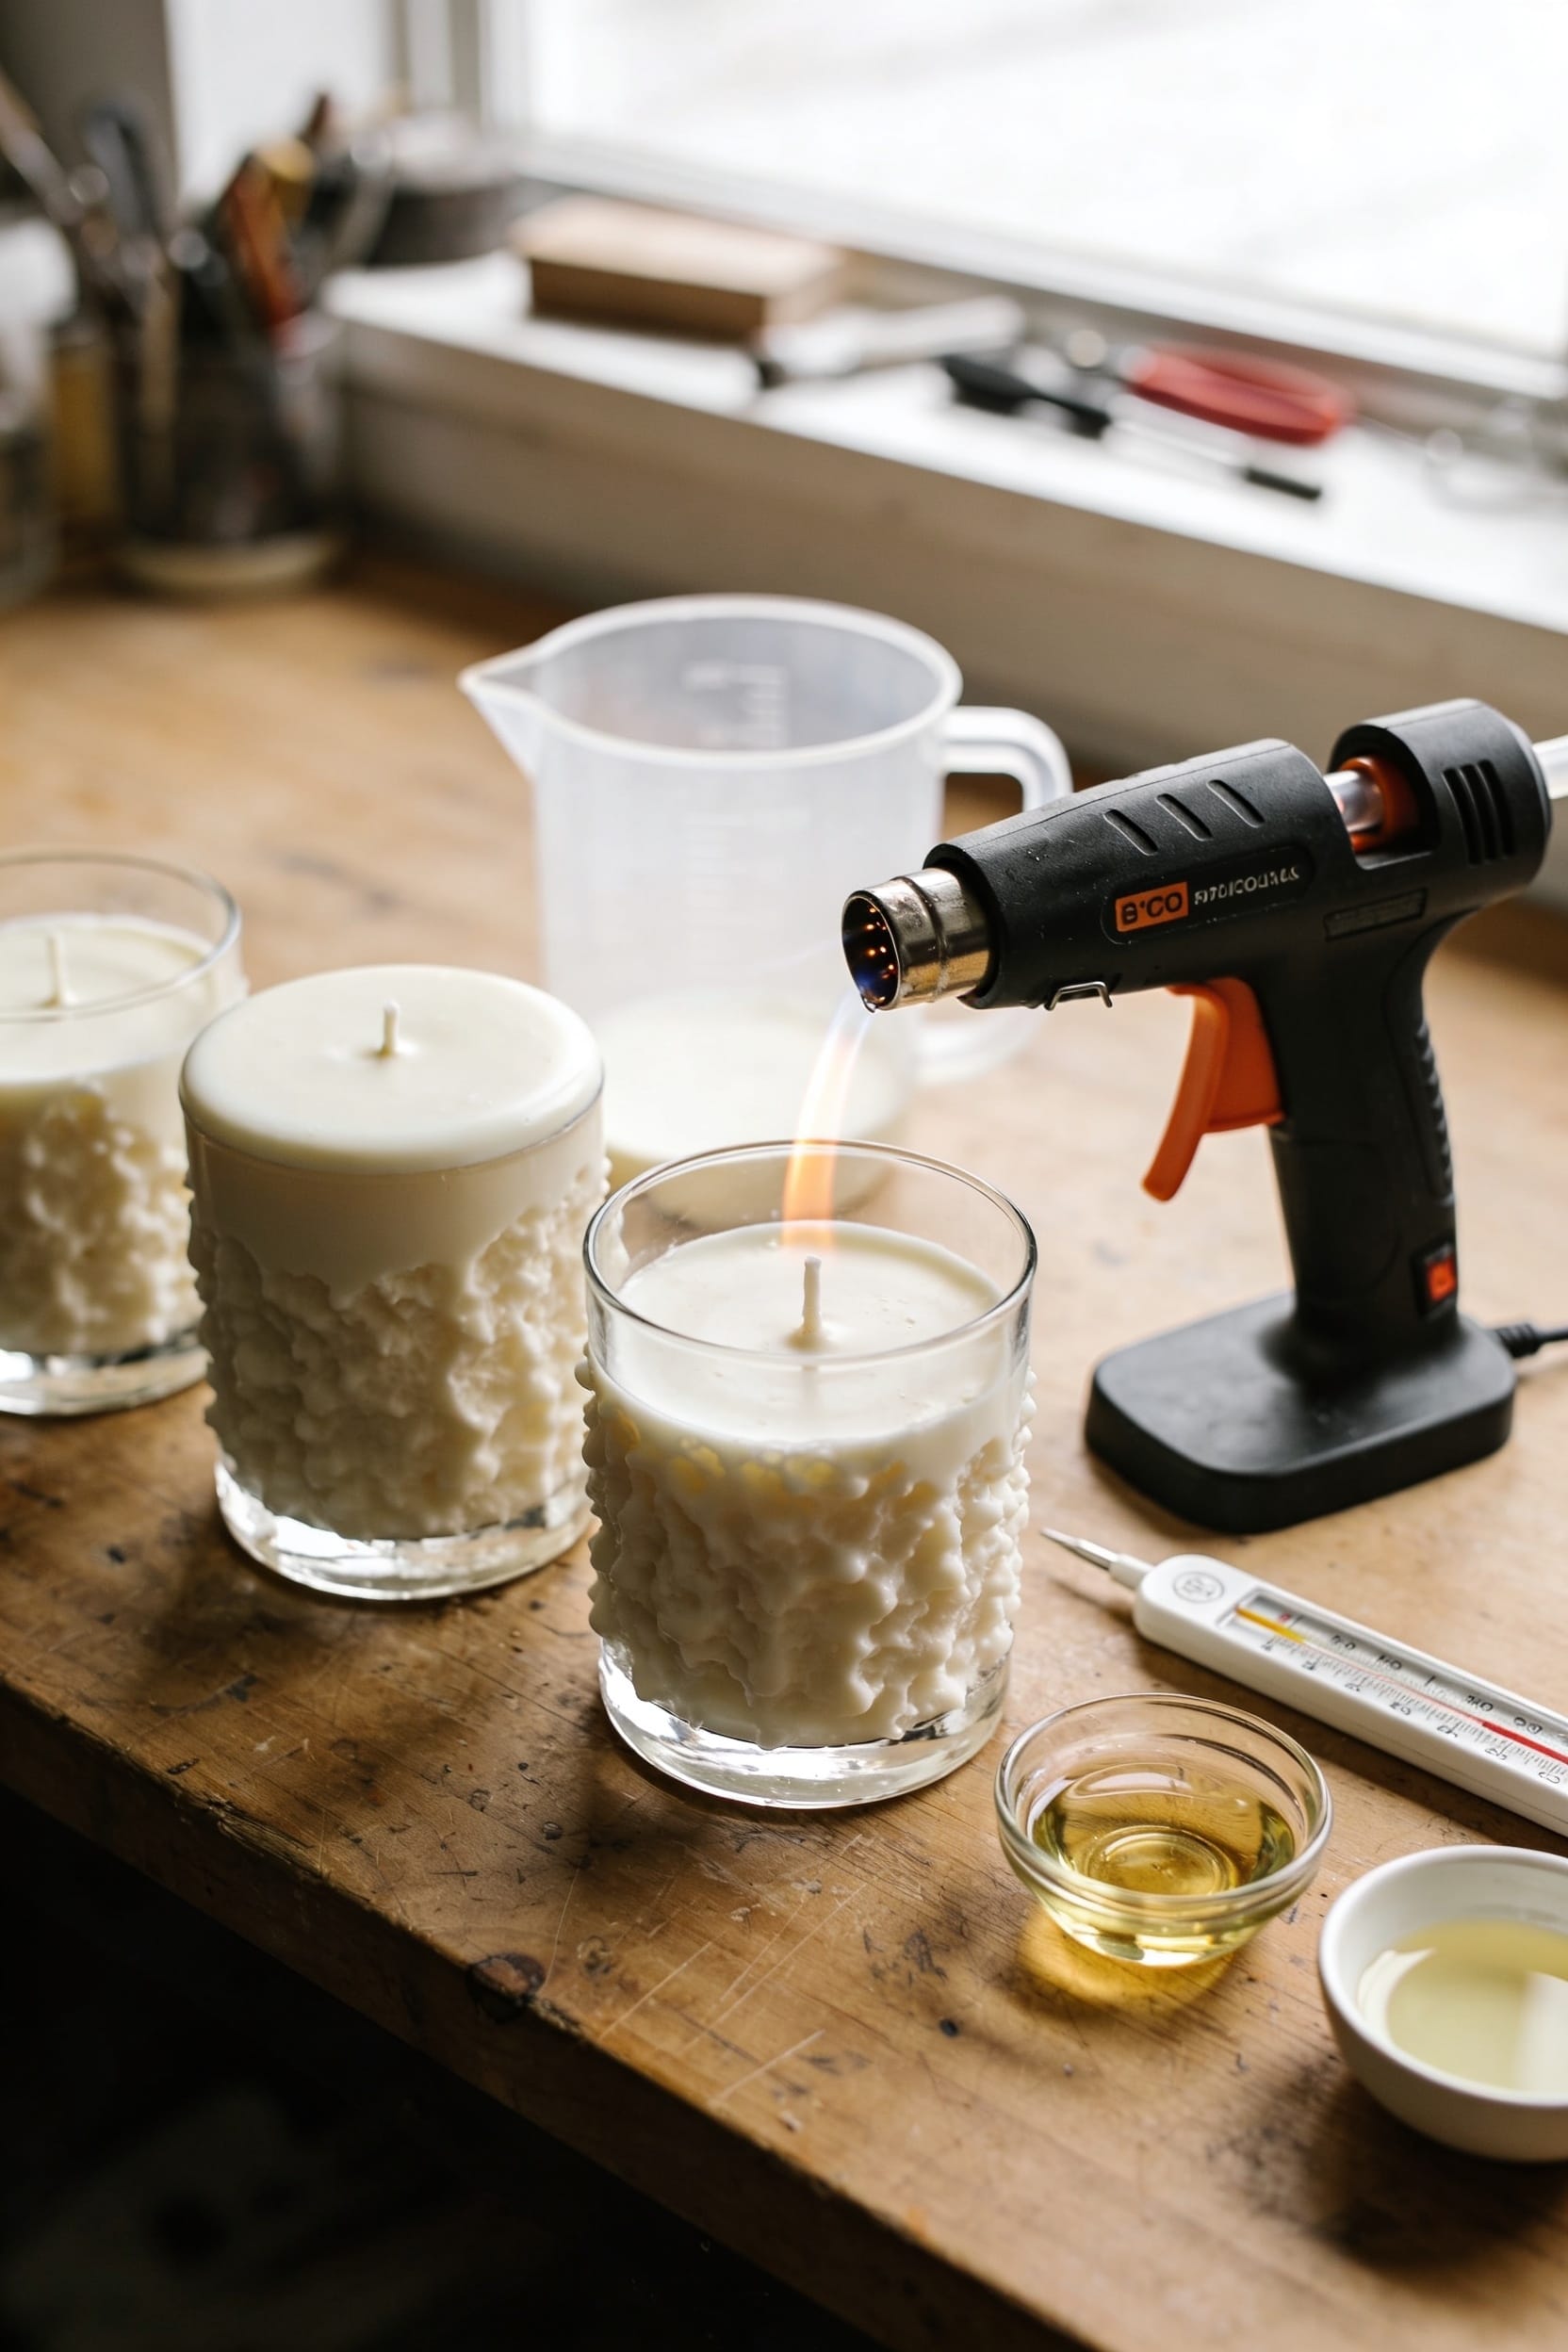

Rough, bumpy candle tops almost always boil down to temperature swings during cooling—pour too hot or too cold, and your wax shrinks unevenly, creating sinkholes and craters. Fragrance oils and trapped air bubbles make it worse. Soy wax is trickier than paraffin because it resets inconsistently by nature. A quick fix: run a heat gun on low over the surface in steady passes. But prevent it next time by pouring at the right temperature, cooling slowly in a stable 65–75°F room, and letting your candle cure properly before that critical first burn.
Key Takeaways
- Pouring wax at incorrect temperatures causes uneven shrinkage, sinkholes, and bumpy textures on candle tops.
- Rapid cooling in cold environments creates thermal gradients that pull wax unevenly, producing rough patches.
- Air bubbles trapped during pouring migrate upward, forming craters and irregular surface defects as wax sets.
- Soy wax contracts unevenly naturally; paraffin sets more consistently due to standardized petroleum-derived composition.
- Use a heat gun on low-medium setting in steady passes to smooth bumpy tops quickly and effectively.
Why Candle Tops Turn Rough and Bumpy
When you pour wax that’s either too hot or too cold, or when your candle cools too fast in a chilly room, the surface’ll shrink unevenly and pull away from the edges, leaving you with those frustrating little sinkholes and bumpy patches that make your candle look like it spent time on the moon.
I’ve learned this the hard way. Fragrance oils and air bubbles trapped during pouring create irregular textures too. Soy wax is particularly finicky—it naturally resets unevenly compared to paraffin, and without a full melt pool (at least two to three hours on first burn), you’ll get rough spots.
Even wick placement and mold texture influence how evenly your top sets. Temperature control during cooling is honestly your biggest lever here.
Temperature Swings: The Main Cause of Uneven Surfaces
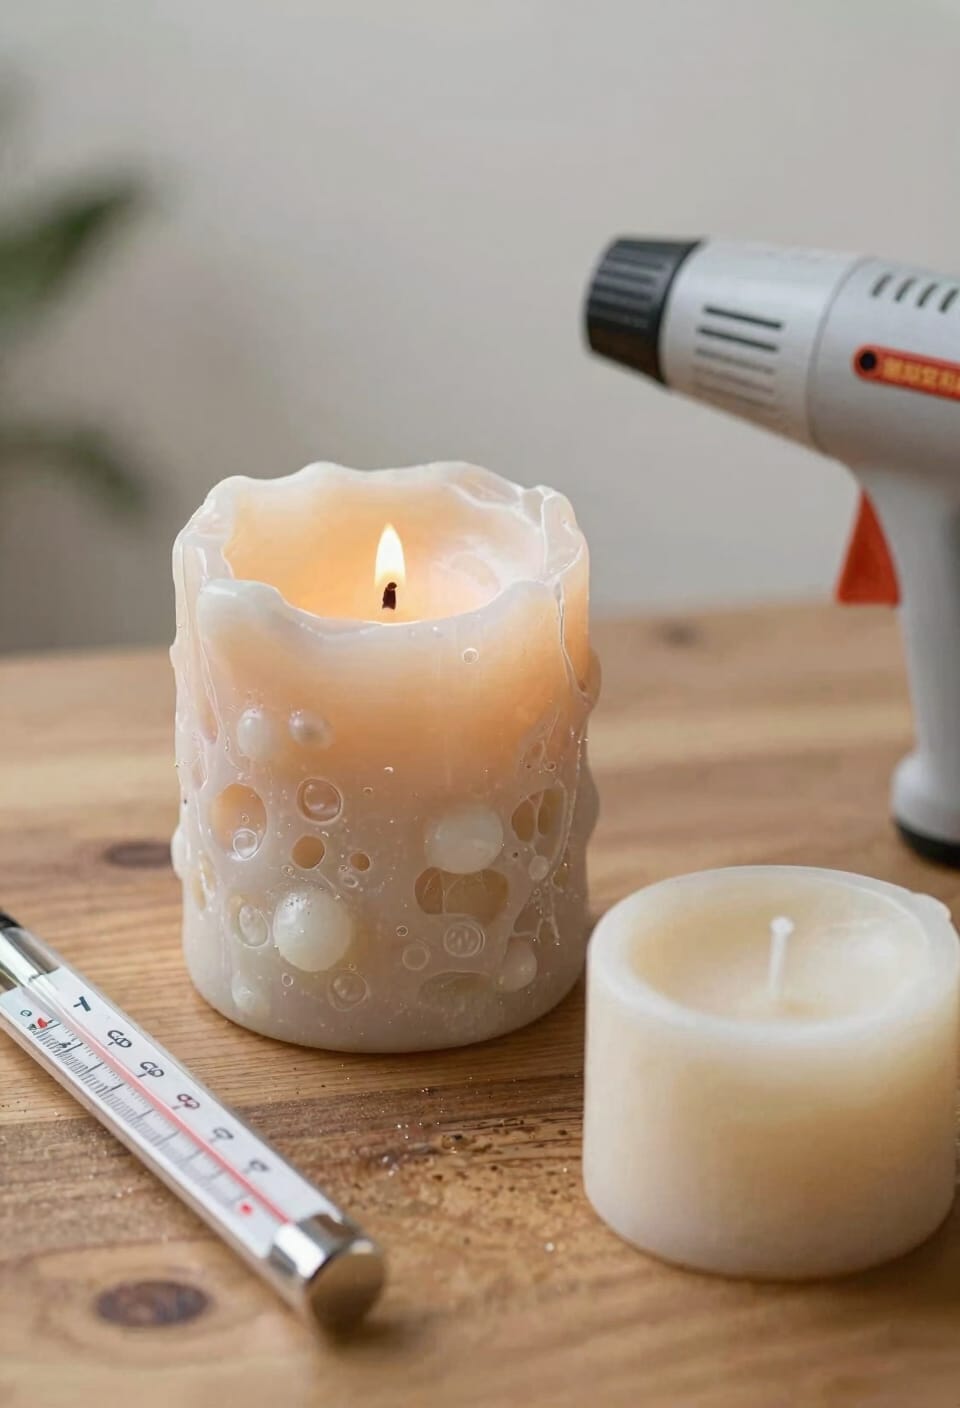
All right, so I’ve thrown around “temperature control” like it’s some magic fix, and it really is—but here’s what I mean specifically. When you pour wax too hot, it doesn’t set evenly—the surface hardens while the interior’s still cooling, creating those annoying depressions and sinkholes. Pour it too cool, and you get lumpy texture instead. But here’s the real culprit: thermal gradients, or temperature differences between your candle’s inside and outside, wreck everything. Add ambient humidity into the mix, and you’ve got moisture interfering with how wax solidifies. I learned this the hard way after ruining dozens of soy candles in my uncontrolled workspace. Gradual, steady cooling in a stable environment—ideally 65-75°F—lets your wax set uniformly. That’s the actual magic.
How Fragrance and Air Bubbles Create Rough Tops
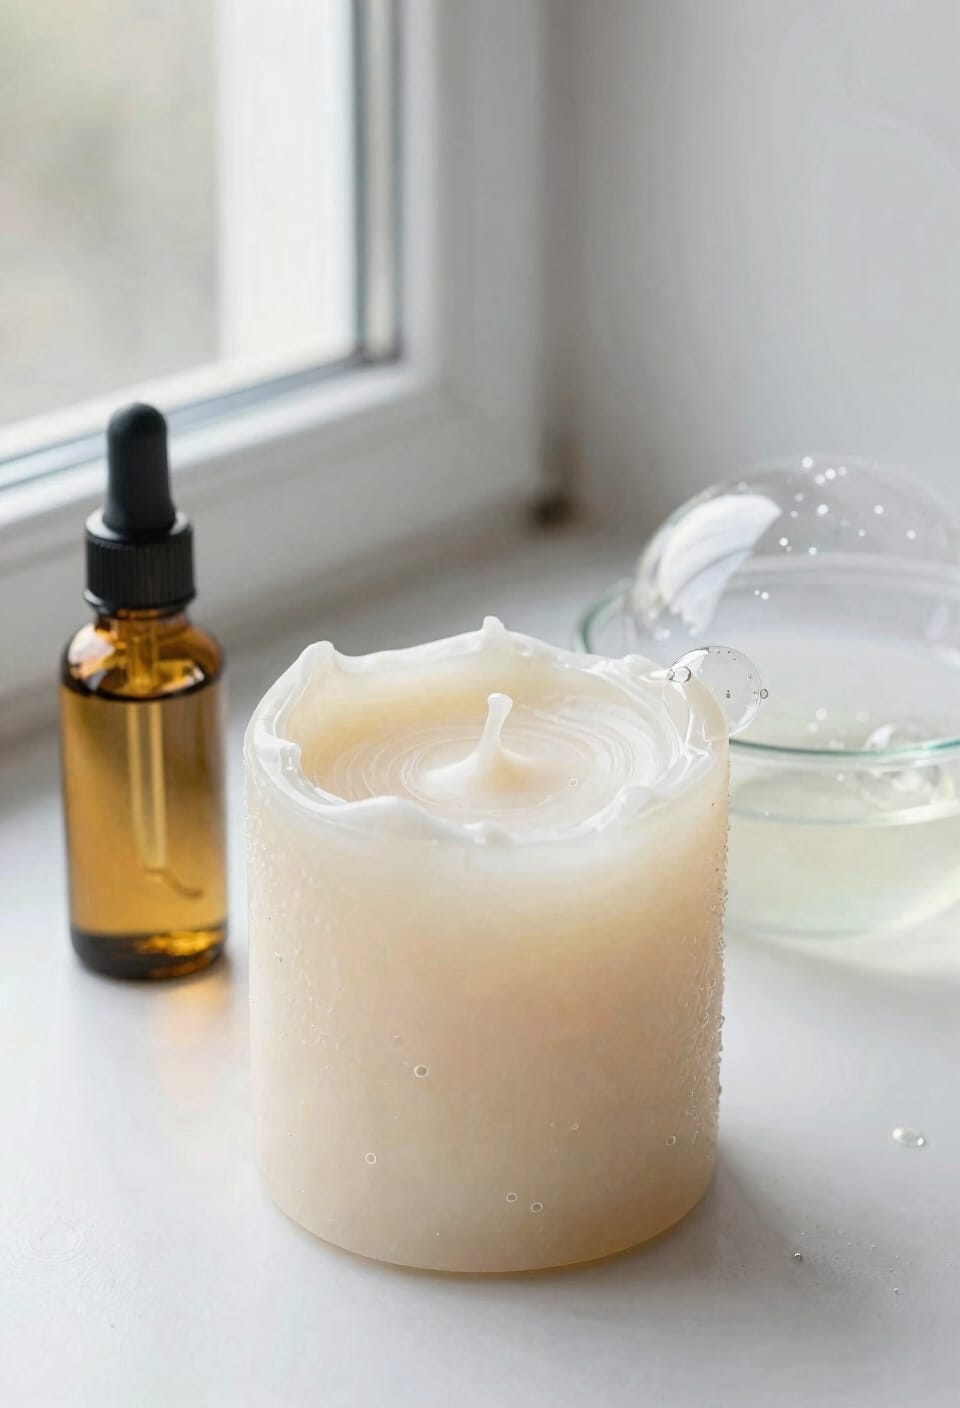
Beyond temperature swings, there’s another culprit lurking in your pour: fragrance oils and air bubbles working together to sabotage your candle’s surface. When you add fragrance oils—those concentrated scent compounds—without matching them to your wax type, you create fragrance incompatibility. The oils disrupt the wax’s molecular structure, leaving lumps and rough patches. Then there’s bubble formation. Fast pouring from a high pour height traps air pockets in your wax. These bubbles migrate upward as the wax cools unevenly, creating craters and sinkholes on top. I’ve learned the hard way: add fragrance slowly at the right temperature, pour deliberately from low height, and let your wax settle patiently. These moves eliminate most surface problems before they start.
Recommended Products
![VINEVIDA [128 Fl Oz] Bubble Gum Fragrance Oil for Cold Air Diffusers, Essential Oils for Diffuser Oil Refill & Air Freshener Room Spray](https://m.media-amazon.com/images/I/41QBYonh8oL._SL500_.jpg)
EXPERIENCE NOSTALGIA WITH BUBBLE GUM AROMA: VINEVIDA Bubble Gum Fragrance Oil is a trip down memory lane, capturing the essence of carefree childhood days with fruity vanilla, cherry, banana, and orange notes. Revisit the joy of running free and endless dreams as you fill your space with this delightful and nostalgic aroma.

NATURAL SOY WAX BEADS, PARAFFIN-FREE: Freedom Soy Wax Beads are made from USA Midwest-grown soybeans, natural, paraffin-free, beeswax-free, and free of animal products. Soy burns cleaner and longer than paraffin, producing a safer candle your household can enjoy with confidence. Carefully sourced and proudly made in America for candlemakers who care about what goes into every pour and every burn.

Indulge in this playful fragrance that captures the sweet nostalgia of bubble gum. This enchanting scent opens with a burst of fruity notes, reminiscent of sun-ripened berries and juicy citrus, perfectly balanced by a creamy vanilla base.
Soy Wax vs. Paraffin: Why Rough Tops Are Harder to Control
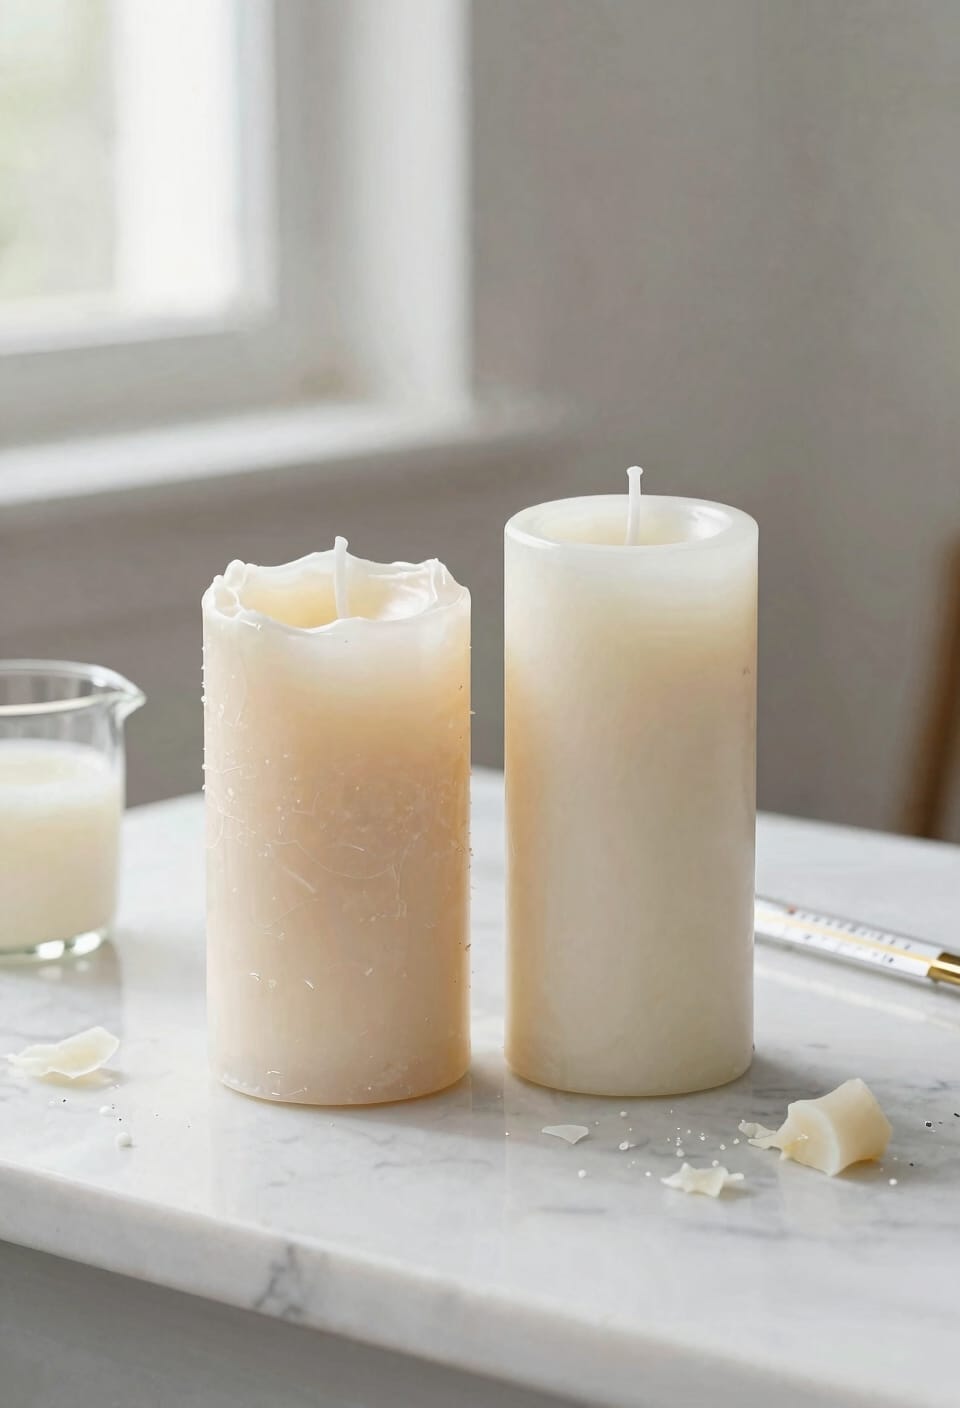
Now here’s where things get trickier: not all rough tops are created equal, and your choice of wax base matters more than you’d think. Soy wax naturally contracts unevenly after burning, creating those frustrating rough spots and craters you’re seeing. Here’s the kicker: soy variability comes from farmer practices and how soybeans are processed, so you’re never working with identical material batch to batch. Paraffin, by contrast, resets consistently because it’s petroleum-derived and standardized. With soy, I’ve learned that pure soy without additives almost always shows rough, frosted, or lumpy surfaces—it’s just how the wax behaves. That temperature control we discussed earlier? It matters even more with soy. You need gradual cooling in a stable environment, or you’re fighting the wax’s natural resistance to smooth resets.
Recommended Products

Fast Melt 60 Candles for You: Achieving a rush order for a bulk order was made easy. TOAUTO 30Lbs wax melter can melt 30Lbs of candle wax and make 60 8-ounce candles at a time, greatly reducing your production time and making mass production of candles piece of cake. it's time to consider investing in a fully functional candle maker machine!

Fast Melt 80 Candles at A Time: The TOAUTO WMF-10L digital wax melter can handle a rush order for bulk candle production. It can melt 10 quarts of candle wax and create 80 4-ounce candles at a time, significantly reducing production time and making mass production easier.

Effortless Wax Draining: Bid farewell to wasted wax with our wax melter's bottom liquid outlet. This feature ensures that every last drop of wax is utilized, allowing the wax liquid to flow smoothly to completion. Say goodbye to the frustration of leftover wax residue and hello to uninterrupted crafting sessions.
Smooth Rough Tops Fast With a Heat Gun
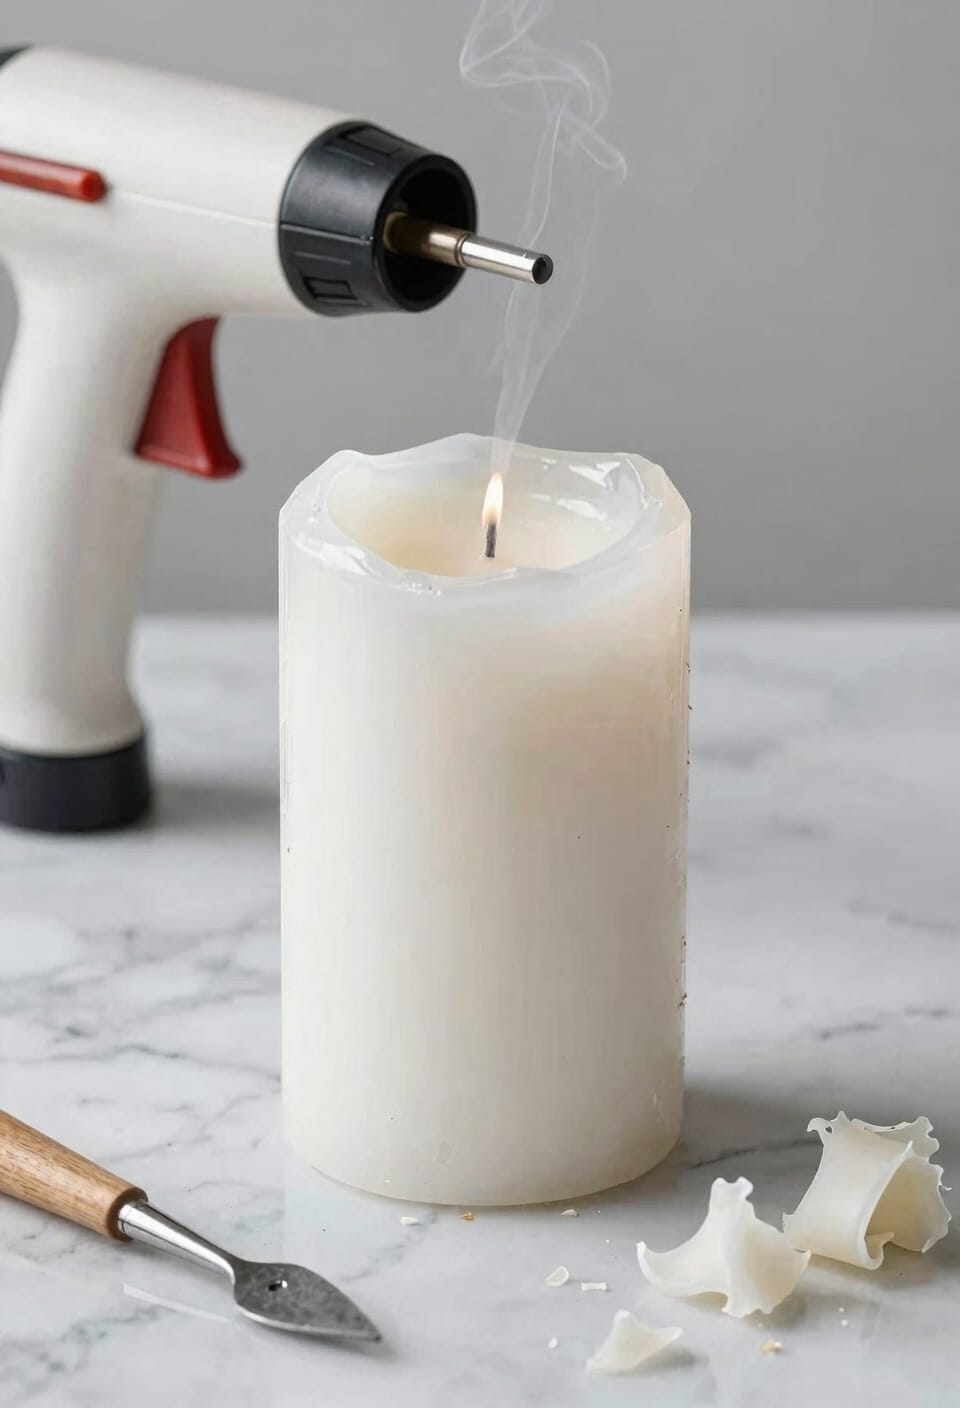
If you’ve got a bumpy candle top staring back at you and you’re not ready to pour another batch, grab a heat gun—it’s genuinely the fastest fix in your toolkit. I’ll melt that rough surface smooth in minutes.
Here’s the thing: keep your heat gun moving steadily across the top layer. Don’t hover in one spot or you’ll risk discoloration, wick damage, or overheating the fragrance oils. Start on low to medium heat and work in controlled passes.
For heat gun safety, maintain distance and never point it directly at the wick. The portability considerations matter too—cordless models give you freedom to work without cord tangles, which honestly makes the whole process less annoying.
Watch the wax soften and level naturally. Once it cools, you’ve got your smooth top back.
Recommended Products

High temperature at 1,022°F

Push-button temperature control (122 - 1, 202°F) for precise control over a wide variety of applications with LCD temperature reading

DEWALT cordless heat gun has up to 990 degrees Fahrenheit/ 532 degrees Celsius max output temperature**
Fix It Now: Your Step-by-Step Prevention Checklist
Stop rough candle tops before they happen—because honestly, prevention beats scrambling with a heat gun every single time. Here’s the thing: you need a tool checklist before you pour. Grab a reliable thermometer, scale for fragrance load percentages, and a pouring vessel you trust. Keep your workspace organized so you’re not rushing, which causes air bubbles and temperature mistakes.
Now for storage tips: keep your wax in a cool, consistent environment—temperature swings during cooling are your enemy. Store fragrance oils separately in a dark cabinet away from heat. Make sure your molds sit on a level surface where they won’t shift. Give yourself time. Cure times matter more than you think, especially with soy wax. Plan ahead, stay patient, and you’ll skip the rough tops entirely.
Recommended Products

Complete Candle-Making Toolkit at Your Fingertips:From precision tools like the digital scale to pro tools like the wick trimmer and heat gun, this all-in-one kit covers every step of the process. Whether you’re fixing imperfections, trimming wicks for a clean burn, or measuring out the perfect fragrance ratio, this kit simplifies even the most detailed aspects of candle making.

Set includes Nutro Digital Kitchen Scale and Gourmet Digital Thermometer

Wax MelterPot Kit: It includes an electric wax melter pot, heat gun, infrared thermometer(without battery), digital wax scale(without battery), candle wicks, wick holders, wick placement tube, silicone stirring spoon, warning labels and instruction manual. Every essential candle making supply is included, making it perfect for beginners and experienced candle makers.
Wax Memory: Why Your First Burn Shapes the Rest
You’ve got your thermometer ready, your workspace dialed in, and your pour is flawless—but here’s where a lot of candlemakers miss the bigger picture. What happens during that first burn actually shapes every burn after it. I’m talking about wax memory, which is exactly what it sounds like: your candle “remembers” how it melted the first time around.
Here’s the thing—if that first burn doesn’t create a full melt pool (meaning the wax melts all the way to the edges, usually taking 2-3 hours), you’re locking in a rough reset for life. Soy wax especially struggles here. Incomplete melting causes gradual re-melting problems down the line, leaving you with craters and bumps that won’t smooth out no matter what you do later.
Frequently Asked Questions
Can I Use a Heat Gun on Colored or Dyed Candles Without Causing Discoloration?
I’d recommend caution with heat guns on dyed candles. You risk color migration and pigment bleeding when applying direct heat. Move the heat gun steadily and keep it at safe distances to minimize discoloration while smoothing your surface.
How Long Should Candles Cool Before I Attempt to Smooth Rough Tops With Heat?
I’d recommend letting your candles cool completely for at least 24 hours before attempting heat smoothing. This guarantees the wax has fully solidified, giving you better control during the heat smoothing process and preventing unwanted warping.
Will Adding Additives to Soy Wax Guarantee a Smoother, Frosted Finish?
No, it won’t guarantee smoothness. You can’t make a silk purse from a sow’s ear. Additive interactions with soy blends vary unpredictably—some help, others worsen roughness. Results depend on your specific formula’s chemistry.
What Is the Ideal Room Temperature Range for Cooling Candles Evenly?
I’d recommend maintaining 68-72°F for even cooling. You’ll want to monitor ambient humidity levels too—aim for 45-55% relative humidity. This prevents temperature fluctuations that cause bumpy surfaces and guarantees your candles set smoothly.
Can Fragrance Oil Compatibility Issues Be Fixed After the Candle Has Already Set?
You can’t teach an old dog new tricks, but I’ll tell you—once your candle’s set, fragrance incompatibility’s locked in. Re batching attempts and post cure testing won’t fix molecular damage. You’re better off starting fresh.
Conclusion
You’ve got this. Smooth candle tops aren’t magic—they’re just consistency. Think of your pour like planting a garden: the conditions you set up front determine what grows. Control your temperatures, mind your fragrance load, and respect that first burn. I’ve torched plenty of rough tops back to life, but preventing them? That’s the real win. You’re already ahead by knowing what causes the bumps.