As an Amazon Associate, we earn from qualifying purchases. Some links on this site are affiliate links at no extra cost to you. Our recommendations are based on thorough research and editorial judgment.

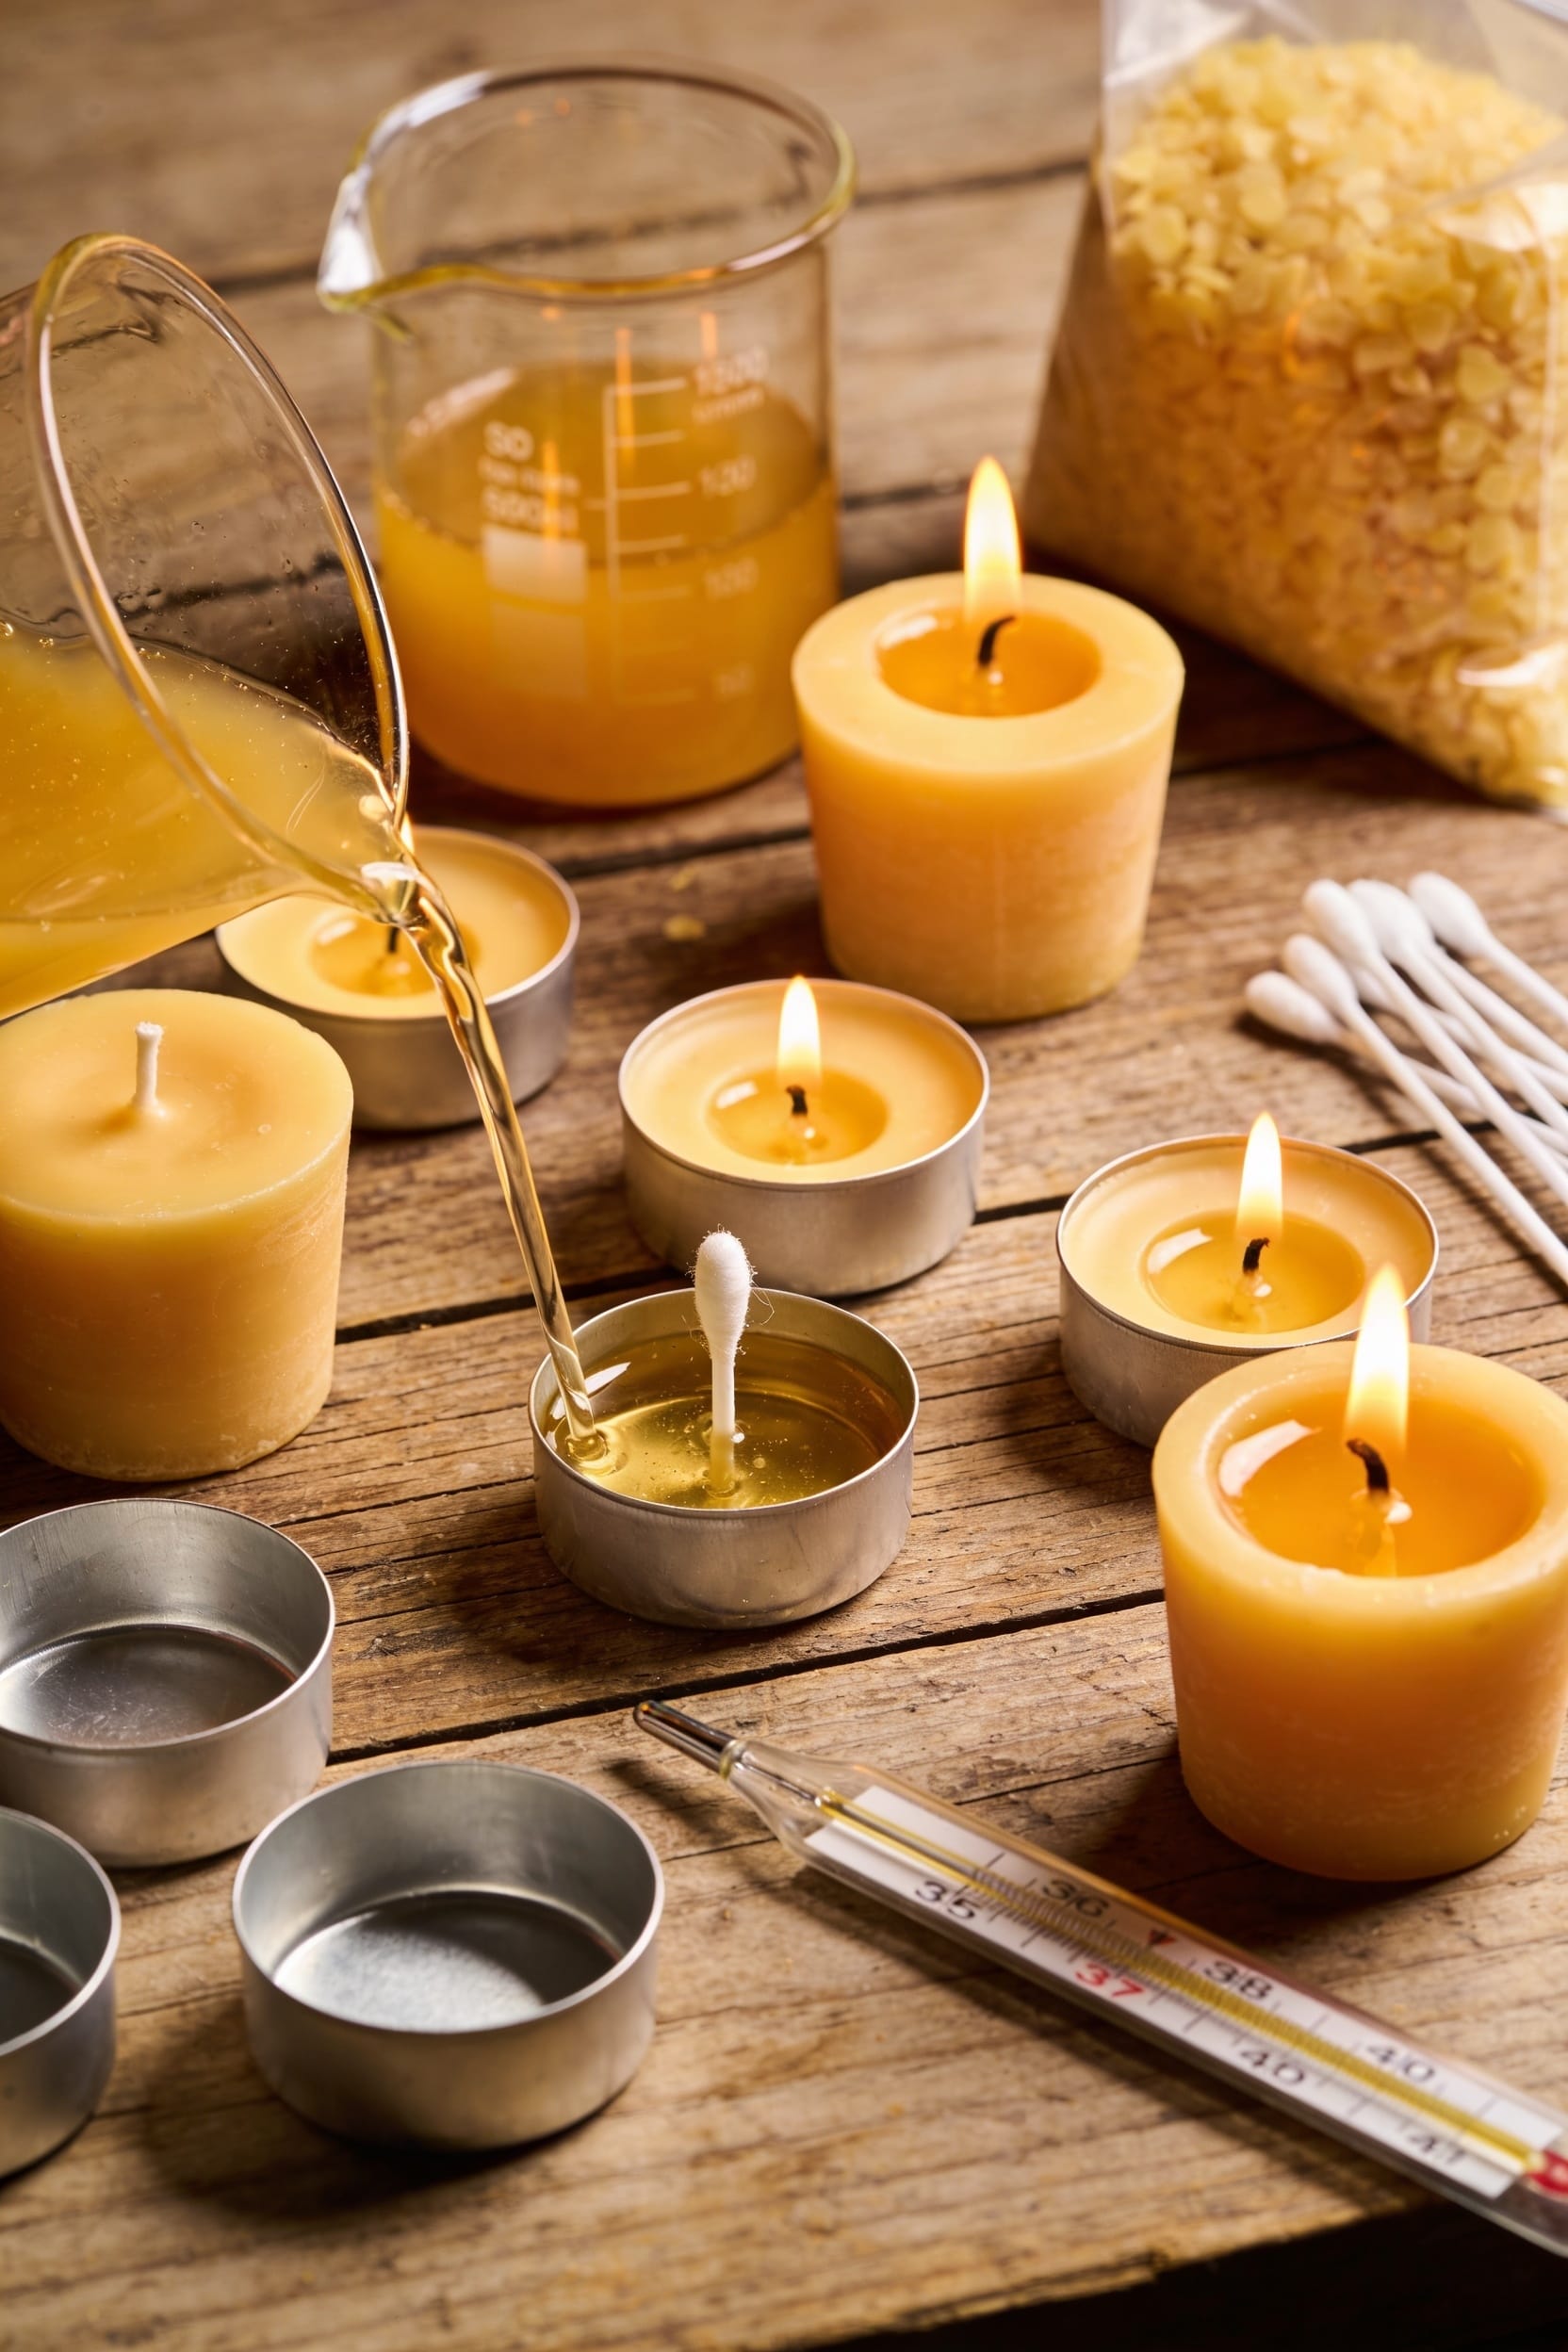
How to Make Tealight Candles at Home: Quick & Easy Tutorial

All right, here’s the thing: start with soy wax—it’s forgiving and sustainable. Melt it to 80–85°C using a digital thermometer, then add your fragrance oil around 70–85°C and stir for two minutes. Center your wick firmly in a tealight cup before pouring at 57–65°C, pour slowly, and let it cure untouched for 24 hours. Burn-test after curing to catch tunneling or uneven melts. I’ve wasted plenty of wax rushing this process, so don’t skip steps—the details below will show you exactly where most people slip up.
Key Takeaways
- Choose soy wax for beginners—it’s forgiving, sustainable, and reliable for making quality tealight candles.
- Melt wax to 80–85°C using a digital thermometer, then add fragrance and dye while stirring.
- Secure the wick in a polycarbonate tealight cup using a wick sticker, keeping it centered.
- Pour cooled wax at 57–65°C slowly while maintaining wick centering for a smooth, even finish.
- Cure candles 24 hours away from drafts, then burn-test to check melt pool and scent throw.
Choose the Right Wax for Your Tealights
The foundation of every tealight—and honestly, every candle disaster I’ve ever had—comes down to wax selection. I’ve burned through enough failed batches to know that choosing between soy vs. beeswax matters tremendously.
Sustainable soy wax is my go-to for tealights. It’s forgiving, holds fragrance beautifully, and melts cleanly without the drama. Beeswax burns longer and smells naturally gorgeous, but it demands respect—melt it too hot and you’ll char your batch instantly.
Now, here’s what I wish I’d known earlier: soy wax performs best around 80-85°C. Beeswax gets finicky at 180°F. Both require different handling, different timing, different temperaments.
Pick soy if you’re starting out. It’s reliable, sustainable, and won’t punish you for minor mistakes. You’ll actually enjoy the process instead of stress-testing your patience.
Recommended Products


Safer Ambience for Everyday Moments: Our sand wax candle design with self-extinguishing sand candle wicks minimizes fire risk if tipped and prevents hot wax spills; ideal for homes with pets or kids that won’t renounce stylish décor, offered in White, Red, Nude, and Black for cozy luxury

100% Pure Beeswax Candle: Hand-poured from naturally filtered beeswax for a rich, golden glow. These clean burning candles are free from paraffin, soy, and synthetic fragrances. Each 1-wick dripless pillar candle features natural cotton candle wicks and pure candle wax for a long-lasting burn and warm, cozy candle light.
Melt Wax to the Correct Temperature
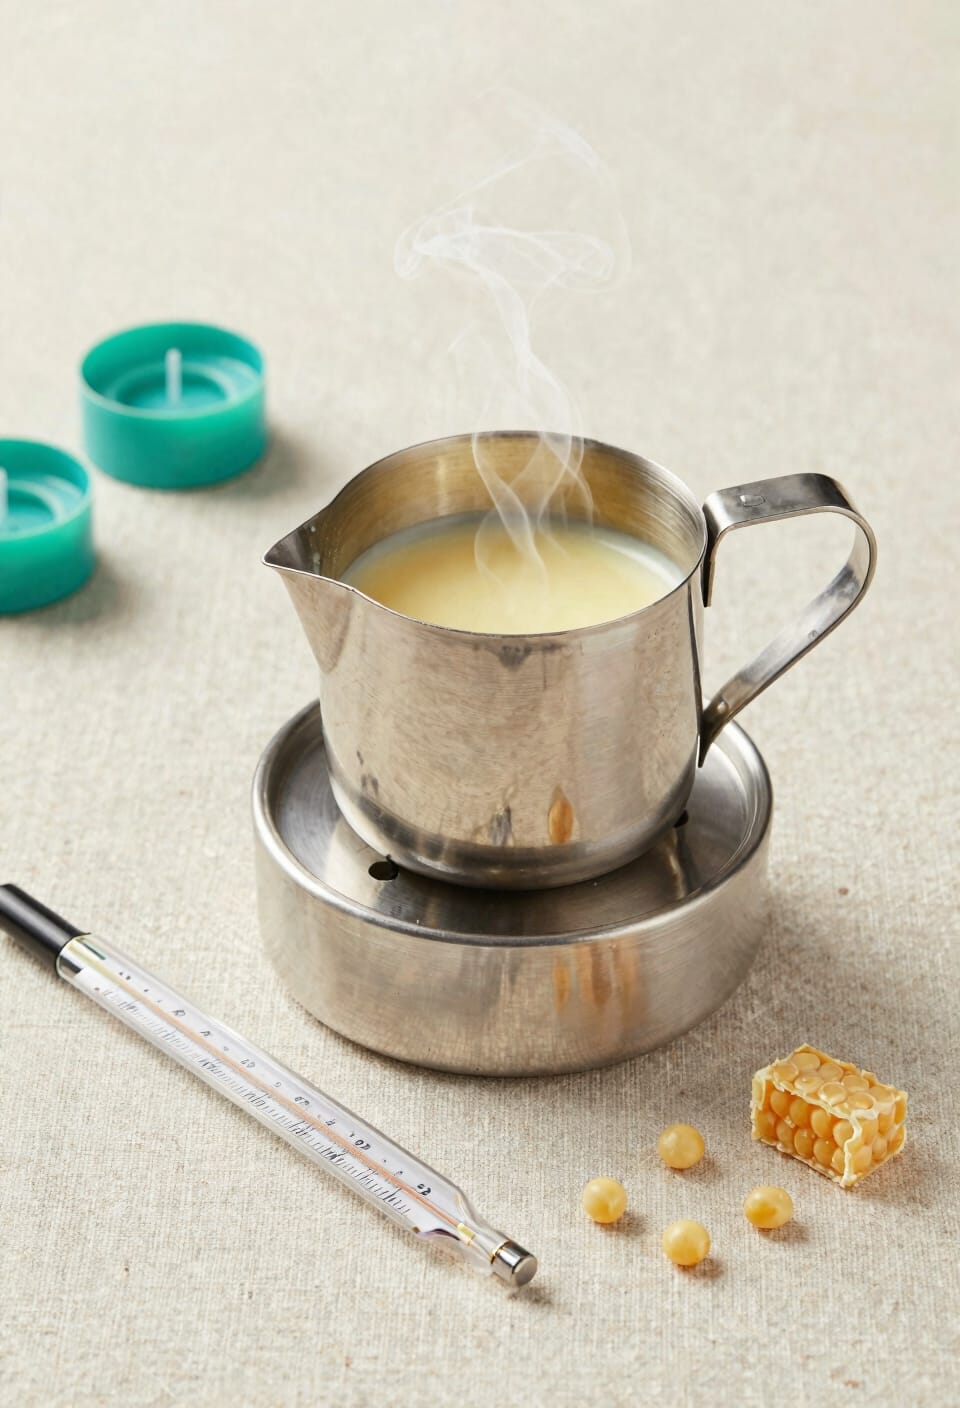
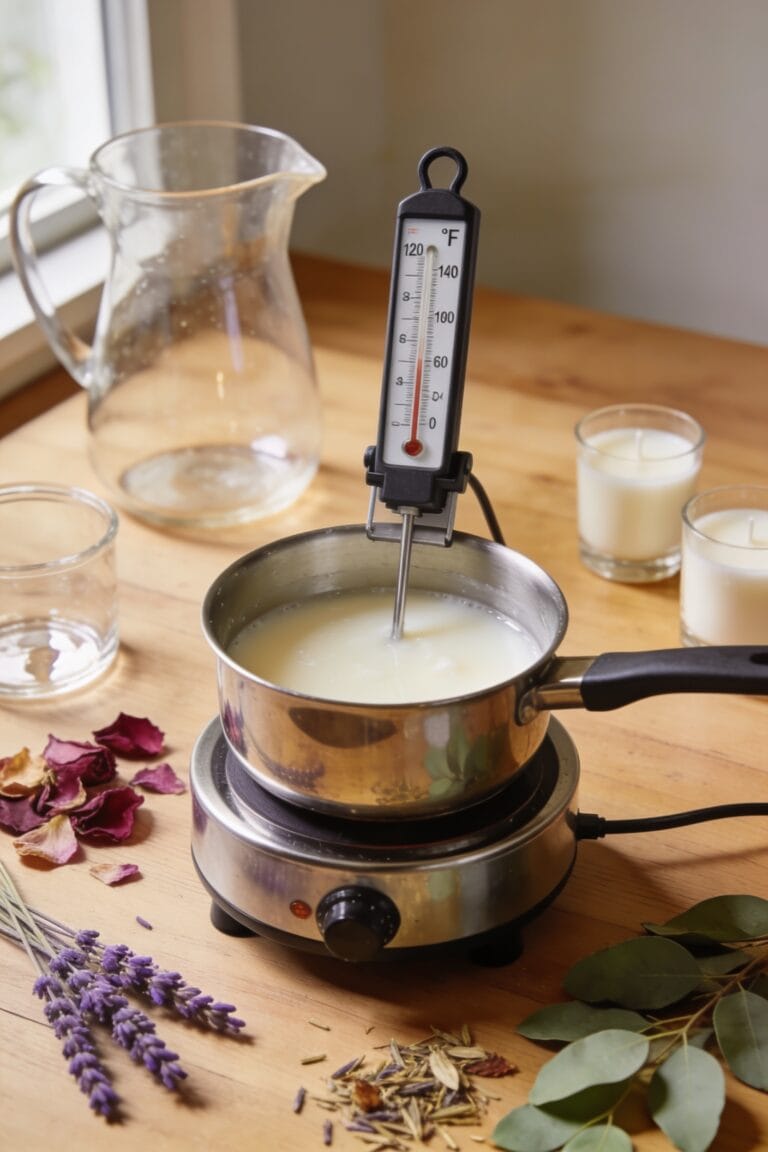
Grab your thermometer—this is where precision actually matters, and it’s also where I’ve watched the most promising batches go sideways. For soy wax, you’ll want to use a digital thermometer and hit 80-85°C maximum. I can’t stress this enough: avoid overheating wax. When you exceed that range, you’re basically inviting fragrance oils to burn off and your scent throw—how strong the candle smells when lit—to completely tank.
Beeswax plays by different rules. Melt it low and slow at around 180°F, never higher. Recycled wax? Low stove heat, gentle stirring, no rushing.
Monitor constantly. The thermometer isn’t optional here—it’s your insurance policy against ruined batches and wasted materials. Once you hit your target temp, you’re ready to add fragrance and dye before pouring.
Recommended Products

Excellent Wax Melter For Candle Making - Real 8 Qts/7.6L capacity wax melter HOLDS up to 12 Lbs soy melted wax! And with upgrade materials-NON-STICK COATING for easy cleaning,inside the package, a spoon is included as a gift to facilitate better melting of soy wax.

Excellent Wax Melter For Candle Making - Real 8 Qts/7.6L capacity wax melter HOLDS up to 12 Lbs soy melted wax! And with upgrade materials-NON-STICK COATING for easy cleaning,inside the package, a spoon is included as a gift to facilitate better melting of soy wax.

Complete Candle-Making Toolkit at Your Fingertips:From precision tools like the digital scale to pro tools like the wick trimmer and heat gun, this all-in-one kit covers every step of the process. Whether you’re fixing imperfections, trimming wicks for a clean burn, or measuring out the perfect fragrance ratio, this kit simplifies even the most detailed aspects of candle making.
Center Your Wicks Before Pouring
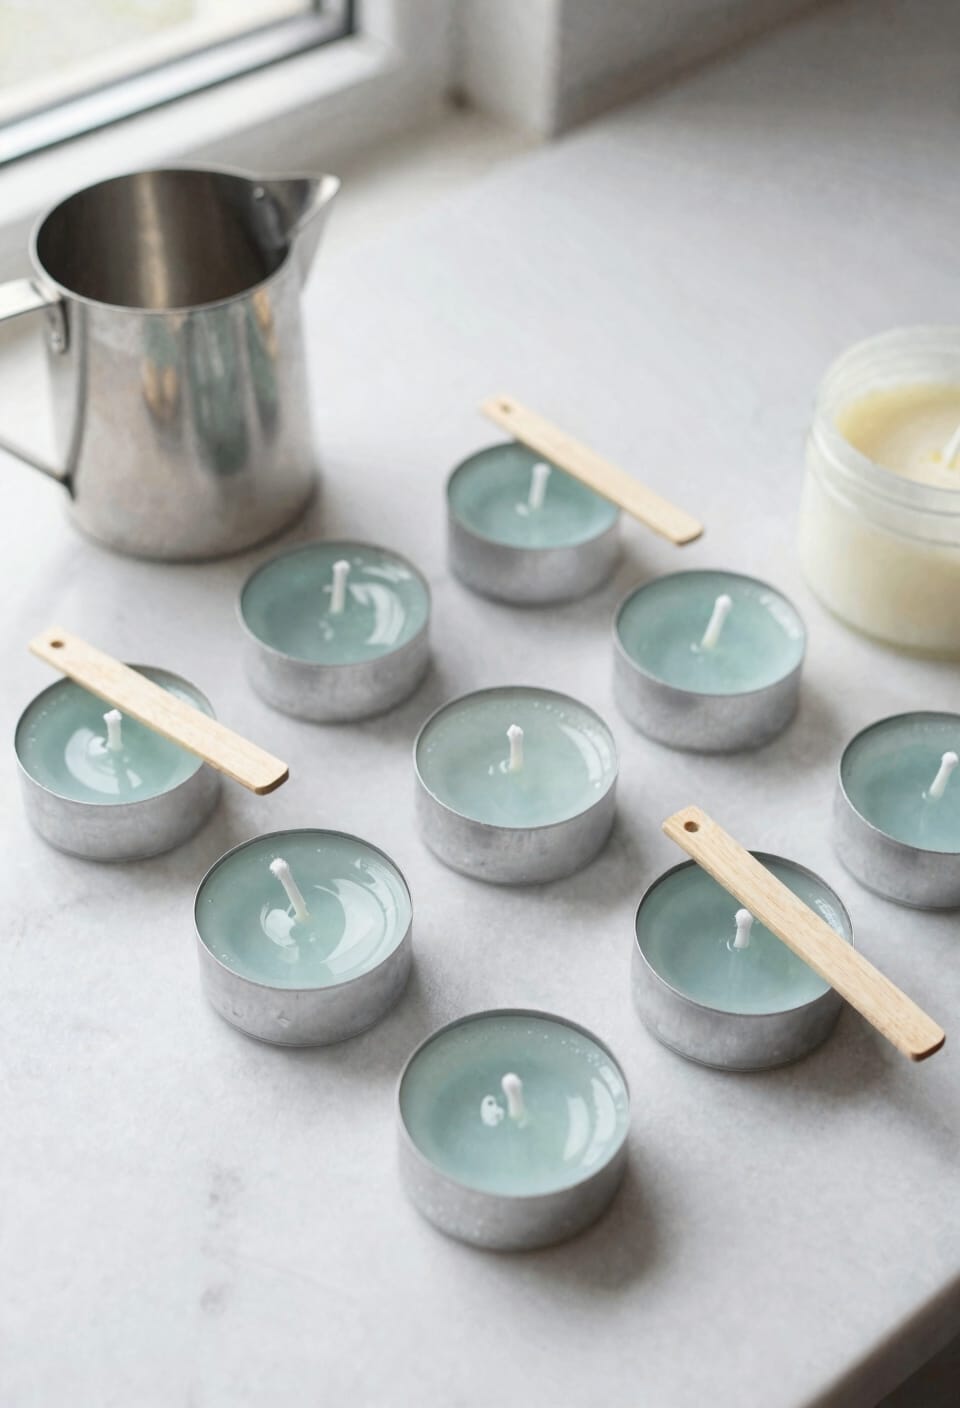
Centering your wick before pouring is where most people think they can wing it—and where most batches start tilting toward disaster. All right, here’s the thing: proper wick alignment makes the difference between a candle that burns clean and one that gutters or tunnels, meaning the wax melts unevenly around the flame.
I use polycarbonate tealight cups with built-in plastic prongs for cup preparation—they’re foolproof. Press your wick sticker or glue dot firmly into the cup base, then let those prongs hold everything centered. Trim your wick to 1.25 inches before pouring. You can adjust after pouring if needed, but getting it right beforehand saves frustration. Trust me, I’ve fished out more crooked wicks than I’d like to admit.
Recommended Products

All-In-One Starter Kit – Everything you need to dive into candle making! Our Hearth and Harbor soy candle wax for candle making includes 25 lbs of smooth soy wax flakes, 100 cotton wicks, 100 adhesive stickers, and 2 centering tools. Perfect for beginners or seasoned DIYers.

All-In-One Starter Kit – Everything you need to dive into candle making! Our Etienne Alair soy candle wax for candle making includes 30 lbs of smooth soy wax flakes, 100 cotton wicks, 100 adhesive stickers, and 2 centering tools. Perfect for beginners or seasoned DIYers.
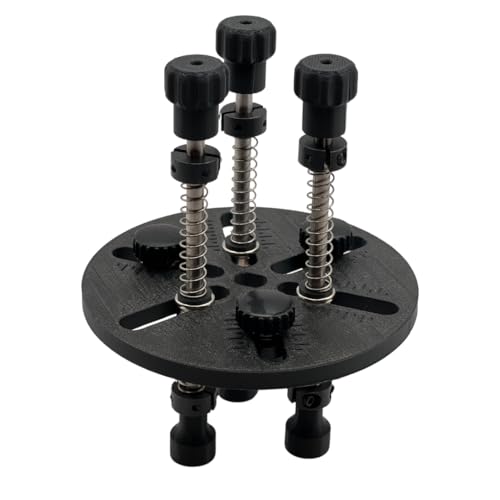
✔ ADJUSTABLE FOR ANY CANDLE JAR – Expandable arms fit jar openings from 2-1/2″ to 4-5/8″ wide, making it perfect for single, double, or triple wick candles in nearly any container.
Add Fragrance and Dye (Optional)

Now that your wicks are locked in place, it’s time to make your candles smell like something other than plain wax—and look like something other than beige.
Here’s the thing: timing matters. I’ll add fragrance oil or essential oils once my wax hits 70-85°C—that sweet spot where the wax is melted but not scorching your scent pairing. Stir for two minutes to distribute everything evenly. For 454g of soy wax, I’m using 28g of fragrance oil, which gives you a proper fragrance load (the percentage of scent relative to wax).
For dye, a few drops go a long way. Stir until the color’s uniform—uneven mixing creates those weird streaks. Just know that color fading happens over time, especially with essential oils. Cool everything to 60-65°C before pouring.
Pour Wax at the Perfect Temperature
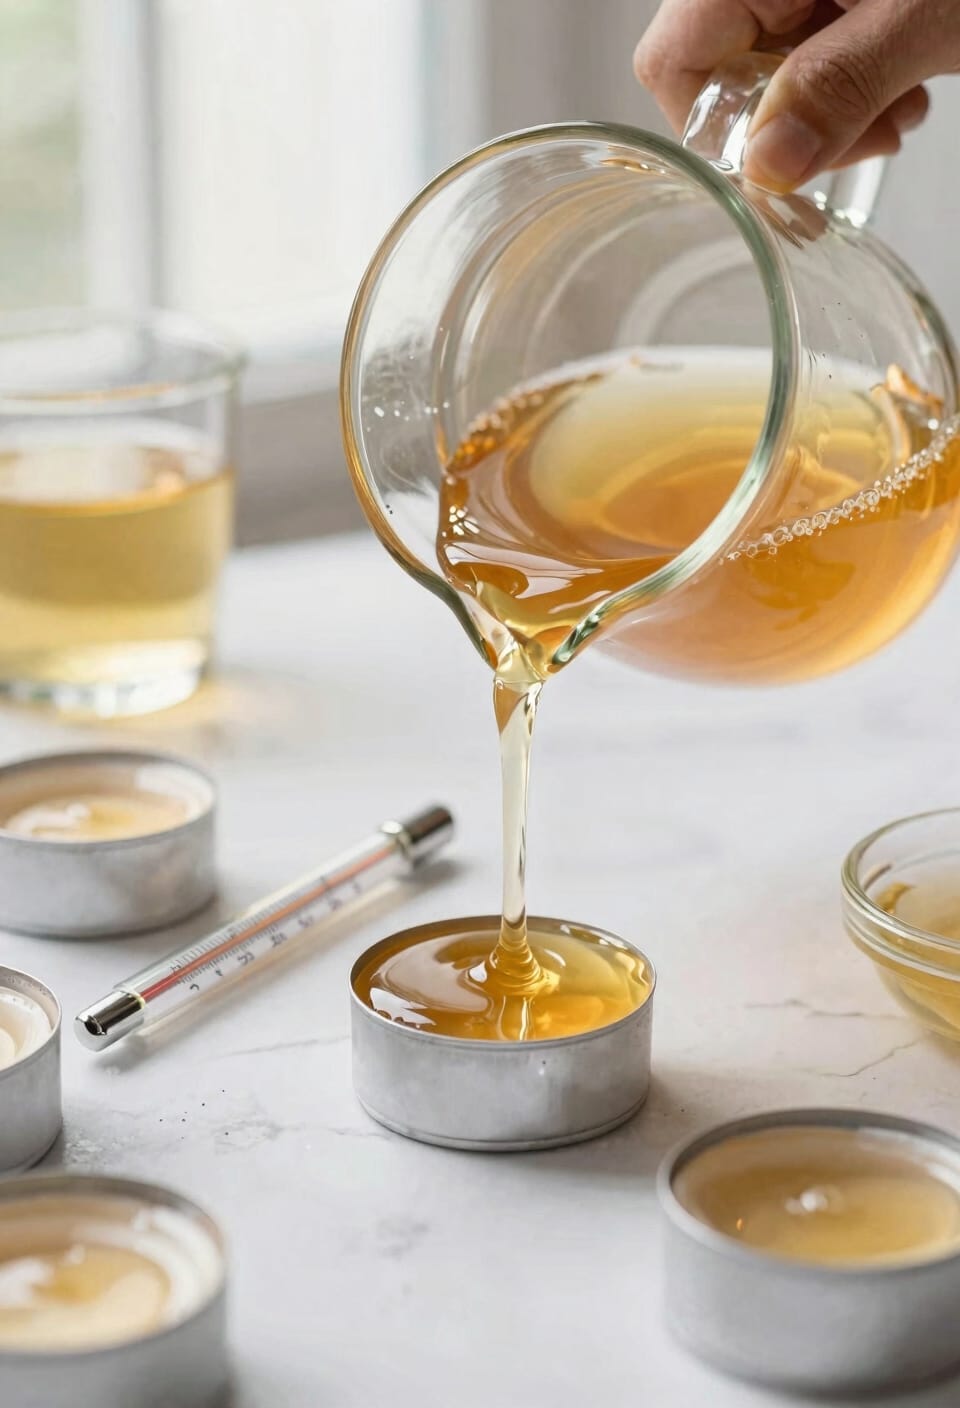
Temperature control is everything when it comes time to pour, and I’ve learned this the hard way—too hot and your fragrance evaporates, too cool and you’ll end up with a lumpy mess that looks like it survived a car crash. Your ideal pouring temperature sits between 57-65°C, which is cool enough to preserve those fragrance oils you just stirred in but warm enough to flow smoothly into your cups.
Now, cooling strategies matter here. After adding fragrance and dye, let your wax settle for a few minutes before pouring. Use a thermometer—don’t guess. I’ve ruined batches thinking I was close enough. Pour slowly, keep your wick centered, and you’ll get those gorgeous, professional-looking tealights every time.
Recommended Products
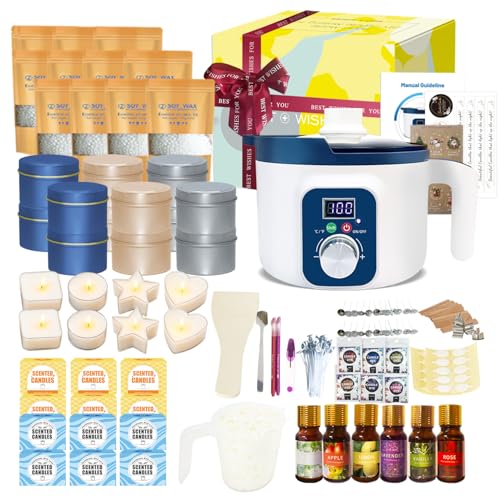
Complete wax melting kit: Unbox everything you need to create custom candles,including Digital wax melting pot,12 soy wax blocks (1 per jar),12 elegant jars (blue/silver/champagne),8pcs transparent tea light moulds,8 color dyes, 6 essential oils,Wicks, stickers, tools & festive gift packaging.

Fast And Accurate-Efficiently Manage Lead Temperature To Ensure Uniform Castings Every Time

All-In-One Candle Making Kit - Everything you need to create beautiful candles and wax melts: natural soy wax, cotton wicks, dye chips, fragrance oils, and essential tools like a pouring pitcher and thermometer.
Cure for 24 Hours Before Use
Once you’ve poured your wax and watched it cool just enough to set, the real patience test begins. I know—you want to light them immediately. Don’t. Your tealights need a full 24 hours in a stable curing environment, which means room temperature, away from drafts and direct sunlight. This isn’t arbitrary. The wax continues hardening and the fragrance integrates properly throughout, which directly affects performance.
After curing, do a burn testing session before gifting or selling. Light one for a couple hours and observe the melt pool, flame behavior, and scent throw—that’s how strong the fragrance smells when burning. You’ll catch issues early: tunneling, weak scent, wick problems. Trust me, catching problems now saves embarrassment later.
Troubleshoot and Fix Common Problems
Even with perfect pouring technique and patience through curing, tealights can still misbehave—and that’s where most candle makers either learn their craft or give up. Wick tunneling happens when your flame burns straight down the center, leaving wax pooling around the edges—usually because your wick’s too thin for your wax type or fragrance load. Uneven burn means one side melts faster than the other, typically from drafts or a wick that wasn’t centered properly. All right, here’s what I’d do: if tunneling appears, try a thicker wick next batch. For uneven burn, check your pouring temperature stayed between 57-65°C and that your wick sat dead center using those plastic prongs. Sometimes it’s just draft-related though. Move your curing candles away from windows and fans.
Recommended Products

Set includes 36 Slim Pillars (12 of each size: 2.25"D x 3", 5",7"H) and 36 Cylinders (12 of each size: 3.5"D x 6", 7.5",9"H) and 1 Stick Um

Long burn time; Ideal for ambience or mood lighting in low light tabletop applications; Costs just pennies an hour to burn

NATURAL SOY WAX BEADS - Best candle making supplies make the best soy candles! These safe, ethically produced, microwavable and paraffin-free soy wax beads are smooth and creamy in appearance, perfect for votives, pillars, tealights, tarts and melts.
Frequently Asked Questions
Can I Use Essential Oils Instead of Fragrance Oils in My Tealight Candles?
Yes, you can use essential oils instead of fragrance oils in your tealight candles. However, I’d recommend fragrance oils because they offer better scent throw and aroma longevity in smaller candles like tealights.
How Many Tealights Can I Make From 454G of Soy Wax?
I can make 32 tealights from 454g of soy wax. You’ll get excellent scent throw with proper melt pool formation since soy wax holds fragrance well and creates an even burn.
What Container Options Work Best for Making Tealight Candles?
I’d recommend polycarbonate tealight cups with plastic prongs—they’re ideal for centering wicks. You can also use silicone moulds, muffin tins, seashells, or metal tins for recycled wax projects.
How Do I Extract and Reuse Wicks From Old Recycled Tealights?
I’ll extract your old tealight’s cotton wicks by pulling the metal base directly from the disc. You’ll then reuse them with proper wick centering in new moulds—most recycled tealights yield usable wicks, reducing waste by up to 80%.
Why Is Monitoring Wax Temperature With a Thermometer so Important?
I monitor wax temperature with a thermometer because it guarantees I pour at the right time. If it’s too hot, I’ll get poor fragrance blending; too cool, and it won’t flow properly into my containers.
Conclusion
You’ve now got everything you need—and honestly, that’s half the battle. I’ve poured plenty of mediocre candles before nailing my technique, and you will too. But here’s the thing: each mistake teaches you something. So light that first tealight, watch it burn, and trust the process. You’re not just making candles; you’re building confidence with every pour.