As an Amazon Associate, we earn from qualifying purchases. Some links on this site are affiliate links at no extra cost to you. Our recommendations are based on thorough research and editorial judgment.
DIY Birthday Candle Ideas: Custom, Colorful & Easy to Make
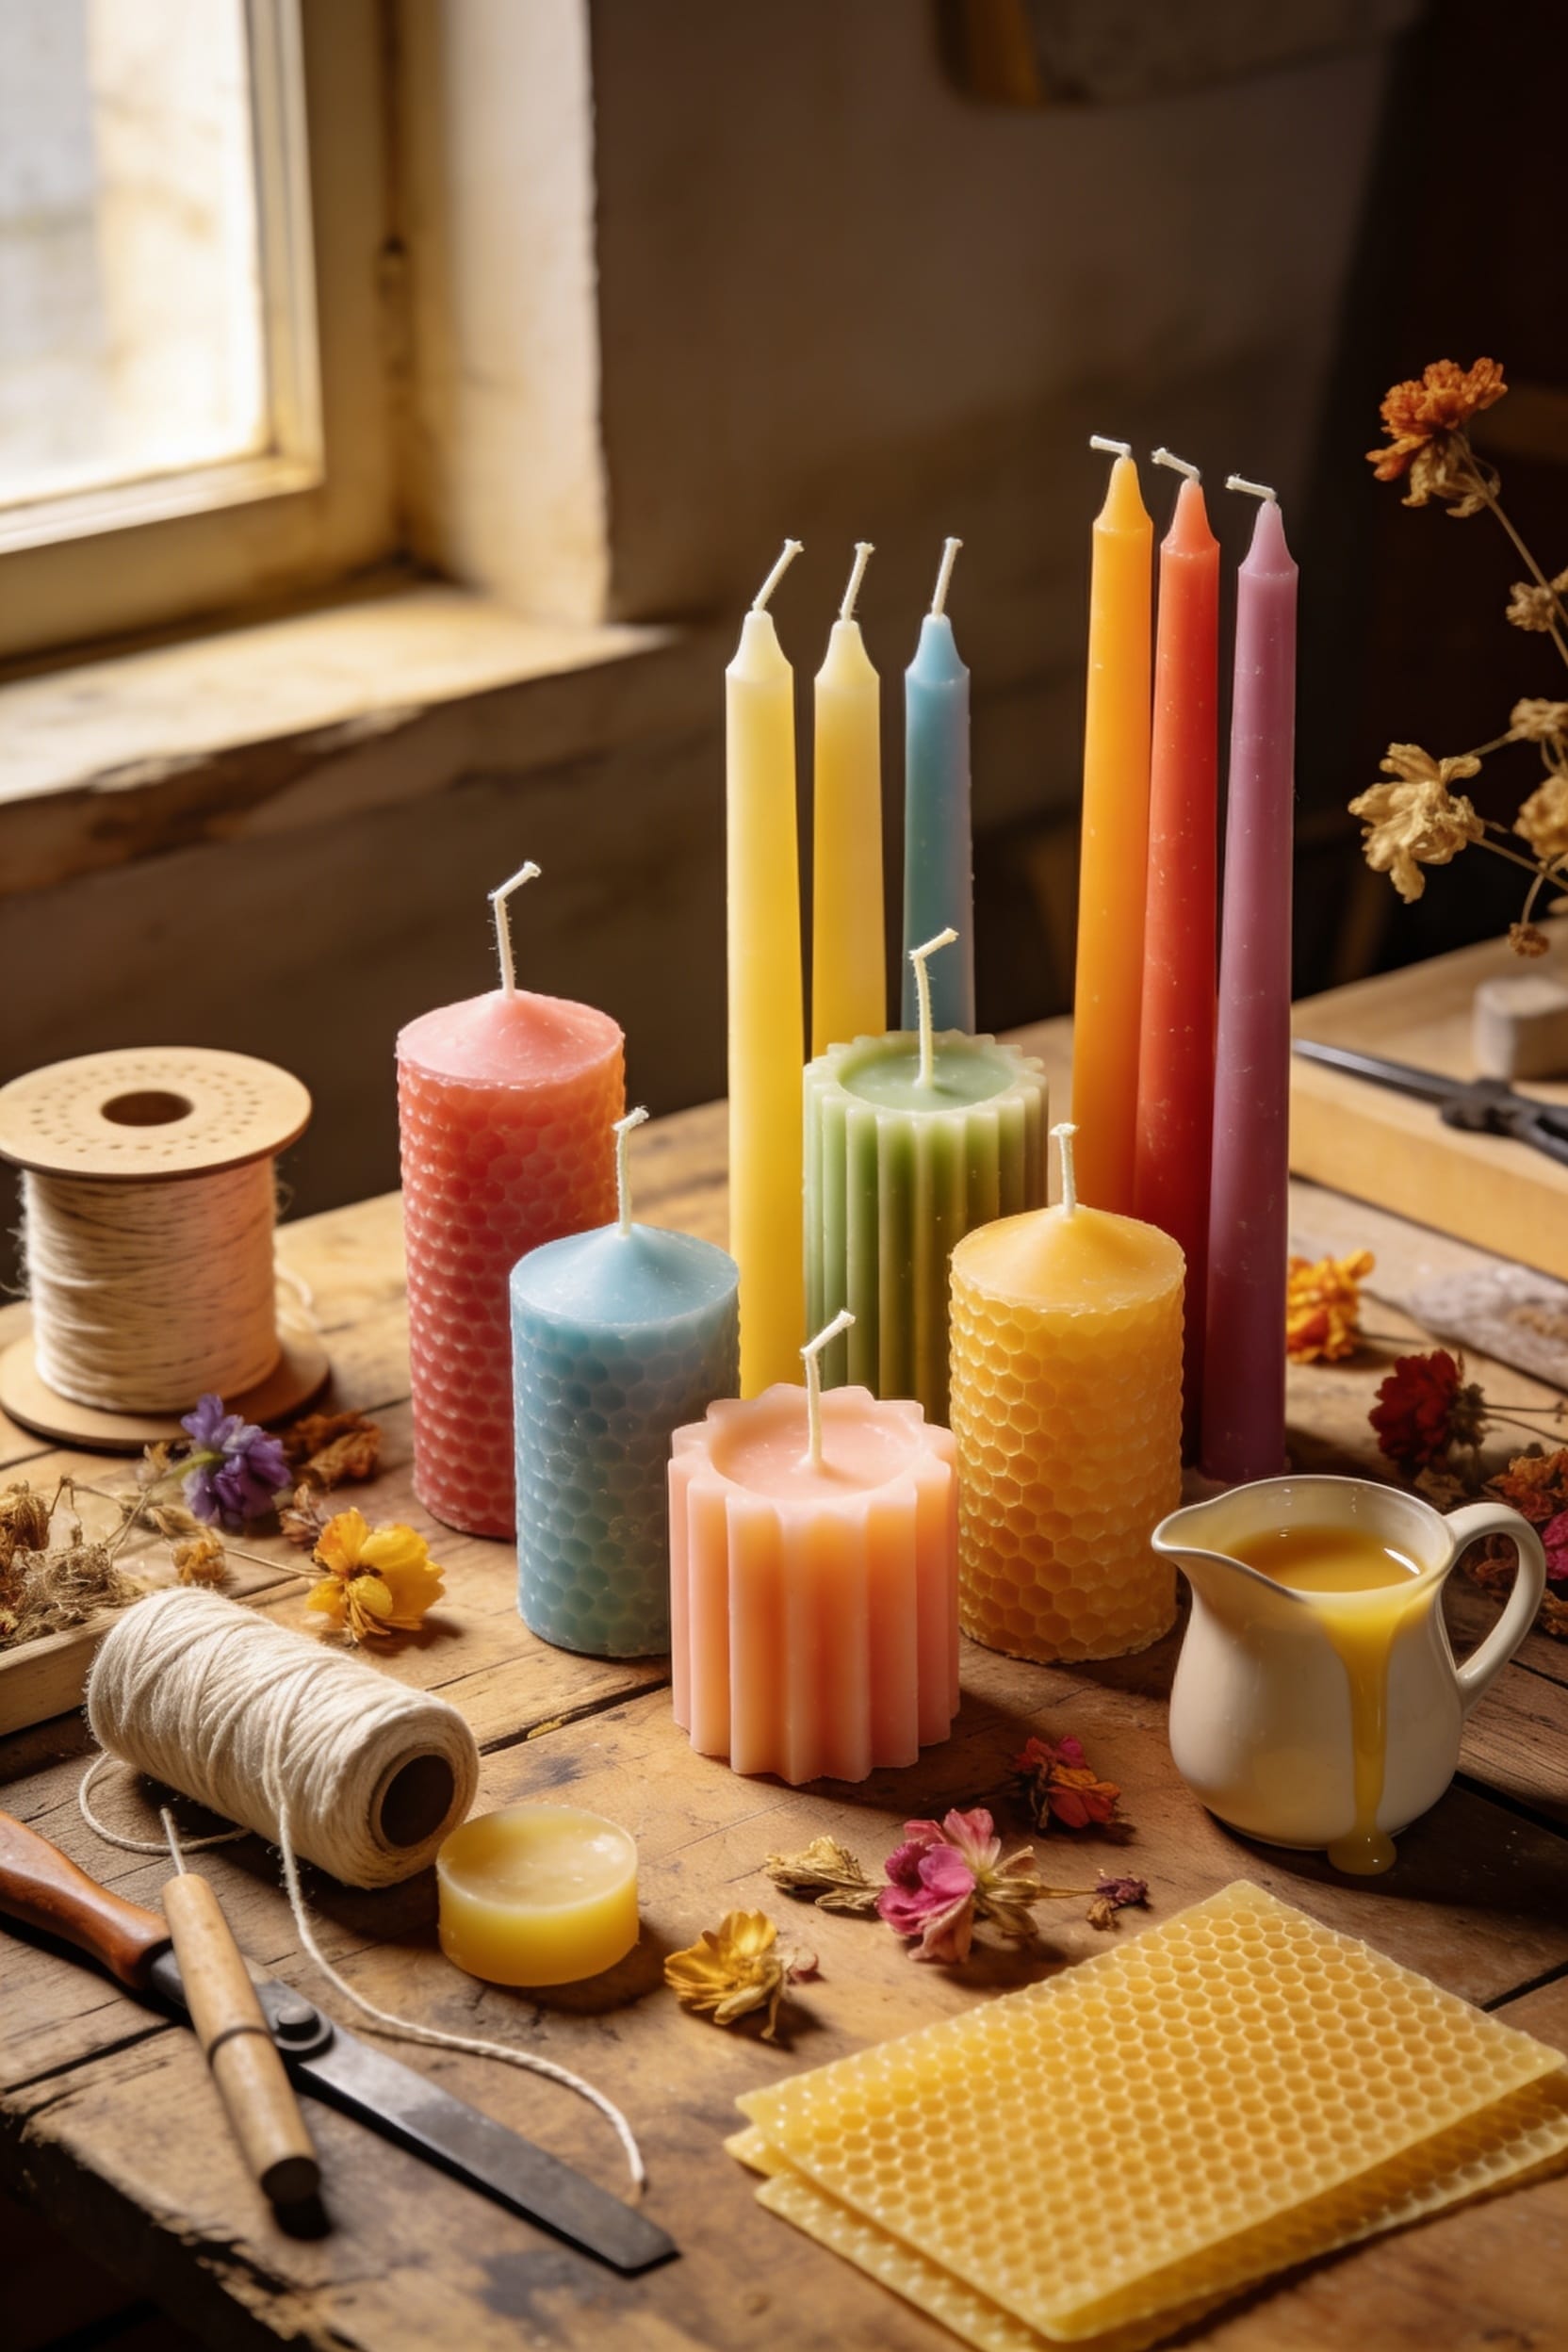
All right, here’s the thing: you can make custom birthday candles faster than you’d think. Dipped candles take about an hour if you run an assembly line with eight going at once, while cookie cutter shapes finish in thirty minutes—just hold the edges steady while pouring. Want color? Mix turmeric, charcoal, or spirulina directly into melted wax. For something genuinely wild, try edible chocolate candles that’ll actually surprise someone. The real trick is matching your wax type and wick size to your method so nothing burns weird or falls apart.
Key Takeaways
- Use cookie cutters as molds to create custom-shaped birthday candles in approximately thirty minutes from start to finish.
- Color candles naturally with turmeric (yellow), activated charcoal (black), or spirulina (green) mixed directly into melted wax.
- Make edible chocolate candles by freezing white chocolate in molds, then decorating with edible disco dust for shimmer.
- Dip pillar or beeswax candles ten times with cooling intervals to build layers quickly in about one hour.
- Add decorative embeds during the semi-firm wax stage and trim wicks to one inch for professional presentation.
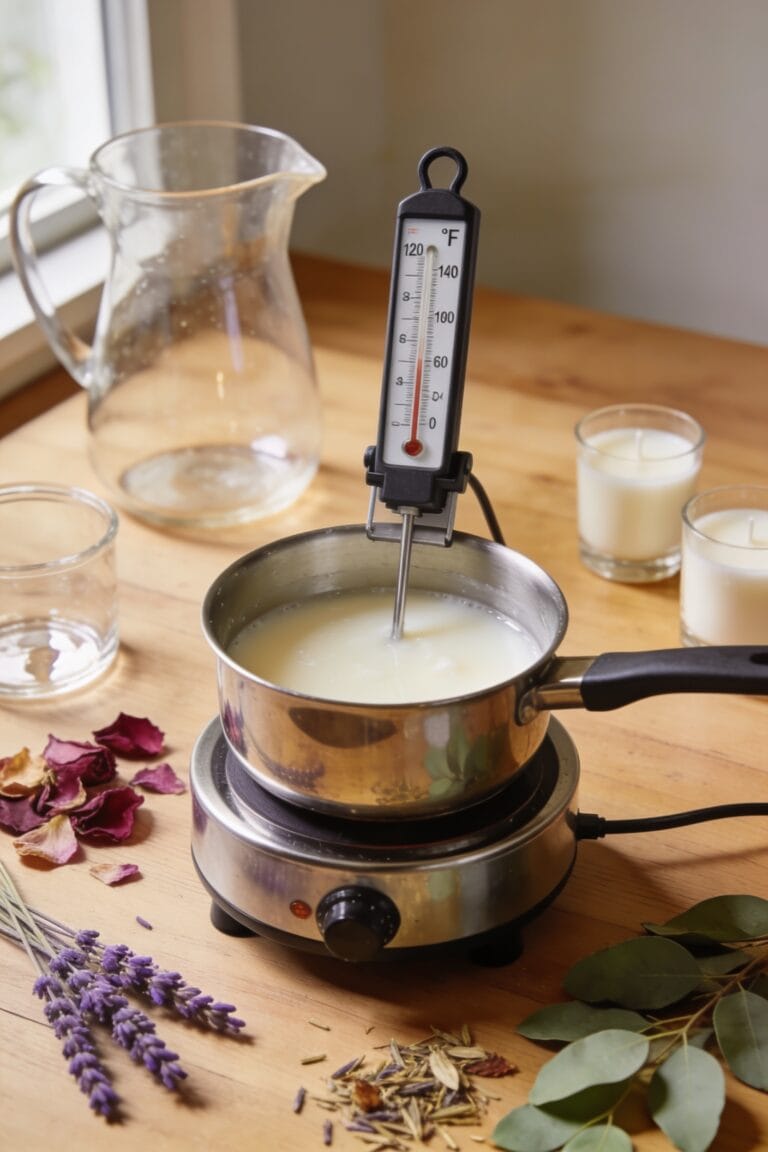
DIY Birthday Candles: The Fast Dipping Method
If you’re looking for a candle-making method that actually fits into a real weekend—without fussy molds, long cure times, or a kitchen that smells like a craft store exploded—the dipping method is your answer. You’ll need pillar wax or beeswax for structure, a thinnest pre-waxed wick, and about one minute per candle. The speed comes from layering: roughly ten dips total, with cooling between each immersion so the wax actually builds. Here’s the thing—wick maintenance matters here. Keep that wick centered and straight; it’s doing heavy lifting structurally. You can run an assembly line with eight candles simultaneously, maximizing efficiency during dipping and cooling stages. It’s genuinely fast. Your finished candles come together in roughly one hour start to finish.
Recommended Products
𝐓𝐎𝐏 𝐐𝐔𝐀𝐋𝐈𝐓𝐘 & 𝐐𝐔𝐀𝐍𝐓𝐈𝐓𝐘: Deluxe kit means top quality, quantity and valuable. Including all soap and candles making supplies in one kit, saving up to 40% compared to buying all accessories separately. 4 lbs soy wax and soap base, 8 dyes, 6 essential oils, 4 jars and glass cup, 7 soap molds, enough supplies for you to fully unleash your craftsmanship.

COMPLETE POTTERY + CANDLE MAKING SET: Includes all pottery sculpting & candle making supplies you need to easily craft a beautiful custom candle at home. The perfect beginner arts & crafts gift, hobby idea, and romantic date night surprise.
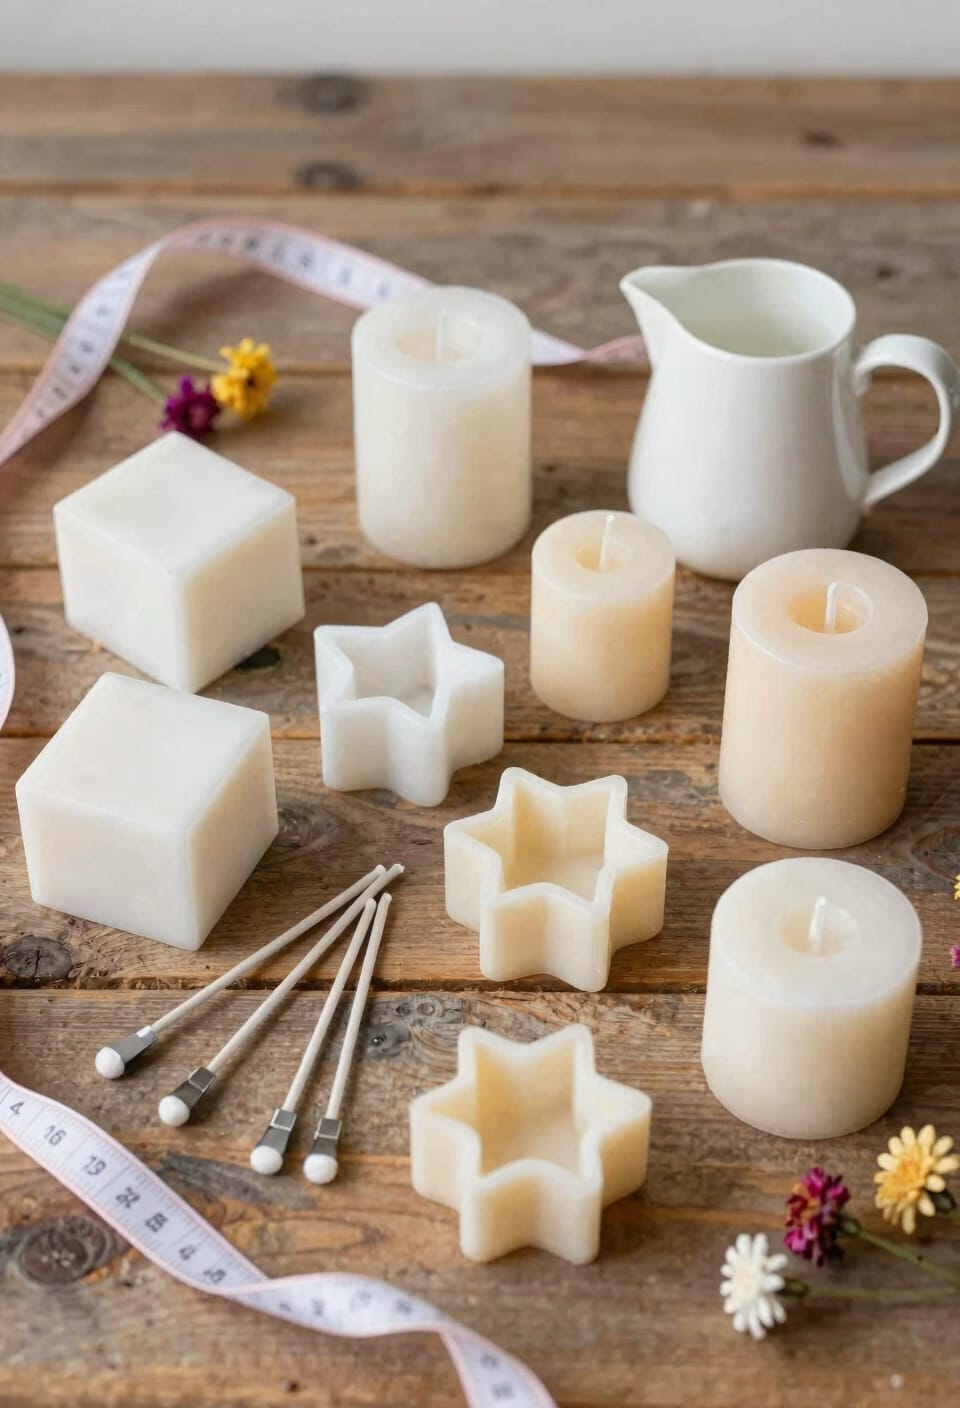
DIY Birthday Candles: Custom Shapes With Cookie Cutters
Cookie cutter candles are where candle making stops feeling like chemistry class and starts feeling like actual craft—because you’re literally pouring shaped wax into custom silhouettes instead of fighting with traditional molds. I grab about two-thirds cup of wax pellets, melt them down, then carefully hold my cookie cutter edges while pouring to prevent seepage. The silhouette stamping creates instant party favors that look way more intentional than they actually are. Once the wax cools nearly completely, I twist a bamboo skewer into the base for the wick channel. The whole process takes roughly thirty minutes from melting to finished candle. Your guests won’t believe you made these.
Recommended Products

PREMIUM UNSCENTED AROMA BEADS FOR CUSTOM FRESHIES – High-quality aroma beads for car freshies engineered to absorb fragrance oils efficiently and cure smoothly. Create scented aroma beads, car freshie beads, and long-lasting air fresheners with consistent results and excellent scent retention.
COMES WITH EVERYTHING YOU NEED: This kit includes 3 lbs of Paraffin Wax, 72 inches of cotton wick, 3 candle rubber stoppers, pigment (red, yellow, blue, white), 3 candle molds with base, and a color mixing chart

COMPLETE POTTERY + CANDLE MAKING SET: Includes all pottery sculpting & candle making supplies you need to easily craft a beautiful custom candle at home. The perfect beginner arts & crafts gift, hobby idea, and romantic date night surprise.
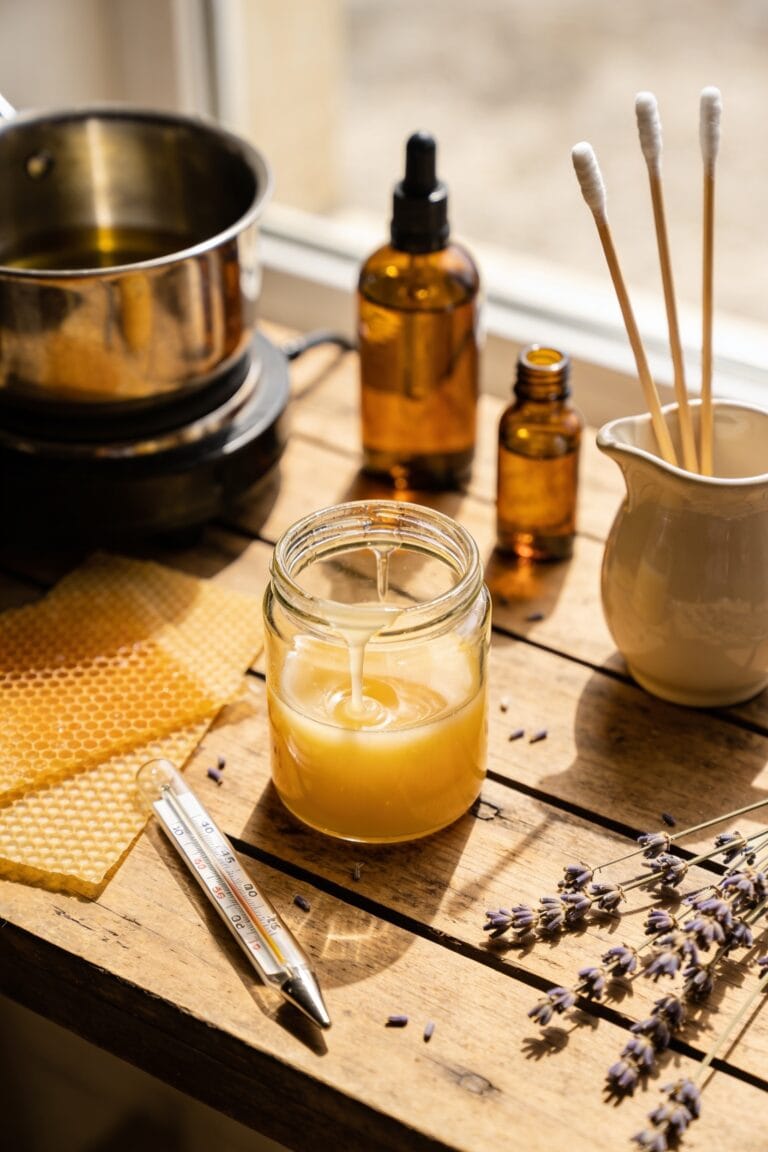
Add Natural Colors: Turmeric, Charcoal & Spirulina

Skipping the synthetic dyes entirely and reaching instead for your kitchen cabinet transforms these cookie cutter candles into something genuinely special—and way more Instagram-worthy than a standard taper. I’m talking turmeric for warm yellows, activated charcoal for deep blacks, and spirulina for surprising greens. These plant derived dyes offer natural pigment safety you won’t worry about, especially if kids are handling them. The process is straightforward: mix your chosen powder directly into melted wax before dipping or pouring. You’ll want about one-quarter teaspoon per cup of wax to start—go lighter, you can always add more. The color integrates smoothly, won’t separate, and won’t stain your hands like synthetic dyes would. All right, you’ve got customized shapes *and* natural colors. That’s genuinely next level.
DIY Edible Birthday Candles: Chocolate Method
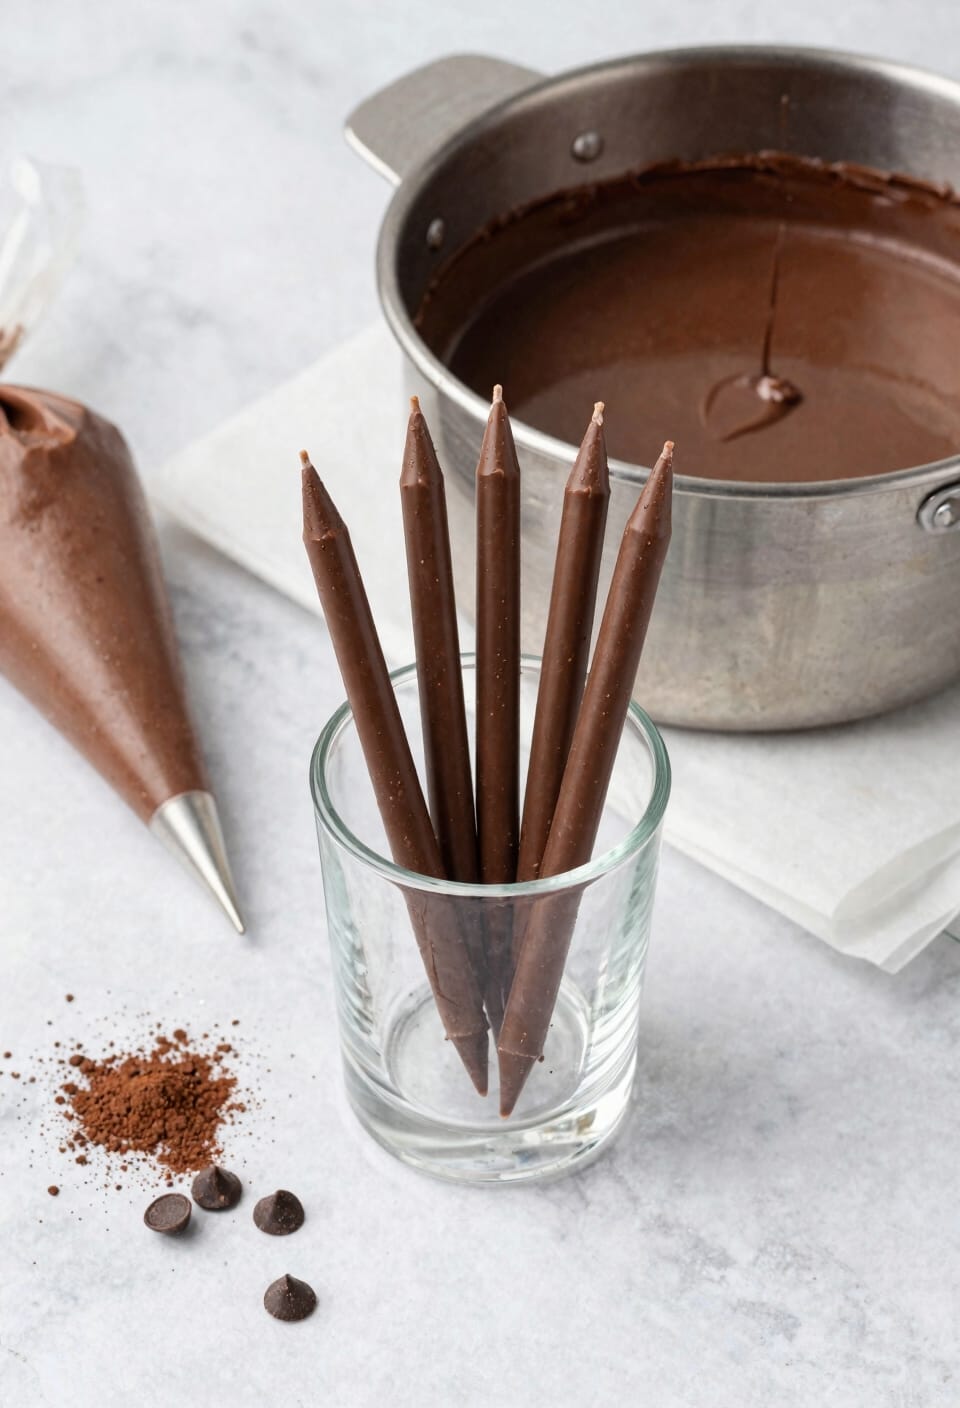
Melt white chocolate instead of wax, and you’ve suddenly got a candle that won’t poison anyone if they accidentally take a bite—which, let’s be honest, is going to happen at a kids’ birthday party. Pour your melted chocolate into shaped molds, threading pre-cut wicks through holes poked in the tops before the pour. Freeze for thirty minutes until fully set, then pop them out. The real magic happens with edible embellishments—sprinkle edible disco dust mixed with rubbing alcohol or lemon juice over the surface for shimmer, letting the alcohol evaporate and leave behind pure color. You’ll skip chocolate tempering the fancy way; this method keeps things simple. Trim your wicks to an inch, snap them off before eating, and watch guests genuinely lose it over edible candles.
Recommended Products

Safari or zoo sitting animal molds, set of 6, in varied shapes: elephant, giraffe, monkey, lion, hippopotamus, and zebra. Perfect for making adorable 3D fondant cake decorations, edible cupcake toppers, candle accents, soap embossments, resin jewelry (cabochons, pendants, keychain charms), polymer clay projects, and more.

Breath new life into your furniture walls and more with this Redesign with Prima Home Décor mould! it's heat resistant silicone that offers flexibility and endless creativity

silicone birthday candle mini taper mold
Select Wax, Wicks & Molds for Your Chosen Method
Before you pour a single drop of melted anything, you’ve got to nail down the fundamentals—your wax choice, wick size, and mold selection—because these three things working together determine whether you end up with a beautiful birthday candle or a waxy mess that won’t hold a flame.
For dipped candles, I recommend pillar wax or beeswax over container wax—they’re firmer and hold structure better. The thinnest wick size works best, and pre-waxed wicks maintain their shape during dipping.
Now, mold selection depends on your method. Cookie cutters work brilliantly for custom shapes. For edible chocolate candles, grab chocolate molds in whatever designs speak to you. With wick material, choose hemp cord if you’re using slow-melting beeswax, or cotton for standard wax. Your wick material and mold selection genuinely matter—they’re not afterthoughts.
Recommended Products

All-In-One Starter Kit – Everything you need to dive into candle making! Our Hearth and Harbor soy candle wax for candle making includes 45 lbs of smooth soy wax flakes, 100 cotton wicks, 100 adhesive stickers, and 2 centering tools. Perfect for beginners or seasoned DIYers.

FLEXIBLE RUBBER MOLD FOR EASY RELEASE: Made from high-quality rubber, this mold makes candle removal a breeze; the smooth surface ensures perfect tapers every time without any hassle; ideal for making elegant candles effortlessly.

【EVERYTHING INCLUDED - START TODAY!】Get the FULL candle making experience in one kit! Your kit arrives with 4lb Soy Wax, 6 strong Fragrants, 30pcs Candle Wicks, 7 units candle containers, Wax Melter Pot, & Thermometer. No hidden costs.
Professional Finishing: Trimming, Smoothing & Decorations
Once your candles have cooled and hardened completely, the real magic happens—and I’m not being dramatic, because this is where the difference between “I made these myself” and “where’d you buy these?” actually lives.
Here’s the thing: trimmed edges and clean bases matter enormously. I cut away any natural wax drips at the bottom once everything’s set solid, then gently warm my fingers and smooth the foundation. You’ll be amazed how professional this looks.
Now, wick trimming. Reduce that loop to about one inch—safety and aesthetics rolled into one. For decorative embeds, place them during the semi-firm stage when wax still grips without sliding around.
All right, final touch: snap off wicks on edible candles before consuming. These small details transform your homemade candles into gifts people actually treasure.
Recommended Products
✔ ADJUSTABLE FOR ANY CANDLE JAR – Expandable arms fit jar openings from 2-1/2″ to 4-5/8″ wide, making it perfect for single, double, or triple wick candles in nearly any container.

SOY CANDLE MAKING KIT FOR ADULTS: Candle making supplies kit includes: natural soy wax for candle making, 2 lb (4 bags, 8 oz each), 1200 mL candle wax melting pot, 2 round and 2 square 8 oz candle tins with lids, thermometer, 4 cotton candle wicks, 4 wick stickers, 4 wooden wick holders, 4 wooden stirring sticks, 1 silicone finger protector, 1 silicone trivet, 4 warning labels, and 4 gift tags with 18” twine, and step-by-step instructions.

Complete Candle-Making Toolkit at Your Fingertips:From precision tools like the digital scale to pro tools like the wick trimmer and heat gun, this all-in-one kit covers every step of the process. Whether you’re fixing imperfections, trimming wicks for a clean burn, or measuring out the perfect fragrance ratio, this kit simplifies even the most detailed aspects of candle making.
Frequently Asked Questions
Can I Create Multiple Candles Simultaneously Using Different Coloring Methods?
Yes, you can create multiple candles simultaneously using different coloring methods. I’d recommend organizing layered pours with scent batching—melting separate wax batches with turmeric, charcoal, or spirulina, then efficiently dipping or pouring them in rotation.
How Do I Prevent Wax From Sticking to My Work Surfaces During Production?
You’ll want to use wax paper or silicone molds—they’re game-changers. Did you know assembly line production lets you create 8+ candles simultaneously? I recommend silicone surfaces since they’re reusable and prevent sticking effectively without extra cleanup hassle.
What’s the Ideal Wick Length for Safety and Optimal Candle Performance?
I’d trim your wick to approximately one inch for safety and peak candle performance. I recommend burn rate testing first to guarantee your ideal wick length matches your specific wax type and candle diameter.
How Long Does Each Candle-Making Method Take From Start to Finish?
Like watching paint dry—but faster—I’ll break down the time estimates for you. Dipping candles take roughly one minute per candle with proper step sequencing. Cookie cutter customization needs thirty minutes total, while edible chocolate candles require thirty minutes freezing alone.
Can I Combine Edible and Traditional Wax Methods in One Project?
I’d advise against combining edible and traditional wax in one project. You’ll need edible safe testing for any wearable portions, and flavor infused aesthetics won’t work well when mixed with paraffin or beeswax materials.
Conclusion
I’ve thrown everything at you—dipping, molding, natural colors, chocolate. Your creativity here flows like melted wax, filling whatever vessel you choose. You’ve got the methods. You’ve got the confidence now. Start simple, mess up gloriously, adjust, and make something genuinely yours. Those birthday candles? They’ll glow brighter knowing your hands shaped them.