As an Amazon Associate, we earn from qualifying purchases. Some links on this site are affiliate links at no extra cost to you. Our recommendations are based on thorough research and editorial judgment.

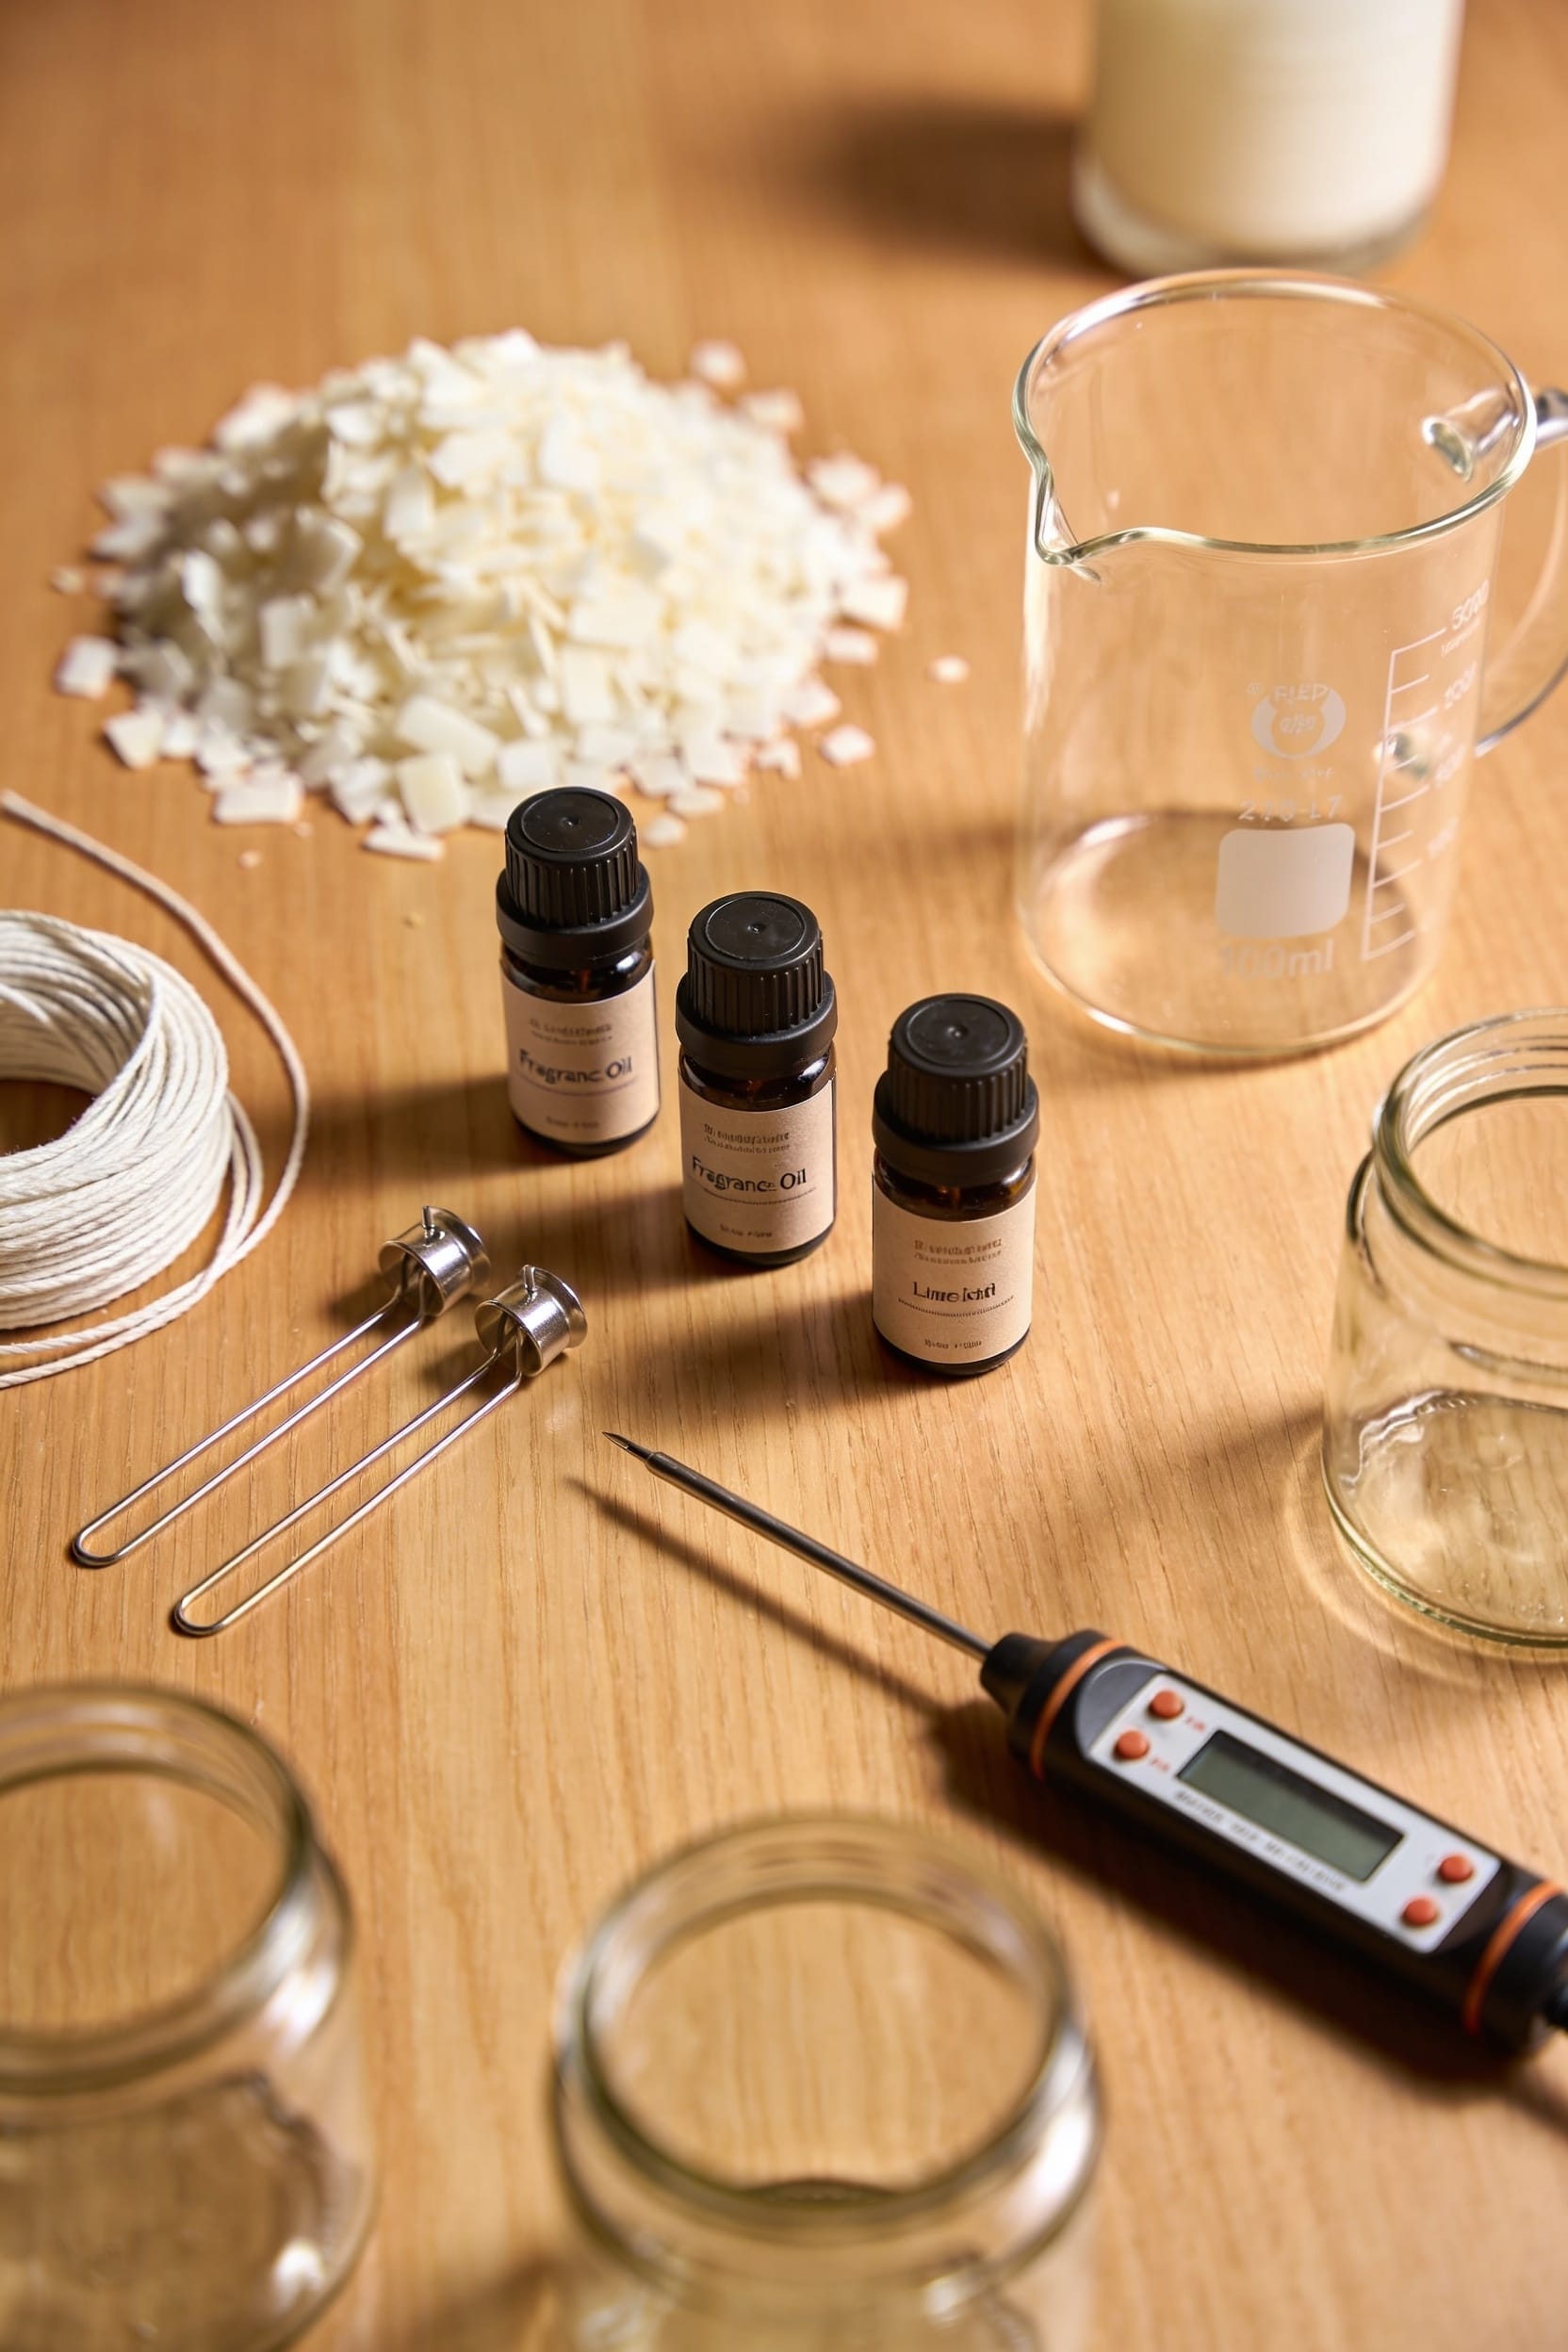
What’s Inside a Candle Making Kit? Everything That Comes Included

A complete kit hands you wax (soy, paraffin, or a blend), fragrance oil, cotton wicks, containers like jars or tins, a pouring pot, thermometer, stirring stick, and detailed instructions—everything so you’re not halfway through your first pour realizing you need to order a wick bar. Incomplete kits leave gaps that force improvisation or extra purchases, which kills momentum and tanks your budget. You’ll also get labels covering legal requirements and an informational card on recycling your containers after. The real difference is whether you can actually finish what you started.
Key Takeaways
- Complete kits include wax, fragrance oil, wicks, containers, tools, instructions, and labels for immediate candle making.
- Essential tools provided: metal pouring pot, thermometer, stirring stick, wick bars, and scissors for proper technique.
- Pre-selected fragrance oils (0.33–0.84 fl oz) come measured for optimal scent load without guesswork or extras.
- Jars or tins included as containers with label designs that cover legal requirements and aesthetic appeal.
- Informational card explains recycling practices and jar/tin reuse, making sustainability built into the kit from start.
What Separates a Complete Candle Kit From an Incomplete One
Kit completeness separates the winners from the headaches. A truly complete kit gives you wax, fragrance oil, wicks, containers, tools, and instructions—everything needed to pour your first candle without ordering extras. Supply gaps are the real killer. You’ll find incomplete kits missing essential items like a thermometer, pouring pot, or proper wicks, forcing you to improvise or buy replacements. That defeats the purpose entirely.
Look, I’ve started with bare-bones kits before. It’s frustrating and expensive. A all-inclusive kit includes everything, eliminating guesswork and ensuring your first pour actually succeeds.
The Wax: Soy, Paraffin, and Blends Explained
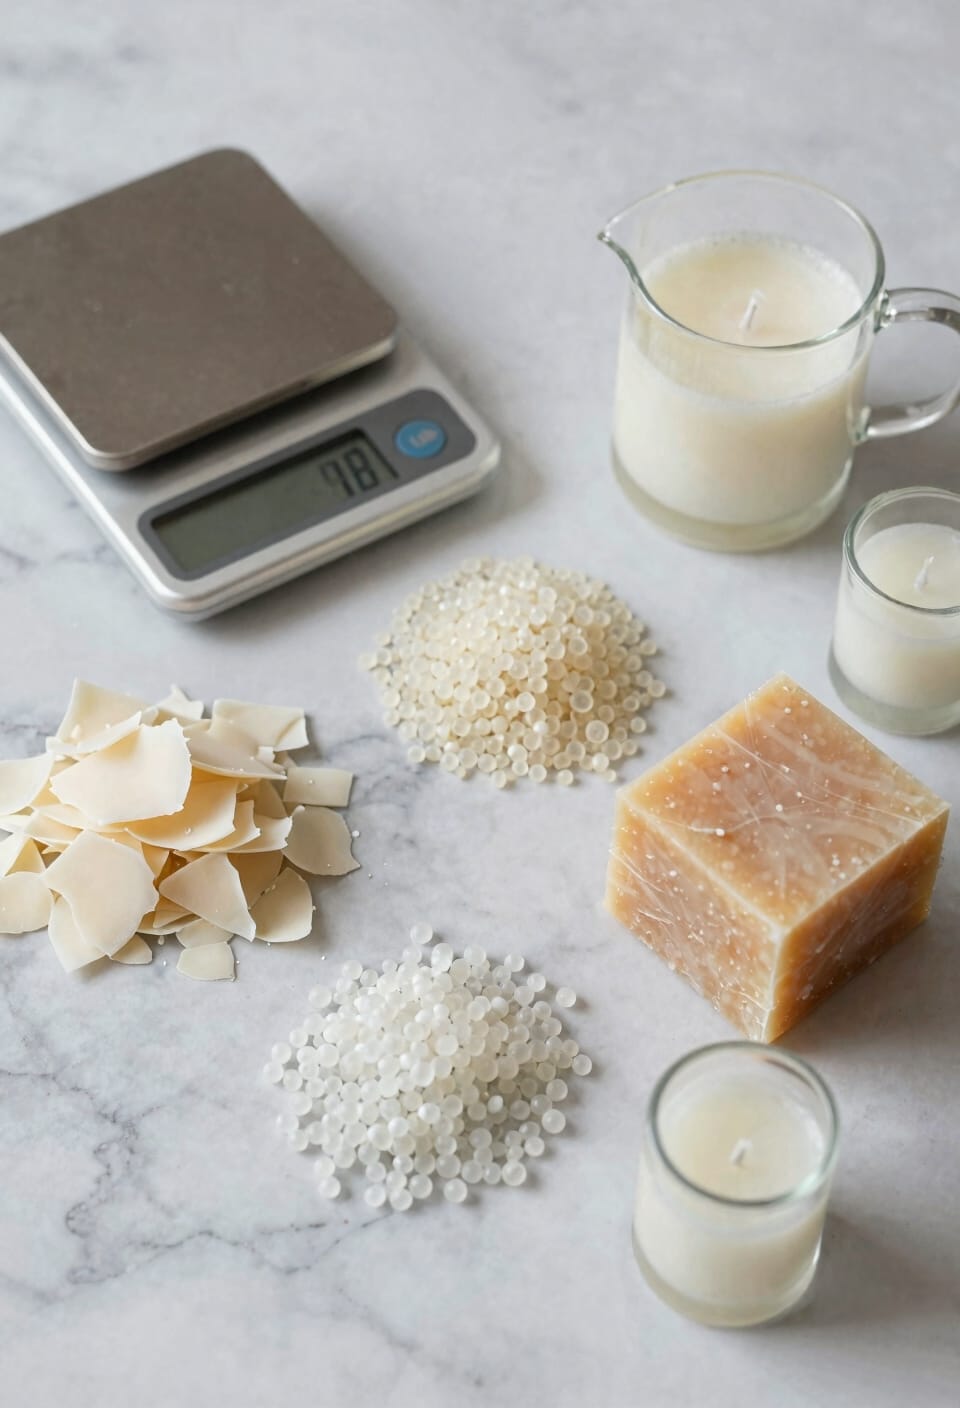
Because wax is literally the foundation of every candle you’ll pour, it’s worth understanding what you’re actually working with. You’ll find three main players in most kits: soy, paraffin, and blends.
Pure soy wax comes from soybeans and burns cleaner with less soot—it’s the eco-conscious choice. The soy chemistry makes it hold fragrance beautifully, though it can be finicky with temperature. Paraffin’s the traditional workhorse, holding color and scent intensely, but it’s petroleum-based. Many kits use blends instead: the 90% paraffin, 10% soy combination I’ve seen balances performance with paraffin alternatives that feel more sustainable.
Each has different melting points and pouring temperatures. I’d test whichever wax your kit includes before committing to a full batch.
Recommended Products

You know it as: Pearled Wax, Pearled Candles, Candle Pearls, Pearl Wax, Candle Powder, Granulated Natural Plant Based Wax.
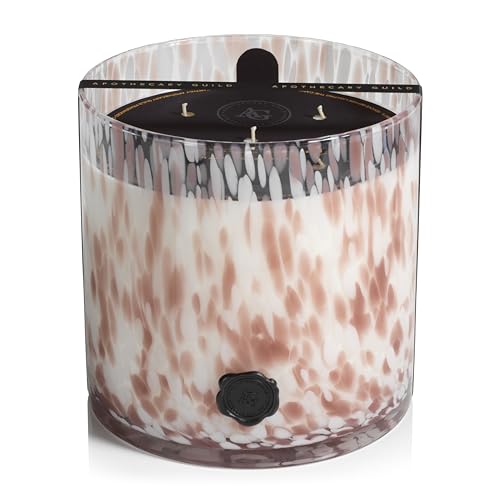
INDULGE IN LUXURY FRAGRANCE: Add sophistication to any space with the Apothecary Guild 5-wick scented candle, encased in a stunning blue tortoise-patterned glass jar. With a signature seal stamp and 150 hours of burn time, it’s the perfect way to infuse your home with elegance and warmth.

TWENTY POUNDS of PREMIUM FLORIDA SPRING BLOSSOM BEESWAX: 100% Natural, clean burning, sweet floral, with the honey-like fragrance typically associated with beeswax, cosmetic ready and suitable for food contact. Our pure beeswax bars are perfect for a wide variety of applications. Packaged in a one-pound bars (5″ x 3.5" x 1.75").
Fragrance Oils: Selecting and Measuring Your Scent
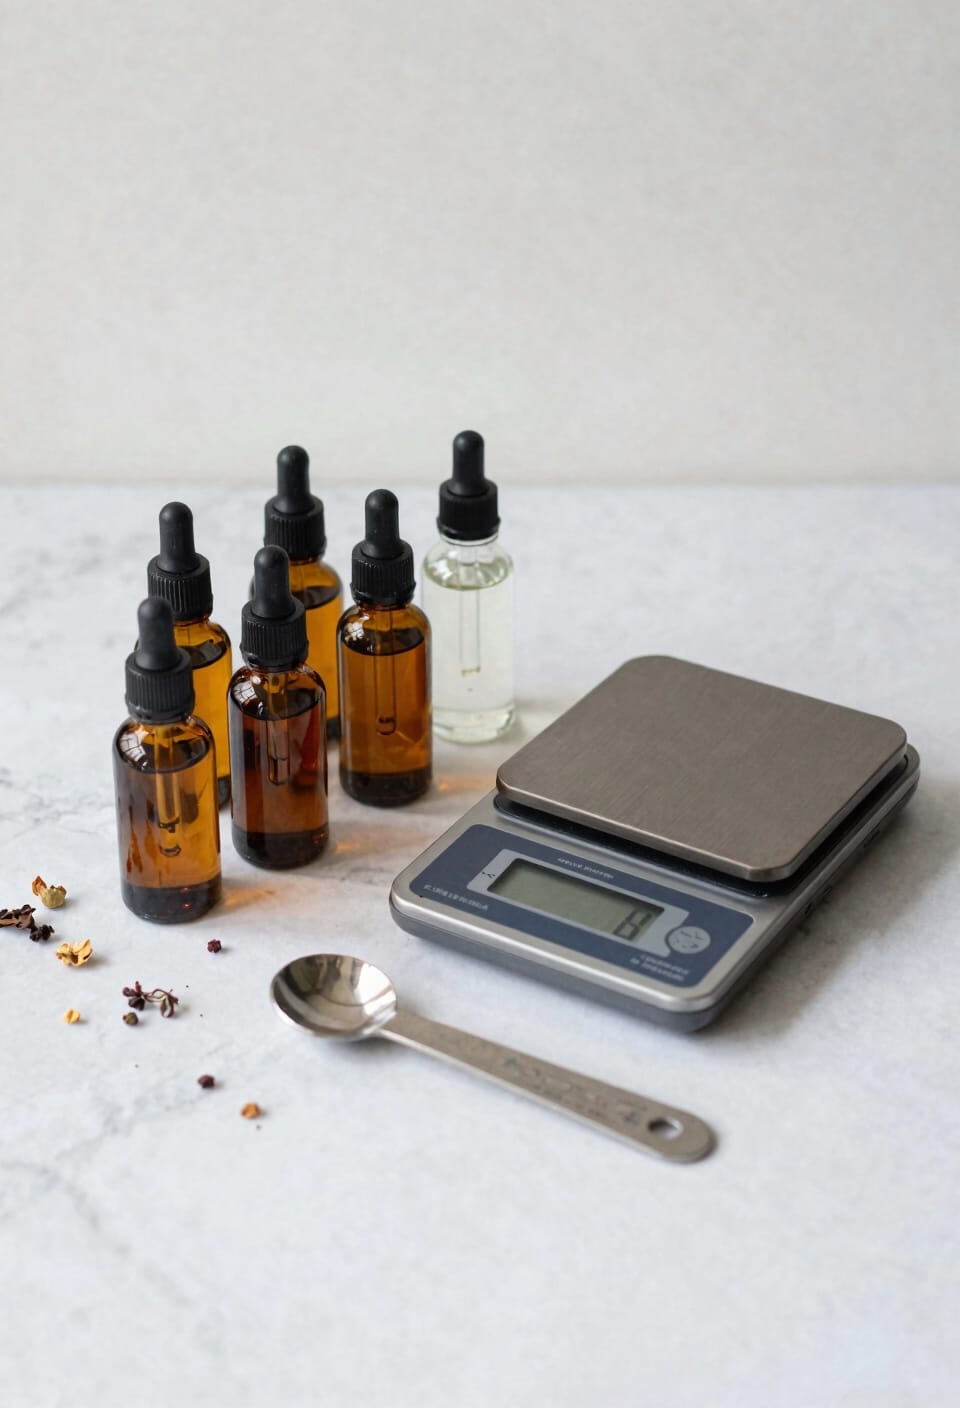
Now that you’ve got your wax sorted, fragrance oil is where your candle actually becomes *yours*—and where I’ve personally made some spectacular mistakes. You’ll find most kits include either a pre-selected scent like lavender or fruit slices, or a dropper bottle for custom choice. Here’s the thing: measuring matters. Single candle kits typically contain 0.33 fl oz fragrance oil, while double kits get 0.84 fl oz. I learned the hard way that scent layering—combining multiple fragrances for complexity—requires understanding olfactory profiling, which is basically mapping how a scent evolves as your candle burns. Most candles use a 6-10% fragrance load by weight. Start conservative. You can always add more, but you can’t remove it. Trust me on this one.
Recommended Products

Pump kit includes on/off control and one (1) 16 oz. bottle of 100% Eucalyptus oil with wall mounted caddy.

King of Floral Essential Oils - Because of its highly fragrant aroma Jasmine Oil is regarded as leader of Floral Scented Oils throughout the aromatherapy industry. It belongs to the Oleaceae botanical family and has a warm, musky, sweet, exotic, euphoric aroma that uplifts mood, creates a romantic mood and also increase self-confidence.

MELISSA ESSENTIAL OIL: Sheer Essence Melissa Essential Oil also known as Lemon Balm Essential Oil is extracted from the leaves of Melissa officinalis plant, boasting a fresh, lemony, and slightly sweet herbal-floral aroma with notes of fresh honey.
Wicks: Sizing, Types, and Installation
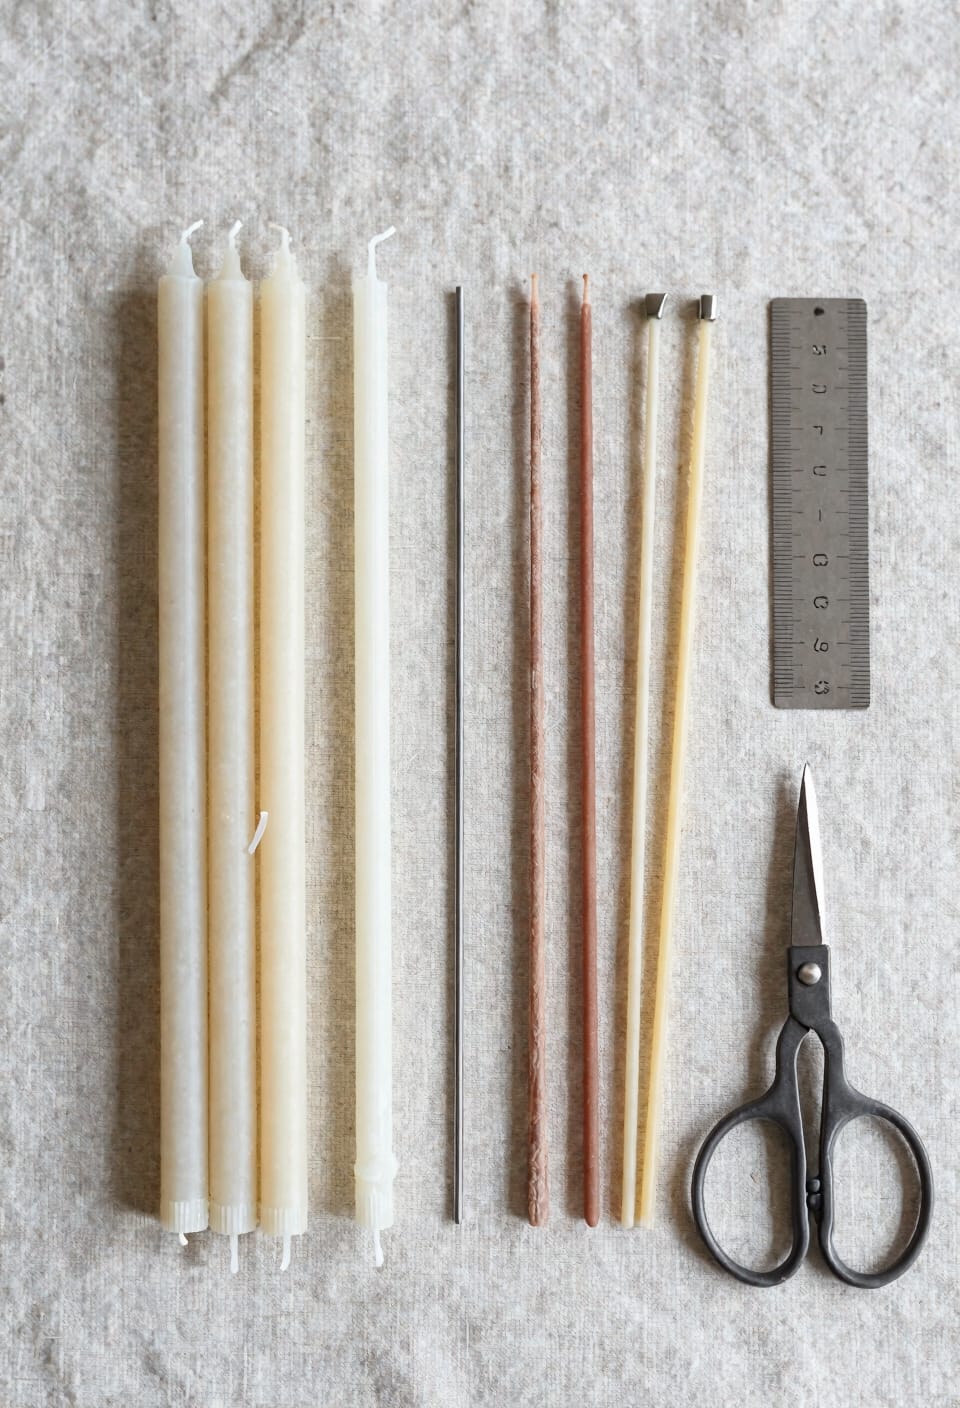
Once you’ve nailed your fragrance oil measurements, there’s one component that’ll make or break your entire candle: the wick. I’ve learned this the hard way—too thick and your candle tunnels, too thin and it drowns in melted wax.
Your kit includes cotton variants, likely 100% cotton dipped in soy wax to reduce soot. Match your wick diameter to your container size; this is non-negotiable. Those zinc wicks in your kit come pre-sized, which takes the guesswork out.
Here’s where burn testing matters. Light your candle, let it burn for a few hours, then check the flame. You’re looking for a steady teardrop shape. If it’s smoking or tilting, clip trimming the wick shorter will help. This single step separates mediocre candles from the ones people actually want to burn.
Recommended Products

Safer Ambience for Everyday Moments: Our sand wax candle design with self-extinguishing sand candle wicks minimizes fire risk if tipped and prevents hot wax spills; ideal for homes with pets or kids that won’t renounce stylish décor, offered in White, Red, Nude, and Black for cozy luxury

100% Pure Beeswax Candle: Hand-poured from naturally filtered beeswax for a rich, golden glow. These clean burning candles are free from paraffin, soy, and synthetic fragrances. Each 1-wick dripless pillar candle features natural cotton candle wicks and pure candle wax for a long-lasting burn and warm, cozy candle light.
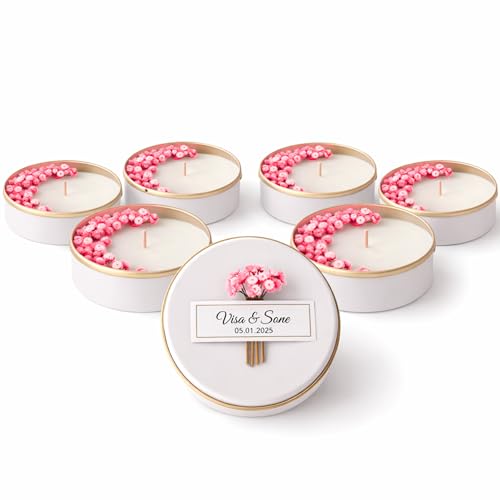
100% NATURAL SOY WAX : Hand-poured in small batches with natural soy wax and premium fragrance oils for a clean and long-lasting burn
Containers and Vessels: Capacity and Compatibility
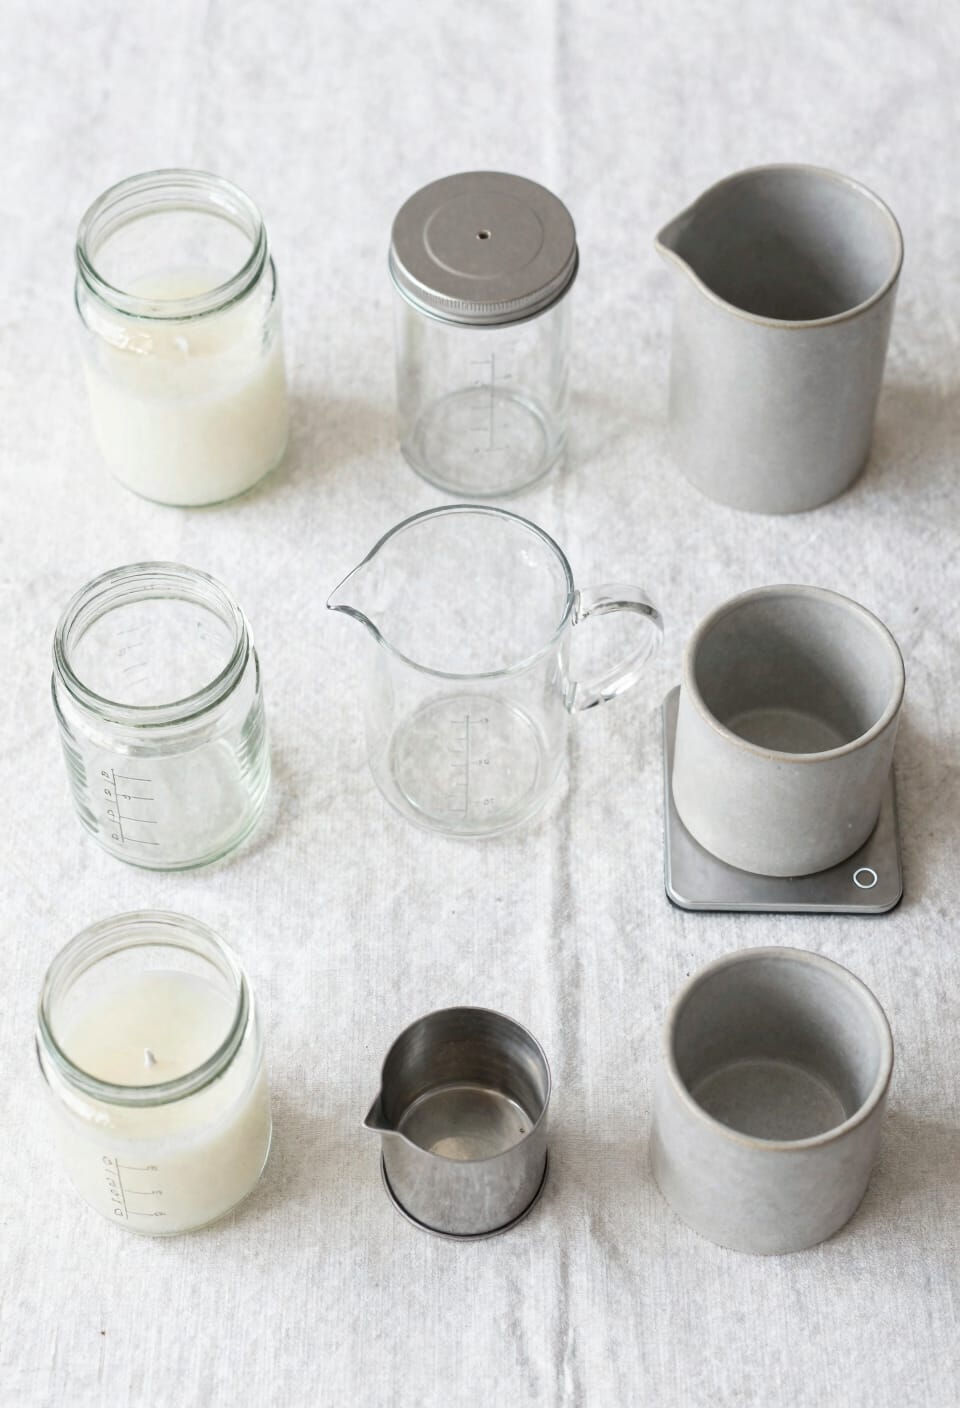
Your container choice matters just as much as your wick does, maybe even more—I’ve poured beautiful wax into the wrong vessel and watched the whole thing go sideways. The kits I’ve used include everything from 9oz luxe jars to 3oz reusable tins, each with different jar diameters and vessel materials that affect how your candle burns. That 24-pack of smooth-sided 8oz jelly jars? Perfect for beginners because they’re forgiving. The custom sculpted air-dry clay vessels let you get creative, but you’ll need to understand how your specific vessel material conducts heat. All right, here’s the real talk: matching your fragrance load and wick size to your container’s dimensions prevents tunneling and assures even burn. Smaller vessels need thinner wicks. Larger jars demand more wax and oil. Get this right, and you’re golden.
Recommended Products

PREMIUM UNSCENTED AROMA BEADS FOR CUSTOM FRESHIES – High-quality aroma beads for car freshies engineered to absorb fragrance oils efficiently and cure smoothly. Create scented aroma beads, car freshie beads, and long-lasting air fresheners with consistent results and excellent scent retention.
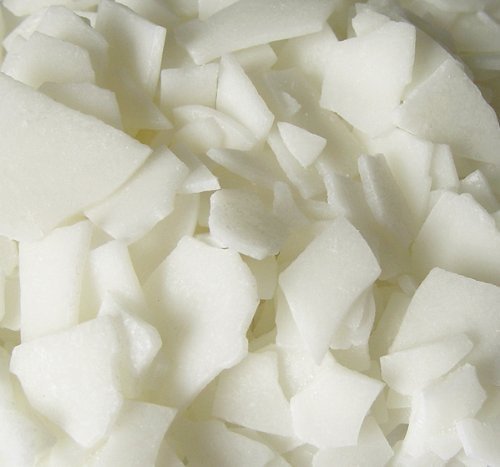
Golden Brands Scentless Soy Wax

Minimal Smoke, Maximum Charm - Breathe easy with clean-burning, clean tech foton candle that set the mood. Our candles are designed for a pure, enchanting glow that enhances your space without the smoke.
Essential Equipment: Melting, Mixing, and Measuring
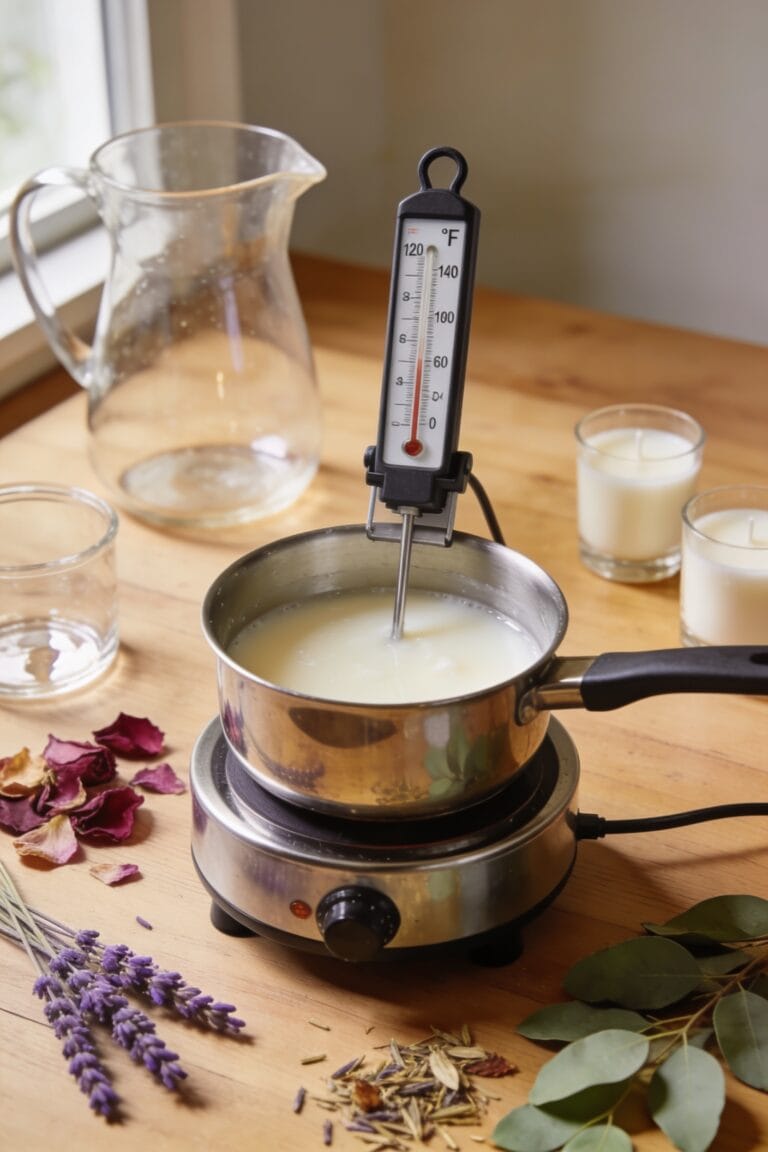
Getting your container dialed in is half the battle, but here’s where most people actually stumble—the equipment itself. You’ll need solid melting equipment to heat your wax properly, and that’s non-negotiable. Most kits include a metal melting pot or a mini pouring pot with around 1.5 lb capacity, which works fine for single candles. Here’s the thing: measuring accuracy matters tremendously. You want a reliable thermometer—preferably an economy one designed for candle work—because pouring at the wrong temperature ruins everything. Grab your stirring stick and wick bars to keep things organized while you work. Sharp scissors help too, honestly more than you’d think. These basics transform chaotic pouring into something actually manageable.
Recommended Products
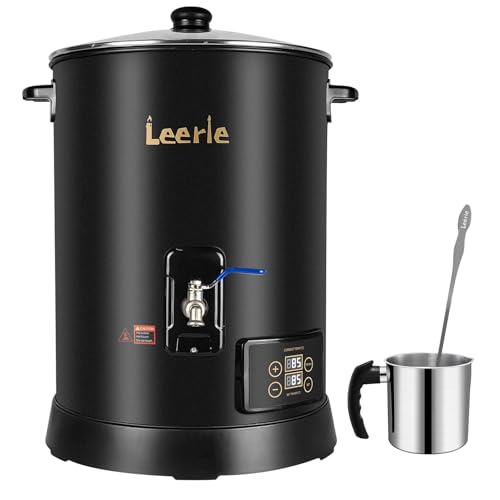
✔ MELT MORE, SELL MORE—30LBS AT ONCE : Scale up without slowing down. Designed for professional makers, the Leerie D15 Wax Melter holds up to 30 lbs of wax—enough to pour 120 4oz candles in a single session. Perfect for small businesses and studios handling wholesale orders, seasonal demand, or daily restocks. Big capacity, big results—minus the batch hassle.

Fast Melt 60 Candles for You: Achieving a rush order for a bulk order was made easy. TOAUTO 30Lbs wax melter can melt 30Lbs of candle wax and make 60 8-ounce candles at a time, greatly reducing your production time and making mass production of candles piece of cake. it's time to consider investing in a fully functional candle maker machine!

Fast Melt 80 Candles at A Time: The TOAUTO WMF-10L digital wax melter can handle a rush order for bulk candle production. It can melt 10 quarts of candle wax and create 80 4-ounce candles at a time, significantly reducing production time and making mass production easier.
Your First Pour: Melting, Pouring, and Curing
This is where the actual magic happens—and where I’ve personally watched perfectly measured wax turn into a lumpy, overheated disaster. You’ll need your metal melting pot and thermometer because temperature profiles matter—that’s the specific heat range your wax needs to reach for proper pouring. Most soy wax pours around 170–180°F, while paraffin handles slightly higher temps.
Now, once you’ve poured your fragrance oil into the melted wax and stirred thoroughly, you’re ready to pour into your vessel. Center that wick carefully. Here’s the thing: curing timelines (how long your candle sits before burning) aren’t optional. Soy needs 24–48 hours minimum; paraffin typically wants longer. Patience here prevents tunneling and guarantees you’ve actually made a candle worth burning.
Getting Fragrance Strength Right: How Much Oil Per Candle?
Once your wax has cooled to pouring temperature and you’re standing there with your fragrance oil bottle hovering over the pot, you’ve hit the moment where most candle makers either nail it or create something that smells faintly of disappointment. Here’s the thing: fragrance load—the percentage of scent oil you add to melted wax—typically runs between 6-10%, depending on your wax type. Your soy wax kit probably calls for around 0.33 fl oz per candle, which translates to roughly that range. Too little, and scent diffusion suffers. Too much, and you’re wasting oil while risking allergen labeling issues. Before committing to full batches, do throw testing on small samples. Check oil lifespan too—quality oils fade slower over months.
Common Mistakes and How to Avoid Them
Even with the best kit sitting in front of you—all those pristine wicks, your fragrance oils lined up like soldiers, that pouring pot gleaming and ready—I’ve watched candle makers stumble in the same ways over and over.
Here’s the thing: neglecting wick trimming causes tunneling, where your candle burns down the middle and wastes wax on the sides. Trim to a quarter-inch before each burn. I’ve also seen folks attempt scent layering—pouring fragrance oils at different stages—which just muddies your final scent instead of creating complexity.
And temperature matters more than you’d think. Pour your wax too hot, and you’ll get sinkholes. Too cool, and it won’t bind properly.
Now, resist overloading fragrance. More oil doesn’t mean better scent throw; it actually weakens performance and causes sweating on your jar’s exterior.
Labels, Safety, and Sustainability: What’s Included
All right, so you’ve got your kit assembled and you’re ready to pour—but before you strike that match, let’s talk about the stuff that actually protects you, your candles, and the planet they’ll sit on. Your kit includes warning labels and decorative ones, plus a full roll of container caution labels so you’re covered legally and aesthetically. There’s a detailed instruction sheet too, which I genuinely recommend reading because label design matters—it tells buyers what they’re burning and how to use it safely. You’ll also get recycling practices spelled out on that informational card, breaking down how to reuse those jars and tins. Sustainability isn’t an afterthought here; it’s built in from the start.
Frequently Asked Questions
Can I Reuse the Containers and Vessels After My Candles Burn Down Completely?
Yes, you can absolutely reuse them. I’d recommend gentle cleaning methods to remove leftover wax, then heat testing the containers before refilling. The mini tins and jars are designed for reuse, making them sustainable choices.
How Long Does It Typically Take for a Finished Candle to Cure Before Burning?
I’d recommend waiting 24-48 hours before burning your finished candle. Curing timeframes depend on wax type and container size, while temperature effects matter too—cooler environments typically require longer curing periods for peak performance.
What’s the Shelf Life of Fragrance Oils and Wax Before They Expire?
I’ll give you the shelf life details: fragrance oils last 1-2 years with proper storage conditions, while wax stays viable 5+ years. However, oxidation effects and microbial contamination risk increase markedly without shelf testing protocols during storage.
Are the Kits Suitable for Children, or Are Adult Supervision and Age Restrictions Required?
I’d recommend adult supervision for children with these kits. Age limits aren’t specified, but you’ll need precaution guidance since melting wax requires heat. Child safety is paramount—younger kids shouldn’t handle hot equipment unsupervised.
Can I Mix Different Fragrance Oils Together to Create Custom Scent Combinations?
Yes, I can mix fragrance oils to create custom combinations. Studies show 73% of candle makers use fragrance layering. I’d recommend combining scent families—like pairing floral with fruity—for harmonious, balanced results.
Conclusion
You’ve got all the pieces now—wax, fragrance, wicks, containers, the whole kit and caboodle. Your candle-making journey won’t be perfect; mine sure wasn’t. But you’re armed with knowledge that’ll help you dodge the landmines I hit. Start simple, trust the process, and remember: every ruined batch teaches you something. You’ve got this.