As an Amazon Associate, we earn from qualifying purchases. Some links on this site are affiliate links at no extra cost to you. Our recommendations are based on thorough research and editorial judgment.

Wax Melt Coloring Guide: Dyes, Micas & How Much to Use

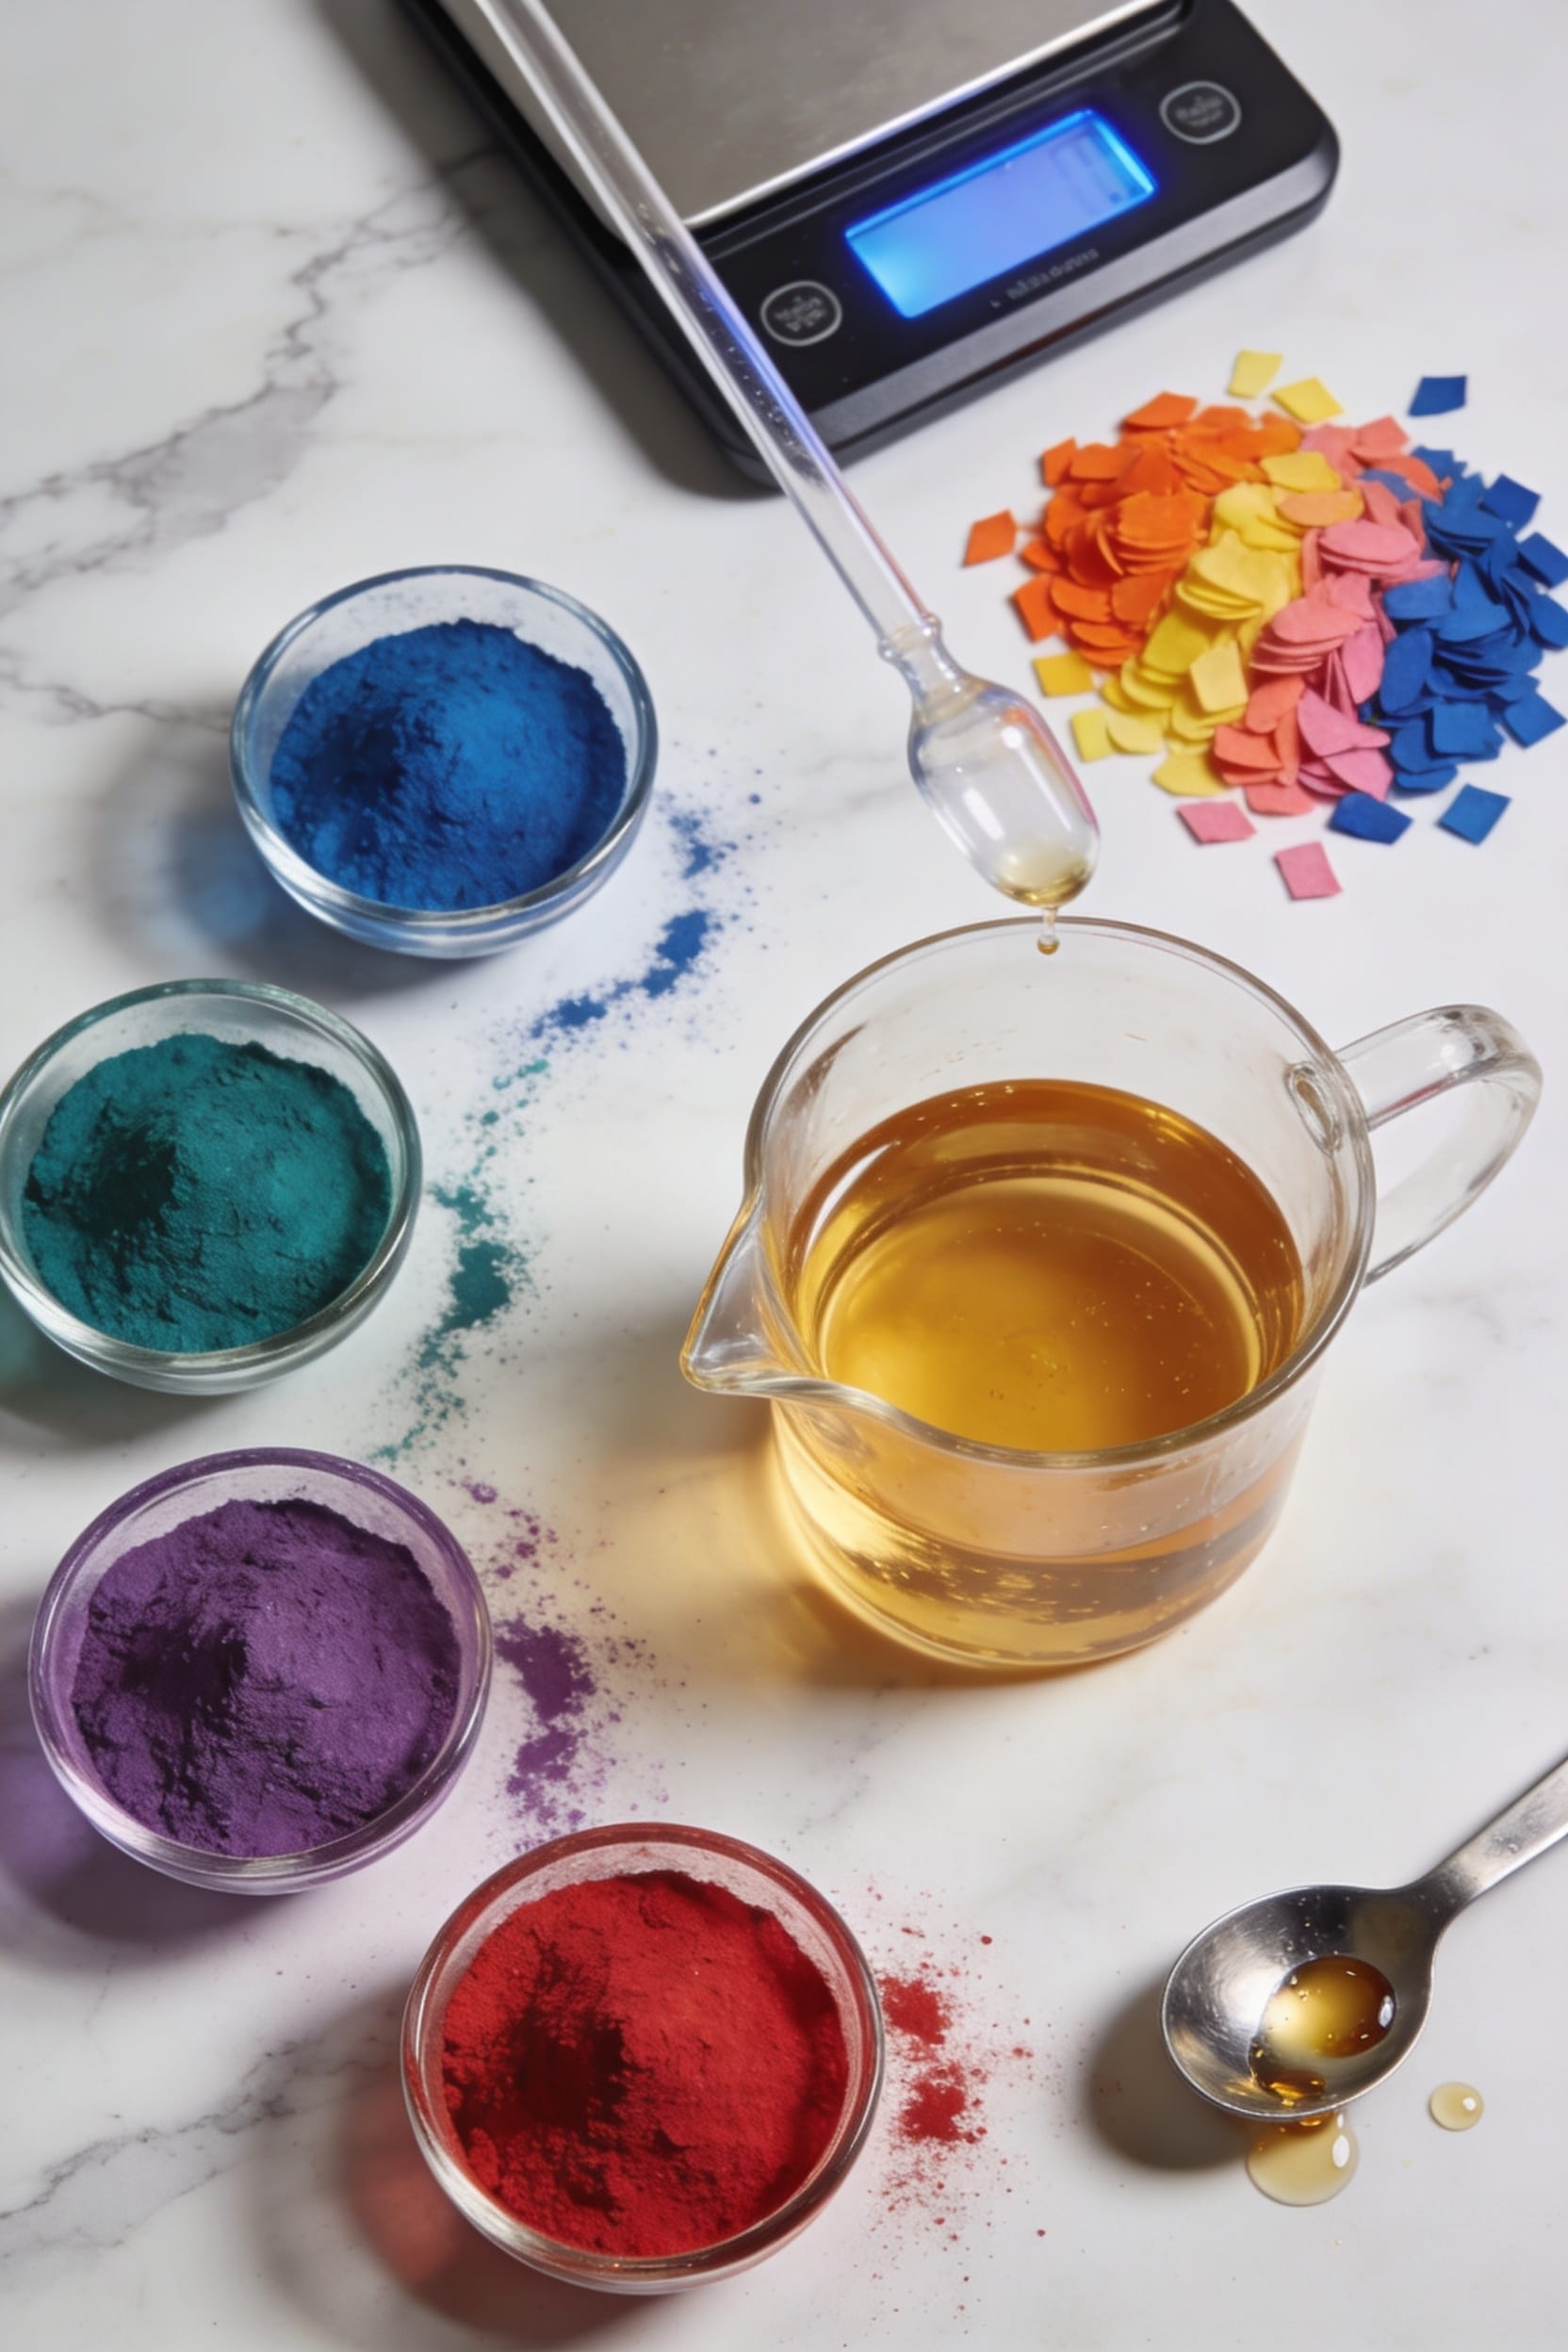
All right, here’s the thing: I’ve made plenty of dull, uneven wax melts before figuring out the difference between dyes and mica. Liquid dyes dissolve into wax for consistent color throughout melt cycles, while mica—a mineral powder—suspends in wax for sparkle but doesn’t blend uniformly. Use about 2 grams mica per kilogram of wax, cool your wax to 65°C before adding colorants, and stir thoroughly. Combining both gives you lasting color and shine. The specific mistakes that tank batches, though, involve temperature and timing.
Key Takeaways
- Dyes dissolve into wax for consistent color; mica suspends for sparkle but doesn’t blend uniformly throughout.
- Use 2 grams mica per kilogram of wax, or 0.2 grams per 100 grams using precision scales.
- Cool wax to 65°C before adding dye to ensure smooth distribution and prevent premature setting.
- Combine liquid dyes with mica for lasting color and sparkle that survives multiple melt cycles.
- Stir thoroughly at low heat, pour steadily, and document all measurements to achieve consistent, vibrant results.
Mica vs. Dyes: Which Colorant Works Best for Your Wax Melts?
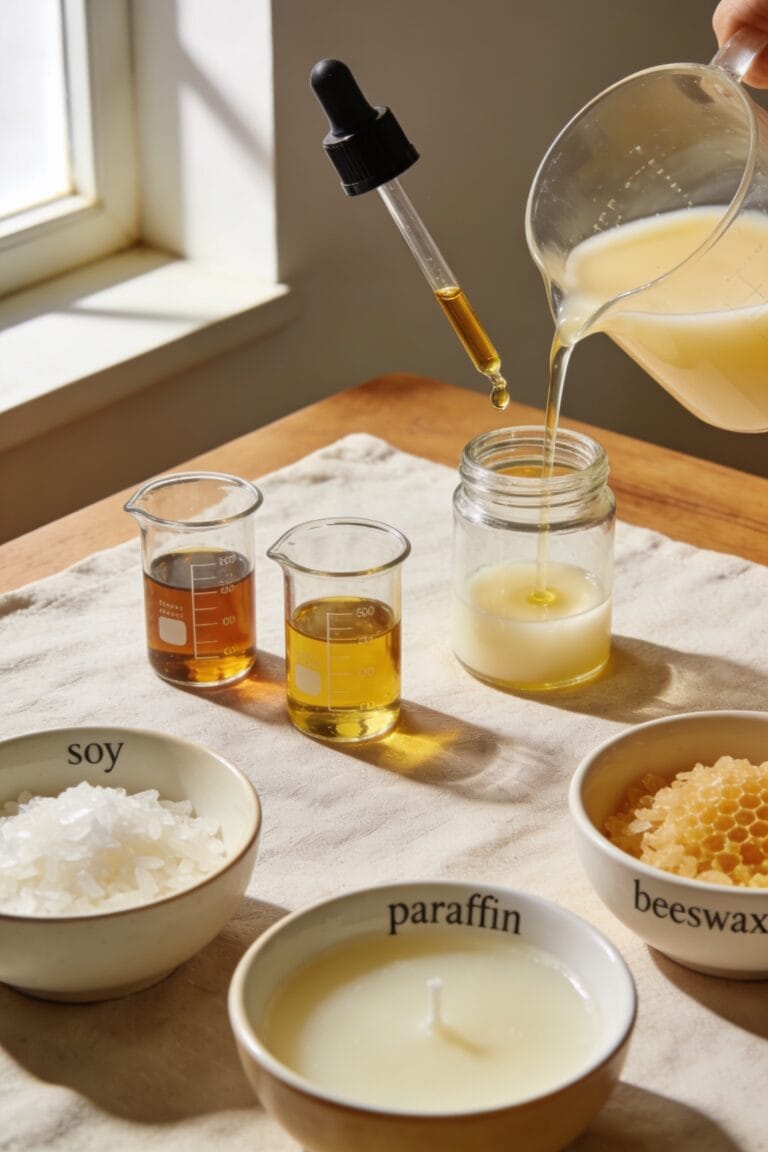
When you’re standing in front of your melting pot trying to decide whether to reach for the mica or the dyes, here’s the thing: they’re fundamentally different tools that solve different problems. Dyes dissolve into wax completely, giving you full pigment compatibility and consistent color throughout each melt cycle. Mica, being mineral powder, sits suspended in the wax instead—it won’t migrate or fade, but it won’t blend uniformly either. I’ve learned that dyes excel when you want predictable, deep saturation and color psychology that shifts with temperature. Mica shines for sparkle and shimmer effects. The real move? Use both. Combine liquid dye with mica for lasting color that keeps its punch after repeated melting. Test small batches first—you’ll find your sweet spot quickly.
Recommended Products

DEEP 2-4 INCH POURS: Pour up to 2-4 inches in a single lift for river tables, live edge wood, and large molds. No stacked pours, no layer lines, no waiting between coats.
Maximum Casting Thickness - Achieve up to 3" thickness for deep art castings, sculptures, and more. Ideal for river tables and live-edge wood slab tables. Use MAS Epoxies Penetrating Epoxy Sealer (sold separately) for a thin seal coat on porous wood to eliminate air bubbles.

CRYSTAL CLEAR TABLE TOP COATING: Self-leveling 1:1 epoxy resin cures to a glass-like, high-gloss finish for tabletops, bar tops, countertops, and cast creative projects.
Exact Measurements: How Much Mica and Dye to Use
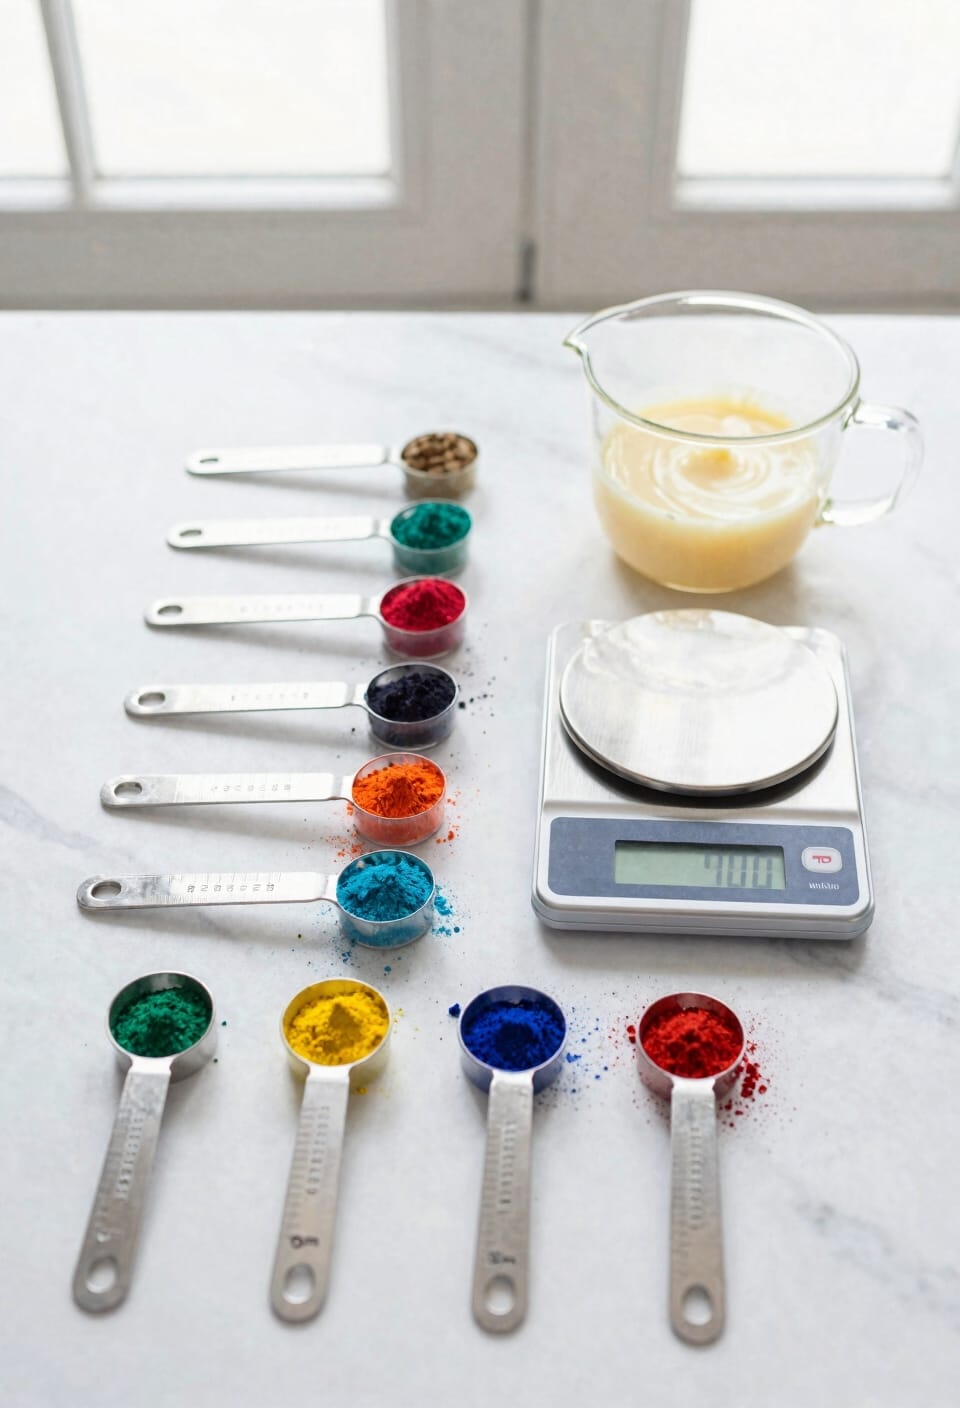
All right, here’s where a lot of people trip up: they eyeball their colorant and end up with either a batch so pale it looks like sad vanilla or so dark it won’t even glow when lit.
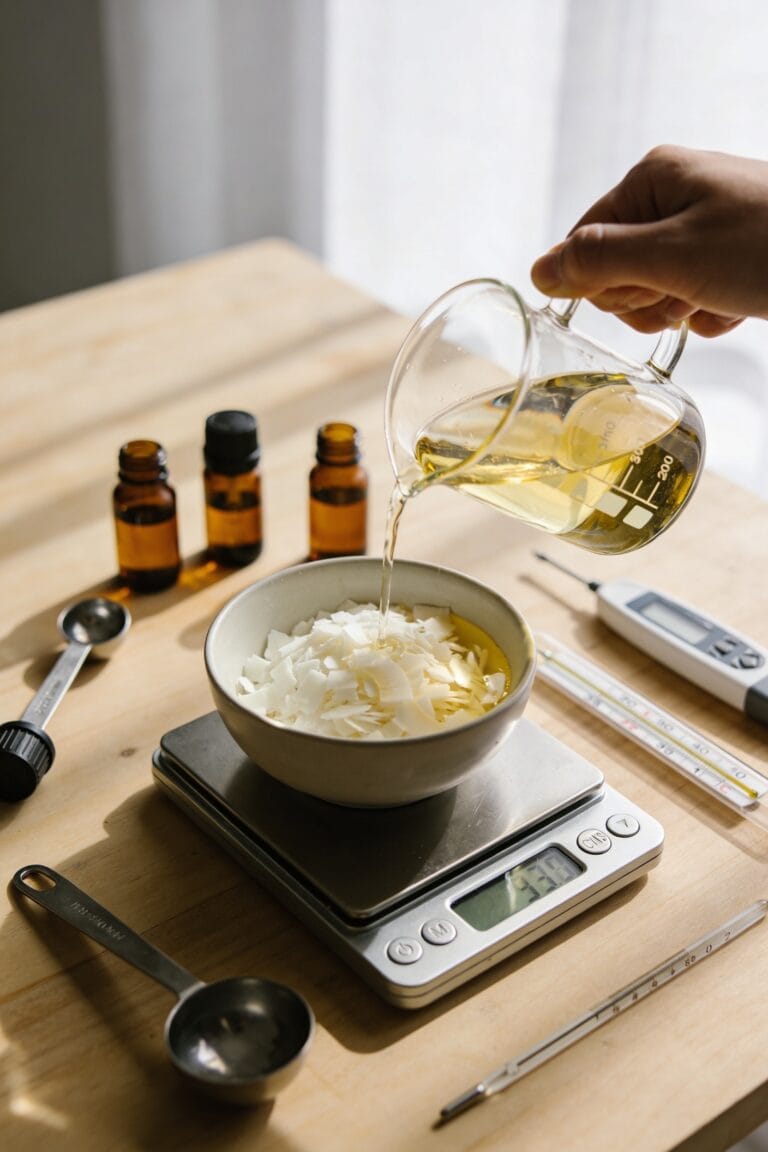
Start with 2 grams of mica per kilogram of wax. That’s your baseline. For measurement conversions, if you’re working smaller—say 100 grams—divide down to 0.2 grams using a precision scale. Liquid dye? A few drops for pastels, more for deep shades. Record everything.
When batch scaling up, don’t just multiply randomly. Test your ratios first in small quantities. Grab microscoops or a 0.01g scale. Consistency beats guessing every single time.
Recommended Products

NATURAL SOY WAX BEADS - Best candle making supplies make the best soy candles! These safe, ethically produced, microwavable and paraffin-free soy wax beads are smooth and creamy in appearance, perfect for container candles, tealights and melts.

【Super Surprise Color Combination】:Our pearlescent mica powder has 144 spectacularly vibrant and beautiful colors,each bottle is 10g/0.35oz.Just a little mica powder can bring a very gorgeous effect.With its shiny surface,this mica powder pigment provides a gorgeous and lasting effect for your artistic creation.
【Super Surprise Color Combination】:Our pearlescent mica powder has 100 spectacularly vibrant and beautiful colors,each bottle is 10g/0.35oz.Just a little mica powder can bring a very gorgeous effect.With its shiny surface,this mica powder pigment provides a gorgeous and lasting effect for your artistic creation.
How to Apply Color So It Stays Vibrant and Even
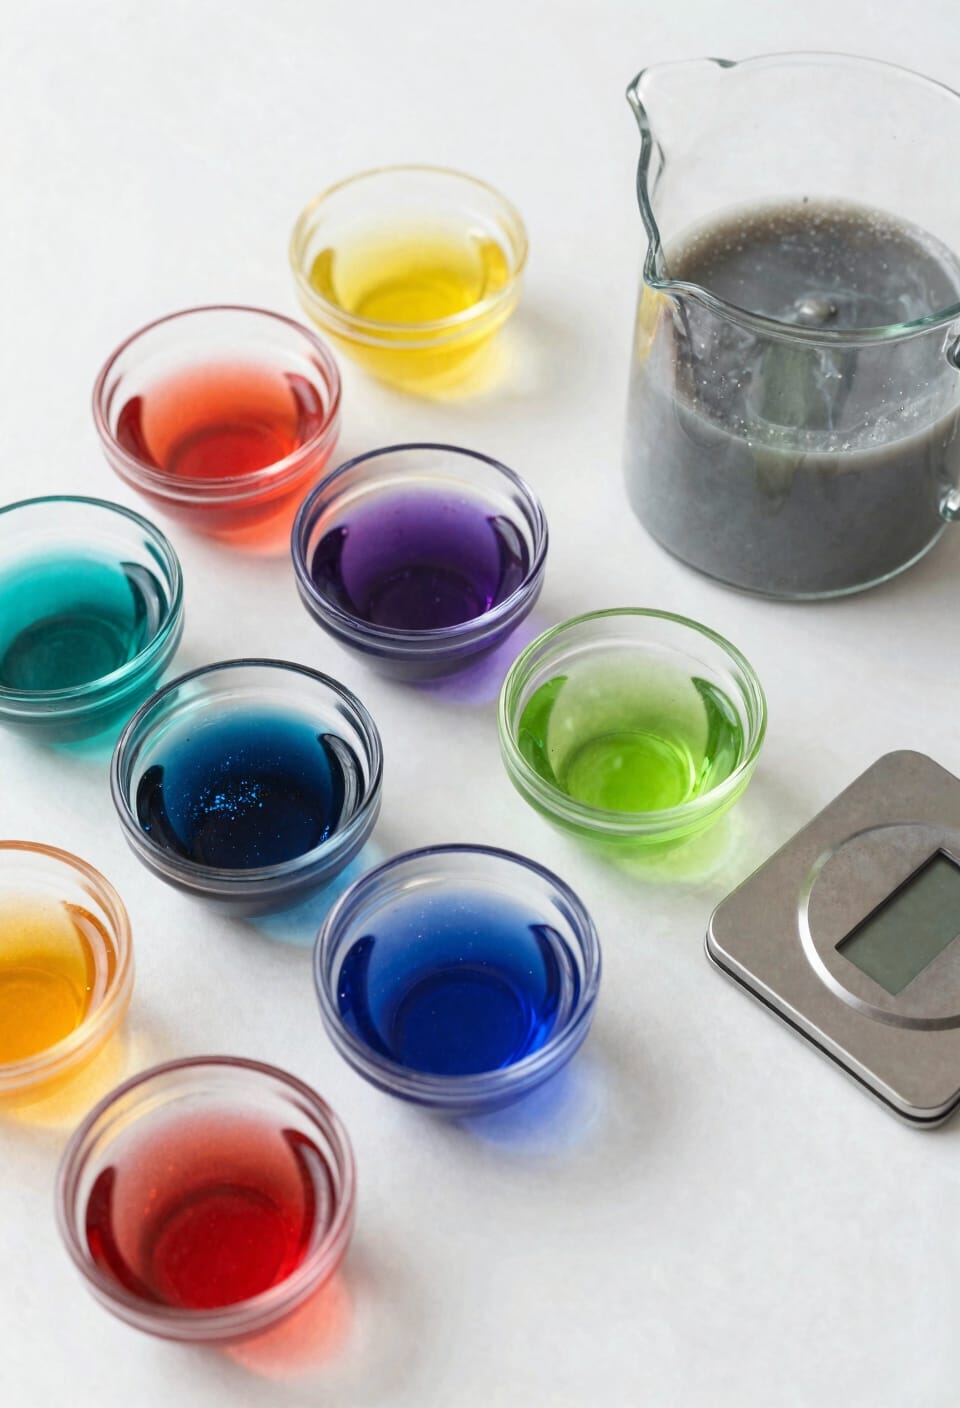
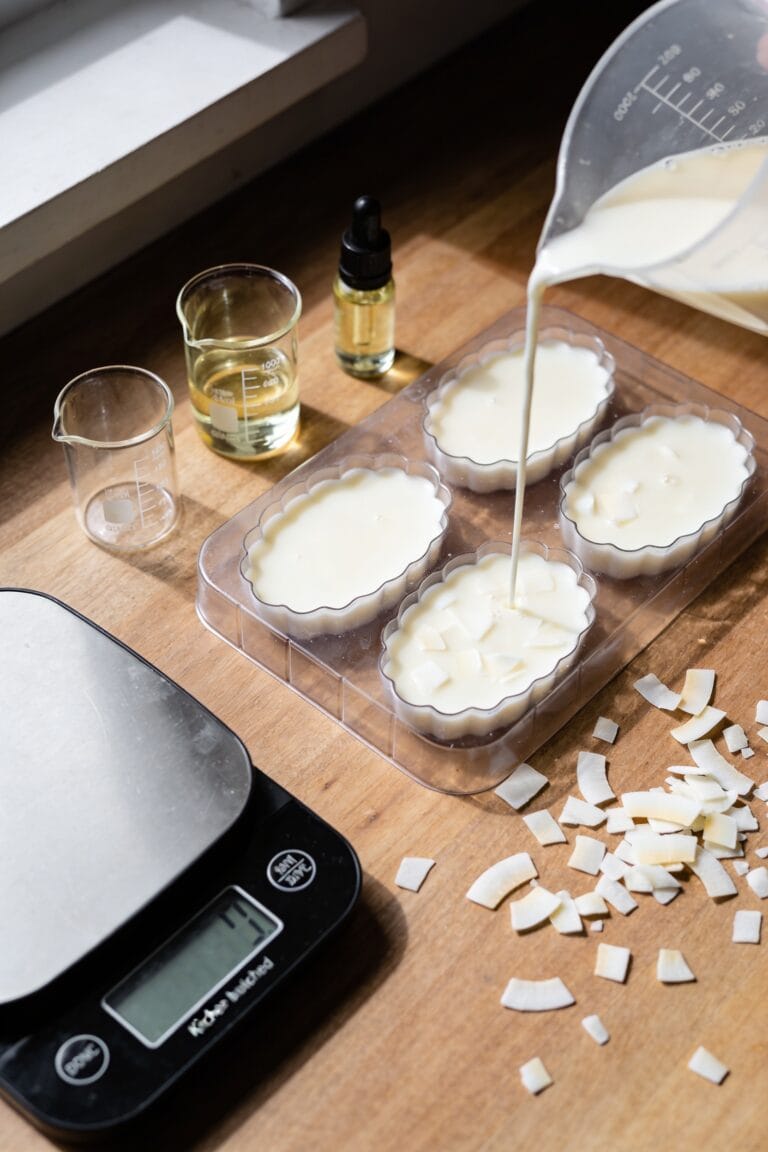
Now that you’ve nailed your measurements, the real test is getting that color to actually *stay* vibrant instead of fading into a disappointing ghost of itself after a few melt cycles. Here’s the thing: even dispersion is everything. Stir your dye or mica thoroughly into molten wax at low heat—rushing this step creates blotchy, uneven patches. Cool your wax to 65°C before adding dye; this prevents premature setting and guarantees the colorant distributes smoothly throughout. For surface sealing, let your melts cure fully before packaging. Consider colorfast additives designed specifically for wax to lock color in place across multiple burn cycles. Mix after dye fully blends, then pour steadily. Document exactly what worked—drops, weights, temperatures. You’ll thank yourself next batch.
Recommended Products

Creates a piece that appears to have been painted and stripped, 8 ounces

Wax Dye For Candles: Our candle-making kit contains 26 bags with 0.27 oz of dye each.
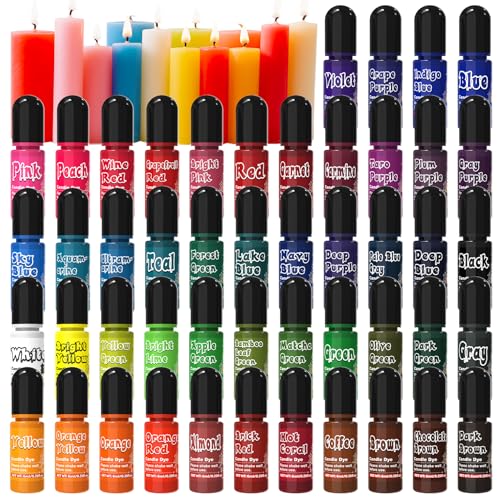
RICH COLORS - This candle dye set contains 48 bright and rich colors. Whether you are making holiday theme candles, personalized gift candles or artistic decorative candles, you can easily match the colors you like, making your candle making works more creative and recognizable.
Create Pastels, Jewel Tones, and Marbling Effects
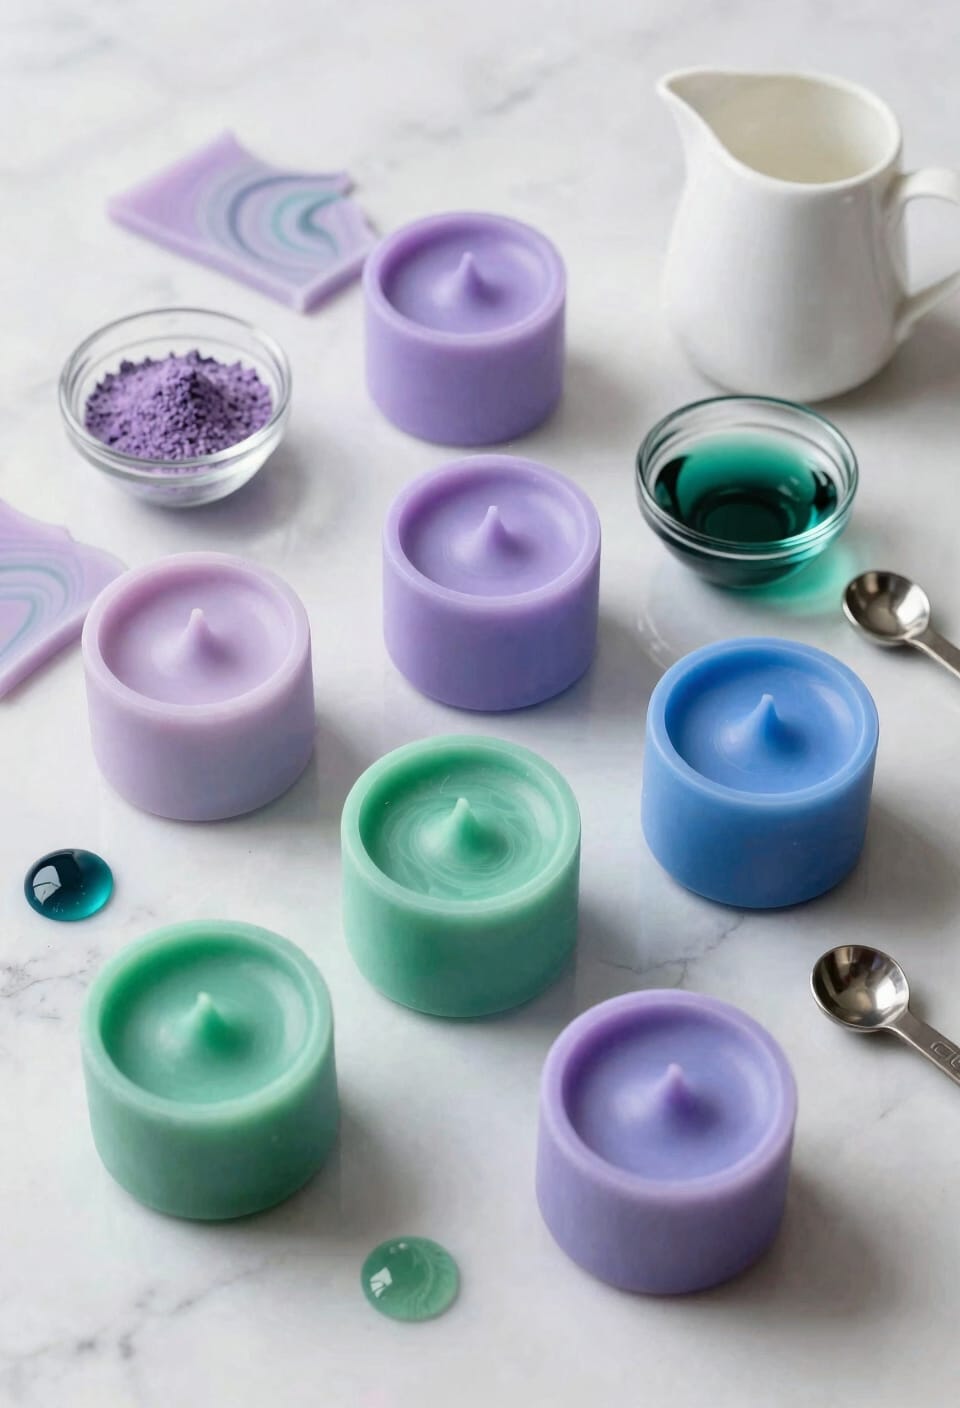
Mastering base wax selection is your secret weapon for revealing the color palettes you actually want—pastels, jewel tones, and those Instagram-worthy marbled effects that make people stop scrolling. White bases give you soft pastel layering, while translucent wax cranks up vibrancy for deeper jewel tones. Now, here’s where it gets fun: combine liquid dyes with mica for marbled swirls that actually last through multiple melt cycles. Pour your base at the right temperature, add dye to one section, then swirl in contrasting colors before the wax sets. Start small—a few drops of liquid dye goes surprisingly far. Track what you’re doing. Those happy accidents? Document them, because you’ll want to recreate that exact shade next time.
Recommended Products

Bliss Wax is blend of soy wax (60%) and Food Grade paraffin wax (40%) . This superb wax comes in granular form for easy measuring, scooping, and use. This wax is great for tarts/wax melts, votive candles, and pillar candles. This wax has excellent fragrance retention and produces both a great cold and hot throw.

HIGHLY CONCENTRATED: Brand new formula with highly concentrated colors for your creativity. A little goes a long way. Each bottle contains 10 ml /0.35 oz of liquid wax dye, enough for 2.2 lbs of wax. Our natural candle dye has a better dyeing effect than normal liquid candle dye. FYI you can check our video followed by main pictures

High Quality Mica Powder Set: The resin dye has 25 Vibrant and bright colors,each bottle is 20g/0.75oz a set of 500g.pigment powder crafted from naturally ground stone mica,Large capacity can be used for a long time.Metallic mica powder does not fade,Just a small amount of resin color dye will achieve amazing lustrous effects.
Common Wax Melt Coloring Mistakes and Fixes
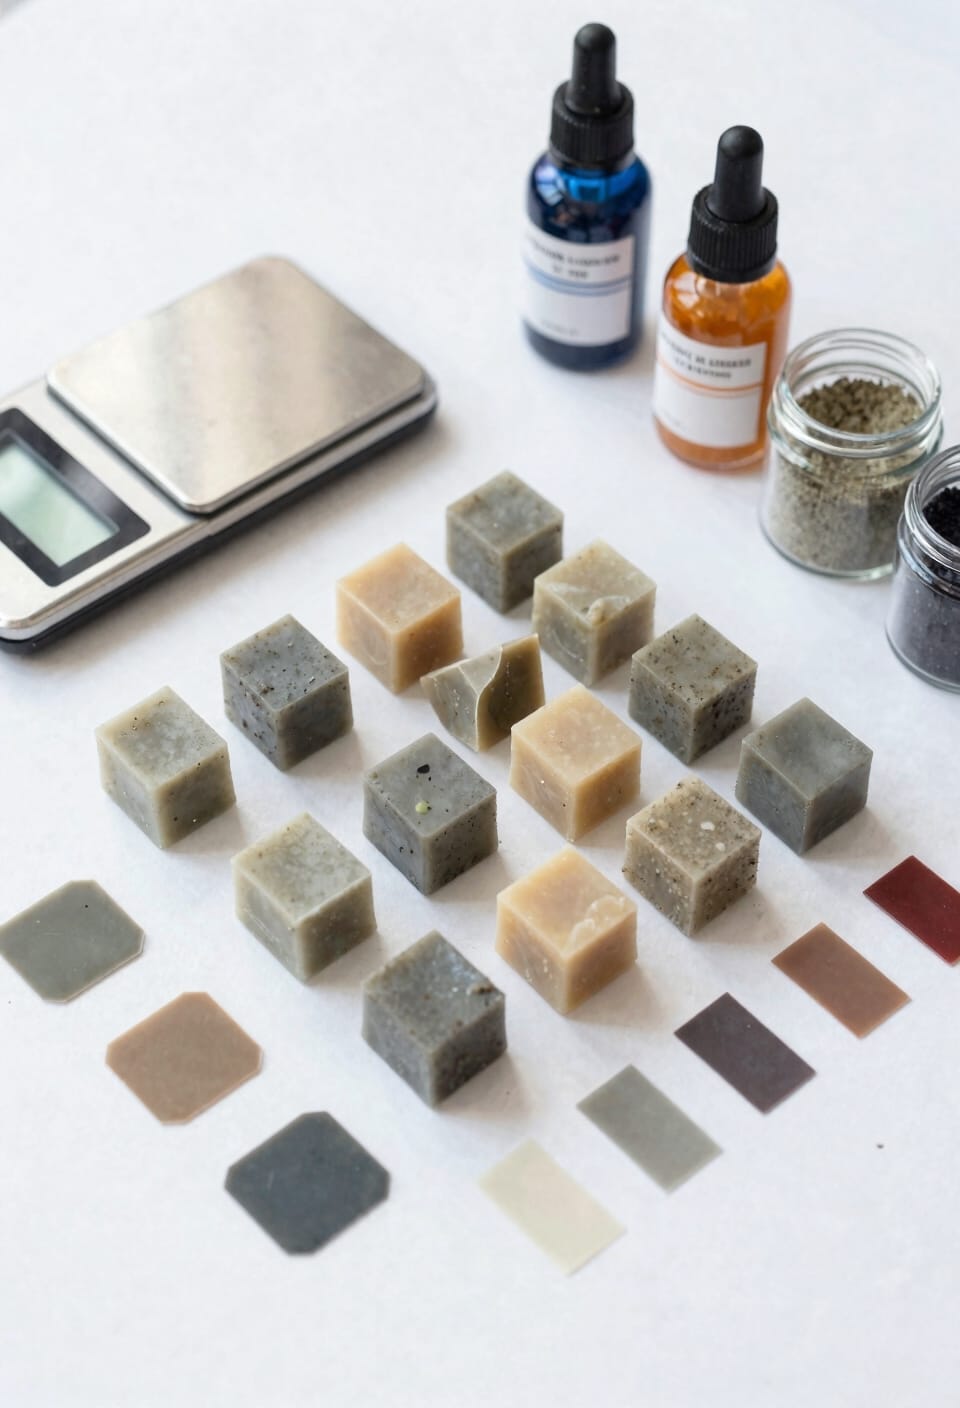
Once you’ve nailed your base wax choice and figured out which dyes or micas work with your vision, it’s easy to think the hard part’s over—but that’s actually when most coloring disasters happen. Overheated wax burns dyes and causes uneven color. Cool to 65°C before adding anything. I’ve also watched staining wicks ruin melts when mica settles unevenly. Stir thoroughly but gently, and consider wooden wicks for powder colorants. Another common trap? Not testing your ratio first. Record everything—drops, weights, temperatures. Skip this and you’ll remake batches endlessly. Finally, patience matters. Don’t pour hot. Don’t rush cooling. Your future self thanks you.
Recommended Products

Excellent 108 Colors Mica Powder Set: You'll get 108 vibrant unique colors with 3 color schemes, 36 Original Colors and 36 Pastel Colors and 36 Fine Glitter Powder(0.7oz, 20g each bottle)! Meet all the needs of creating bright beautiful crafts you desire!

(5 Colors) Large 3.5oz (100g) Pouches: Features Jewelescent Dry Mica Pearl Powder Pigment in a resealable, easy-pour pouch. Colors include: Interference Gold, Red, Violet, Blue and Green.

ALL NATURAL: Our soy wax is 100% natural and completely nontoxic. Thanks to its premium quality, this soy wax is very easy to blend with the candle coloring dyes and candle fragrance scents, so you can be sure that your handmade DIY candles will be beautiful and aromatic
Frequently Asked Questions
Can I Combine Mica and Dye Together in the Same Wax Melt Batch?
Yes, I’d combine mica and dye for layered effects in your batch. I’d add dye first at 65°C, then mix mica after for lasting color without safety concerns about migration or bleeding issues.
Does the Type of Wax Base Affect How Colors Appear in Finished Melts?
I’ve discovered that your wax base dramatically shapes color outcomes. White bases yield pastels while yellow bases retain deeper tints. I’d recommend translucent bases for vibrant hues—their wax translucency and surface sheen truly amplify color intensity.
What Equipment Do I Need for Precise Measurement of Tiny Mica Amounts?
You’ll need a 0.01g precision scale and micro spatulas for accurate mica measurement. I’d recommend starting with these tools since they’ll let you control tiny amounts—essential when you’re working with just grams per kilogram of wax.
Why Does My Mica Keep Settling to the Bottom of My Wax?
You’d think shimmer’d float, but it doesn’t. Mica settles because it’s mineral powder—it won’t dissolve. Poor dispersion happens naturally, and static attraction worsens it. I’d stir constantly while pouring to combat settling.
How Do I Prevent Mica Powder From Clogging Wooden Wicks During Melting?
I’d recommend applying mica as a surface coating on your wax melts rather than stirring it throughout. This prevents wick filtration issues, keeping your wooden wicks clear during melting while still achieving that gorgeous shimmer you’re after.
Conclusion
I’ve thrown enough failed batches in the trash to know that coloring your wax melts doesn’t have to be complicated. Get your measurements right, pick the colorant that matches your wax type, and you’ll create something as satisfying as watching melted wax swirl into perfect jewel tones. You’ve got this—trust the process and your instincts’ll follow.