As an Amazon Associate, we earn from qualifying purchases. Some links on this site are affiliate links at no extra cost to you. Our recommendations are based on thorough research and editorial judgment.

Why Is My Soy Candle Not Smooth? Causes & Easy Fixes
Look, rough soy candle tops usually aren’t a wax problem—they’re pouring, cooling, or fragrance mistakes you can totally fix. Pour between 120–140°F, let it cool slowly in a warm room without drafts, and keep fragrance load under 10% to avoid separation. Pure soy shrinks unevenly, so consider blended wax. Aggressive stirring traps air bubbles that crater surfaces, and a heat gun can smooth minor imperfections after the fact. The specifics matter more than you’d think.
Key Takeaways
- Pour temperature outside 120–140°F causes rapid cooling pitting or warm-side drying that creates uneven surfaces.
- Rapid cooling from drafts or fans hardens exteriors while interiors stay warm, causing surface cracks and stress.
- Pure soy wax shrinks unevenly during cooling; blended waxes with paraffin or coconut cool more uniformly.
- Fragrance overload above 6–10% and aggressive stirring trap air bubbles that form surface pits.
- Heat gun reflow gently melts top layers to smooth minor imperfections without requiring full remelt.
Pouring Above 140°F Causes Pitting; Below 120°F Creates Rough, Lumpy Tops
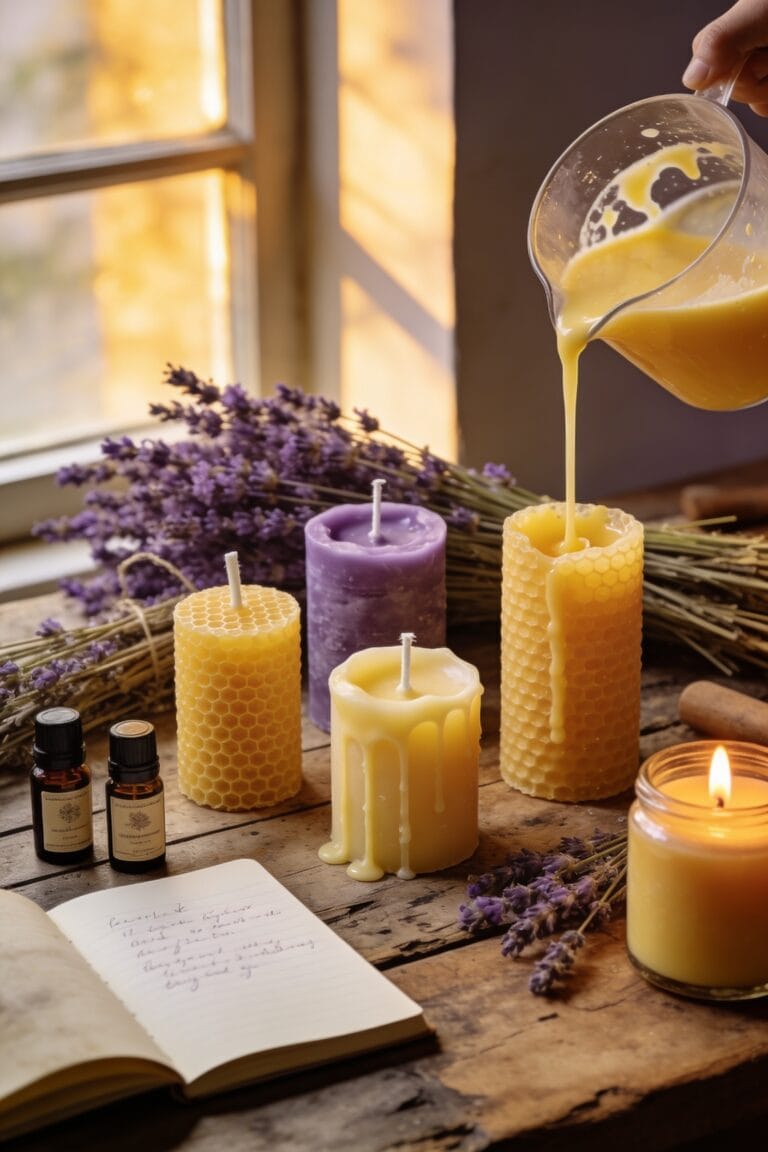
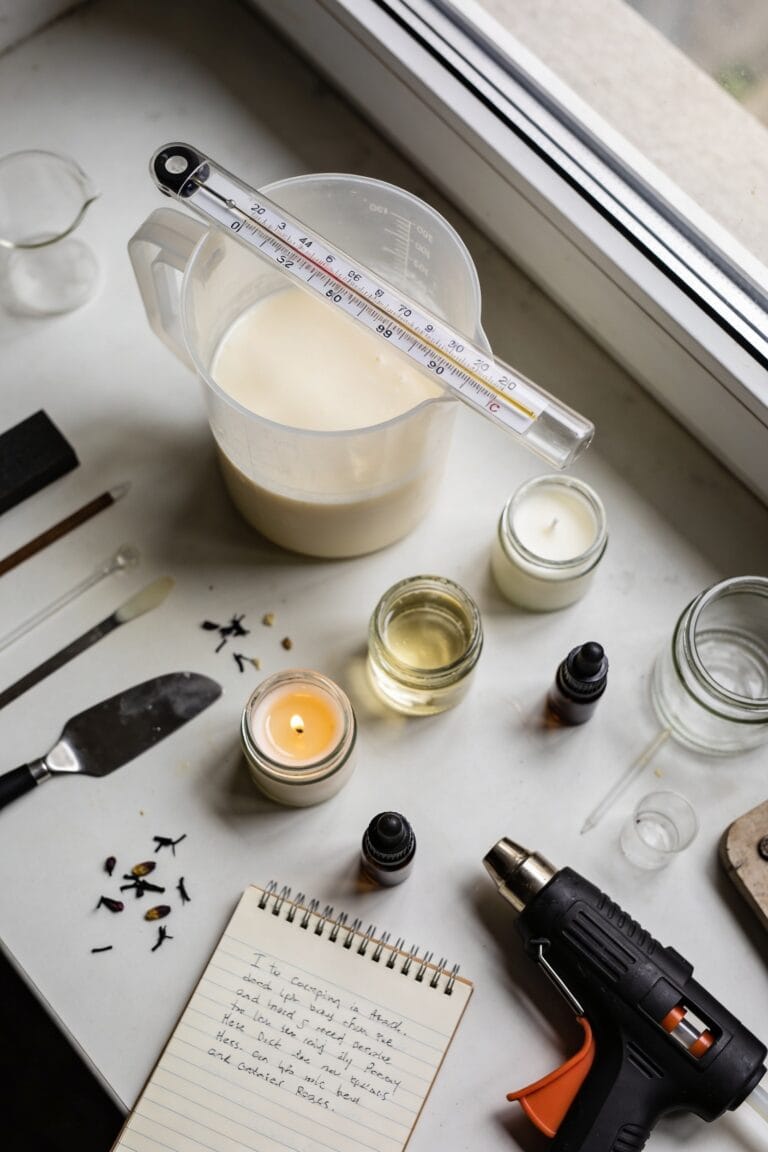
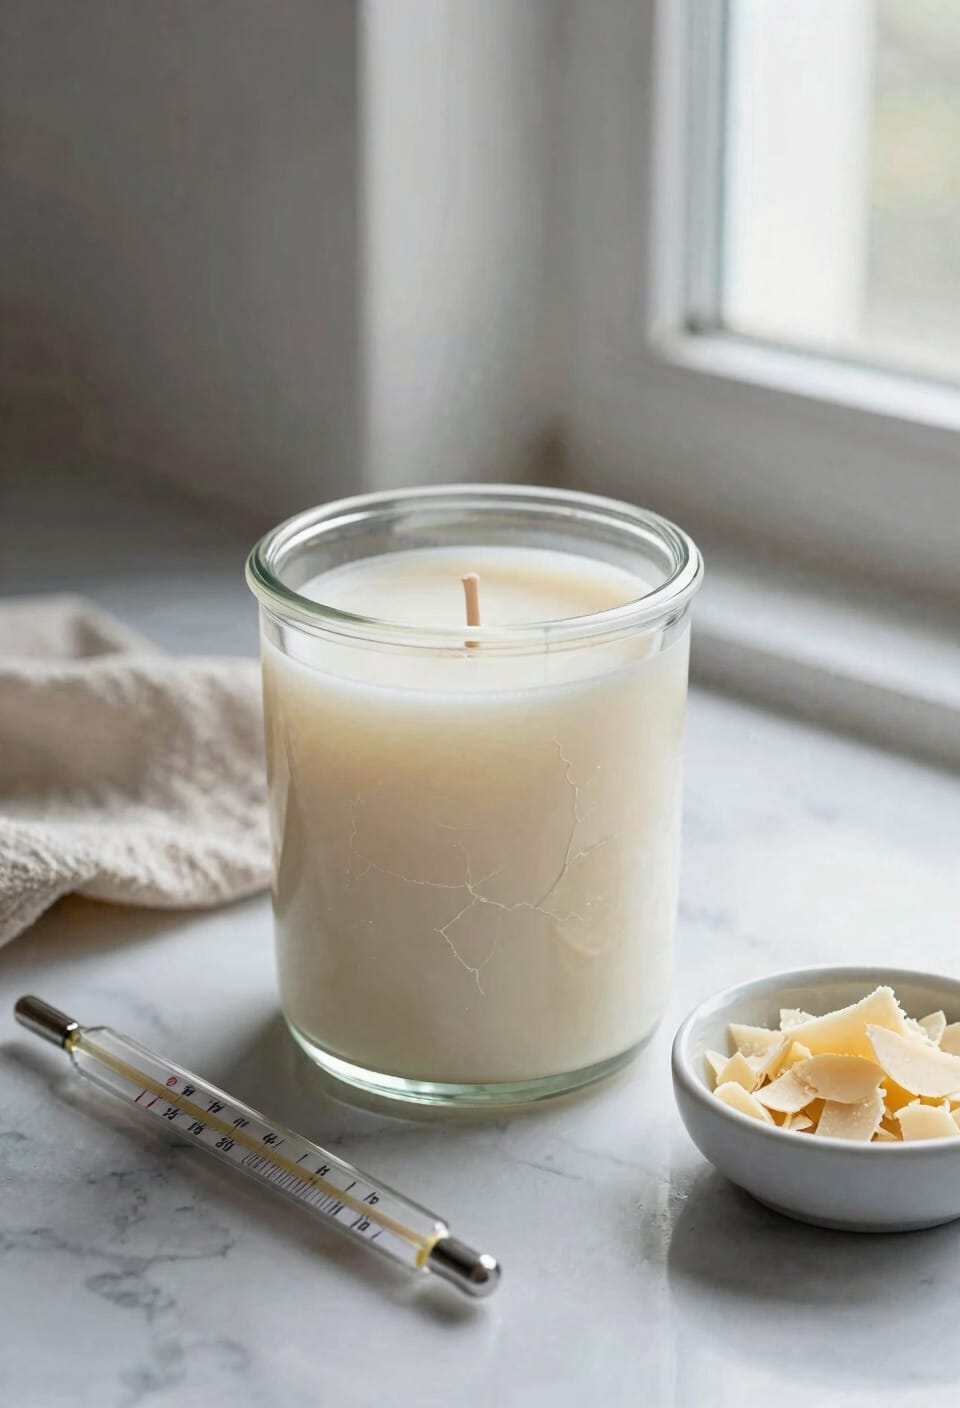
When you’re pouring wax into a mold, that thermometer in your hand isn’t just decorative—it’s the difference between a candle that looks professionally smooth and one that looks like the surface of the moon. Pour above 140°F and you’re asking for trouble—pitting happens when the wax cools too fast after hitting the container, leaving tiny craters scattered across your top. Drop below 120°F, though, and you’ve got a different problem entirely. The wax starts drying on top while the underneath stays warm, causing it to sink unevenly. Your temperature control and pour timing work together. I’ve learned that seasonal changes mess with this too—what worked in summer might need adjusting come winter. Use that thermometer religiously, test your range, and adjust incrementally based on your specific wax blend.
Recommended Products

TWENTY POUNDS OF PREMIUM 1 LB BEESWAX BARS: 100% Natural Premium Yellow/Golden Beeswax. Clean burning, Natural aroma, Cosmetic ready. Suitable for food contact. Our pure beeswax bars are perfect for a wide variety of applications requiring 100% pure beeswax. Packaged in one-pound (5″ x 3.5" x 1.75") bars.

✔MAXIMIZE YOUR PRODUCTIVITY - With the Leerie L10 Wax Melter generous 10qts/20 lbs capacity(10L Inner), you can produce a greater quantity of 40x 8oz candles in a single batch. Maximize your productivity and meet the demands of your growing candle business. You'll be amazed at how many more candles you can produce with our candle wax melting pot! NOTE: 10-Liter inner tank (approx. 17–20lbs melted wax, blend-dependent).

【Natural Soy Wax Flakes】Our soy wax flakes comes from organic farms, enriched with natural soy, without additives, harmless and pure, it is your ideal soy wax for candle making.
Fast Cooling Cracks Your Smooth Surface
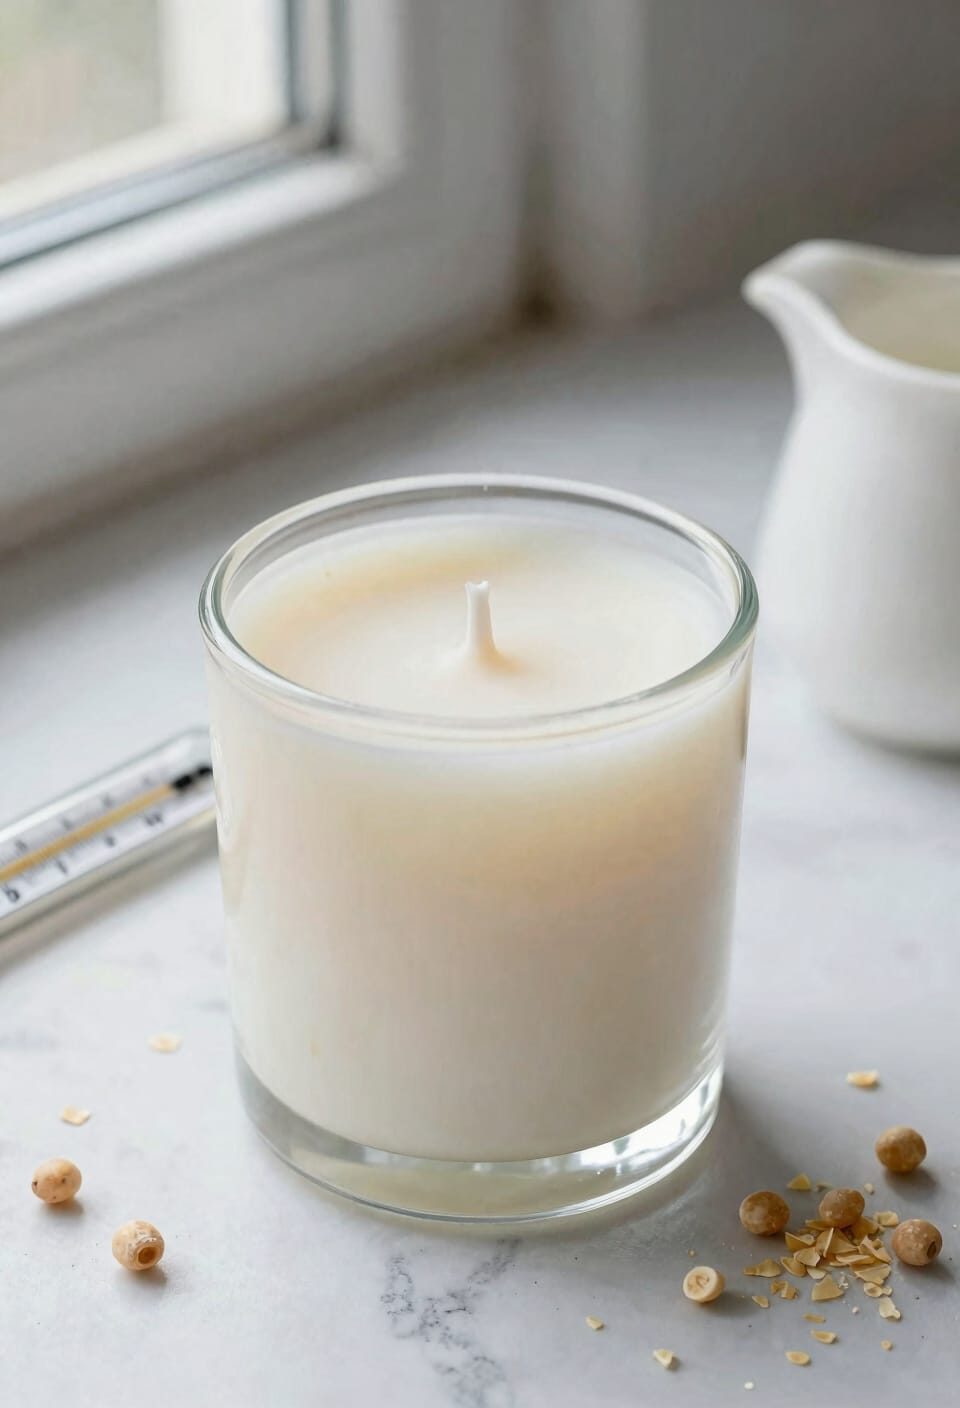
After you’ve nailed your pour temperature and watched that wax settle into your container, you’re not done yet—the cooling process is where a lot of candles go sideways, and I’ve got the damaged goods to prove it. Here’s the thing: rapid solidification from cold drafts, fans, or open windows causes your surface to crack and form bumpy texture. When cooling happens too fast, the outside hardens while the interior stays warm, creating stress that flexes and contracts unevenly. I’ve ruined batches by leaving windows open during winter without thinking. Instead, let your candles cool slowly in a warm, stable room around 21°C. No fans, no cold drafts, no shortcuts. Patience wins here.
Recommended Products

Handcrafted with Artisan Care - Each pillar candle is lovingly handmade from start to finish – from pouring premium soy wax into molds to careful packaging. Unlike machine-made candles, slight variations in texture and shape celebrate the charm of human craftsmanship. These natural imperfections tell the story of authentic handcrafting, making every candle a unique art piece for discerning homeowners who value quality and character

【CAPTIVATING FRAGRANCE】Our candles have a unique and delightful fragrance.We've named this enchanting fragrance "RAINOWE". As the line goes, "I lean by th' window, hark the rain's song," it evokes the serene ambiance of a rainy day. The top notes of Cypress, Blackcurrant, Pepper, and Citrus bring a fresh, lively start. Jasmine in the middle adds floral grace, while Musk, Cedarwood, Woody Amber, and Vetiver in the base create a warm, woody base, blending into a charming scent for our candle.

LET’S TALK NATURE - For starters, soy wax is all-natural baby! Made from soybeans that are grown by local, U.S. farmers (can you believe it, real life people grow this stuff!). Plus (brownie points right here), soy is biodegradable!
Pure Soy Wax Shrinks Unevenly as It Sets
Pure 100% soy wax shrinks at uneven rates during cooling, and that’s the core reason your candle tops end up looking cratered, frosted, or lumpy instead of smooth. The molecular instability in pure soy causes different sections to contract at different speeds. You’ll get faster shrinkage near the edges and slower shrinkage in the center, creating that signature uneven surface. Blended soy waxes with paraffin or coconut additives cool more uniformly because those additives stabilize the molecular structure. If you’re committed to pure soy, slow cooling in a warm, undisturbed room helps minimize uneven contraction. But honestly, switching to a quality soy blend solves this problem almost entirely. Your candles will look professionally smooth right out of the mold.
Fragrance Oil Overload Breaks Down Your Wax
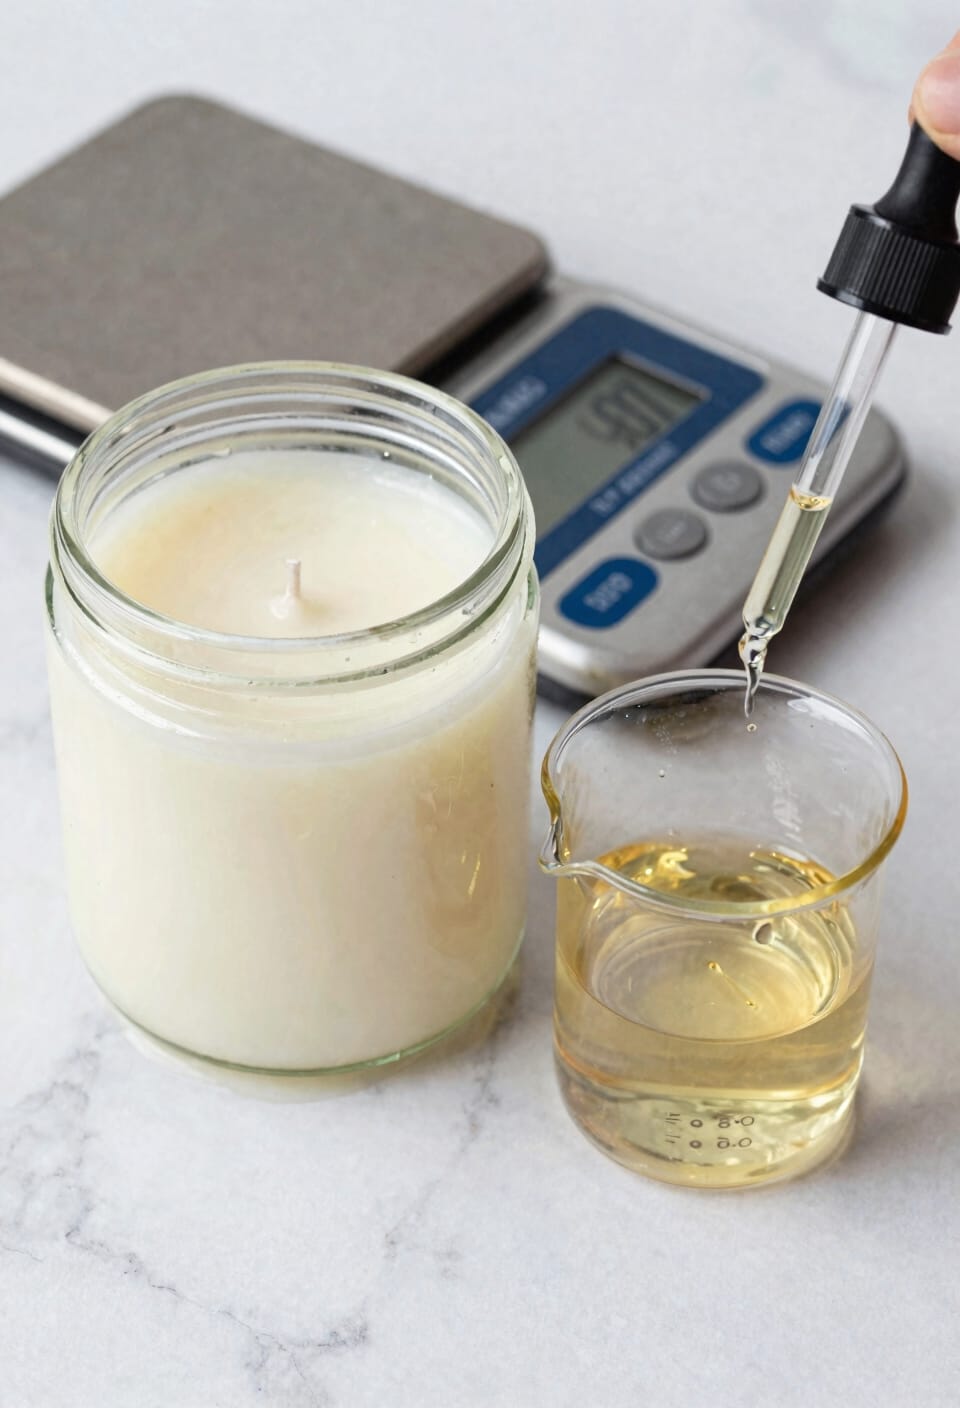
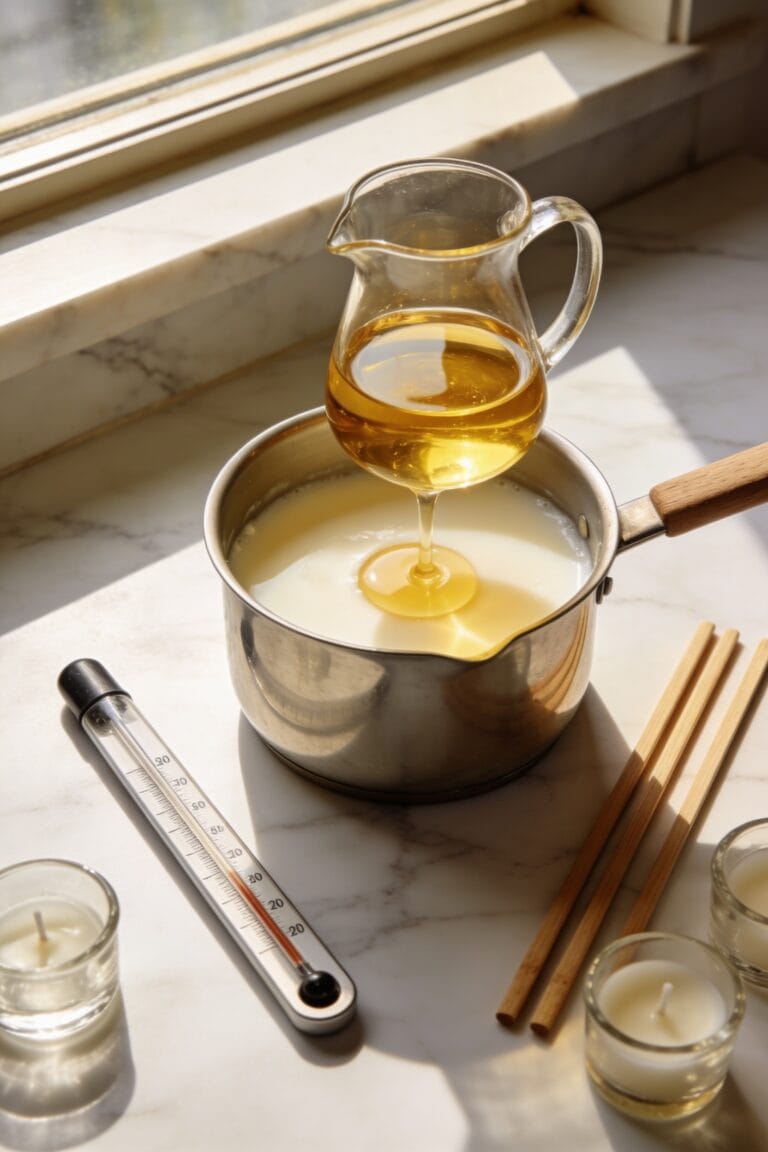
If you’ve ever poured what you thought was a perfectly fragrant candle, only to watch the top crater and separate into an oily mess, you’ve probably overdosed on fragrance oil—and I’ve been there too. Here’s the thing: fragrance load—that’s the percentage of scent oil mixed into your wax—shouldn’t exceed 6–10%. Push beyond that, and you’re basically asking your wax to fail. The oil can’t properly blend anymore, causing fragrance separation where the scent literally pools on top like a greasy slick. Certain oils like vanillas and lavenders are notorious troublemakers, and poor scent compatibility with your wax type makes it worse. Add fragrance at the right temperature, stir slowly for a couple minutes, and stick to quality candle-grade oils. Your smooth top depends on it.
Recommended Products
![VINEVIDA [128 Oz] Scent No.3010; Fragrance Oil for Candle Making and Soap Making - Premium Candle Scents for Soy Candles](https://m.media-amazon.com/images/I/317iHilltgL._SL500_.jpg)
![VINEVIDA [128 Oz] Scent No.3016; Fragrance Oil for Candle Making and Soap Making - Premium Candle Scents for Soy Candles](https://m.media-amazon.com/images/I/31eDg3sHSxL._SL500_.jpg)
![VINEVIDA [128 Oz] Scent No.1910; Fragrance Oil for Candle Making and Soap Making - Premium Candle Scents for Soy Candles](https://m.media-amazon.com/images/I/311YSf73dcL._SL500_.jpg)
Versatile Uses: Perfect fragrance oil for candle making; ideal for soy wax, soap making, perfume making, body butter, car freshies; create professional quality scented products with these concentrated essential oil alternatives
Aggressive Stirring Traps Air Bubbles That Create Surface Pits
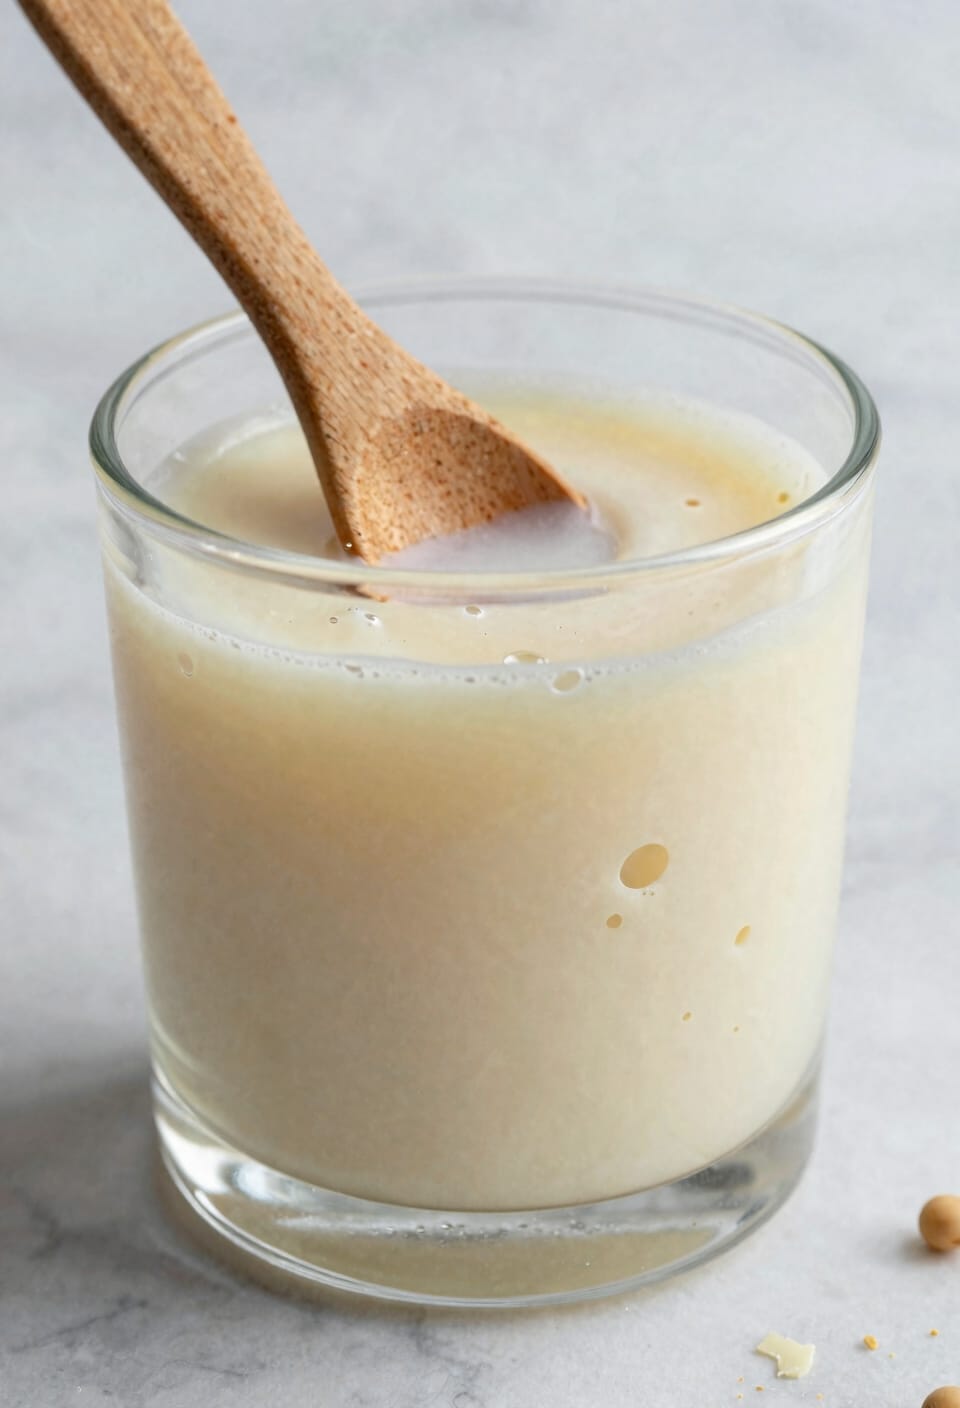
Stirring your fragrance into melted wax might seem like it’d be simple enough—just blend it in and move on—but here’s where a lot of candle makers (myself included, early on) go wrong: aggressive stirring introduces air bubbles into your wax, and those bubbles travel to the surface during cooling where they solidify into visible pits and a rough, cratered texture.
Here’s the thing: bubble formation happens fast. When you vigorously mix fragrance oil into hot wax, you’re effectively whipping air into it. That air entrapment becomes a problem as your candle cools—those trapped pockets expand and contract unevenly, leaving behind surface cratering that no amount of trimming fixes.
The fix? Stir gently and slowly for just one to two minutes. You’re blending, not aerating. Slow movements keep fragrance distributed without introducing unwanted air into your pour.
Recommended Products

All-In-One Starter Kit – Everything you need to dive into candle making! Our Etienne Alair soy candle wax for candle making includes 50 lbs of smooth soy wax flakes, 100 cotton wicks, 100 adhesive stickers, and 2 centering tools. Perfect for beginners or seasoned DIYers.

【Heating Core Spout Technology】SAY NO TO clogged! The patented spout tech keeps wax heating and running internally. The nozzle is located lower than the bottom of the internal container allowing the wax to flow emptying and faster pouring easily. Great for a clean pour! Built for candles, soap making, ideal for DIY hobbies, small-medium size candle business.

Wax Melting Pot with 17.5 LBS Capacity of Wax! Spoon included! Super-Fast Technology can melt Soy Wax, Paraffin, Coconut & Beeswax in record time. You'll be surprised why you didn't have a large wax melter like this earlier. Easy to use thermostat can be set anywhere from a Warm - 400 degrees F.
How to Smooth Over Rough Candle Tops (Fixes That Work)
So you’ve poured your candle, waited for it to cool, and discovered the top looks like the surface of the moon—cratered, bumpy, and about as far from smooth as you’d hoped. Here’s the thing: you can actually fix this. Grab a heat gun (a tool that blows warm air, basically a hairdryer’s more powerful cousin) and gently wave it across the rough surface for a few seconds. You’re aiming for a slow reflow, where the top layer just barely melts without collapsing the entire candle. Let it cool slowly in a warm, undisturbed spot. This method works surprisingly well for minor imperfections. For stubborn lumps, repeat the process. It’s honestly my go-to rescue move.
Recommended Products

CAUTIONS & WARNINGS: For your own safety, please read the manual carefully before using and strictly comply with the rules of "Precautions". Correct using and proper maintenance methods can increase its lifespan

Variable Temperature Control: This 700W low-noise heat gun has 10 temperature gears, adjustable from 212°F to 932°F (100°C to 500°C), and the air flow is 6.4CFM~10.6CFM (180L/min~300L/min). You can choose the appropriate gear according to your needs.

【Heads Up】After you turn off the heat gun with the switch, the fan will run for another a few seconds to cool down, and the power will be cut off automatically after a few seconds. This is the function of the power-off delay feature, which helps to improve safety and prolong the service life of the heat gun
Frequently Asked Questions
What Is the Ideal Room Temperature for Cooling Soy Candles Without Surface Defects?
I’d recommend you maintain a stable ambient room temperature of 21°C for cooling your soy candles. This temperature minimizes surface defects and allows for extended, undisturbed solidification time, preventing lumps and uneven textures.
How Do Fragrance Oils Like Vanilla and Lavender Specifically Cause Curdling in Soy Wax?
Like oil refusing to blend with water, vanilla chemistry and lavender constituents don’t integrate smoothly into soy wax’s molecular structure. I’ve found these oils cause separation, creating curdles and holes as they resist proper emulsification during cooling.
Should I Use Pure Soy Wax or Blended Wax for Smoother Candle Surfaces?
I’d recommend using blended wax instead of pure soy for smoother surfaces. Blended wax with paraffin or coconut additives cools more evenly, while pure soy wax contracts unevenly, creating rough, cratered tops.
How Long Should the First Burn Last to Set Proper Wax Memory?
I know you’re tempted to blow out that candle early, but here’s the irony: your first burn’s success depends on patience. Let it burn 2–3 hours so the melt pool reaches edges, setting proper wax memory and cooling time evenly.
What Temperature Should Fragrance Oil Be Added to the Melted Wax?
I’d add your fragrance oil when your melted wax reaches your target pouring temperature, typically 120–140°F. You’ll stir it gently for 1–2 minutes to avoid trapping air bubbles that’d compromise your candle’s smoothness.
Conclusion
I’ve ruined plenty of candles chasing that glassy finish, and I know how frustrating it is. Here’s what stuck with me: nearly 60% of beginner candle makers abandon the hobby after their first batch fails. You don’t have to be part of that statistic. Most of these issues—pitting, cracking, lumpy tops—come down to temperature control and patience. Master those two things, and you’re already ahead.