As an Amazon Associate, we earn from qualifying purchases. Some links on this site are affiliate links at no extra cost to you. Our recommendations are based on thorough research and editorial judgment.
How to Pour Candles Without Bubbles: Causes & Fixes Explained
All right, here’s the thing: bubbles form when hot wax hits cold containers or cools unevenly, trapping air pockets that ruin your pour. I’ve learned the hard way that preheating containers to around 150°F, pouring slowly at 200°F (or 135–145°F for soy), and letting everything cool undisturbed makes all the difference. You can fix surface bubbles with a heat gun or do a second pour for sinkholes, but prevention beats correction every time. Get these fundamentals down, and you’ll stop wasting wax.
Key Takeaways
- Preheat containers to 150°F in an oven to prevent thermal shock that traps air along walls and bottom.
- Pour wax slowly at 200°F for general batches or 135–145°F for soy wax to minimize air incorporation.
- Break the wax fall with a spoon at the jar bottom to let wax settle gently without bubbles.
- Use a heat gun on the surface and perform second pours to correct sinkholes and trapped air.
- Cool candles undisturbed for at least 24 hours in a stable environment to prevent new bubble formation.
What Causes Candle Bubbles?
When you’ve poured what you thought was the perfect candle only to find it dotted with tiny air pockets once it’s cooled, you’ve met bubbles—and they’re more common than you’d think. Here’s the thing: bubbles form when air gets trapped in your wax during the cooling process. Cold containers cause air pockets when you pour hot wax inside. Pouring too fast incorporates air, and inconsistent cooling from drafts or temperature swings introduces voids. Even wick trimming mistakes and fragrance mismatch can contribute—oils interact with wax differently, affecting how cleanly it sets. Rapid cooling around the wick and edges traps air fastest. I’ve watched perfectly measured batches bubble up because I ignored one variable. Understanding what’s happening helps you prevent it next time.
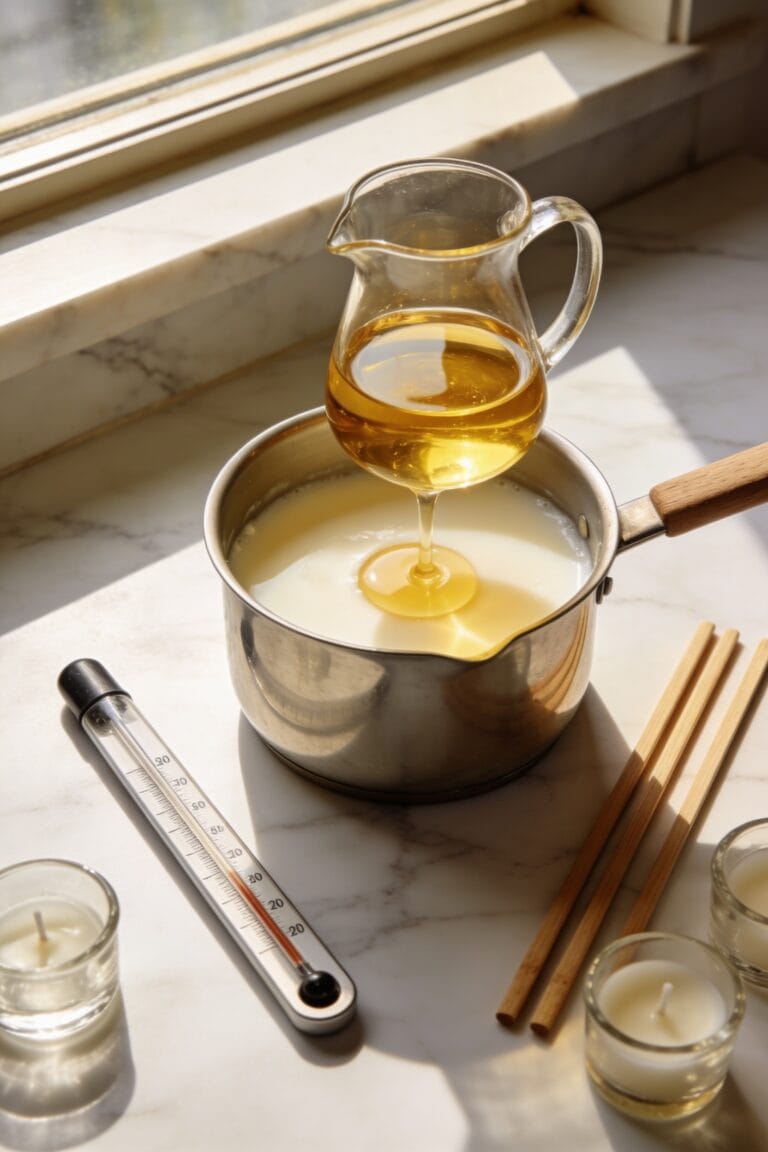
Heat Containers to Prevent Bubbles
Before you pour a single drop of wax, heat your container—I can’t stress this enough because it’s one of the easiest prevention steps and one I skipped for years. When you pour hot wax into a cold jar, thermal expansion happens unevenly, trapping air pockets along the walls and bottom. The preheat technique is straightforward: stick your container in a low oven (around 150°F) for ten minutes, or run it under warm water. This matches the container’s temperature to your wax, eliminating that shock. I’ve learned the hard way that preheating prevents the air layer that forms when hot meets cold. Your containers should feel warm to the touch before you pour. It takes minimal effort and saves you from hunting bubbles later with a heat gun.
Recommended Products

Shrinkfast 998 Heat Gun has up to 260,00 BTUs of power, which can easily heat and shrink materials such as polyolefin (PO), polyethylene (PE), shrink wrap, polyvinyl chloride (PVC), and more. The 998 can allow you to bend and weld plastics as well.

USA FAMILY-OWNED COMPANY: Master Appliance has manufacturing high quality industrial heat guns since 1958. Located in Racine, WI with over 60 years of experience in the heat tool industry, you can find Master’s heat guns like this PH-1400A variable temperature, LCD digital electric heat gun, trusted and in the hands of professionals in some of the most well-known manufacturing facilities worldwide.

Easy Operation: The heat gun for shrinking wrapping has simple button controls, making it easy to operate even for beginners. The ergonomic handle fits comfortably in the hand, reducing fatigue during prolonged use.
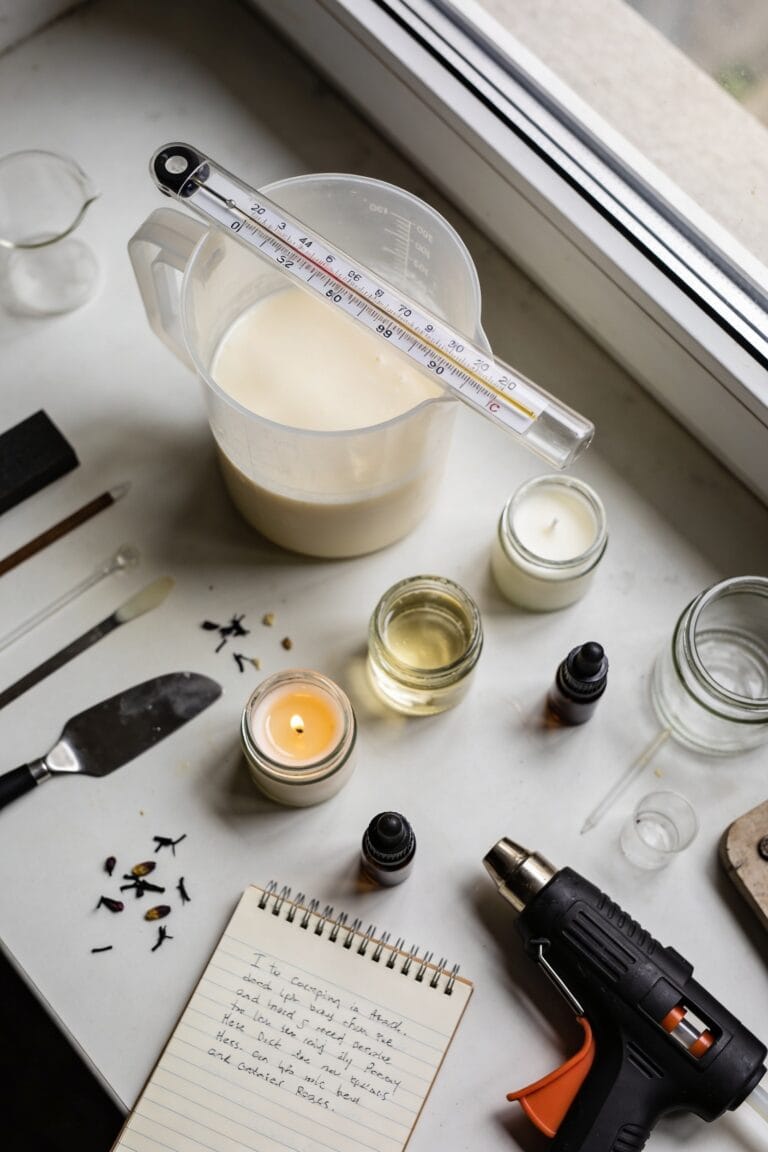
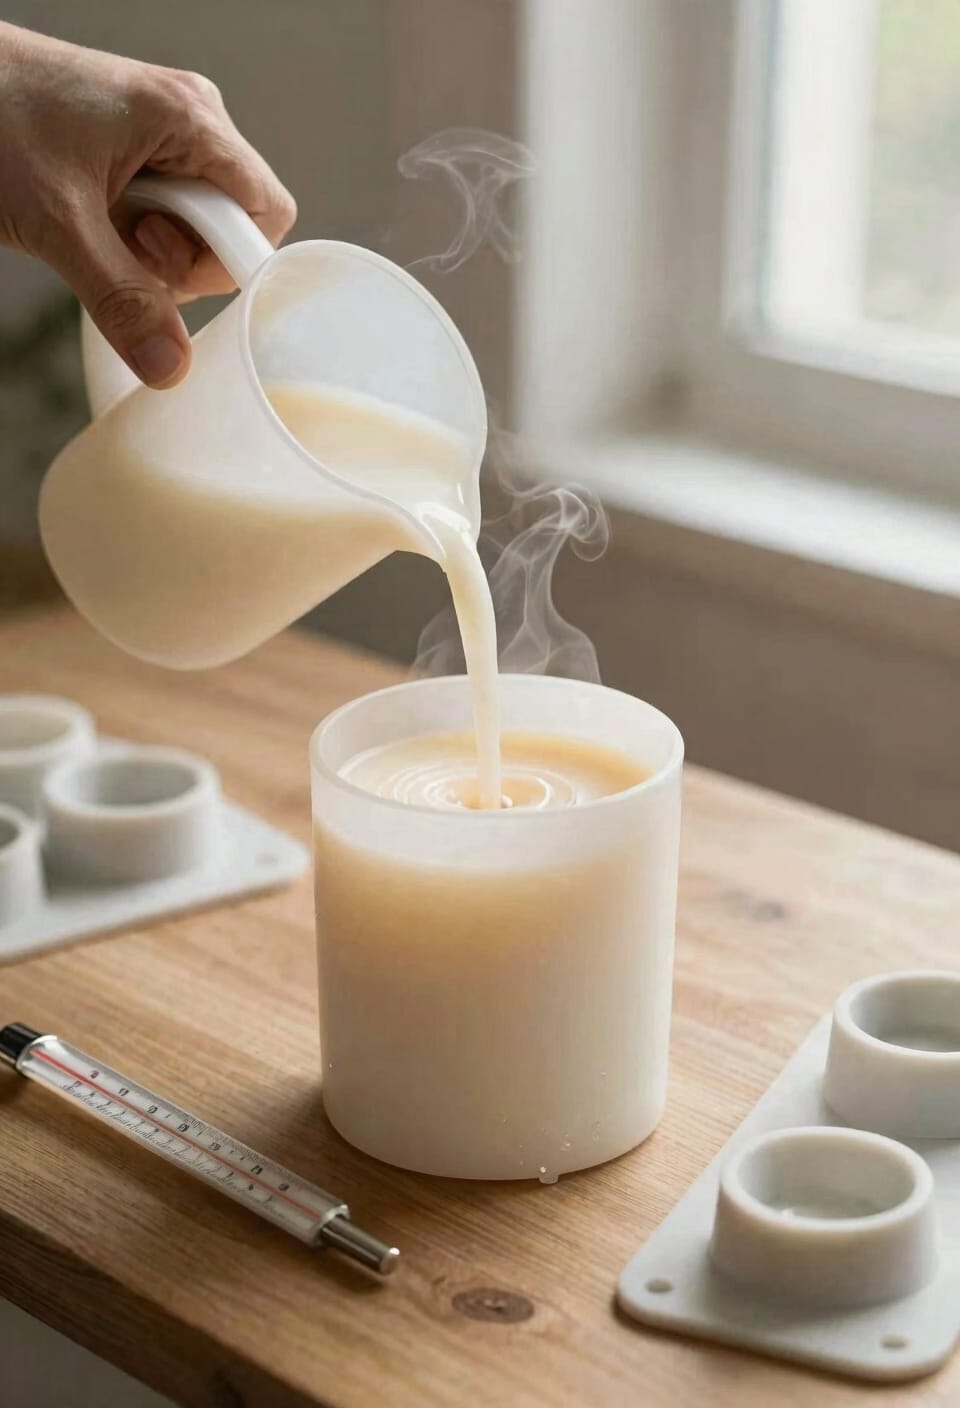
Pour Wax at the Right Temperature and Speed
Once you’ve got your container warmed up, temperature control becomes your next best friend—because pouring wax at the wrong heat is like inviting air bubbles to a party you didn’t want them at. Here’s the thing: pour rate and wax viscosity (how thick or thin your melted wax flows) work together. I cool my mixed wax to about 200°F before pouring, then pour slowly and evenly. For soy, I’m targeting 135-145°F. Fast pouring? That’s how you trap air pockets. Instead, I break the wax fall with a spoon right at the jar bottom, letting it settle gently. It takes patience, but that deliberate pour rate is what separates smooth candles from bubbly disasters.
Recommended Products
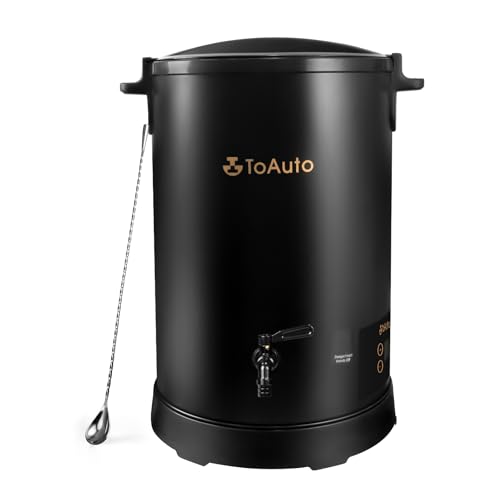
Effortlessly Make 60 Candles in One Go:Running a small business or handling a big custom order? TOAUTO 30Lbs wax melter helps you melt enough wax for 60 x 8oz candles in a single batch—no more waiting, no more stress. Whether you're fulfilling last-minute orders or stocking up for craft fairs, it saves you time and energy so you can focus on what you love: creating beautiful candles.
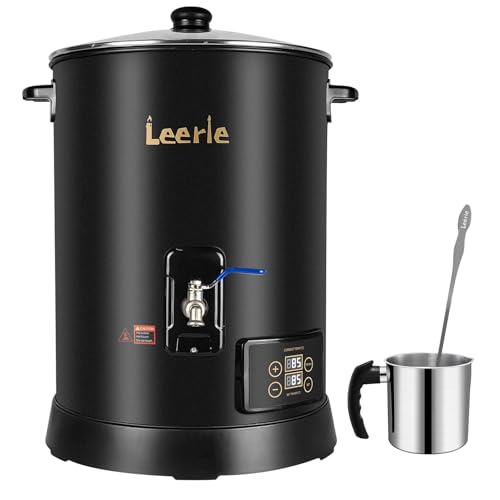
✔ MELT MORE, SELL MORE—30LBS AT ONCE : Scale up without slowing down. Designed for professional makers, the Leerie D15 Wax Melter holds up to 30 lbs of wax—enough to pour 120 4oz candles in a single session. Perfect for small businesses and studios handling wholesale orders, seasonal demand, or daily restocks. Big capacity, big results—minus the batch hassle.

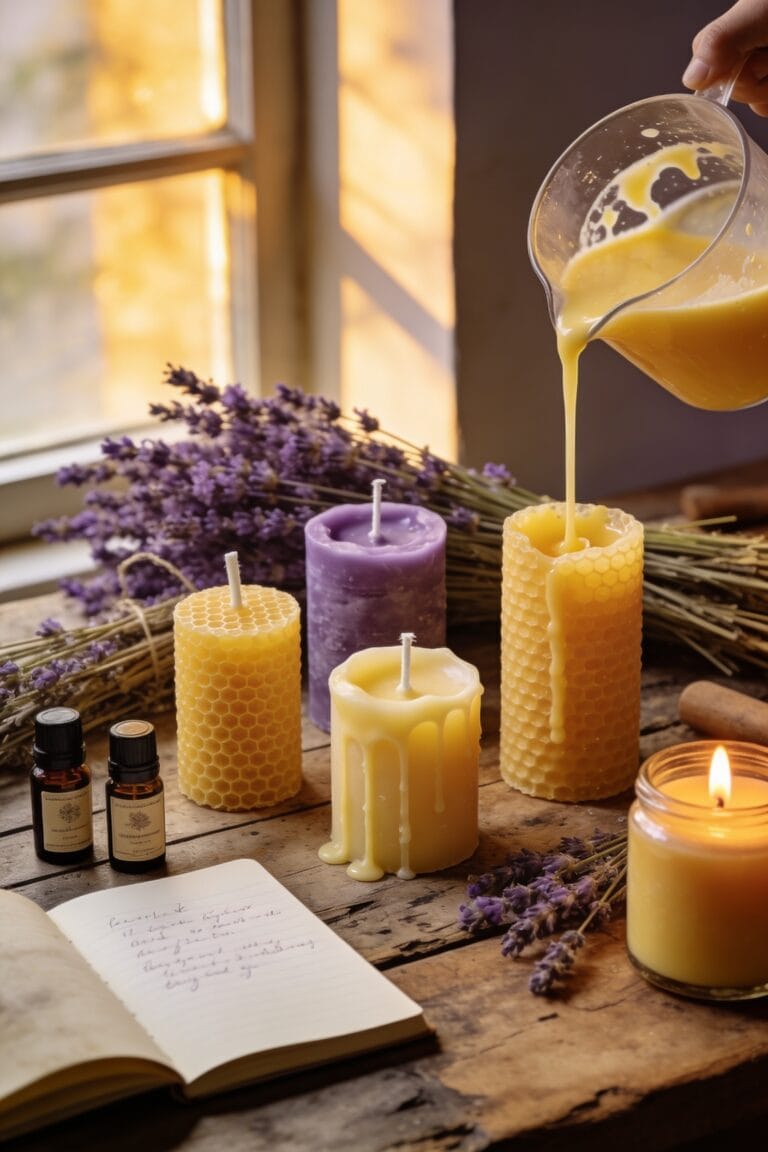
TWENTY POUNDS OF PREMIUM 1 LB BEESWAX BARS: 100% Natural Premium Yellow/Golden Beeswax. Clean burning, Natural aroma, Cosmetic ready. Suitable for food contact. Our pure beeswax bars are perfect for a wide variety of applications requiring 100% pure beeswax. Packaged in one-pound (5″ x 3.5" x 1.75") bars.
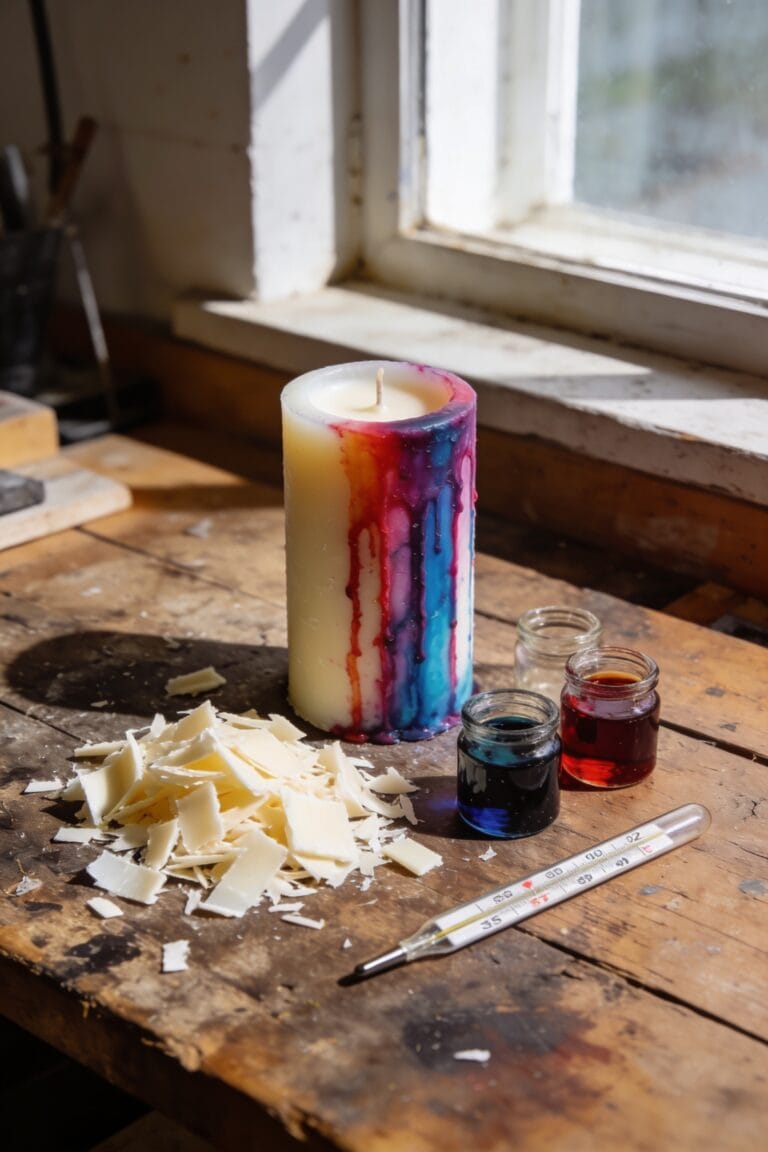
Mix Additives Correctly to Prevent Cloudiness
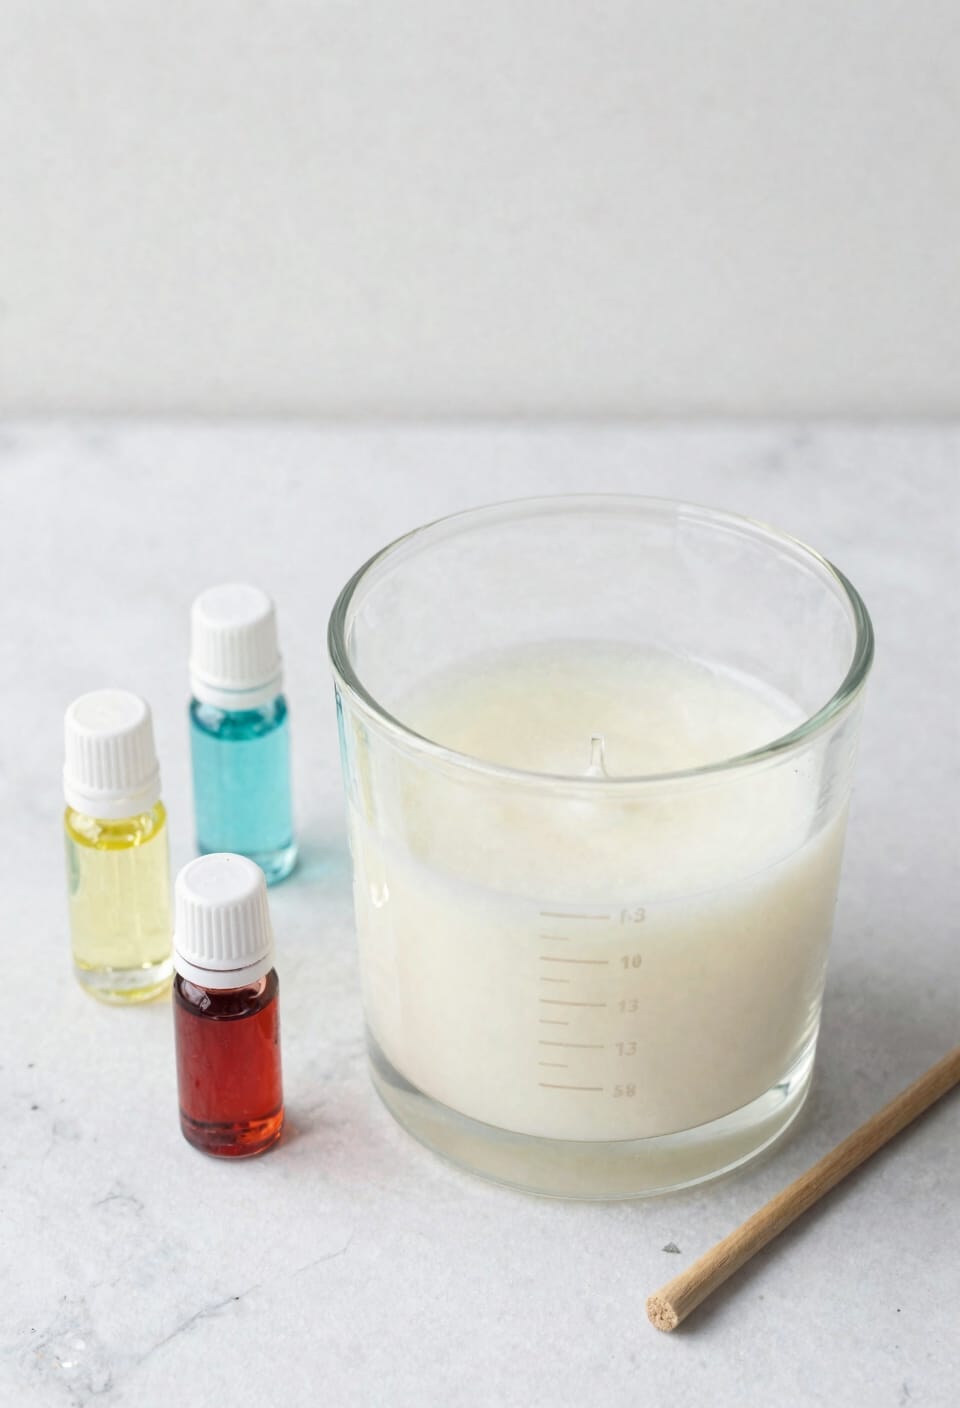
While you’ve nailed the pour temperature and pacing, additives like mica powder—those tiny colorant particles that add shimmer and opacity to your wax—can wreck an otherwise perfect candle if you don’t mix them in properly. I learned this the hard way. Stir your mica thoroughly until the wax clears completely; cloudiness means uneven pigment dispersion, which tanks your color stability and leaves you with a blotchy, unprofessional-looking pour. I typically add about 1/64 teaspoon of Diamond Dust Mica per batch. Mix it slowly and deliberately into melted wax before pouring. One critical note: avoid mica entirely if you’re using cotton wicks—those particles clog the wick and kill your burn quality. Precise measuring and patience here pay dividends later.
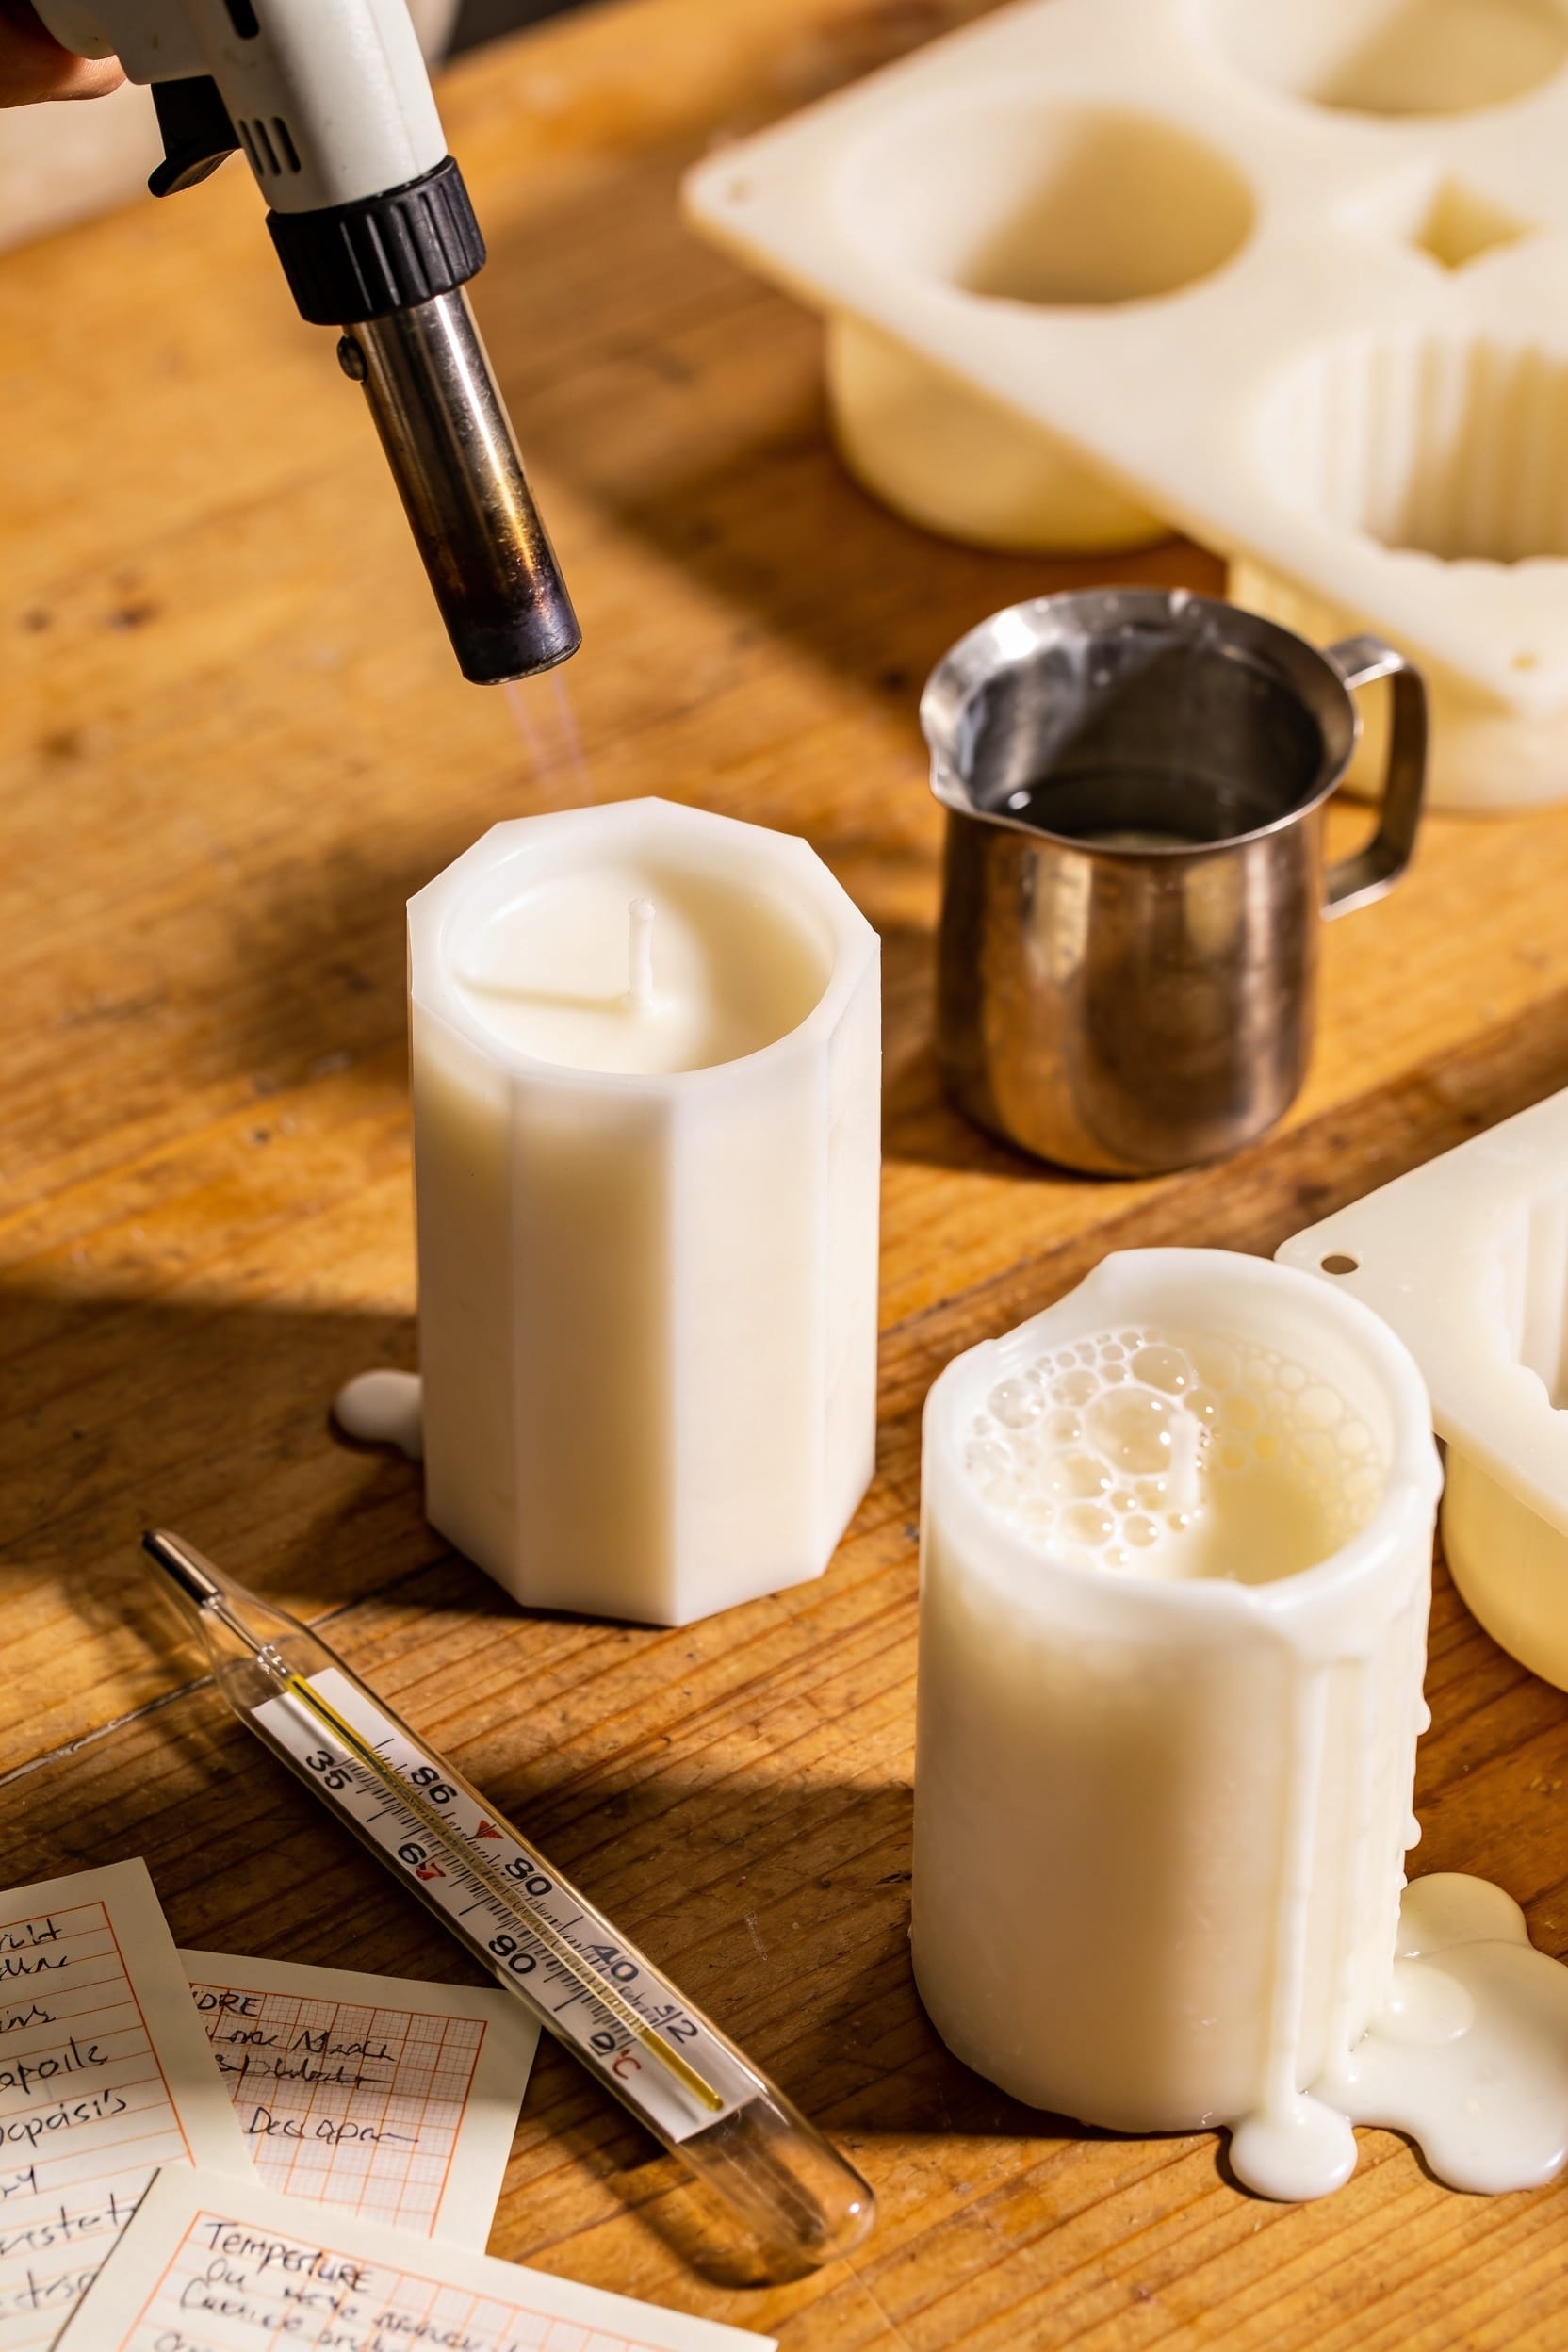
Remove Surface Bubbles With a Heat Gun
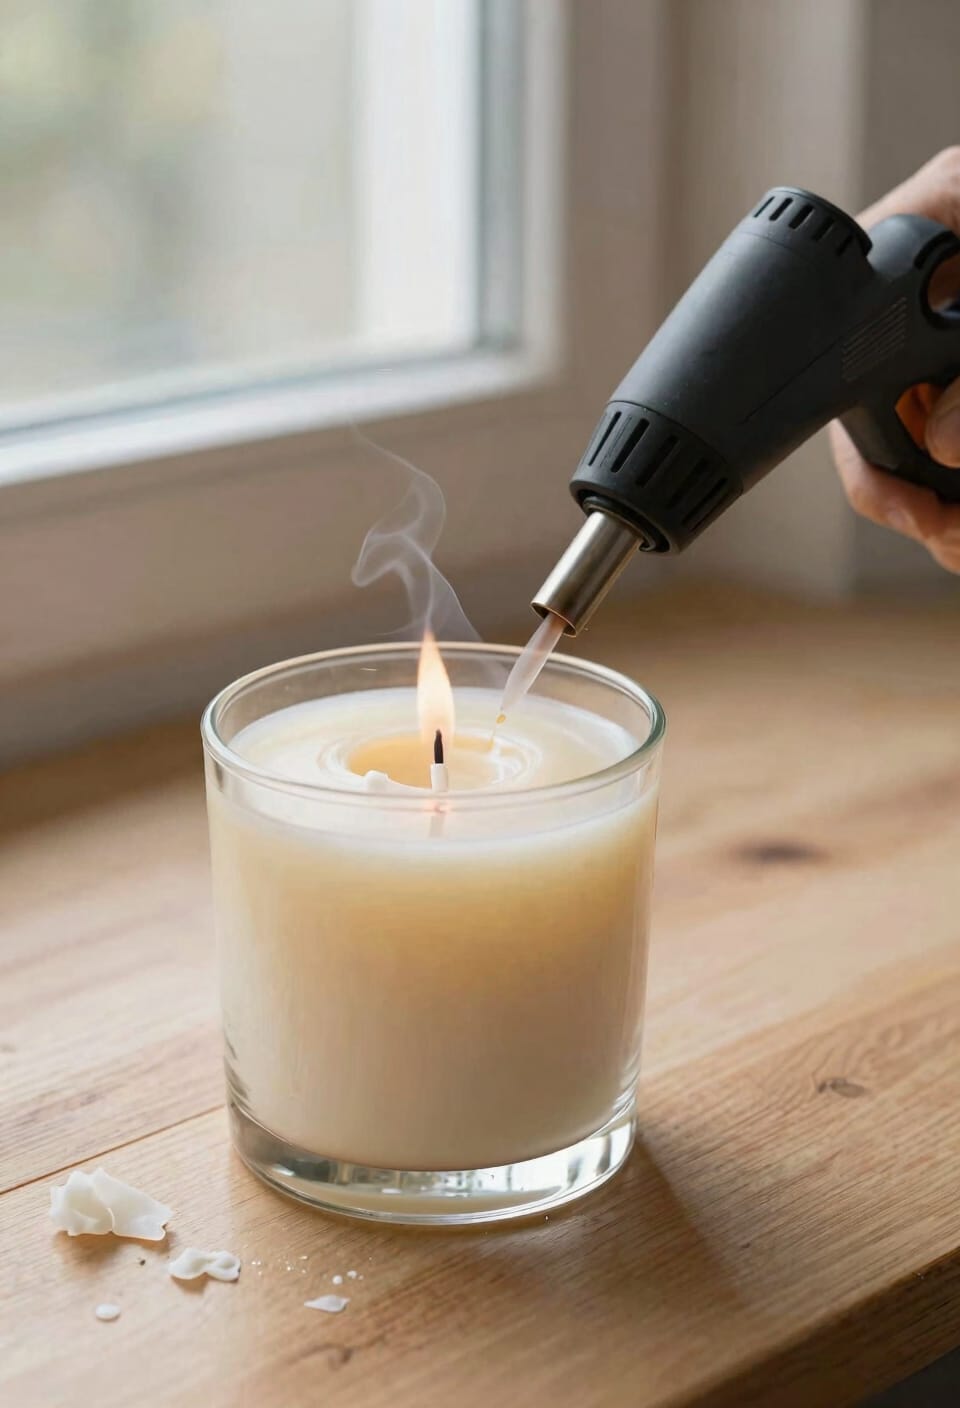
So you’ve poured your candle, walked away feeling confident, and came back to find the surface dotted with tiny air pockets—yeah, that happens to all of us. Here’s the thing: a heat gun is your best friend for fixing this. Hold it at a safe distance and pass it slowly across the surface, using gentle heat application to melt that top layer evenly. You’re aiming for about an eighth to a quarter inch of melting. Rotate your candle as you work so bubble bursting happens uniformly. The goal isn’t to liquify everything—just enough to smooth things out and let trapped air escape. Once you’re done, let it cool naturally. Sometimes you’ll need a second pass to get that surface looking pristine.
Recommended Products

Efficient Heating Performance: This propane heat gun delivers a powerful 187,660 BTU output, heating 1 cubic meter pallet wrap in just about 1.5 minutes. Ideal for large-area shrink wrapping, the propane heat tool boosts efficiency.

RESIN BUBBLE REMOVER MACHINE: Eliminate 99% of bubbles in just 5-9 minutes. The vacuum degassing process is clearly visible through the transparent lid, providing a stress-relieving and efficient experience. This resin bubble remover excels with its rapid effectiveness and user-centric design, making it an essential tool for crafting projects and enabling you to achieve professional-grade outcomes effortlessly.
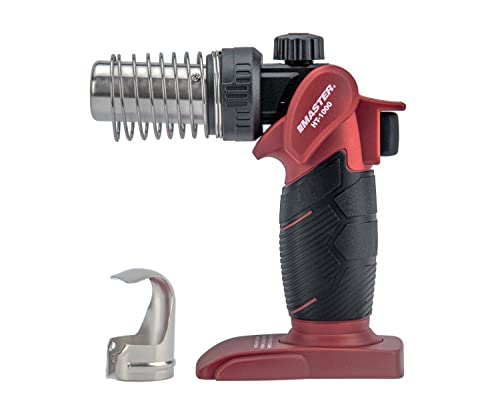
USA FAMILY-OWNED COMPANY: Brought to you by Master Appliance, a 4 Generation USA Family Owned Company. The HT-1000 cordless heat gun is portable and lightweight, weighing only 20.6 oz. Without cables and wires restricting your movement, you can use the hot air gun just about anywhere your project is. This cordless heat gun can help you take on many jobs including thawing frozen pipes, terminate shrink tubing and wire connectors. This heat gun is powered by butane fuel
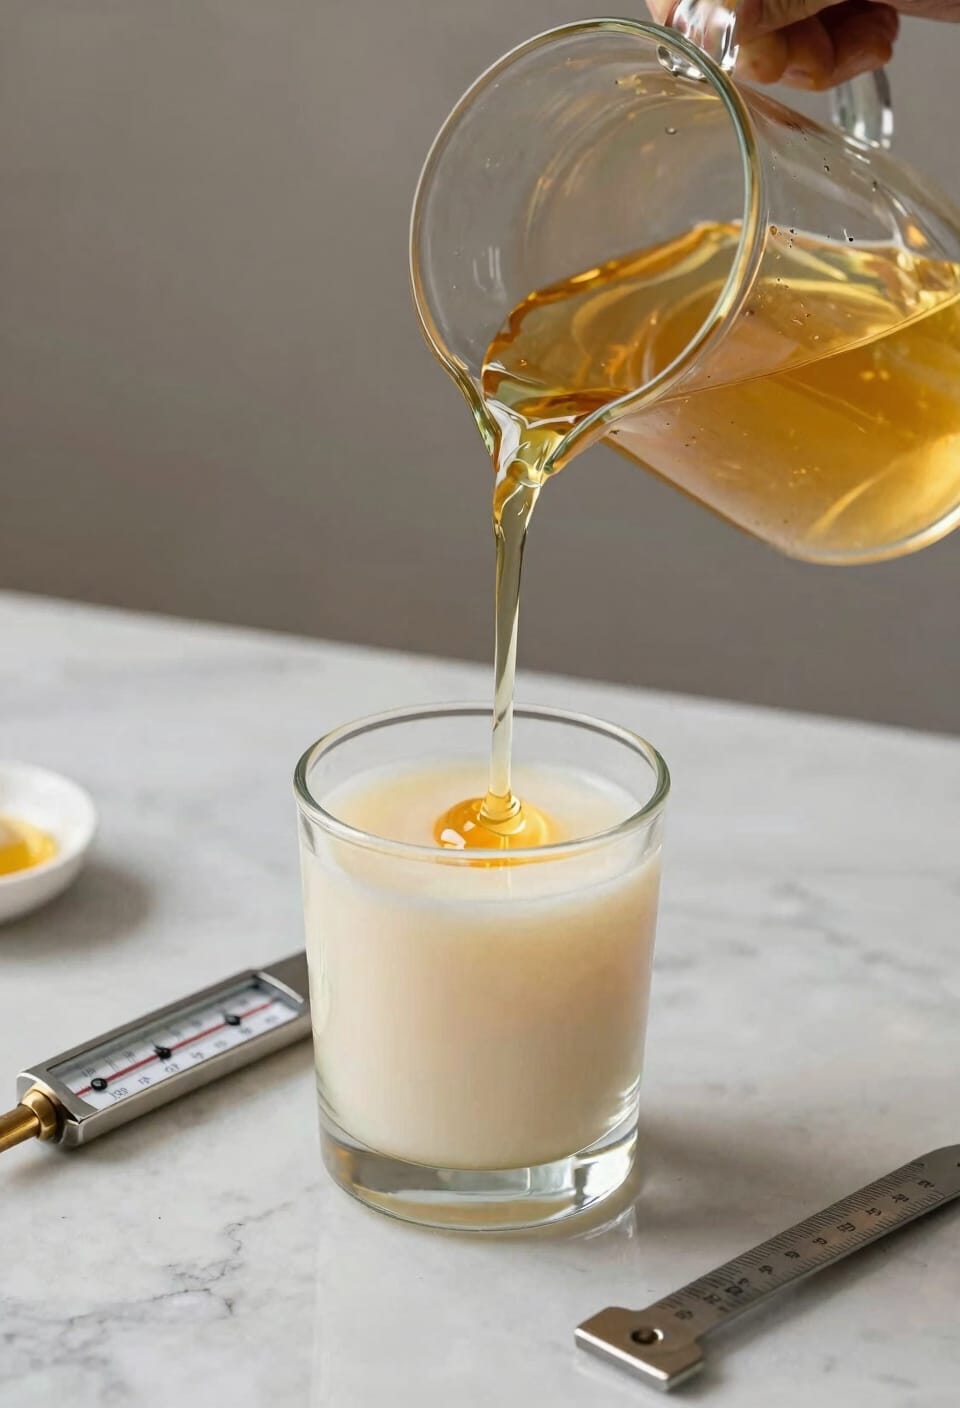
Perform a Second Pour to Fill Sinkholes
Dealing with sinkholes—those frustrating little depressions that form around the wick as your candle cools and the wax contracts—is where a second pour becomes your secret weapon. Here’s the thing: before you pour again, poke relief holes around the wick to allow air escape and prevent new bubbles from forming. When you’re ready, remelt your leftover wax to about 200°F and pour a thin layer—no more than 1/16 inch higher than your first pour. Fill the container up to the shoulder to hide the seams where the two pours meet. This second application fills those cavities smoothly. You’ll end up with a level, professional-looking surface that doesn’t scream amateur hour.
Recommended Products

Fast Melt 60 Candles for You: Achieving a rush order for a bulk order was made easy. TOAUTO 30Lbs wax melter can melt 30Lbs of candle wax and make 60 8-ounce candles at a time, greatly reducing your production time and making mass production of candles piece of cake. it's time to consider investing in a fully functional candle maker machine!

Fast Melt 80 Candles at A Time: The TOAUTO WMF-10L digital wax melter can handle a rush order for bulk candle production. It can melt 10 quarts of candle wax and create 80 4-ounce candles at a time, significantly reducing production time and making mass production easier.

Effortless Wax Draining: Bid farewell to wasted wax with our wax melter's bottom liquid outlet. This feature ensures that every last drop of wax is utilized, allowing the wax liquid to flow smoothly to completion. Say goodbye to the frustration of leftover wax residue and hello to uninterrupted crafting sessions.
Cool Your Candles in a Stable Environment
After you’ve poured your candle and done that second pour to nail the surface, the real work isn’t over—it’s actually just beginning, because cooling is where bubbles love to ambush you when you’re not paying attention. I learned this the hard way. Keep your candles in a spot without drafts, temperature swings, or AC blasting nearby. Slow cooling is your friend here—it lets air escape naturally instead of getting trapped as the wax solidifies. Maintain consistent humidity in your workspace too. No windows facing direct sun, no fluctuating thermostats. I set mine on a shelf away from activity, letting them cool undisturbed for a full 24 hours minimum. Patience pays dividends.
Frequently Asked Questions
Can I Use a Heat Gun on All Container Types Without Causing Damage?
No, I’d caution you against using a heat gun on all containers. Metal surfaces can become extremely hot and burn you, while painted finishes may peel or discolor. I’d recommend testing first on inconspicuous areas.
How Long Should I Wait Between the First and Second Pour?
I’d recommend waiting until your first pour’s completely cooled and set—typically 24 hours. This cure time guarantees proper layer adhesion between pours, preventing separation and giving you the strongest candle possible.
What’s the Ideal Room Temperature Range for Candle Cooling?
I’d recommend maintaining 68-72°F for ideal cooling conditions. You’ll want to keep room humidity consistent too, avoiding drafts and temperature fluctuations. This stability helps prevent air pockets from forming as your candle sets properly.
Does Wick Type Affect Bubble Formation During the Pouring Process?
I’ve discovered that while wick type doesn’t directly cause bubbles, it matters indirectly. Wick diameter and fiber composition affect how heat distributes during cooling, influencing air pocket formation around the wick core.
Can Bubbles Affect Candle Burning Performance and Scent Throw?
I’ve found that bubbles absolutely impact your candle’s performance. They create uneven burn patterns, reducing burn efficiency and causing scent degradation. Air pockets prevent proper wax pooling, so you’ll notice weaker fragrance throw and inconsistent flame behavior throughout the candle’s life.
Conclusion
I’ve learned that bubble-free candles aren’t magic—they’re just patience in action. You’ve got to treat each step like it matters, because honestly, it does. Follow these fixes and you’ll transform your pours from Swiss cheese disasters into smooth, professional candles. The bubble battle‘s half won once you know what causes them. Now go pour something beautiful.