As an Amazon Associate, we earn from qualifying purchases. Some links on this site are affiliate links at no extra cost to you. Our recommendations are based on thorough research and editorial judgment.
Why Does My Candle Burn Unevenly? Wick, Container & Pour Issues
Uneven burns almost always come down to three things you can actually control: your wick’s trimmed to the right length and centered dead-center in the container, your container matches your wick size, and you’ve nailed that critical first burn—letting the wax pool edge-to-edge so it doesn’t tunnel forever. Temperature swings and drafts don’t help either. Fix any one of these, and you’ll notice the difference immediately. Stick around to see exactly how.
Key Takeaways
- Trim wicks to 1/8″–3/16″ before each burn to prevent excess soot and erratic flames from overlong wicks.
- Center wicks dead-center using tweezers to ensure even melt pools and balanced heat distribution across containers.
- Allow the complete first burn to melt edge-to-edge for two to four hours to prevent permanent tunneling.
- Match wick diameter to container size; undersized wicks cause tunneling while oversized wicks burn too hot unevenly.
- Use premium wax blends and avoid cheaper alternatives with poor additives that cause inconsistent, uneven burning patterns.
Trim Your Wick: The #1 Fix for Uneven Burning
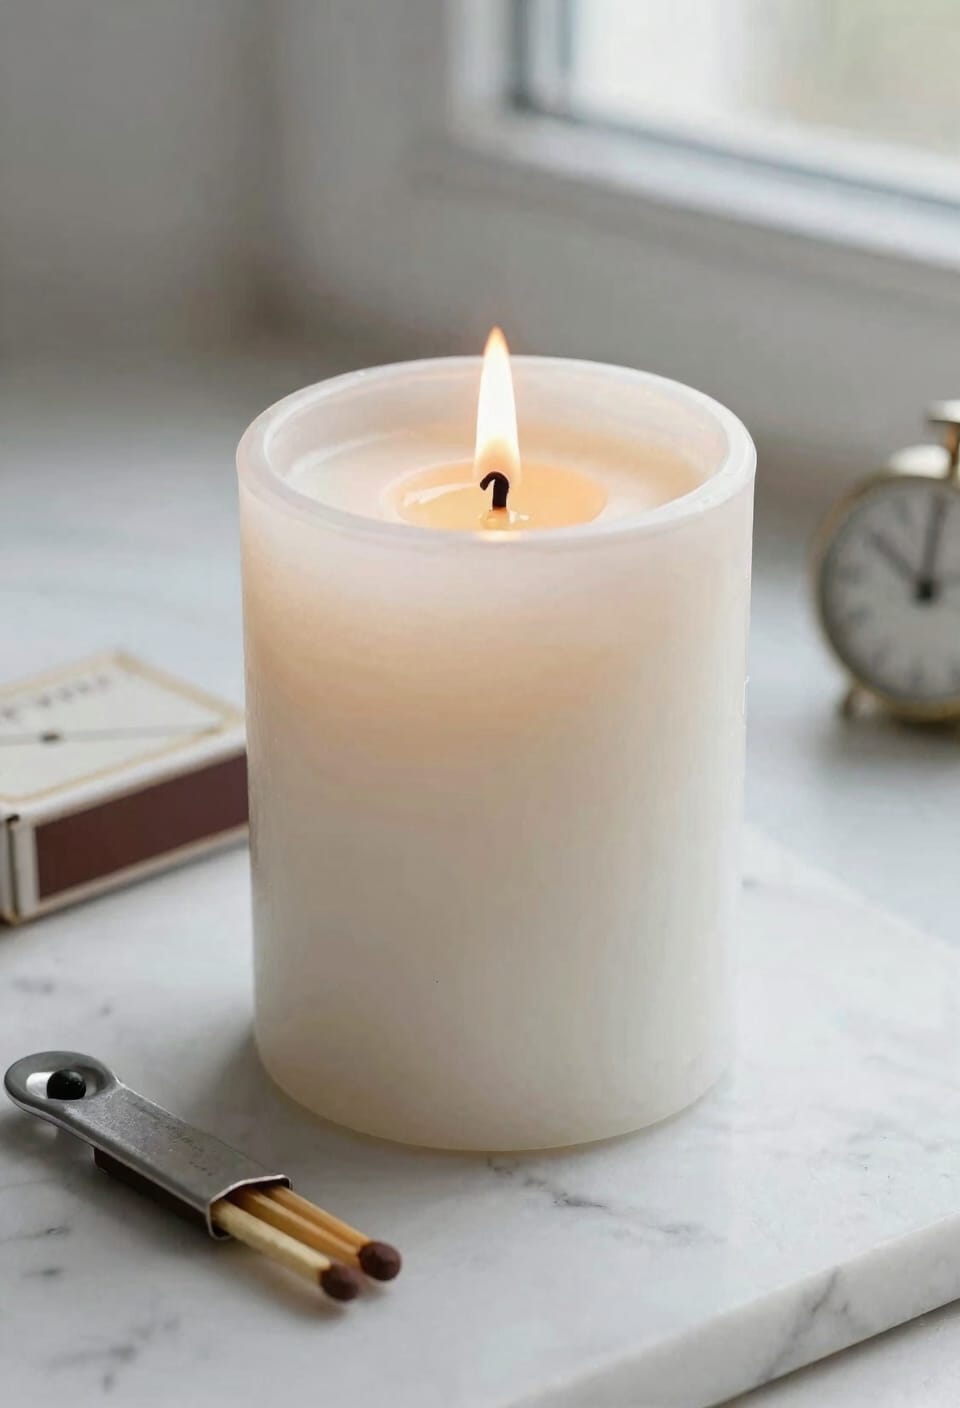
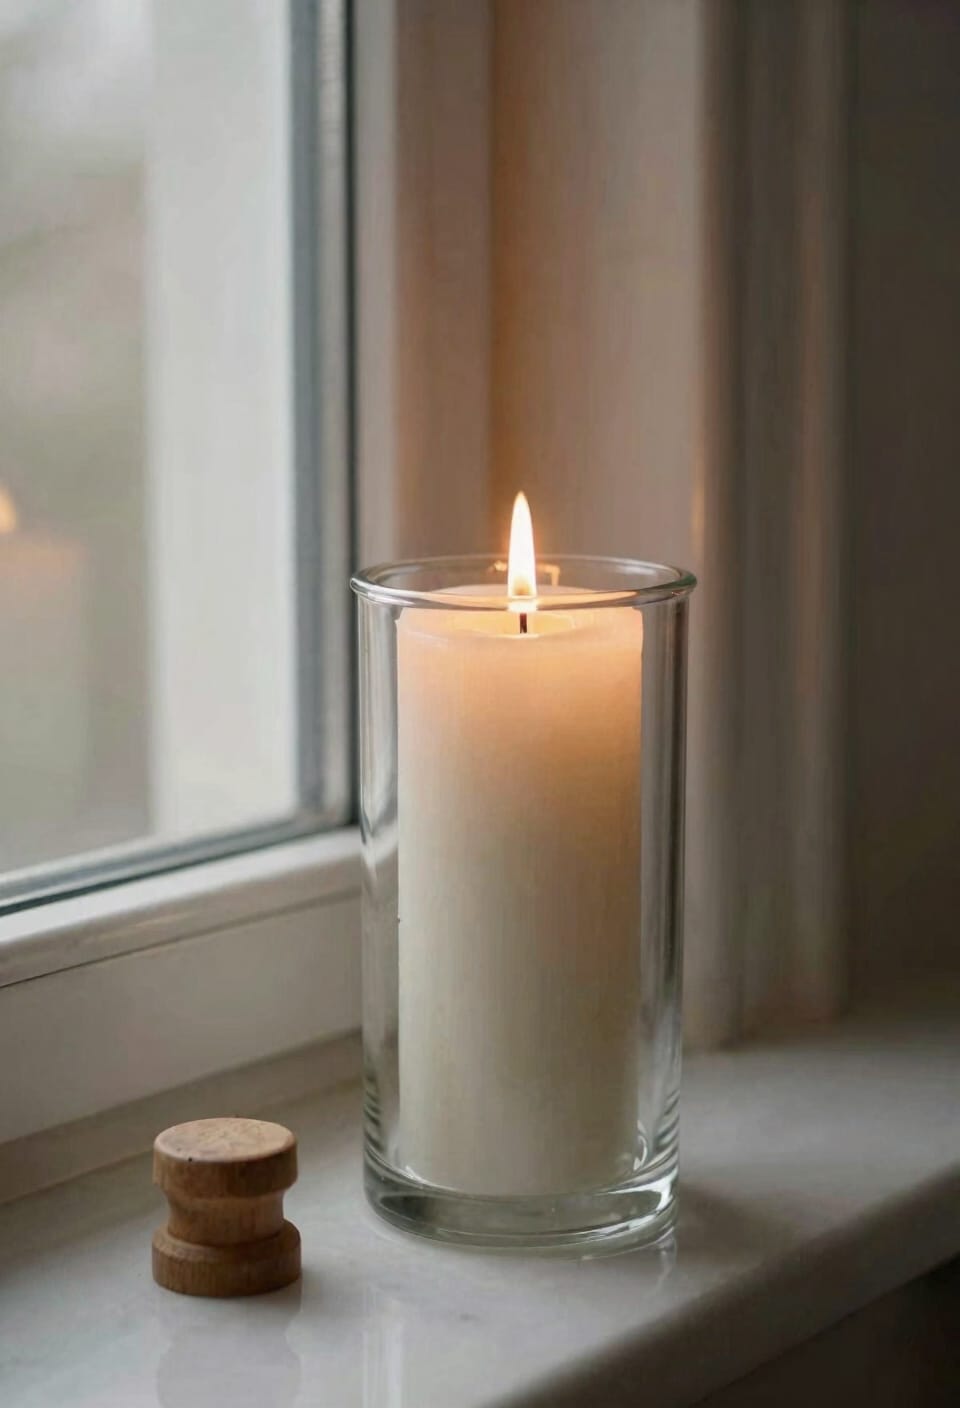
Here’s the thing—if your candle’s burning lopsided and you’re ready to troubleshoot, start with your wick. Wick maintenance is genuinely your best defense against uneven burns. I’ve watched countless candles misbehave simply because the wick was too long, creating excess soot and erratic flames that lean one direction. Trim yours to just 1/8″ to 3/16″ before each burn—that’s about the thickness of a match head. This simple act gives you flame control, which directly impacts how evenly your wax melts across the container. Do this religiously before lighting, and you’ll prevent tunneling before it starts. Trust me, I learned this the hard way after ruining a batch of soy candles because I got lazy with trimming.
Recommended Products
✔ ADJUSTABLE FOR ANY CANDLE JAR – Expandable arms fit jar openings from 2-1/2″ to 4-5/8″ wide, making it perfect for single, double, or triple wick candles in nearly any container.

Dimensions: 6.5 x 2.5 inches (17 x 6 cm)

Comes in individual boxes of two! Stainless Steel; Size: 6.77 x 2.44 Inch
Why Wick Centering Matters for Even Flames

Now, you’ve trimmed your wick to perfection, but if it’s sitting off to one side of your container, you’re still going to end up with lopsided burning—and that’s frustrating because you’ve already done the hard part. Off-center wicks create asymmetrical flames that melt one side faster than the other. The European Candle Association’s research confirms it: poor wick alignment directly sabotages flame symmetry and creates uneven melt pools.
Here’s what I’d do. Let the wax cool slightly, then use tweezers or a wick dipper to gently reposition the wick dead center. It doesn’t take much—just enough to guarantee balanced heat distribution. Proper centering keeps your flame steady and your burn even across the entire surface. That’s the fix.
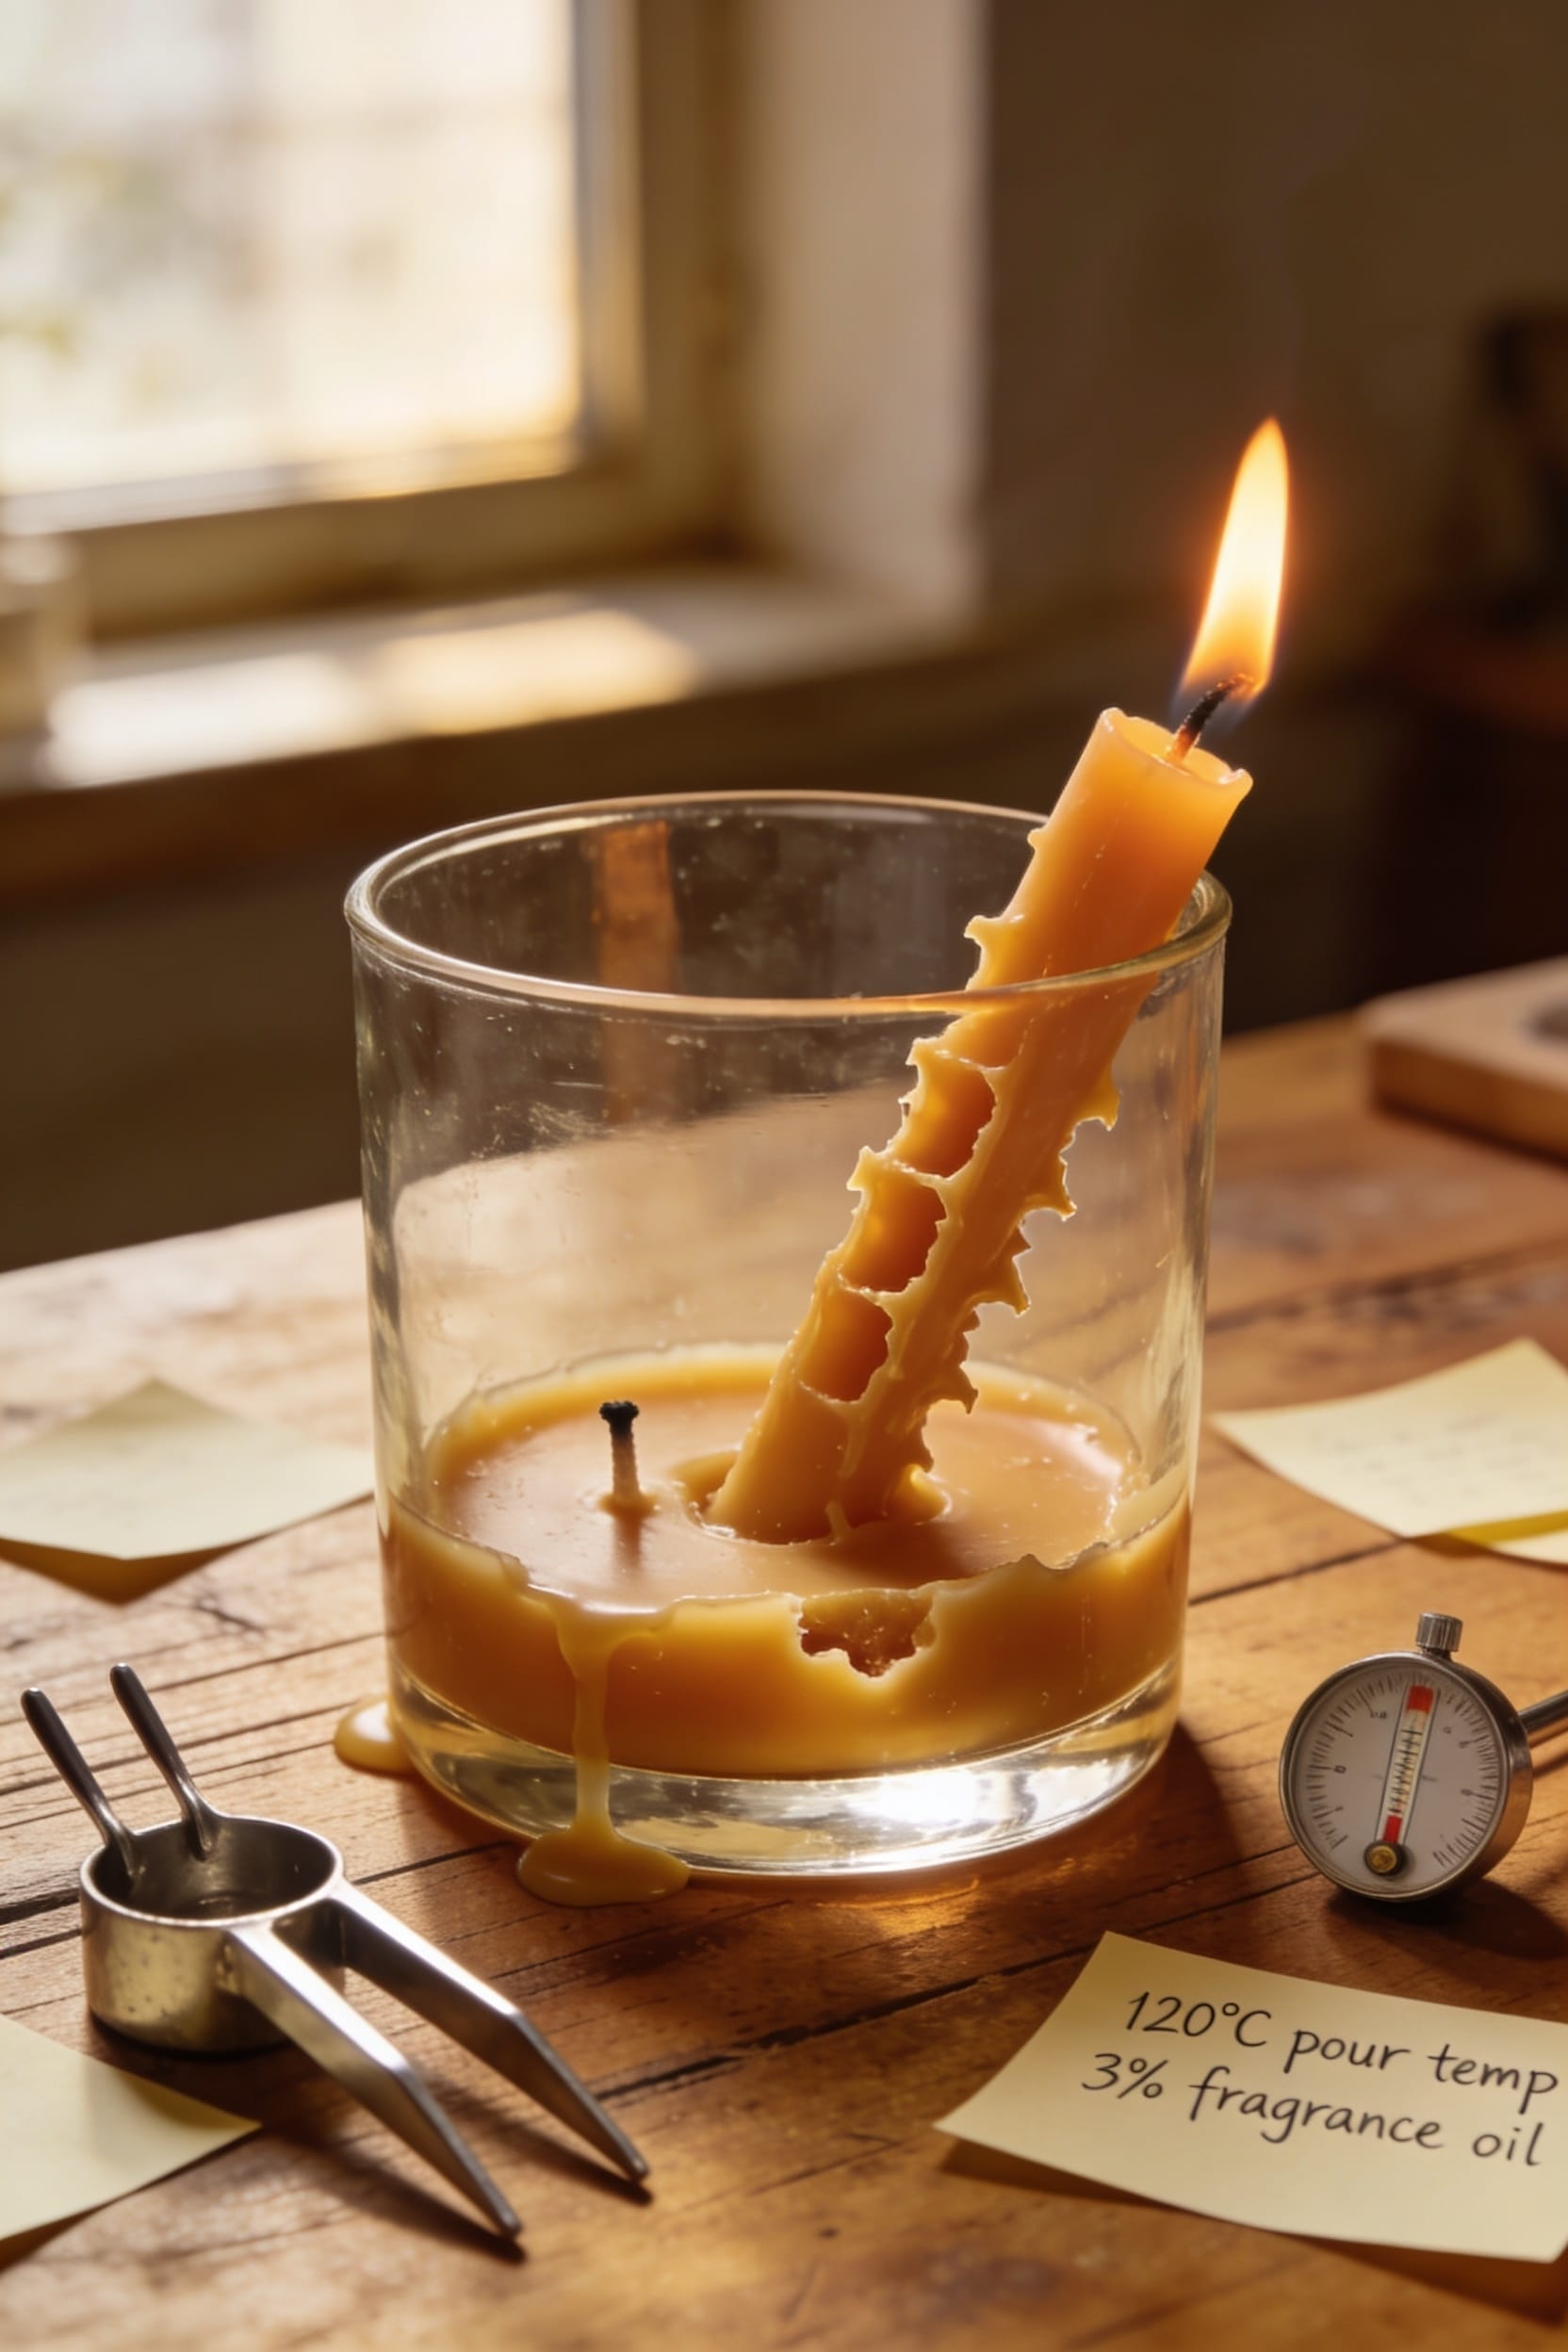
Prevent Tunneling With the Right First Burn
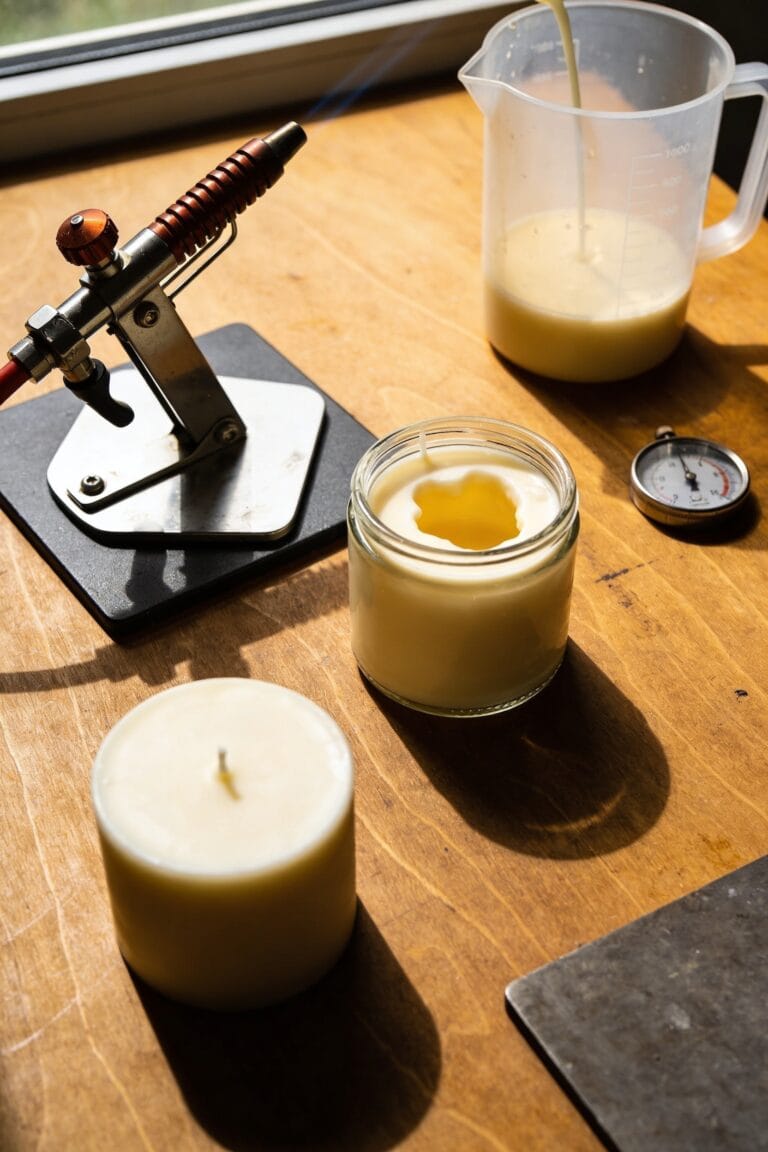
Setting that first burn right is where a lot of candle owners mess up, and I’ve definitely been there—you light it, admire the flame for twenty minutes, then snuff it out because you’ve got to leave the house. Don’t do that. Your first burn sets the “wax memory,” meaning the candle remembers that incomplete melt pool forever. Let it burn long enough for the entire top layer to melt edge-to-edge—usually two to four hours depending on container size. This prevents tunneling, where only center wax melts while sides stay solid. You’ll lose fragrance retention and risk drowning your wick. I know it’s tempting to rush, but that first burn determines everything that follows. Give it the time it deserves.
Recommended Products

THE ORIGINAL AND STILL THE FINEST. 100% FRENCH ARTISANALLY CRAFTED. The Rigaud family created THE WORLD’S FIRST SCENTED CANDLE in the 1960’s. All Rigaud candles are poured, prepared and packed by hand. Cyprès is a part of Rigaud's Aromatic Fragrance Family which brings the freshness of the Mediterranean forests into your home. Introduced to the White House by Jacqueline Kennedy in 1960, this is a blend of lavender, the woody, crisp notes of pine needles, and the aroma of cedar wood. This fragrance is deceivingly mild--not at all overwhelming-but a lovely, elegant, fresh scent suitable for any room or occasion.

MASSIVE 8" × 14" LUXURY CANDLE – 300 OZ OF NATURAL COCONUT SOY WAX Make a statement with this Classic Big Ass Candle—our largest candle. This luxury candle delivers bold presence, elegant style, and room-filling fragrance. Perfect as a centerpiece for living rooms, great rooms, and upscale spaces.

A luxurious, delicately scented candle Fills your home with a soft, comforting scent
Match Your Wick Size to Your Container
You can pour the most stunning wax blend and source premium fragrance oils, but if your wick doesn’t match your container’s diameter, you’re fighting an uphill battle. Here’s the thing: a wick that’s too small won’t generate enough heat output to melt wax all the way to the edges, leaving you with tunneling—that annoying hole down the center. An oversized wick burns too hot, consuming wax unevenly and wasting your material. The wick diameter directly determines how much flame and heat you’re creating when that candle lights. I’ve made this mistake myself, and it’s frustrating. Get the sizing right, and your melt pool reaches the container’s edges perfectly. This simple match prevents most uneven burning issues before they start.
Recommended Products


【6 Set Large Wooden Candle Wicks】 Our grid design large crackling wood wicks set includes 6Pcs 2.7x2.4inch / 70x60mm (width*height) wood wicks (designed with hollow triangle holes), 10Pcs iron stands. Ideal for making candle on a bowl; great wick alternative for double wick / three wick candles.

Product: ECO16/CD22 100 PCS/ 6 inches long and 3 mm thick, suitable for 3.3-3.8 inch candle jars
Eliminate Drafts and Temperature Swings
Beyond your wick and wax choices, the environment where your candle burns matters just as much as what’s inside the jar. Drafts from open windows, fans, or air vents cause your flame to flicker and lean, melting one side faster than the other. I’ve watched this happen countless times—the wax pools unevenly, and suddenly you’re wondering what went wrong.
All right, here’s what I do: I seal drafts by closing windows and repositioning the candle away from vents. I also stabilize thermostat settings because rooms cooler than 65–75°F prevent proper wax melting, causing tunneling. Candle sleeves or hurricane accessories help too—they shield the flame and maintain consistent temperature. These small adjustments eliminate most environmental variables sabotaging your burn.
Why Cheap Wax Burns Unevenly
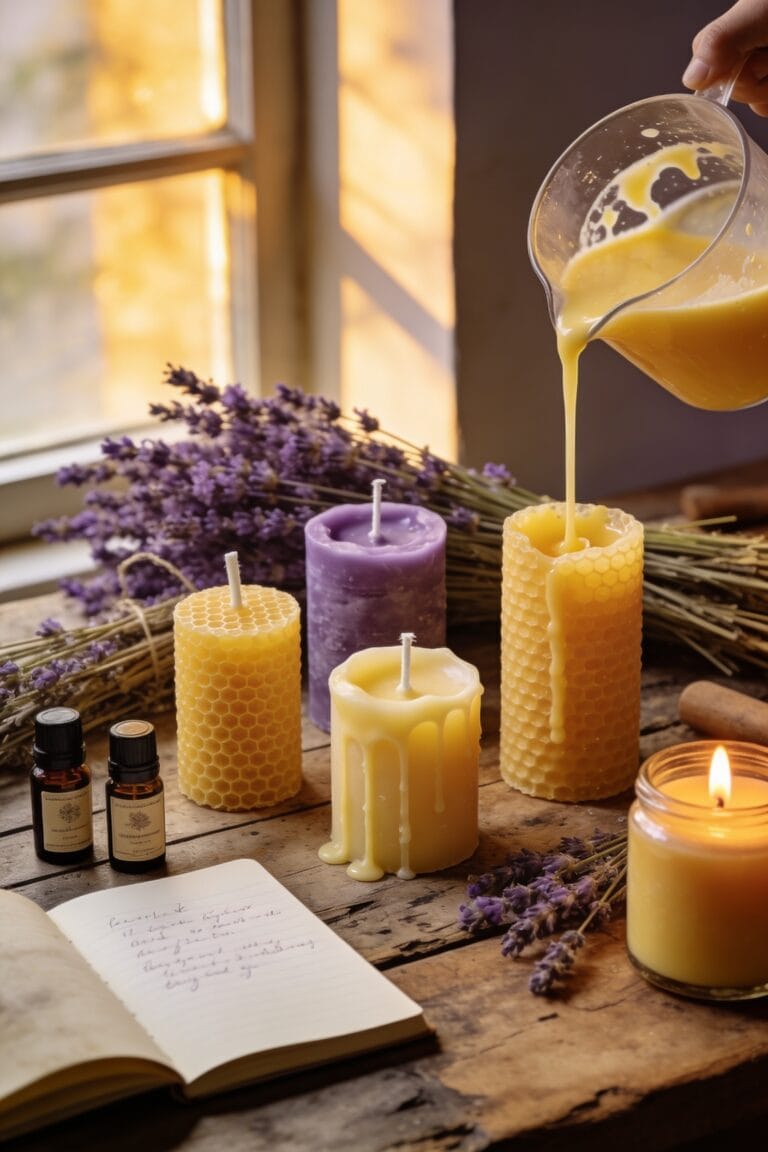
Wax quality separates candles that burn beautifully from ones that betray you halfway through. I’ve learned this the hard way. Cheaper waxes often contain poor additives that sabotage even burn, creating hot spots where one side melts faster than the other. Manufacturing inconsistencies in budget blends mean you’re never quite sure what you’re getting batch to batch. Low-quality wax just won’t sustain an even flame or distribute heat uniformly across your container. Some discount waxes melt unevenly by design, their composition fundamentally compromised. You’ll notice uneven burn patterns, weak scent throw, and frustratingly fast consumption on one side. Investing in premium, natural wax blends—soy, coconut, or quality paraffin—eliminates this headache entirely.
Recenter a Crooked Wick (Step by Step)
Even the best premium wax won’t burn evenly if your wick’s off-center—and I’ve seen plenty of otherwise gorgeous candles completely sabotaged by a crooked wick leaning toward one side of the container.
The fix is straightforward. Extinguish the candle and let it cool slightly until the wax softens but isn’t fully liquid. Grab heat safe tweezers or a wick dipper and gently reposition the wick toward the container’s center. It’ll feel delicate, but you’ve got this.
The key is catching it early. A centered wick creates an even melt pool and prevents that lopsided burn that makes your candle look like it’s melting backward. Once it’s properly positioned, your next burn should distribute heat evenly across the surface.
Use a Candle Warmer to Fix Tunneling
If tunneling’s already taken hold—where only the center’s melted and you’re left with a hard wax ring around the edges—a candle warmer might be your best friend. These devices provide safe melting without burning the wick, letting you salvage what would otherwise become waste. I’ve used them countless times when a first burn went wrong.
Set your tunneled candle on a warmer for a few hours, and you’ll watch that stubborn outer wax gradually soften and level out. The beauty here? You’re achieving fragrance preservation without relighting—the warmer slowly melts everything evenly, preventing soot buildup and wick drowning. It’s not a permanent fix for poor wick sizing, but it’ll rescue a candle that got off to a rough start.
Recommended Products

SCENT NOTES - Top: Butter, Pastry | Middle: Pumpkin, Brown Sugar, Spice | Base: Rum, Vanilla

Unique Natural Beauty – Each marble Candle Warmer Lamp features one-of-a-kind marble veining, resembling ethereal clouds, flowing patterns, or landscapes. This natural artistry candle lamp adds a touch of luxury and organic elegance to any space.

【Easy to use】 You just place the candle , connect it to the power and turn it on. The Candle Warmer comes with two 50W GU10 halogen bulbs that you can use right away.
Choose High-Quality Brands That Burn Even
Upgrading to quality candle brands cuts through a lot of the guesswork that causes uneven burning in the first place. Look, I’ve burned through plenty of cheap candles that tunneled like crazy, and it wasn’t user error—it was the wax itself. Premium brands invest in sustainable formulations and better wax blends that melt consistently across the entire container. Artisan producers especially tend to nail wick sizing and wax composition because they actually test their products. When you choose reputable makers, you’re getting candles formulated to burn evenly from the first light. Sure, you’ll still need to trim wicks and avoid drafts. But honestly? Starting with quality wax eliminates half the problems before they start. Your burn experience improves dramatically when the foundation is solid.
Recommended Products

Elegant Rose Design: Handcrafted rose shaped soy wax candles topped with real dried flowers — perfect for weddings and romantic events.

Wax Weight: 3,632 g/ 128.12 oz

The information below is per-pack only
Candle Soot: What It Reveals About Your Wick
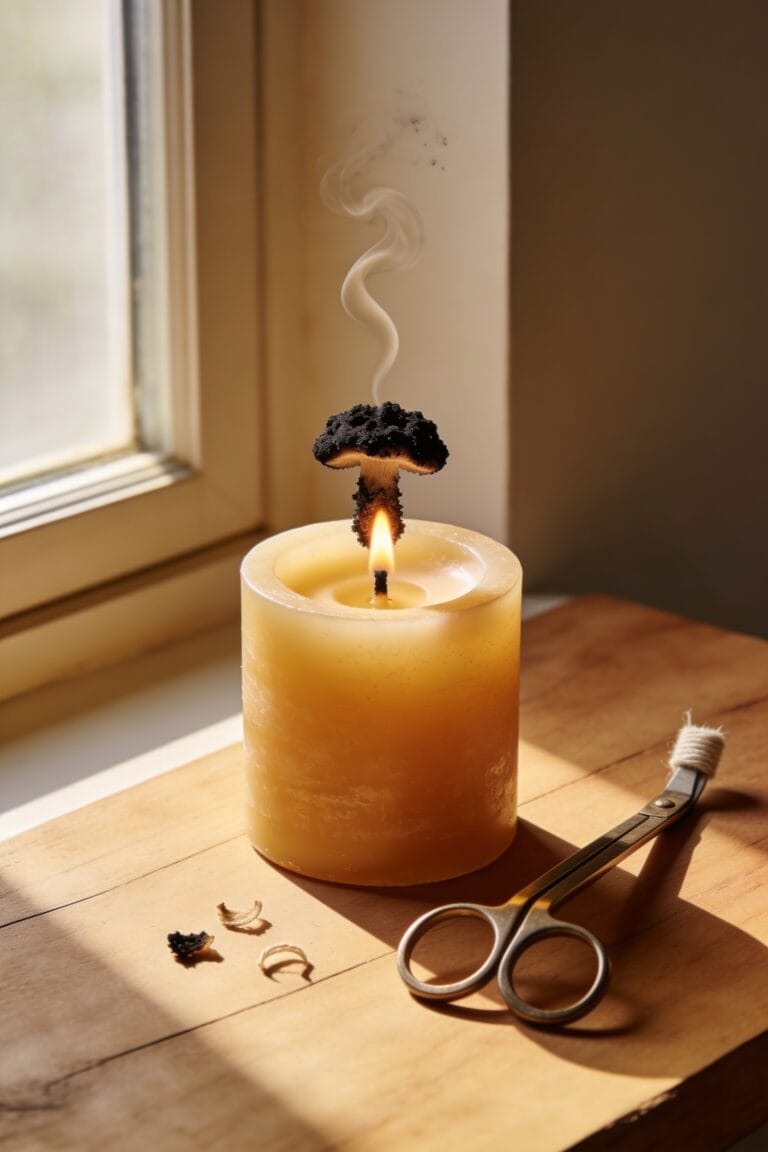
Now, while quality wax gets you most of the way there, what you’re actually seeing burn tells you everything about whether your wick’s doing its job. Black soot buildup on your container’s sides? That’s carbon deposition—unburned carbon particles escaping into the air—and it’s screaming that something’s wrong with your flame chemistry, the balance between fuel and oxygen during combustion.
Here’s what I’ve learned: too-long wicks create excess soot by burning too hot and fast, while off-center wicks produce uneven flames that deposit carbon unevenly. I trim mine to 1/8” before every burn, and honestly, it’s transformed my results. That soot you’re seeing isn’t just messy—it reveals your wick’s struggling to burn cleanly, which means your candle’s burning unevenly underneath all that black residue.
Frequently Asked Questions
How Long Should I Let My Candle Burn on the First Use to Set Proper Wax Memory?
I’d recommend letting your candle burn until the melt pool reaches the edges on your first burn. This sets proper wax memory and prevents tunneling. The exact time depends on your candle’s diameter, but patience during this initial burn guarantees even edge curing.
Can I Fix a Candle That’s Already Tunneled, or Is It Permanently Ruined?
You can salvage a tunneled candle through wick centering and heat redistribution. I’d recommend using a candle warmer to melt trapped wax evenly, or carefully reposition the wick to encourage proper burning patterns going forward.
What’s the Difference Between Soy, Paraffin, and Gel Wax for Even Burning?
I’ll explain the key differences. Soy characteristics make it burn slower and cleaner with less soot. Paraffin properties allow it to hold color and fragrance better, though it’s less eco-friendly. Gel wax offers superior clarity.
How Often Should I Trim My Wick Between Burns to Maintain Even Flames?
I’d recommend trimming your wick before every burn to maintain even flames. Keep the trim length between 1/8″ and 3/16″ to prevent soot buildup and tunneling. Check wick centering too for consistent burns.
Will Moving My Candle to a Different Room Affect How It Burns?
Yes, moving your candle to a different room can markedly affect how it burns. I’d recommend placing it away from room drafts and extreme humidity levels, which both cause uneven flames and faster burning on one side.
Conclusion
You’ve learned that uneven burning often stems from simple fixes—a trimmed wick, proper centering, that first vital burn—yet sometimes the problem runs deeper, rooted in wax quality or container mismatch. I’ve ruined plenty of candles chasing perfection, only to discover the answer was straightforward all along. Your candle’s behavior isn’t random; it’s speaking to you. Listen, adjust, and watch it burn true.