As an Amazon Associate, we earn from qualifying purchases. Some links on this site are affiliate links at no extra cost to you. Our recommendations are based on thorough research and editorial judgment.

First Time Candle Making? 12 Tips to Get It Right on Your First Pour

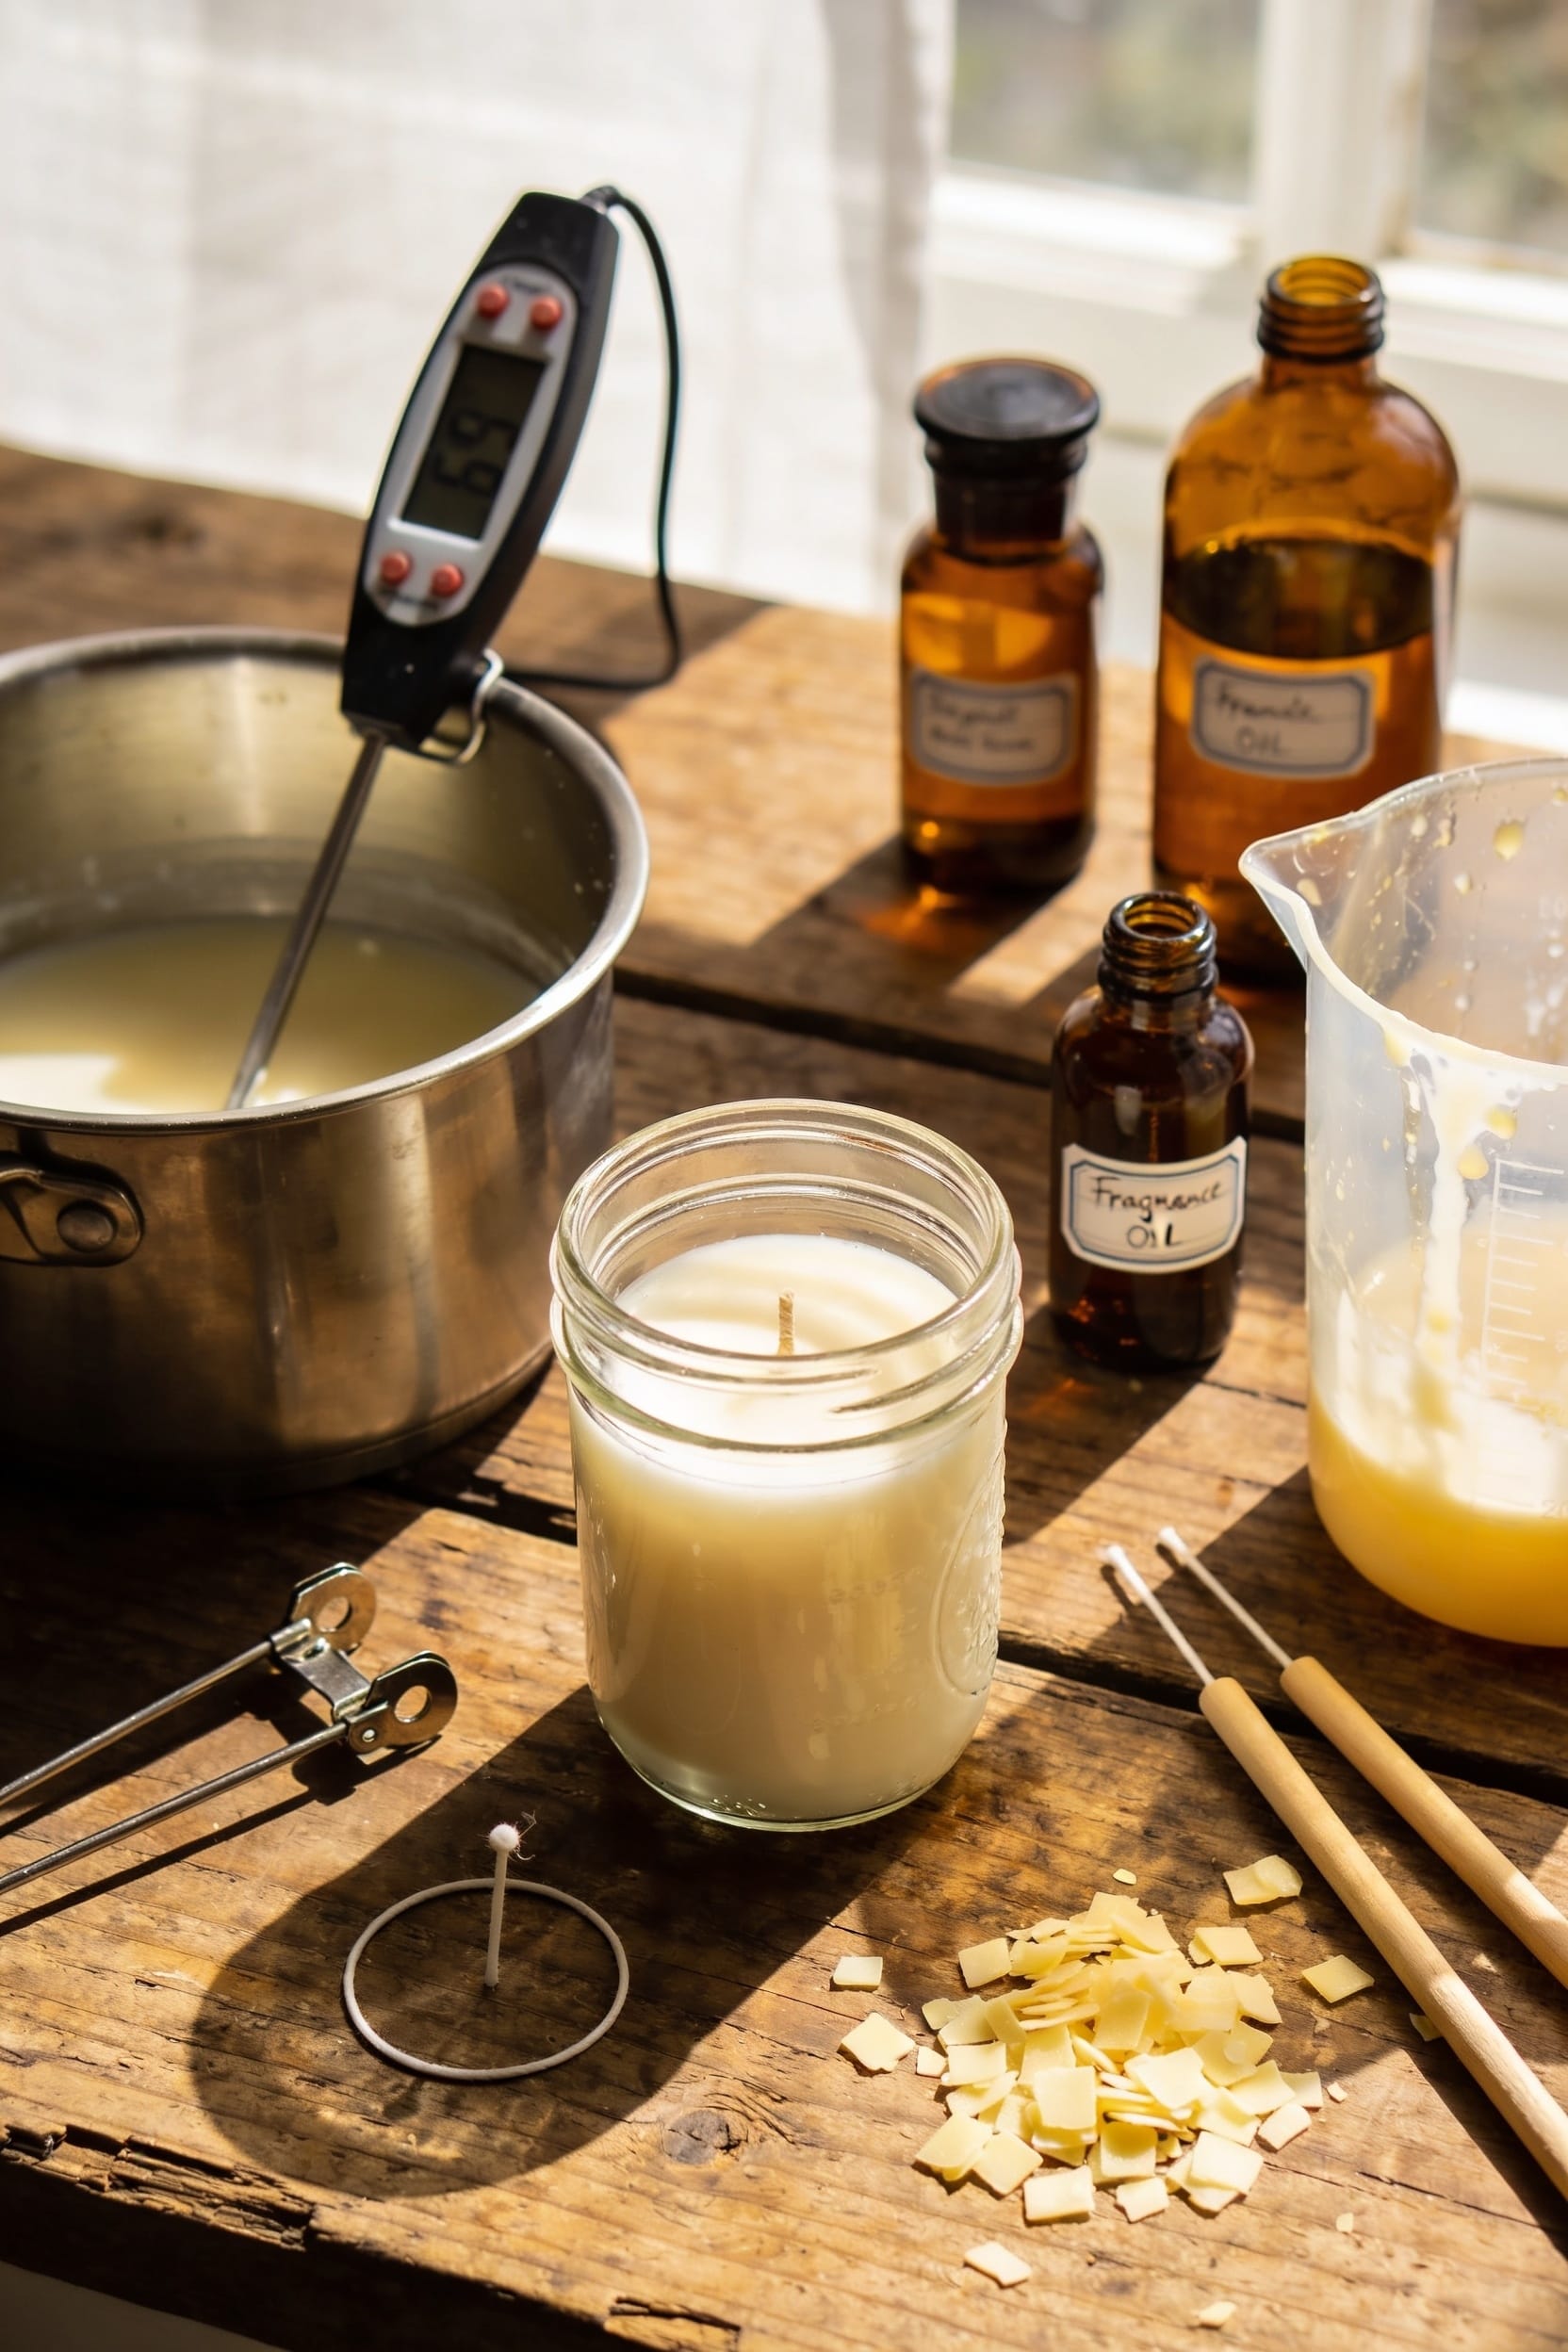
Look, I’ve poured plenty of candles that went sideways—tunneling, weak scent, cracked jars, wicks drifting everywhere. Most first-time mistakes aren’t about talent; they’re about skipping a few non-negotiable steps. You’ll need a double boiler, a reliable thermometer, candle-specific fragrance oil measured by weight, and patience for the cure time (roughly 1–2 weeks for soy wax to develop full scent throw). The real game-changer? Test burning before you scale production. Document everything—wax type, wick size, pouring temperature, results—so failed experiments become repeatable successes, and you’ll find the specifics that’ll transform your next pour.
Key Takeaways
- Use a double boiler method to safely heat wax to 185°F before adding fragrance oil to prevent burning off.
- Center the wick using a clothespin or wick bar, then trim to exactly 1/4 inch after wax cools completely.
- Pour wax at 135°F and wrap jars in washcloths immediately to prevent cracking during gradual 24–48 hour cooling.
- Measure fragrance and wax by weight using a scale; aim for 6–10% fragrance load for proper scent throw.
- Perform a test burn after cooling, burning one hour per inch of diameter to check melt pool and scent performance.
Start With the Double Boiler Method to Protect Your Wax
When you’re ready to melt wax—and I mean actually ready, not just hopeful—the double boiler method is your best friend, and honestly, it’s the only way I’ll do it anymore after burning through more than a few batches by getting impatient with direct heat. Fill your saucepan with water halfway, then set a heat-safe bowl on top. That bowl never touches the water directly. It’s a safety precaution that prevents scorching and keeps your wax at the right temperature. No double boiler? Use a mason jar in simmering water—same principle, solid equipment alternative. Heat your wax to 185°F (85°C) before adding fragrance. I’ve learned this the hard way. Direct heat causes discoloration, fragrance burn-off, and honestly, occasional small fires. Patience here pays dividends later.
Recommended Products
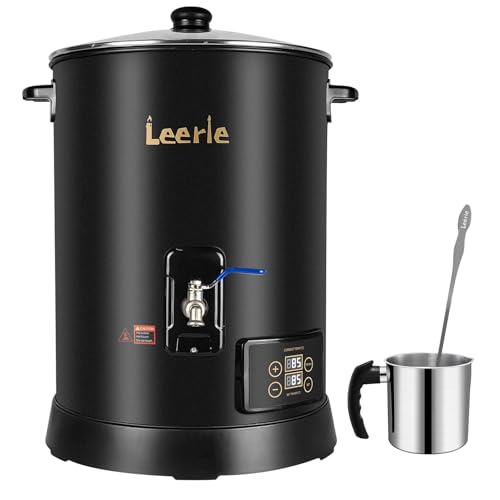
✔ MELT MORE, SELL MORE—30LBS AT ONCE : Scale up without slowing down. Designed for professional makers, the Leerie D15 Wax Melter holds up to 30 lbs of wax—enough to pour 120 4oz candles in a single session. Perfect for small businesses and studios handling wholesale orders, seasonal demand, or daily restocks. Big capacity, big results—minus the batch hassle.

Fast Melt 60 Candles for You: Achieving a rush order for a bulk order was made easy. TOAUTO 30Lbs wax melter can melt 30Lbs of candle wax and make 60 8-ounce candles at a time, greatly reducing your production time and making mass production of candles piece of cake. it's time to consider investing in a fully functional candle maker machine!

Fast Melt 80 Candles at A Time: The TOAUTO WMF-10L digital wax melter can handle a rush order for bulk candle production. It can melt 10 quarts of candle wax and create 80 4-ounce candles at a time, significantly reducing production time and making mass production easier.
Heat Wax to 185°F Before Adding Fragrance Oil
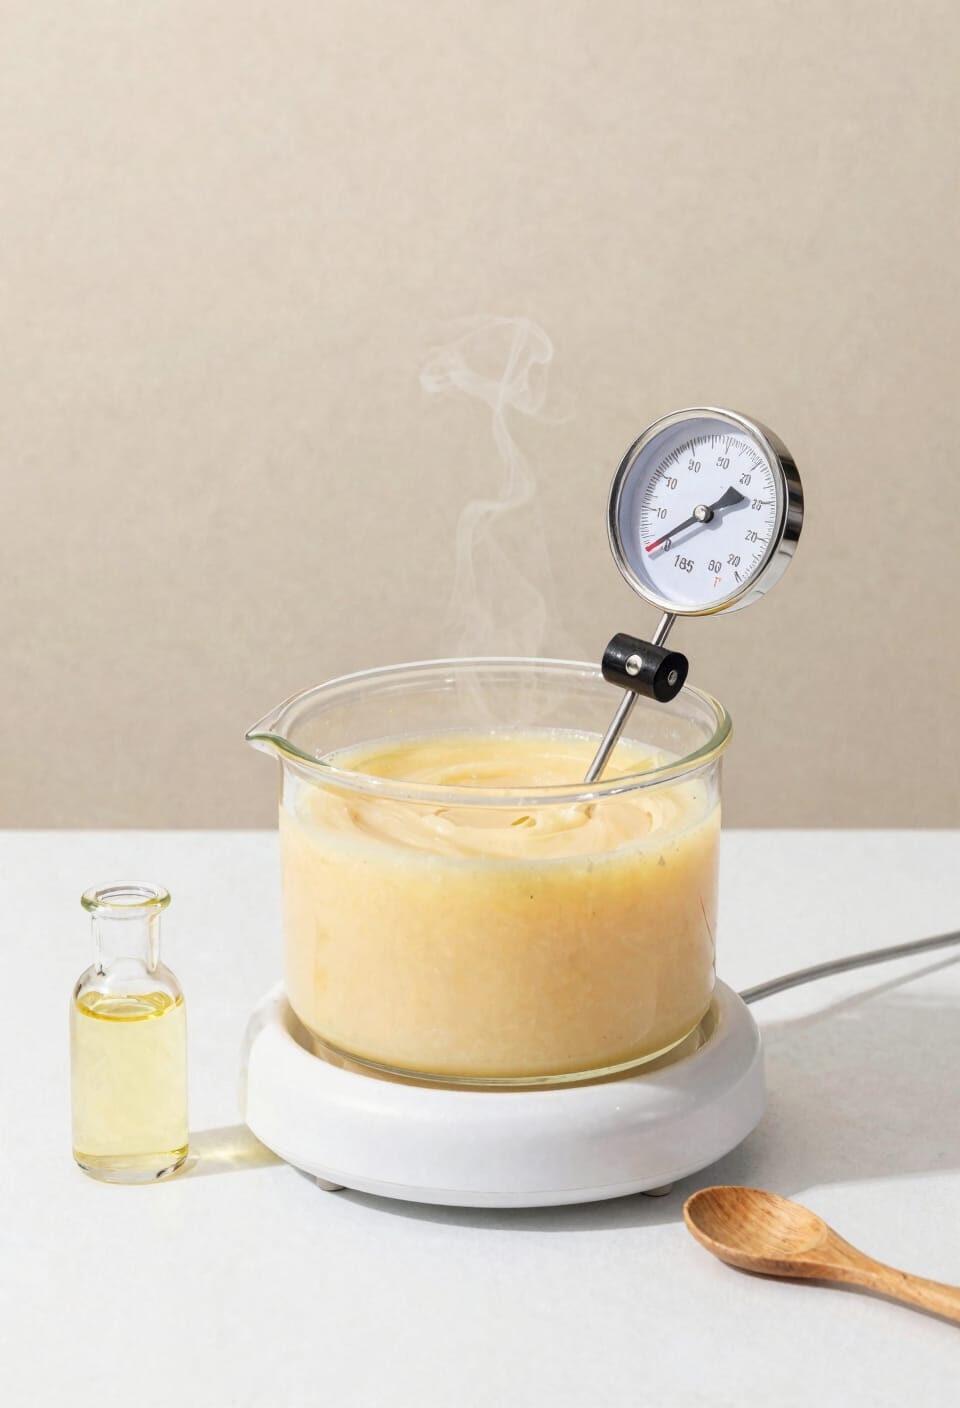
Getting your wax to exactly 185°F (85°C) isn’t just a suggestion—it’s the temperature sweet spot where fragrance oils actually bind properly to your wax instead of burning off or sitting there like unwelcome guests at a party. Temperature ramping—gradually bringing your wax up to this precise heat—prevents fragrance degradation. Rush it, and you’ll torch your scent before it even sets. I’ve done it. It’s frustrating.
Here’s the thing: fragrance stability depends on hitting this mark consistently. Use a reliable thermometer, not guesses. Once you’re at 185°F, you’ve got maybe five minutes before the wax begins cooling. That’s your window to add fragrance oil and stir for one to two minutes, ensuring even distribution. Get this step right, and you’re already halfway to a candle that actually smells amazing.
Prepare Your Wick the Right Way From the Start
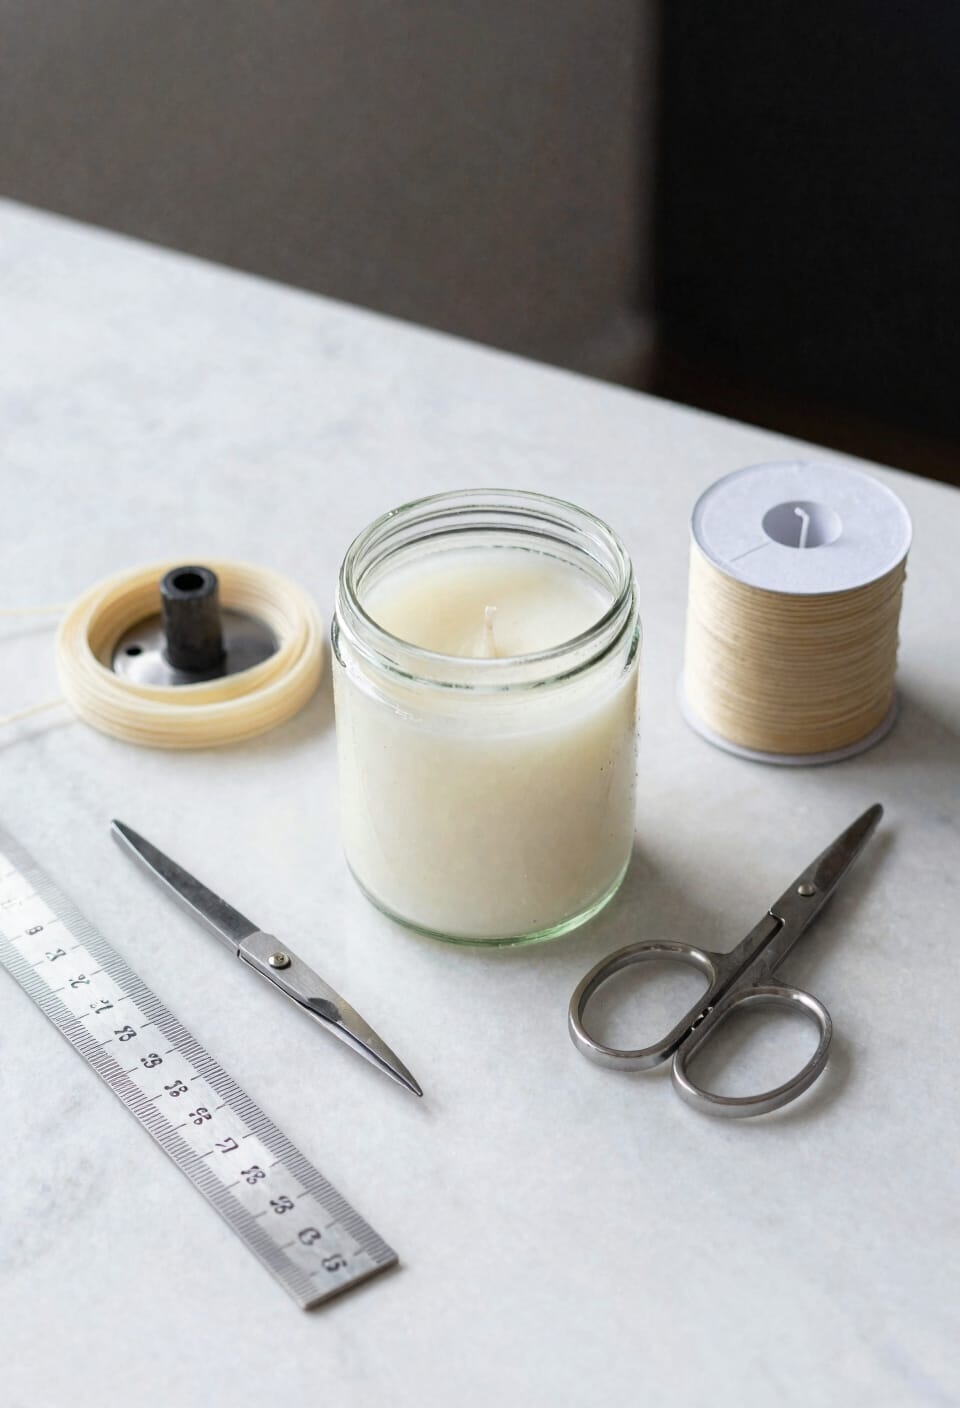
Before you pour a single drop of wax, your wick’s already won or lost half the battle—and I learned that the hard way after ruining enough candles to fill a small shop. Here’s the thing: wick centering determines whether your candle burns evenly or tunnels down the middle like a sad, wasted chimney. I use a clothespin or pencil laid across the jar top to keep everything centered while cooling. Now, tab adhesion—that’s how firmly your wick base sticks to the jar bottom—matters just as much. Dip the metal tab in hot wax first, then press it down hard, or use a wick sticker. Let it set before pouring. Once cooled completely, trim that wick to exactly ¼ inch. You’ve got this.
Recommended Products

Made of high grade tool steel hardened and ground

SOY CANDLE MAKING KIT FOR ADULTS: Make your own candles with our candle making supplies kit: natural soy wax for candle making 50 lb bag, 500 cotton candle wicks for candle making, 500 candle wick stickers for candle making, 10 wick holders.

【Center & Set Wick in Just 1sec】Literally: Unlike traditional methods, its glue-free solution eliminates most time-consuming steps, allowing you to centering wick in 1 second.
Choose Candle-Specific Fragrance Oil and Measure Carefully
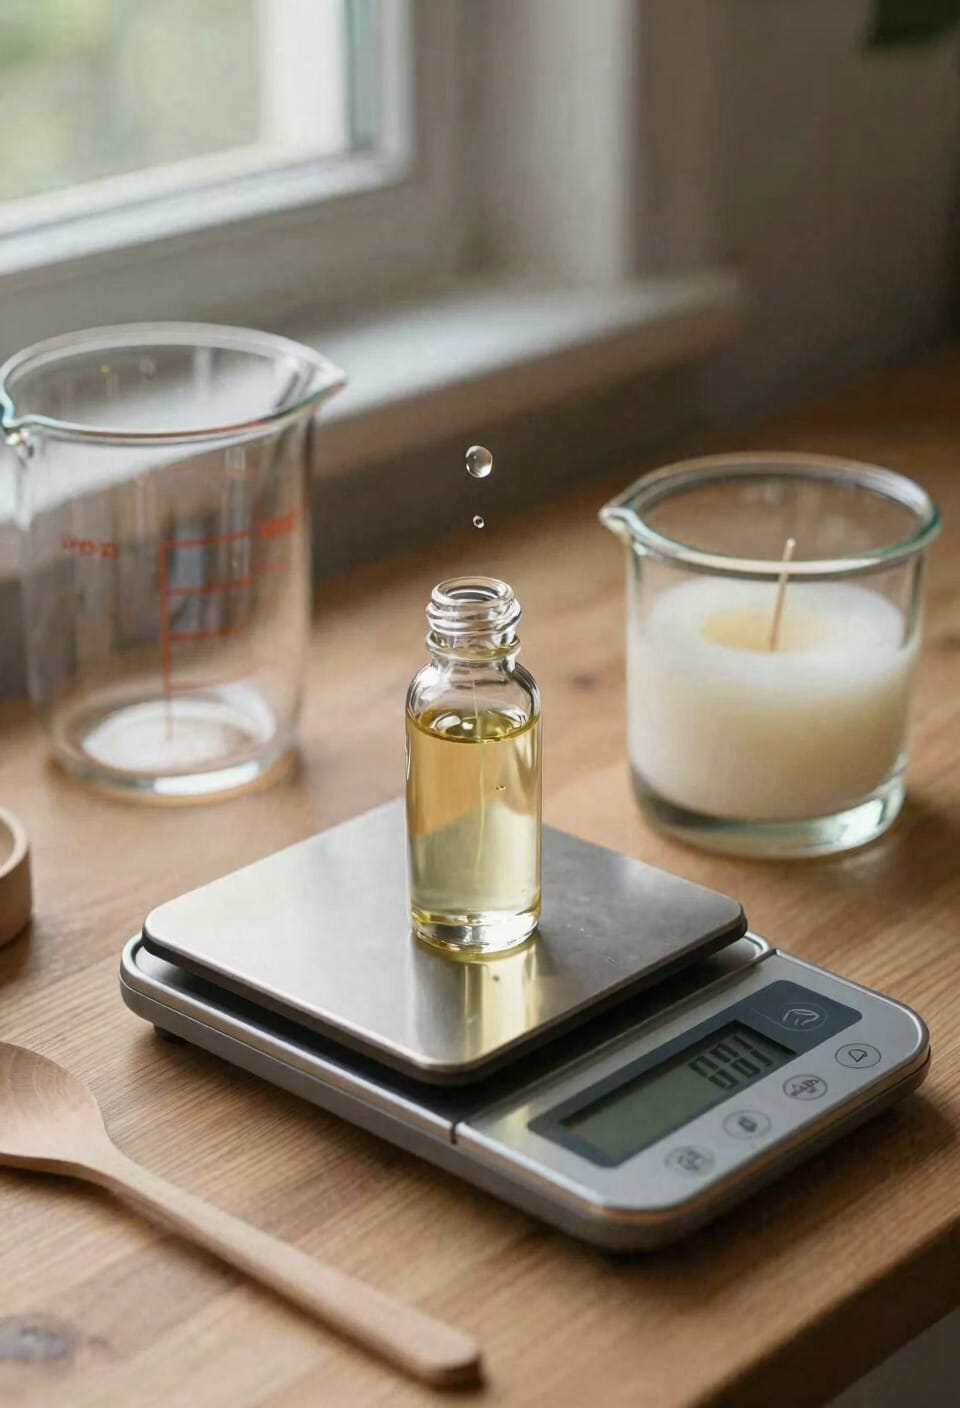
Since you’ve nailed your wick placement and you’re ready to pour, now’s the time to talk fragrance—because here’s the thing, not all fragrance oils are created equal, and using the wrong kind will tank your candle before it even gets lit.
You need candle-specific fragrance oils, not craft store generics. They’re formulated to work with wax and distribute evenly when heated. The fragrance load—that’s the percentage of oil you add to your melted wax—matters tremendously for scent safety and performance. Most soy wax handles about 6-10% fragrance by weight, roughly 1 ounce per batch.
Measure carefully. Use a scale, not eyeballing. Blend ratios determine whether your candle smells amazing when lit (hot throw) or sitting on your shelf (cold throw). Get this right, and you’re golden.
Recommended Products

Premium Floating Candles by Richland — Unscented floating candles with a smooth, solid-color finish and 100% cotton wick for a clean, smokeless burn. Designed to sit perfectly flat on the water surface for elegant, flickering centerpieces.


Bulk Size, Amazing Value – Organic Jojoba Oil 32oz Bulk Wholesale. Now you get our premium certified organic argan oil, at a great value for all your DIY Beauty needs.
Pour Wax at 135°F to Avoid Tunneling and Holes
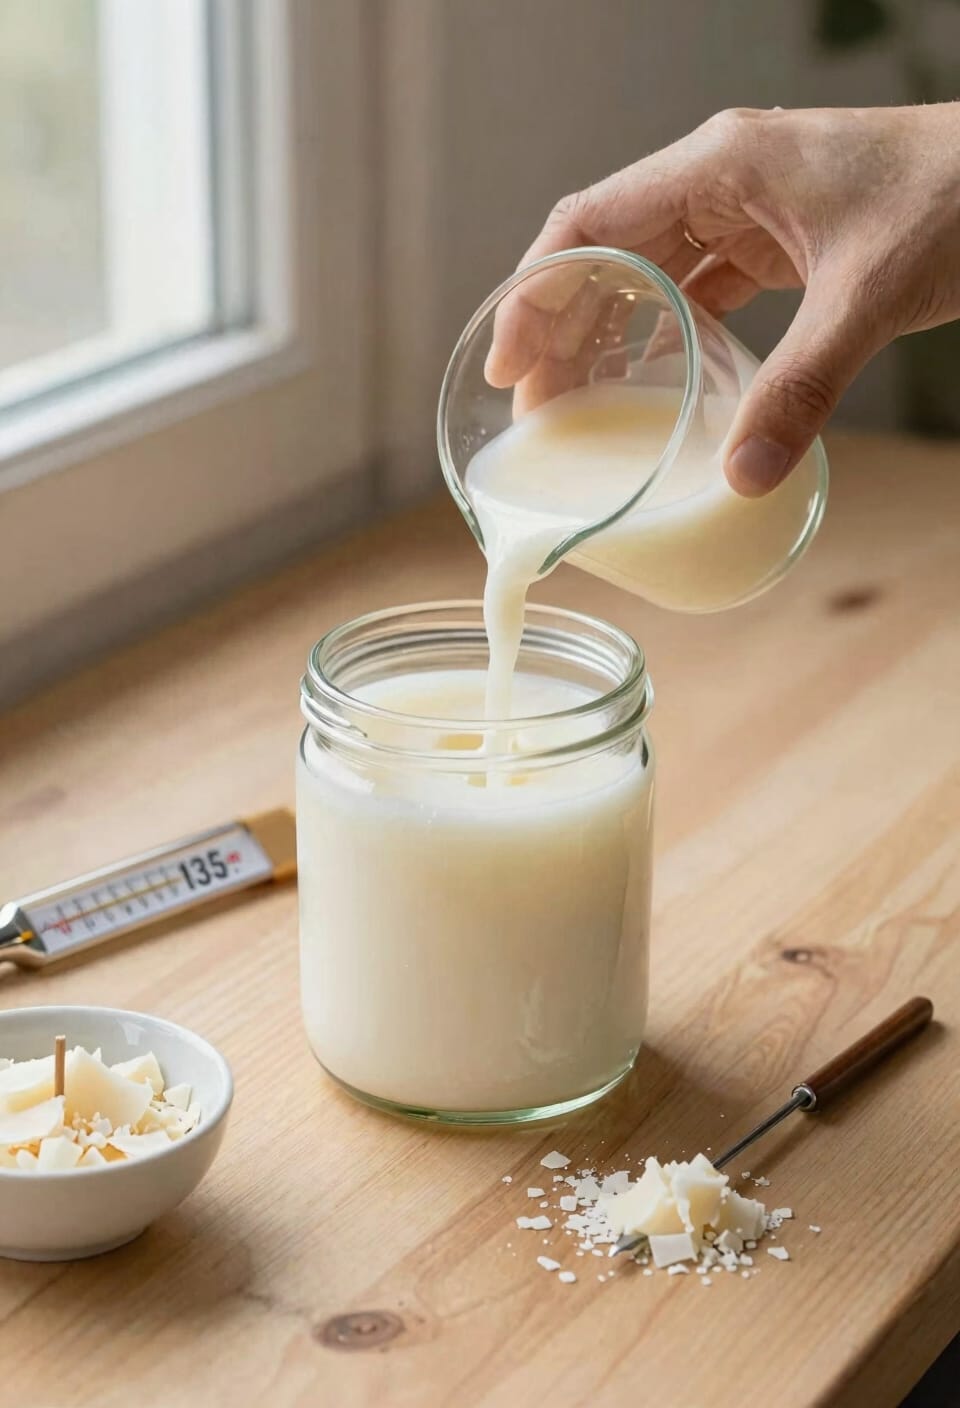
Now that you’ve nailed your fragrance load and you’re staring at that beautifully scented, melted wax, here’s where patience pays off—because pouring at the wrong temperature is how you end up with tunneling (that’s when wax burns down the middle and leaves a thick wall around the edges) and those frustrating holes that make your candle look like Swiss cheese. Wait until your wax cools to 135°F (57°C). I know it’s tempting to pour sooner, but those melting dynamics matter. Cooler wax pours slower, which actually helps it settle evenly into your jar. The cooling rate slows dramatically at this temperature, letting fragrance oils bond properly without creating air pockets. Use a thermometer—don’t guess. Place your jar on a towel first, fill to about a quarter-inch from the top, then let it sit undisturbed for at least 24 hours.
Secure Your Wick Centered and Straight While Cooling
While your wax cools to that perfect 24-hour resting point, you’ve got another critical job: keeping that wick dead center and perfectly upright, because a wick that drifts even slightly will burn unevenly and throw your whole candle into tunneling chaos. I use cooling clips—clothespins, pencils, or wick bars—stretched across the jar’s top to lock wick alignment in place while everything sets. Secure your wick tab to the jar bottom with a wick sticker or high-temp hot glue first, then position those cooling clips so the wick stands absolutely straight. Check it periodically during cooling; wax can shift things around as it hardens. Get this step right, and you’ve already solved half your burning problems before that first match ever touches the wick.
Wrap Jars in Washcloths to Prevent Cracking
Thermal shock—that sudden temperature swing when hot wax meets cool air—cracks jars more often than you’d think, and I’ve learned this lesson the expensive way by watching beautiful containers split right down the side as everything hardens. Here’s the thing: wrapping your jars in washcloths provides jar insulation that slows cooling dramatically. I drape a clean washcloth around each filled jar right after pouring, letting it sit undisturbed for the first few hours. This gentle, slow cooling prevents the stress that causes those heartbreaking fractures. You’re basically cradling your candle through its most vulnerable phase. It’s a small step that saves countless ruined batches and keeps your soy or paraffin from becoming expensive kindling.
Let Your Soy Candle Cure 1–2 Weeks for Maximum Scent
If you’ve poured your soy candle and it smells amazing right now, I’ve got some tough love for you: that fragrance you’re smelling isn’t anywhere near its full potential yet. Here’s the thing: soy wax needs time for fragrance diffusion—that’s the process where scent molecules fully bind with the wax—and you’ll want to wait 1–2 weeks minimum. During this curing environment, keep your candles in a cool, dark spot away from direct sunlight and temperature swings. I know it’s torture. The wait lets the fragrance settle and distribute evenly throughout the entire candle, which means your hot throw (how strong it smells when burning) will be noticeably deeper than on day one. Trust me on this. Your patience pays off.
Test Burn Your Candle and Observe the Melt Pool
Testing your candle before you consider it “done” is genuinely non-negotiable, and I say that as someone who’s burned through plenty of mediocre candles because I skipped this step. Burn it for one hour per inch of diameter so the melt pool—that’s the melted wax layer on top—spreads completely across. This matters because if your wick placement is off, you’ll get tunneling, where the flame only melts a narrow channel down the middle, wasting wax like crazy. Watch that first burn closely. Does the fragrance actually fill your room? That’s your hot throw working. Jot down what you observe. Different wick sizes and placements create wildly different results, so testing each batch catches problems before you’ve made ten jars of the same mistake.
Troubleshoot Tunneling, Weak Scent, and Cracking Now
So you’ve burned your test candle and things didn’t go according to plan—welcome to the club where I’ve accidentally created more wax sculptures than actual candles.
Tunneling happens when only the center burns down, leaving wax clinging to the sides. I’ve found it’s usually a wick issue. Trim your wick to ¼ inch before each burn—too long and it creates excessive heat, too short and the melt pool won’t reach the edges. Airflow impact matters too; burning in a drafty spot can cause uneven melting.
Weak scent means your fragrance load—the percentage of fragrance oil added to wax—was too low or your cure time was insufficient. Soy needs 1-2 weeks to develop full throw.
Cracking stems from cooling too quickly. Wrap your jars in washcloths and let them cool gradually over 24-48 hours.
Recommended Products
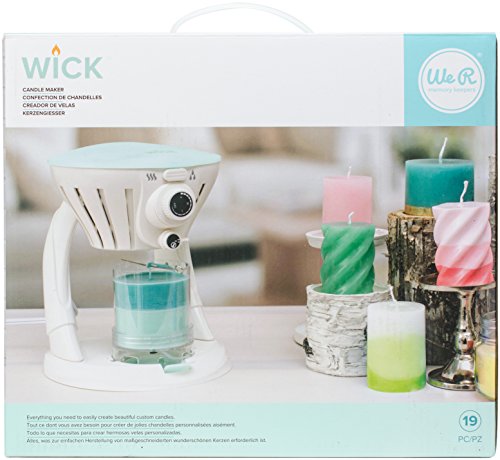
COMES WITH EVERYTHING YOU NEED: This kit includes 3 lbs of Paraffin Wax, 72 inches of cotton wick, 3 candle rubber stoppers, pigment (red, yellow, blue, white), 3 candle molds with base, and a color mixing chart

【Complete Pearled Candle DIY Kit】 Including everything you need for endless projects! 64 oz/1.8 kg pearled sand wax (5 colors & 7 bags - White*2, Black*2, Pink*1, Green*1, Gray*1), 100 wicks (10 cm), 1 wooden dough bowl, 1 glass jar, 6 essential oils (Apple, Vanilla, Rose, Jasmine, Lemon, Lavender), 1 black wick trimmer, and 1 electric pulse lighter
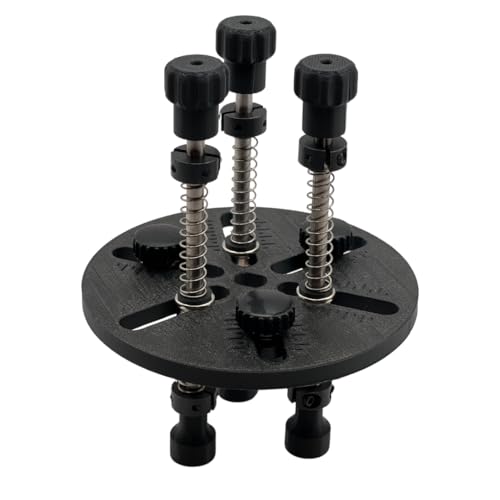
✔ ADJUSTABLE FOR ANY CANDLE JAR – Expandable arms fit jar openings from 2-1/2″ to 4-5/8″ wide, making it perfect for single, double, or triple wick candles in nearly any container.
Document Your Candle Recipe: Wax, Wick, Fragrance, Results
Keep a detailed log of every single batch you make, because I promise you’ll forget whether that vanilla-coconut blend used a size 6 or size 8 wick the moment you try to recreate it three weeks later. Your batch logs become your candle-making bible. Write down your wax type, fragrance oil amount, pouring temperature, wick size, and jar dimensions. Track cure times—that’s the waiting period before burning—and note cold throw versus hot throw results. Scent mapping, or documenting how fragrance performs at different temperatures, reveals which oils shine and which fade fast. I’ve ruined batches by guessing. You won’t. These notes transform failed experiments into repeatable successes, turning your kitchen into an actual operation instead of a guessing game.
Recommended Products

SOY CANDLE MAKING KIT FOR ADULTS: Candle making supplies kit includes: natural soy wax for candle making, 2 lb bag, 1200 mL candle wax melting pot, 8 cotton candle wicks, 4 wooden wick holders, 1 metal wick centering tool, 8 wick stickers, thermometer, 2 round and 2 square 8 oz candle tins with lids, 2 wooden stirring sticks, 4 warning labels, 2 silicone finger protectors, and 4 gift tags with 18” twine.


🧡【One Starter Kit for Candle Making Lovers】: Our DARJEN soy candle wax for candle making includes 1lb soy wax, 8oz candle jars, dried flowers, candle wicks, glue dots, wooden center devices, fragrance oil, dropper, thermometer, warning sticker, greeting cards and instruction. Perfect for beginners or seasoned DIY lovers!
Scale Your Candle Production Only After Testing Success
Here’s the thing: inventory management becomes a headache fast. You’ll have jars you miscalculated, wax you ordered wrong, fragrance oils gathering dust. Your pricing strategy needs actual data from successful test batches—not guesses. Scale up gradually. Double your batch. Then quadruple it. You’ll thank yourself later.
Frequently Asked Questions
How Long Should I Burn My Candle on the First Burn to Prevent Tunneling?
I’d recommend you burn your candle for one hour per inch of diameter on that first burn. You’ll want to make sure the melt pool reaches the jar’s edges entirely—this prevents tunneling and maximizes your candle’s lifespan.
What’s the Difference Between Cold Throw and Hot Throw in Candles?
Studies show fragrance intensity can vary by 40% between cold and hot throw. I’ll explain: cold throw’s the scent you smell unlit, while hot throw’s what you get when I’m burning. Both matter for your candle’s performance.
Can I Use Regular Fragrance Oils or Essential Oils in Candles?
I’d recommend using candle-specific fragrance oils rather than regular ones—they’re formulated for fragrance compatibility with wax. Essential oils require proper oil dilution and won’t perform as reliably in candles.
Why Is My Candle Cracking Even Though I Cooled It Slowly?
Even slow cooling’s like a tightrope walk—your candle’s still cracking because wax contraction and surface pitting occur when temperature drops unevenly. I’d recommend wrapping jars in washcloths to regulate cooling further, preventing shrinkage gaps.
How Do I Know Which Wick Size Is Correct for My Jar?
I’d recommend test burning each wick size in your jar. Watch for a full burn pool without wick chatter—that’s your sweet spot. You’ll want the melt pool reaching the jar’s edges by the first burn.
Conclusion
You’ve got all the pieces now—don’t put the cart before the horse by scaling up before you’ve nailed your first batch. Document everything, burn test like your life depends on it, and honestly, embrace the mistakes. I’ve poured plenty of duds, and each one taught me something. Your second candle will be better than your first. That’s the real magic here.