As an Amazon Associate, we earn from qualifying purchases. Some links on this site are affiliate links at no extra cost to you. Our recommendations are based on thorough research and editorial judgment.

Is Candle Making Easy? Honest Beginner’s Take on Time, Cost & Skill

wick centering, temperature control, matching fragrance load to wick size. Startup costs run under $50. Where people stumble is scaling up or chasing profit, which reveals the hidden costs fast. Get the fundamentals right first, and you’ll understand why some candles crack while others cure perfectly.
Key Takeaways
- Candle making is easy for beginners with basic tools under $50 and just 20 minutes of hands-on time per batch.
- Success requires mastering three core skills: wick centering, temperature control (185°F melt, 135°F pour), and matching fragrance load to wick size.
- Material costs run $3–5 per candle, making it worthwhile for gifts and hobbies but unprofitable as a side business.
- Common beginner mistakes include undersized wicks, excessive fragrance, and rushed cooling; expect wasted wax and failed pours in batches one through three.
- Full cure takes 24 hours; let candles cool naturally to avoid surface cracks and achieve peak burn quality.
You Can Make Your First Candle in Under an Hour
You’ve probably heard that candle making is this elaborate, time-consuming hobby that requires a chemistry degree and a dedicated studio space—and I’m here to tell you that’s nonsense. I made my first candle in under an hour, and honestly, you can too. All right, here’s what happens: you’ll weigh your soy wax, melt it to 185°F, let it cool to 135°F, then pour. That’s genuinely it. The active hands-on time clocks in around 20 minutes for a quick starter batch of two candles. You’ll secure your wick, pour your wax, and boom—simple ambiance created. Sure, it’ll need 24 hours to fully cure for peak burn, but you’re actually done working. The hardest part? Not lighting it immediately.
What Skills Do You Actually Need to Learn?
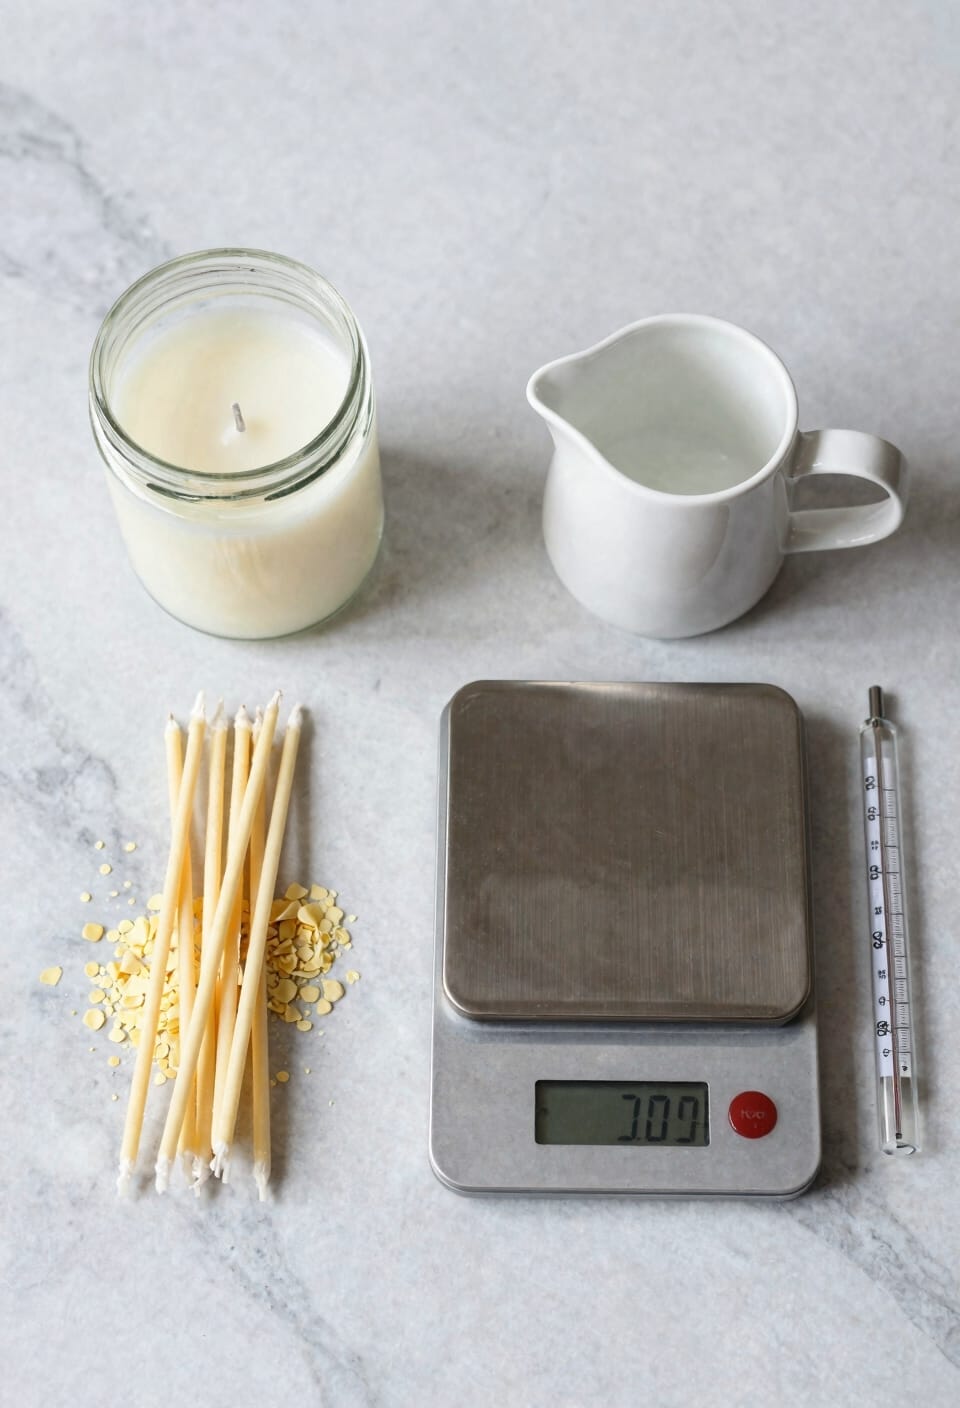
While the actual pouring takes just 20 minutes, the skills that separate a decent candle from a pooling mess are honestly pretty straightforward to master. You’ll need to nail wick centering—securing it to the container bottom with a sticker, then using a wick bar or clothespin to keep it straight while wax cools. Temperature control matters too. Melt your wax to 185°F, cool it to 135°F before pouring, and you’re golden. Scent blending and wick chemistry sound intimidating, but they’re just about matching fragrance load (how much scent oil you add—typically 6-10%) to your wick size so you don’t get tunneling. Trim the wick to one inch after your 24-hour cure, and you’re done. That’s genuinely it.
Real Startup Costs: What You’ll Actually Spend
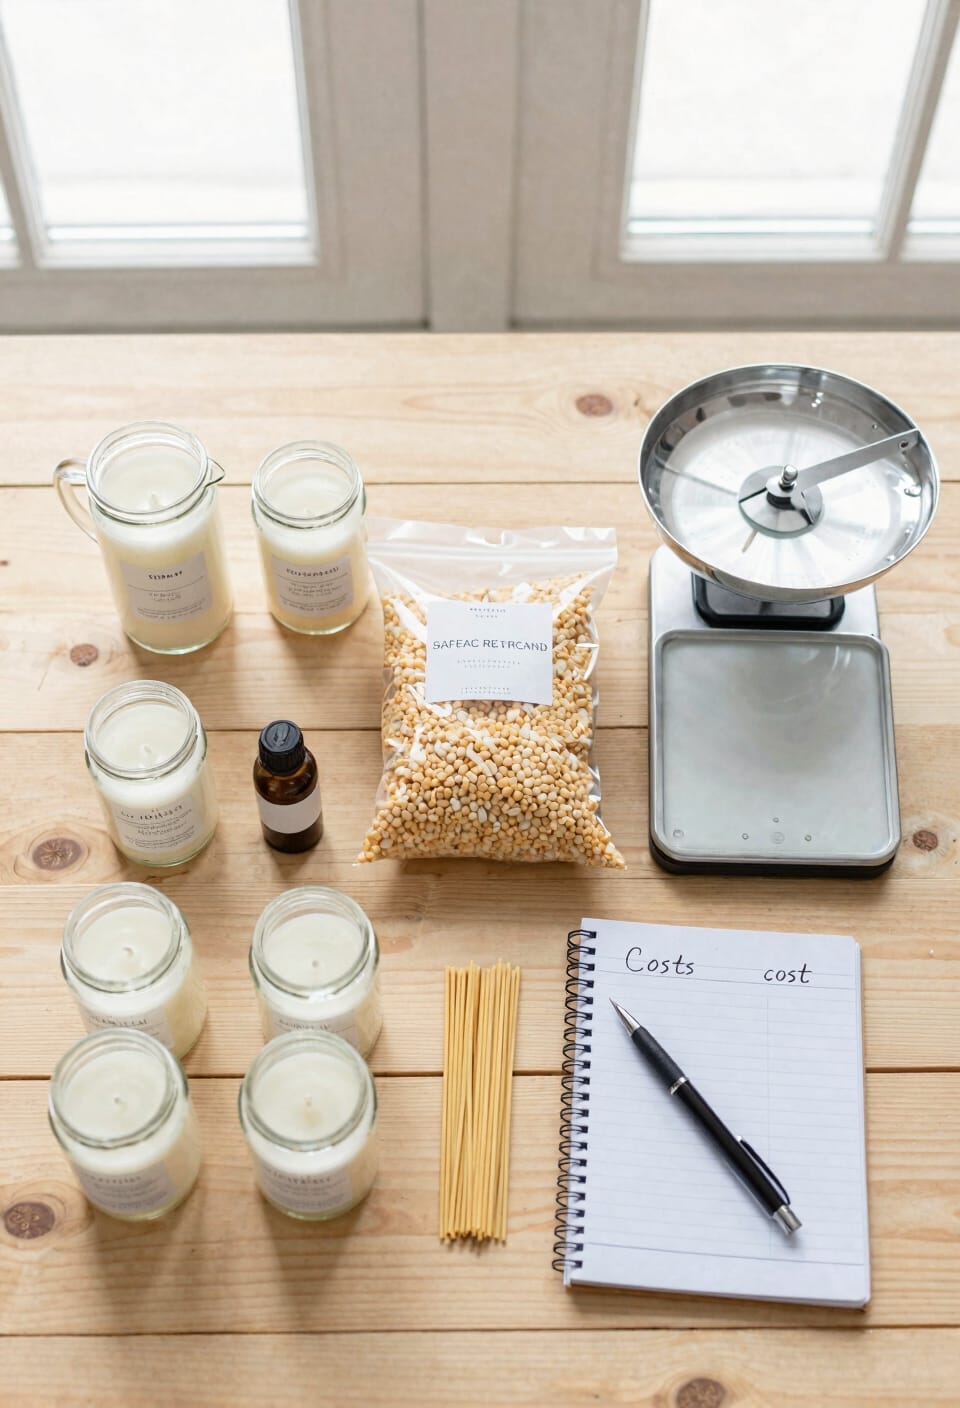
Because you’ve already learned the skills, the next hurdle isn’t complexity—it’s the sticker shock of thinking you need to drop hundreds of dollars before pouring a single candle. That’s not how this works. I spent maybe $60 starting out, and I made dozens of candles from it. Here’s where material sourcing gets real: a 5-lb soy wax bag runs $20, wick bundles cost $10, containers vary wildly from $1–5 each. The hidden fees nobody mentions? Those little fragrance oils at $8 per bottle add up fast if you’re not careful. But honestly, a basic starter kit—wax, wicks, thermometer, scale—lands under $50. You’re not overspending. You’re investing smart.
Recommended Products

CANDLE MAKING SUPPLY KIT: 50lbs soy wax, 500 cotton wicks, 500 glue stickers, 10 metal wick holders. Includes Everything you need to make your own candles.

All-In-One Starter Kit – Everything you need to dive into candle making! Our Hearth and Harbor soy candle wax for candle making includes 45 lbs of smooth soy wax flakes, 100 cotton wicks, 100 adhesive stickers, and 2 centering tools. Perfect for beginners or seasoned DIYers.

Safe and Easy to Use: City Bonfires is designed with convenience; Our compact fire pit is incredibly simple to light and extinguish; Just use a lighter to ignite it and cover the lid to extinguish it; It is made with nontoxic soy wax, ensuring safety and making it food-safe! It's the perfect tabletop fire pit for cooking s'mores!
Essential Candle-Making Tools Under $50
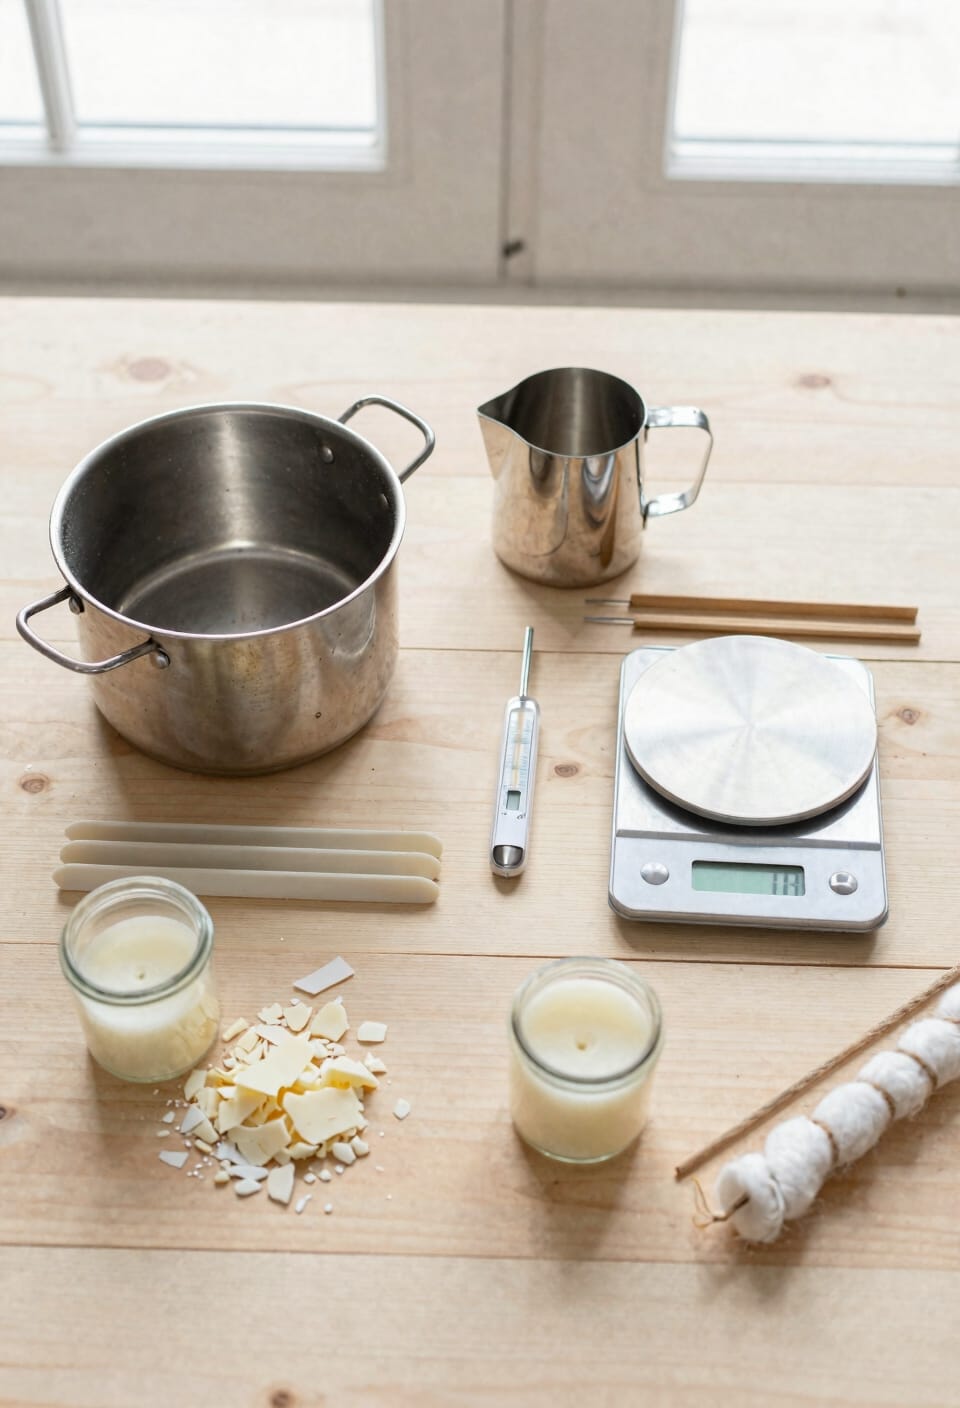
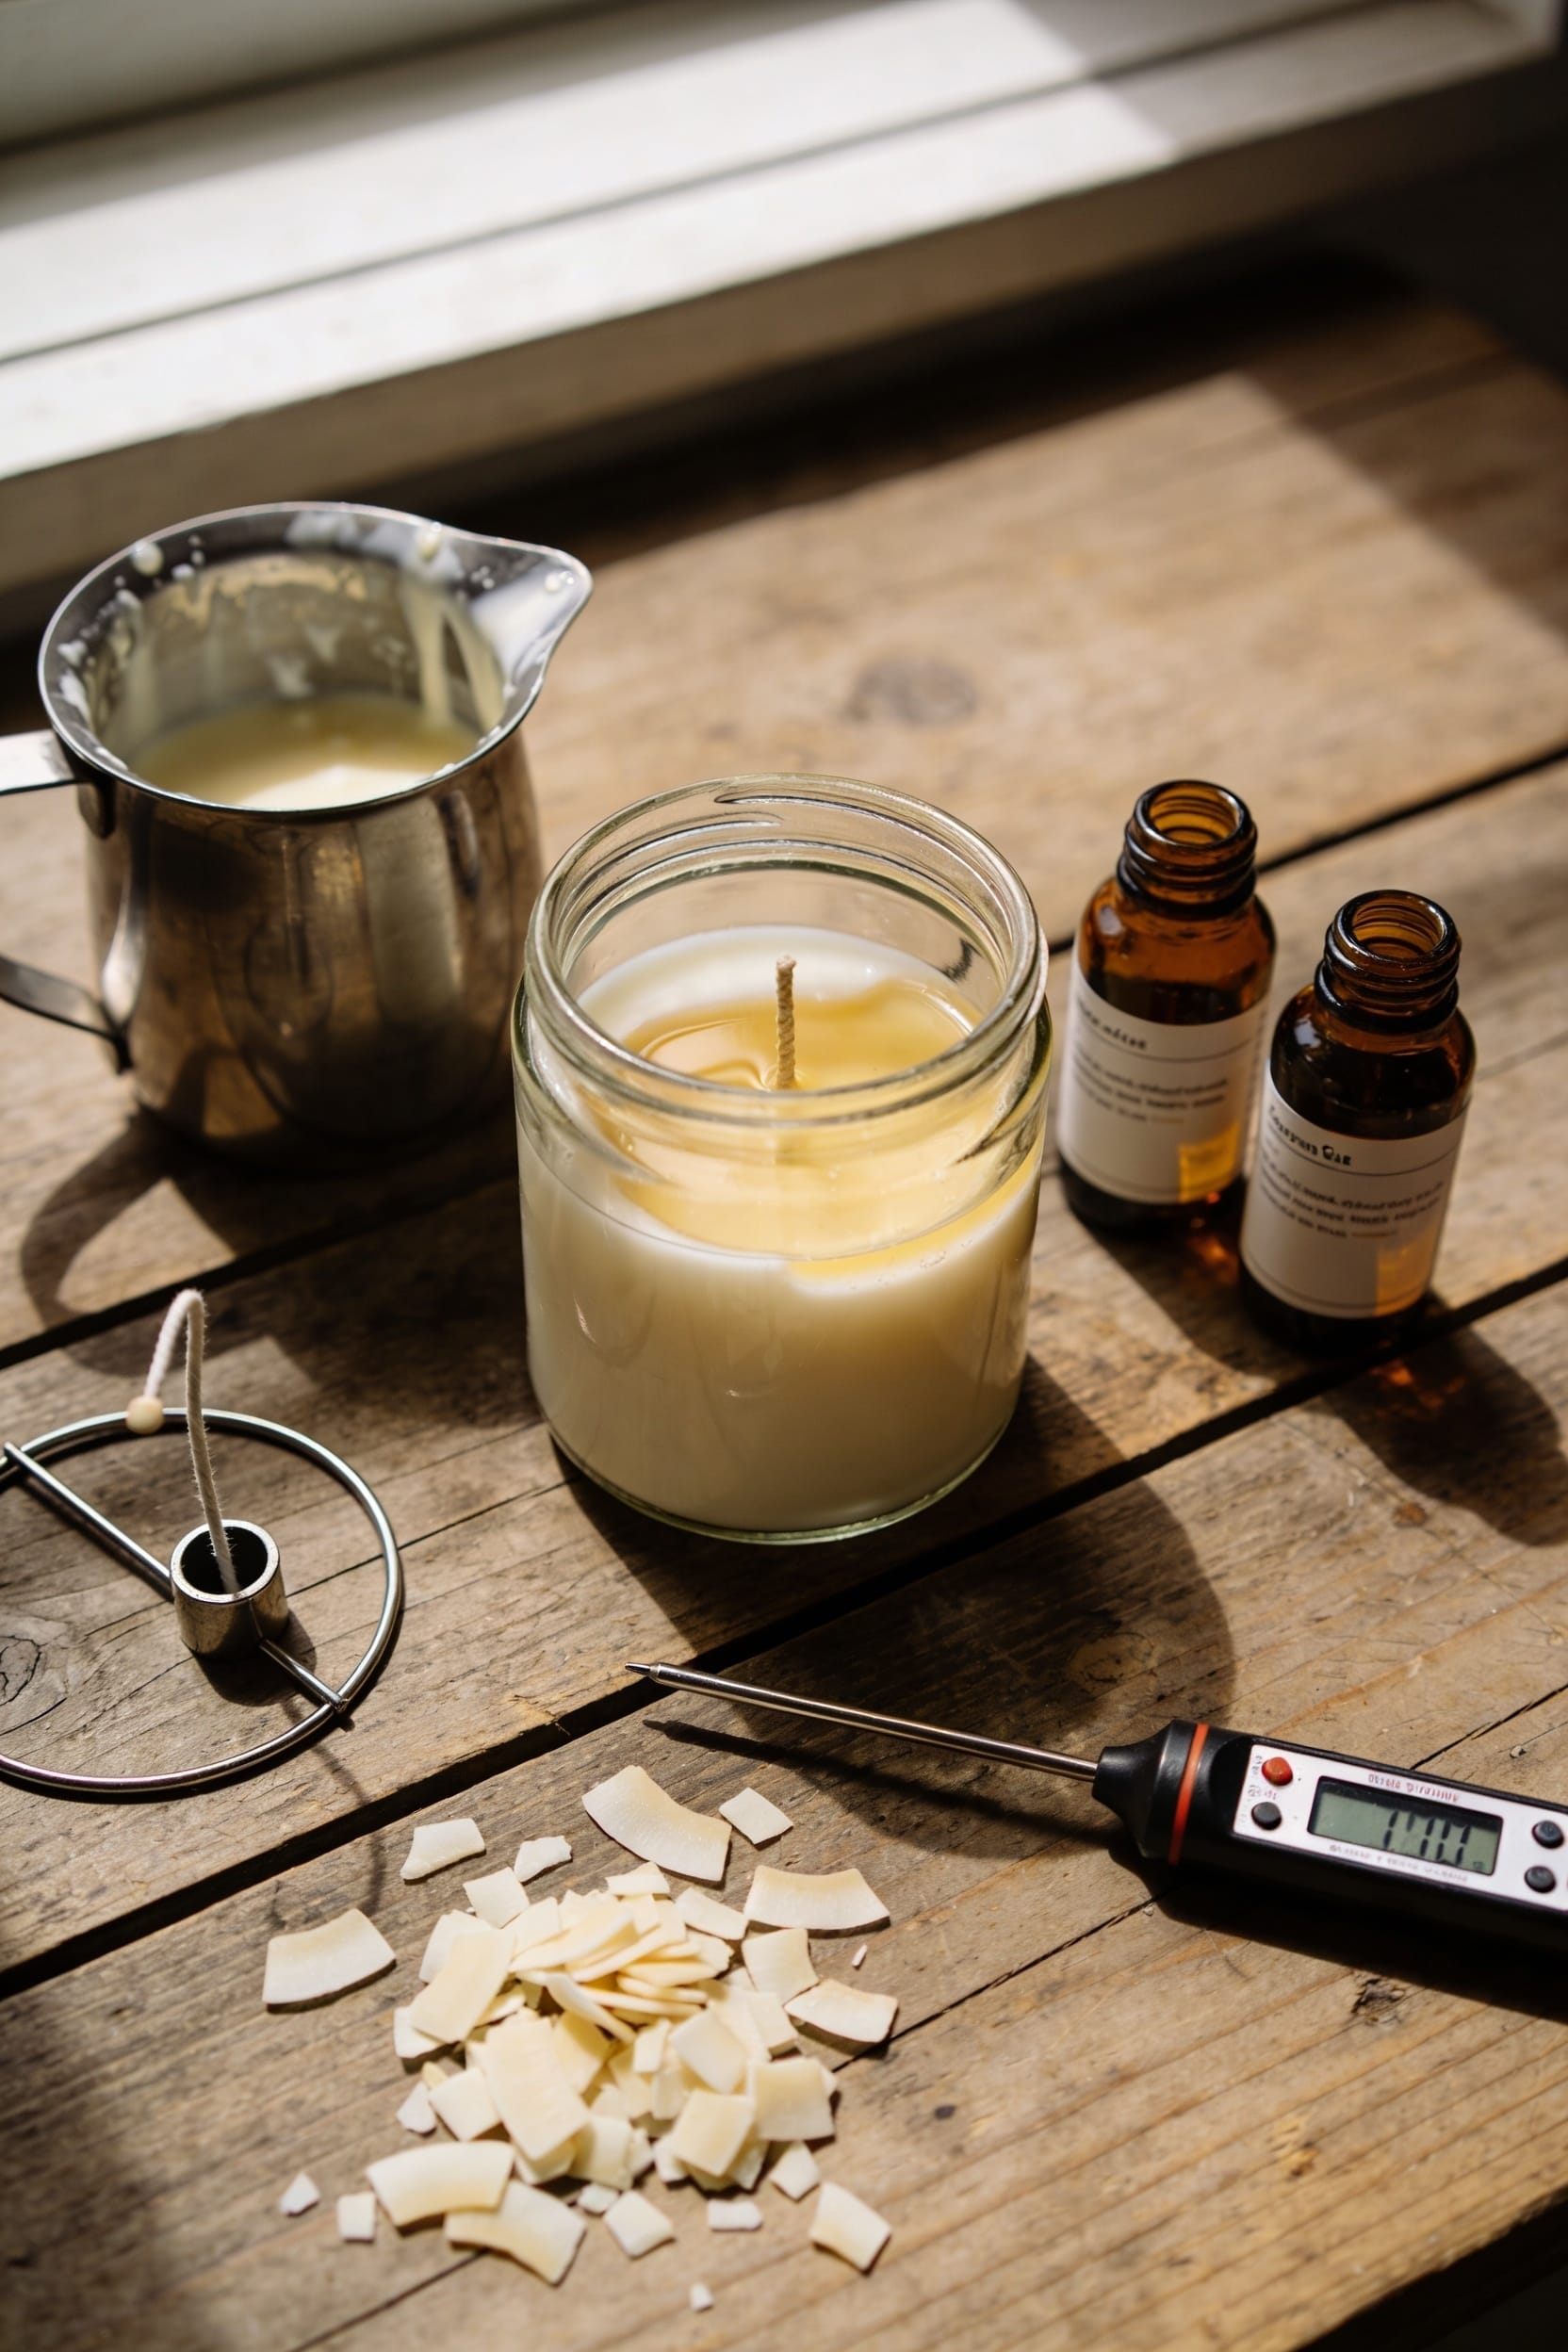
All right, so you’ve got the cost picture now—and it’s not scary. You don’t need fancy equipment to start making candles. A digital scale ($15), double boiler ($12), and thermometer ($8) cover your melting needs. Add a pouring pitcher ($10) and you’re set. Wick stickers or a clothespin run about $5 total.
I’d grab basic safety gear—cheap gloves and an apron—because spilled wax sticks to everything. They’re maybe $8 combined. For decor ideas, repurpose mason jars or thrifted containers instead of buying new ones.
That’s roughly $50 for everything you need to pour your first batch. No specialty molds required. No fancy tools. Just the essentials that actually work.
Recommended Products

This is a Huge Witchcraft Kit, a complete Witch Starter Kit for beginner Witch and Advanced Practitioners. Comes with 236 Wiccan Supplies and Tools.

[Ultra-Fine Details & Productivity] This advanced 10W (10000mW) laser engravers, with an ultra-fine 0.06 x 0.04mm spot, delivers precise 1:1 photo-realistic engravings. The spacious 23.93" x 15.16" bed size makes it ideal for large projects like door signs or engraving up to 119 dog tags in one go. Perfect for engraving on wood, leather, craft paper, stone, and glass.

All-Aluminum Structure & Enhanced Stability: Engineered with an all-metal framework and linear rail Z-axis, the FoxAlien Masuter Pro offers superior precision, durability, and stability for detailed engraving and cutting on wood, acrylic, MDF, nylon, and more.
Why Soy Wax Is Cheapest and Most Forgiving
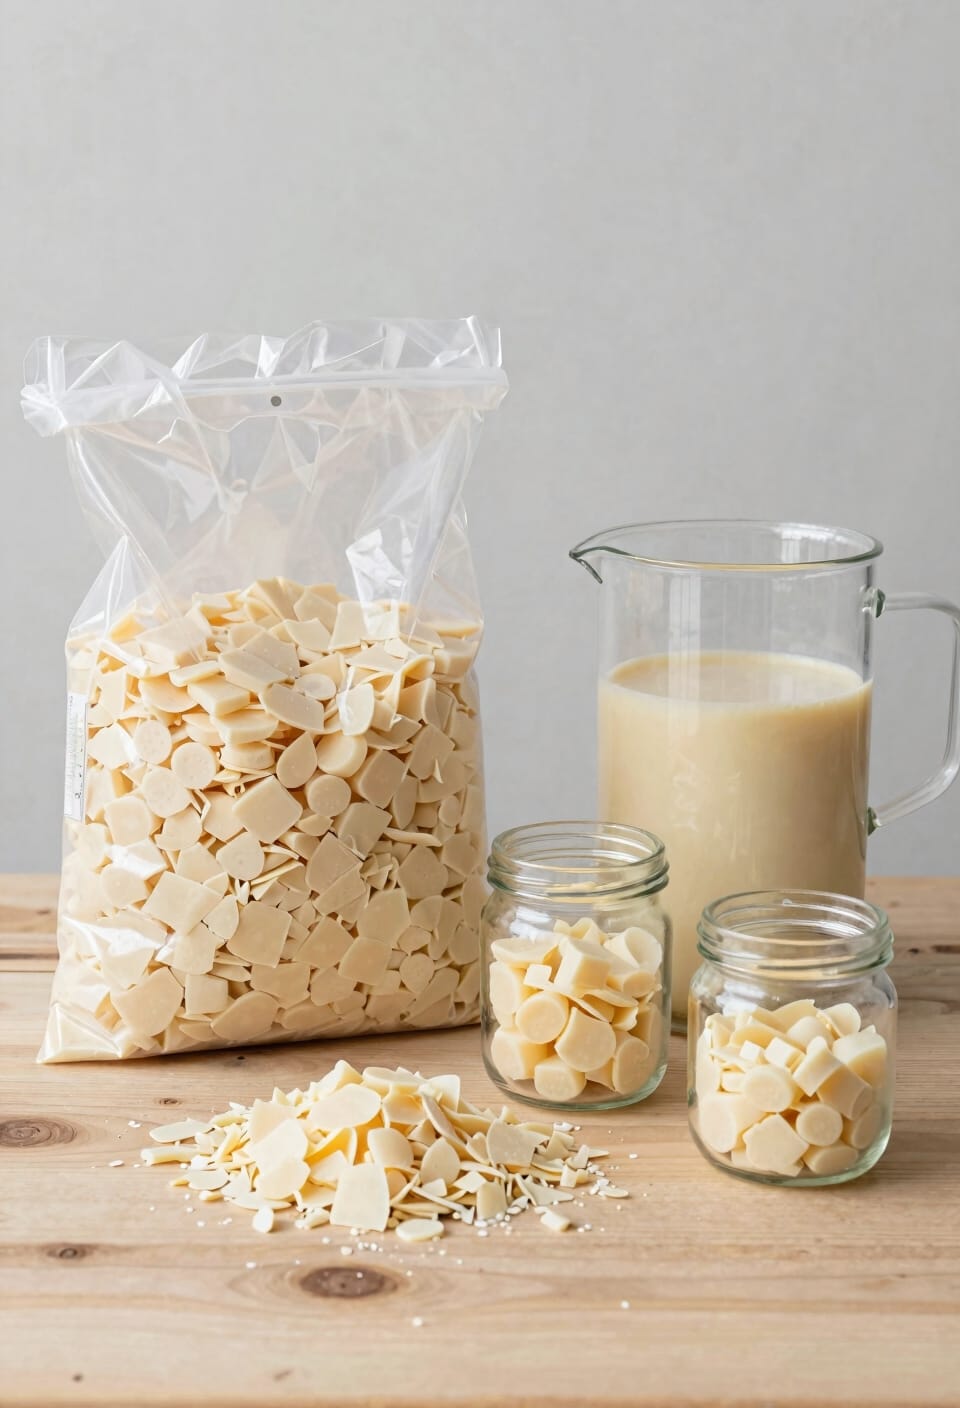
Now that you’ve got your basic toolkit sorted, let’s talk about what goes into those containers—because picking the right wax matters more than most beginners realize. I’m talking soy wax, and here’s why I recommend it: it’s plant based composition makes it affordable, eco-friendly, and forgiving when you mess up. A 5-lb bag costs around $20 and yields multiple candles. Soy has a low melt point—around 170-180°F—so you won’t overheat and ruin your fragrance oils. It also accepts gentle scentthrow beautifully, meaning your candles smell good without being overwhelming. Unlike paraffin, soy won’t crack if your pour temperature’s slightly off. You’ll get consistent burns, better scent distribution, and honestly, fewer disasters. That’s why beginners should start here.
Recommended Products


Safer Ambience for Everyday Moments: Our sand wax candle design with self-extinguishing sand candle wicks minimizes fire risk if tipped and prevents hot wax spills; ideal for homes with pets or kids that won’t renounce stylish décor, offered in White, Red, Nude, and Black for cozy luxury

Professional Wax Melter for Candle Making or Soap Making, Melter 3 Gallon Stainless Tank, Extra Deep for Your Larger Batches Of Candles or Soap, This Has Been Designed From Customers Requests and is Unlike Other Competitors.
Common Beginner Mistakes and How to Avoid Them
Even if you’ve nailed the basics—got your soy wax, your thermometer, your wick centered perfectly—there’s a whole other category of mistakes waiting to happen, and I’ve made most of them so you don’t have to. Look, the biggest culprit I see is uneven cooling. You pour your candle, then immediately move it somewhere cold or drafty, and boom—surface cracks form while the interior’s still soft. Let it cool naturally at room temperature for at least 24 hours. Another killer is wick tunneling, where only the center burns down, leaving wax walls untouched. This usually means your wick’s too thin for your container or your fragrance load—the percentage of scent oil added to wax—is too heavy. Match wick size to container width, cure fully before burning, and you’ll dodge most disasters.
Recommended Products

SCENT NOTES - Top: Apple Slices, Peach, Almond | Middle: Gooey Caramel, Buttery Maple, Cinnamon | Base: Sweet Vanilla, Caramelized Sugar

These candles are crafted using a high-quality soy-wax blend that ensures a consistent and clean burn throughout their lifespan. This specialized formula allows the Fresh Essence fragrance to disperse evenly, filling your living space with a revitalizing aroma without unwanted soot.

CASA is a fragrant bouquet of Casablanca lilies, newly cut grass and fresh air.
The Honest Math: Time Investment vs. Cost Savings
After you’ve made a few candles without setting your kitchen on fire, the question that keeps you up at night isn’t really “Can I do this?”—it’s “Should I?” Because yeah, you can hand-pour soy wax into a mason jar for about $3 to $5 total, but when a decent store-bought candle costs $15 to $25, the math feels obvious at first glance.
Here’s where it gets honest: you’re investing 45 minutes per batch, plus your energy footprint from melting wax. Material sourcing costs drop dramatically in bulk, sure. But factor in the learning curve—wasted wax, failed pours, wick disasters. The real savings kick in around batch three or four, when you stop overthinking temperatures and start moving efficiently. Make candles regularly, and you’re genuinely ahead. Make one occasionally? You’re paying for the hobby.
Recommended Products

100% Pure Beeswax Candle: Hand-poured from naturally filtered beeswax for a rich, golden glow. These clean burning candles are free from paraffin, soy, and synthetic fragrances. Each 1-wick dripless pillar candle features natural cotton candle wicks and pure candle wax for a long-lasting burn and warm, cozy candle light.

Industrial 67 Lbs Capacity Wax Melting Pot Pro Package Model: Includes Large Spout, Lid, Pouring Pot, Stirring Spoon. Cutting-edge technology ensures rapid melting of soy wax, paraffin, coconut, and beeswax for efficiency. It's perfectly suitable for most Wax types and Melt & Pour soap bases. Its user-friendly temperature guage allows temperature adjustment from from low to high temperature which maintains roughly 100 - 350 degrees Fahrenheit.

65 LBs Capacity Wax Melting Pot Pro Package Model: Includes Large Spout, Lid, Pouring Pot, Stirring Spoon. Cutting-edge technology ensures rapid melting of soy wax, paraffin, coconut, and beeswax for efficiency. While it can't be used for lye soap making due to aluminum's reactivity with lye, it's perfectly suitable for Melt & Pour soap bases. Its user-friendly temperature guage allows temperature adjustment from from low to high temperature which maintains roughly 100 - 350 degrees Fahrenheit.
What a Successful First Batch Looks Like
When you pull that first batch out of the curing box 24 hours later, you’re not looking for perfection—you’re looking for these specific signs that you didn’t mess it up. Your appearance checklist includes a smooth, evenly colored surface with no sinkholes around the wick. The candle should feel firm to the touch, not tacky or soft. Now here’s where it gets real: scent diffusion, which is how the fragrance releases into the air, won’t fully develop until that 24-hour cure completes. When you light it, the smell should be noticeable but not overwhelming. If your wick burned cleanly without mushrooming and the wax pooled evenly, you’ve nailed it. That’s success.
How to Scale Up Once You’ve Nailed the Basics
Once you’ve figured out why your first batch didn’t crater in the middle and your wick actually stayed put, the urge to make ten candles at once hits different—and honestly, that’s when the real fun starts. Here’s the thing: scaling up doesn’t mean dramatically changing your process. You’ll want to implement batch scheduling—staggering your pours across days so you’re not curing everything simultaneously. Consider wholesale sourcing for bulk wax and fragrance oils, which cuts per-candle costs markedly. A 3-to-6 candle jump uses roughly the same hands-on time as your original batch. Invest in a proper digital scale and multiple pouring pitchers. Start with one larger batch per week before attempting daily production.
Is Candle-Making Actually Worth Your Time?
Whether candle-making’s worth your time depends entirely on what you’re actually after—profit, hobby fulfillment, or a way to stop buying $30 candles that smell like “luxury” but look like they were poured in a basement.
If you’re chasing scent experimentation, you’ve found your thing. You’ll tweak fragrance loads (that’s the percentage of scent oil mixed into melted wax) endlessly, discovering combinations store-bought candles won’t touch. There’s genuine joy in that.
The social benefits matter too. Making candles with friends beats scrolling your phone. You’ll hand-pour gifts people actually use.
Now, profit? Not really. Your 45-minute batches yield candles costing $3–5 in materials. You’d need serious volume to compete with factory pricing.
So: hobby and gifts? Absolutely worth it. Side hustle? Start elsewhere.
Frequently Asked Questions
Can I Use Leftover Wax From Old Candles to Make New Ones?
You can absolutely use recycled wax from old candles, though I’d warn you about scent memory—leftover wax often retains previous fragrances. I’d recommend melting it separately and using unscented wax for best results.
What’s the Best Way to Store Soy Wax Flakes Before Melting?
I’ve found that soy wax retains up to 95% of its quality when stored properly. You’ll want to keep your flakes in airtight containers in cool storage—ideally below 75°F—away from direct sunlight to prevent degradation.
How Do I Fix Candles That Crack or Sink in the Middle?
I’d reheat your candle to 170°F and top-pour the sunken middle. For future batches, make sure proper container sizing—use twice the volume of wax—and trim your wick to one inch after curing.
Are Essential Oils or Fragrance Oils Better for Scenting Candles?
You can’t have your cake and eat it too. I’d recommend synthetic fragrance oils—they’re more reliable for candles than essential oils, which don’t hold scent well when heated and can affect burn quality consistently.
Can I Make Candles Without a Double Boiler Setup?
You can absolutely skip the double boiler. I’ve used a microwave in 30-second increments for small batches, or you can try solar melting on a sunny day. Improvised setups like a jar in hot water work great too.
Conclusion
Starting your candle journey is like striking a match—a small spark that grows into steady flame. You’ve got the tools, the knowledge, the wax melting in your pot. What remains is simply your willingness to light that first wick. Sure, you’ll mess up. I have. But each pour teaches you something, each batch burns brighter than the last. Your candles aren’t just products; they’re proof you started.